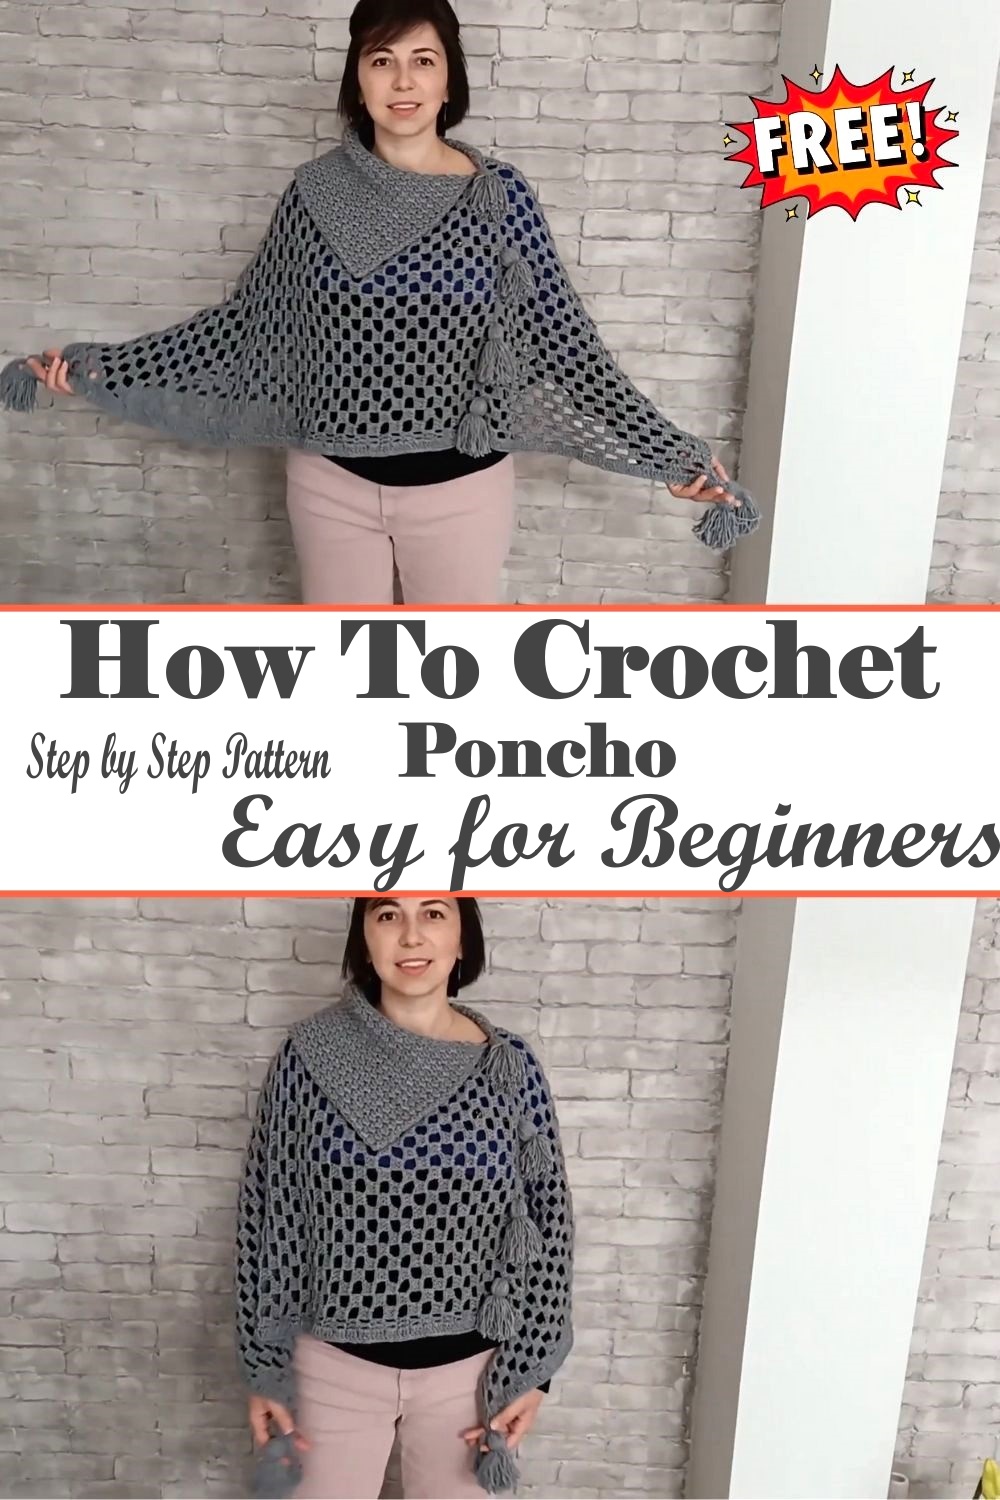
How to Crochet Poncho Step by Step for Beginners
Crochet Poncho Step by Step for Beginner is a timeless and versatile garment, perfect for adding a touch of warmth and style to any outfit. Essentially a large piece of fabric with an opening for the head, ponchos drape elegantly over the shoulders, making them a chic accessory for any season. Crocheting a poncho is an excellent project for beginners, offering a rewarding way to practice basic stitches while creating something both functional and fashionable. With its simple construction and endless customization options, a crocheted poncho is a delightful addition to any wardrobe.
Supplies Needed
Before you begin your crochet journey, you’ll need to gather some essential supplies:
Yarn: Choose a yarn that’s easy to work with, like a medium-weight acrylic or wool blend. Brands such as Lion Brand, Red Heart, or Bernat offer great beginner-friendly options.
Crochet Hook: A size H/8 (5 mm) hook is commonly recommended for medium-weight yarn, but check your yarn label for the best match.
Scissors: A sharp pair for cutting the yarn.
Stitch Markers: Useful for keeping track of your place in the pattern.
Tapestry Needle: For weaving in ends and sewing pieces together if needed.
Basic Crochet Stitches to Know
Before diving into the pattern, familiarize yourself with these basic crochet stitches:
Chain Stitch (ch): The foundation of most crochet projects. To create a chain, wrap the yarn over the hook and pull it through the loop on the hook.
Single Crochet (sc): Insert the hook into the stitch, yarn over, pull through the stitch, yarn over again, and pull through both loops on the hook.
Double Crochet (dc): Yarn over, insert the hook into the stitch, yarn over, pull through the stitch, yarn over, pull through two loops, yarn over, and pull through the remaining two loops.
For visual learners, online tutorials or videos can be incredibly helpful in mastering these stitches.
Step-by-Step Instructions
Follow these simple steps to crochet your poncho:
Start with a Foundation Chain: Begin by chaining a number that fits comfortably around the widest part of your body (usually 80-100 chains for adults, depending on yarn and hook size).
Form a Circle: Join your chain into a circle with a slip stitch, being careful not to twist the chain.
First Round: Chain 3 (counts as a dc), and double crochet in each chain around. Join with a slip stitch to the top of the chain 3.
Increase Rounds: To shape the poncho, alternate between rows of single and double crochet, adding a few stitches evenly around each row to gradually increase the width.
Continue to Desired Length: Repeat the increase rounds until your poncho reaches your desired length. Typically, this is around mid-thigh or longer.
Finish Off: Once the poncho is the right length, cut the yarn, leaving a tail. Pull the tail through the last loop to secure it.
Add Fringe (Optional): Cut several pieces of yarn (twice your desired fringe length) and attach them to the bottom edge of the poncho.
Weave in Ends: Use a tapestry needle to weave in any loose ends.
Notes on Adjustments
Size Adjustments: Increase or decrease the number of starting chains or rounds to fit your body size.
Sleeves: For a more structured look, you can add simple sleeves by working in rounds from the arm openings.
Customization Ideas
Make your poncho uniquely yours with these creative touches:
Color Variations: Use multiple colors or a variegated yarn for a vibrant look.
Patterns: Try adding stripes or simple patterns.
Accessories: Add buttons or a decorative pin to enhance the style.
Care & Maintenance
To keep your crocheted poncho looking its best, follow these care tips:
Washing: Hand wash in cold water with a gentle detergent, or use a delicate cycle if your yarn allows.
Drying: Lay flat to dry to maintain shape and prevent stretching.
Storage: Store your poncho folded in a cool, dry place.
Conclusion
Creating your own crocheted poncho is a rewarding experience that blends creativity and practicality. This beginner-friendly project not only hones your crochet skills but also results in a stylish garment you’ll be proud to wear. We encourage you to try your hand at this fun project and share your beautiful creations with friends and family. Feel free to tag us in your photos or leave a comment if you have any questions or want to share your progress. Happy crocheting!