Crochet Cardigan Pattern with Flared Sleeves
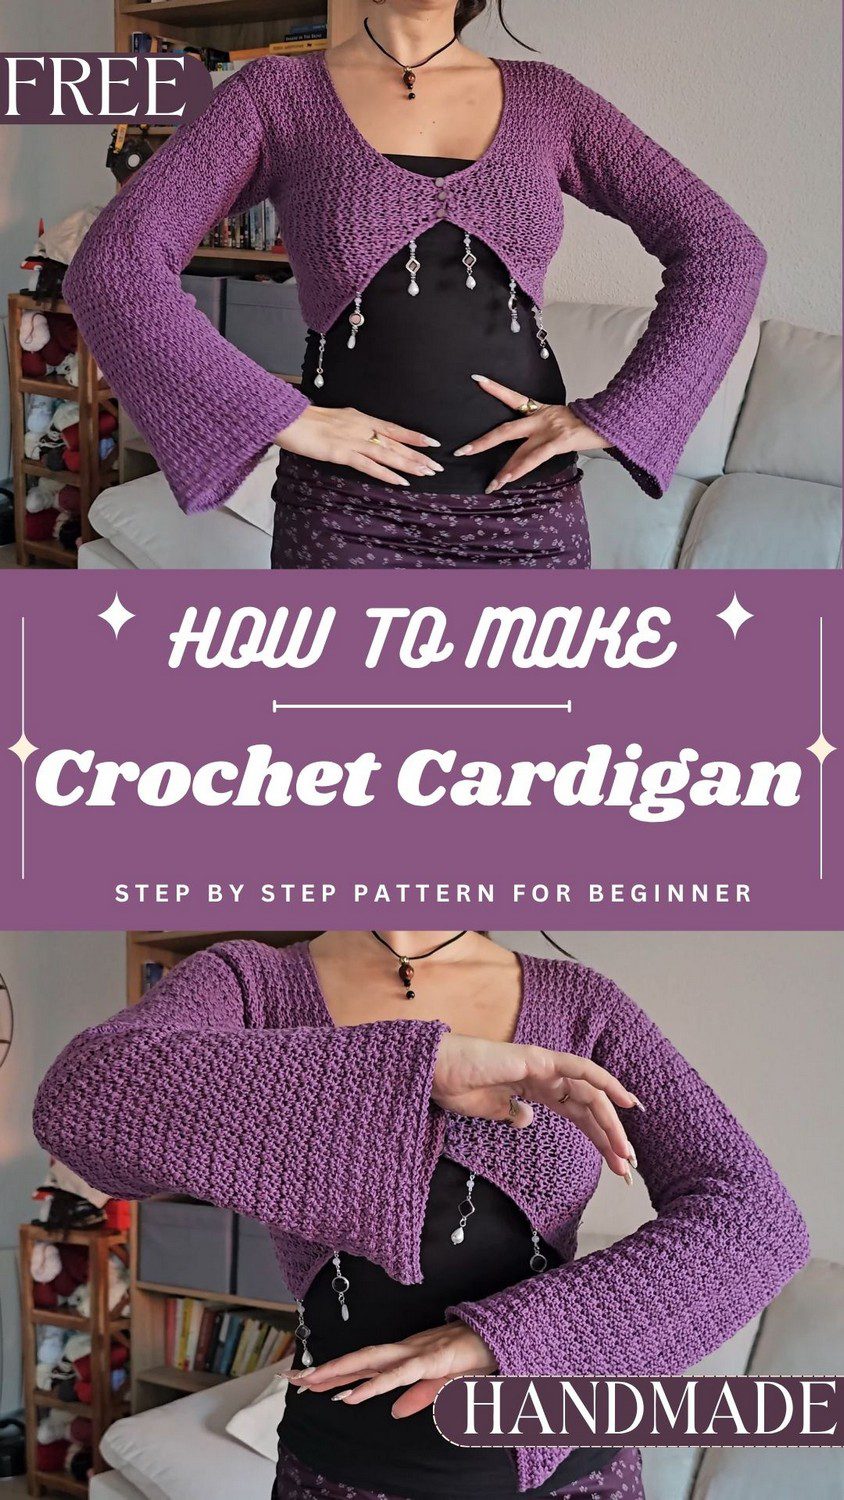
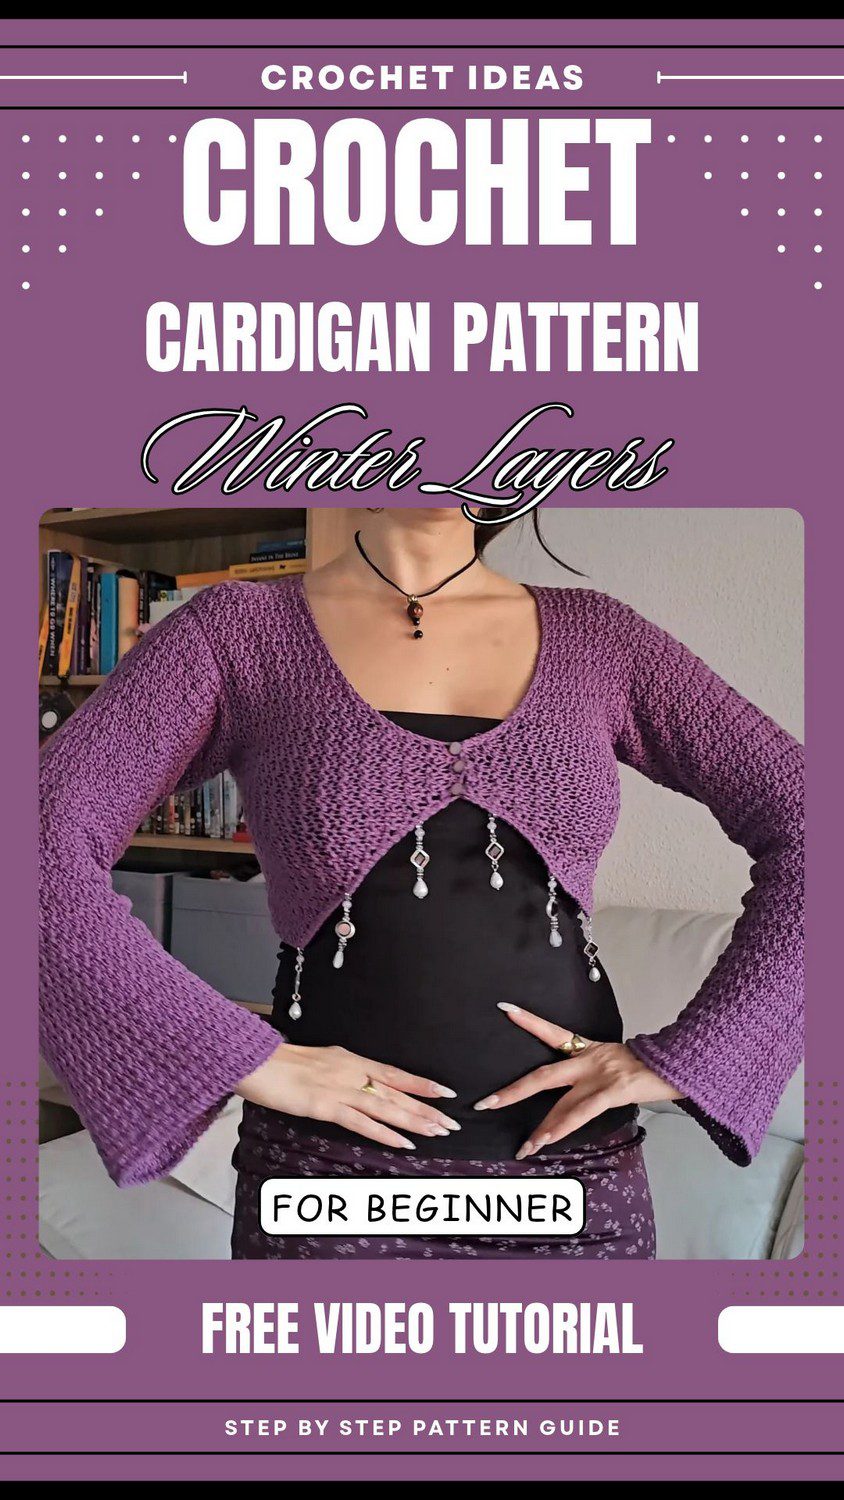
Look at this purple crochet cardigan. The sleeves are big and wide. It has small beads on the front. This crochet cardigan pattern is free. It is easy to make. You can make it step by step. Save this pin.
Need a free crochet cardigan pattern today? The colour is purple. The sleeves are big and wide at the end. There are small beads on the front. The stitch is easy. You only need basic stitches. A new learner can make it. Wear it with a black top or a skirt. This crochet cardigan looks nice. It is also a very good gift. Save this pin and make it today.
Crochet Cardigan Pattern Overview
Skill level: Easy to intermediate
Finished size: Made to your own measurements, usually an adult cardigan with a relaxed fit.
First, the back is a straight panel. Next, the two front panels grow into triangles, while the sleeves are simple rectangles. Finally, three buttons close the front, and bead-and-stone charms add a small detail. Because each piece is easy on its own, this crochet cardigan pattern feels calm to follow, and the shaping only comes from the front panels.
What You Need for This Crochet Cardigan Pattern
- Yarn in the color you like
- Crochet hook that suits your yarn
- Darning needle
- Three buttons
- Bead-and-stone charms
- Jump rings
Stitch Abbreviations for the Crochet Cardigan Pattern
SC: Single Crochet
DC: Double Crochet
SS: Slip Stitch
Techniques Used in the Cardigan Pattern
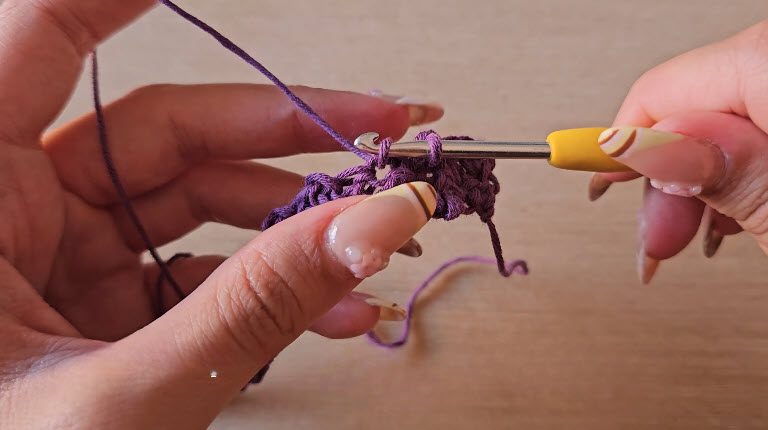
Lemon Peel Stitch
To begin with, work single crochet and double crochet in turns across the row. Then, in the next row, work a DC into every SC and a SC into every DC. This swap creates the bumpy, textured look that makes the cardigan stand out.
Increase
Work two stitches into the same stitch. For example, use one DC and one SC, or the other way round, so the pattern stays in order.
Decrease
Start a stitch but do not finish it. After that, complete both stitches together into the next stitch.
Making the Crochet Cardigan Pattern Step by Step
Step 1: Back Panel of the Crochet Cardigan Pattern
First, chain a length long enough to reach from one shoulder to the other. Then work back and forth in the lemon peel stitch. Keep going until the panel reaches the length you want.
Step 2: Front Panels (Make 2)
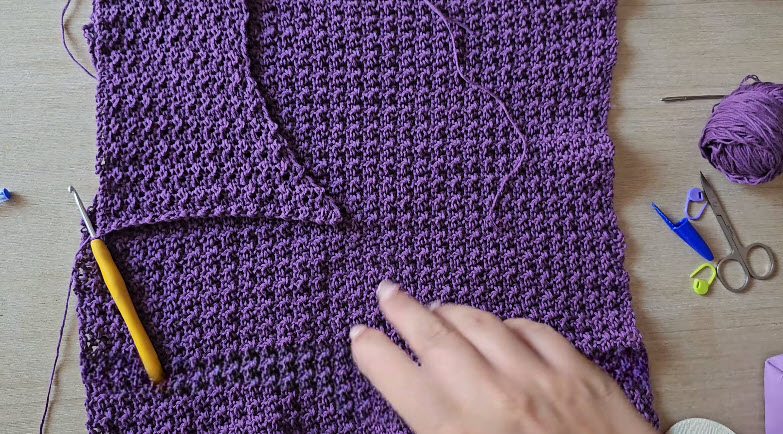
Start with a chain that covers the distance between your neck and shoulder. Next, work 12 rows straight.
From row 13, alternate increasing rows with normal rows. As a result, you build the triangle shape. Continue until the panel covers your chest and reaches the middle of the back panel.
After that, work about 6–7 straight rows. Finally, decrease for 18 rows to shape the panel. Then make the second front panel the same way.
Step 3: Flared Sleeves for the Crochet Cardigan Pattern (Make 2)
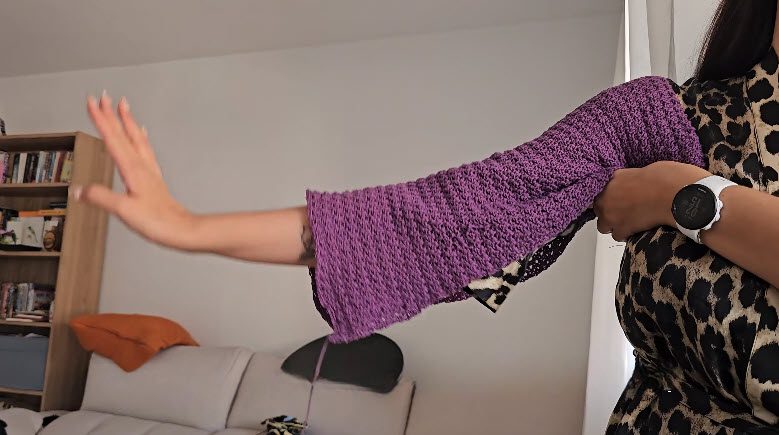
Make a chain twice as long as the armhole space. Then work a rectangle in the lemon peel stitch. Stop when the sleeve reaches the length you want under the elbow. Afterward, make the second sleeve the same way.
Step 4: Edges and Button Holes
Edges
- Start at the front edge of the cardigan, with the right side facing you.
- Work one round of SC all around the cardigan.
- When the SC round is done, work a second round of (chain 1, slip stitch) into every stitch.
- Keep going until you come back to where you began. Because of this, the edge gets a neat, flat finish like the one in the photo.
Button Holes
- Make three button holes on the front edge.
- For each button hole, chain two and skip two stitches.
- Then work the stitches between the holes as usual, and make the next button hole the same way.
- Repeat until all three button holes are done.
- Finally, sew the buttons onto the opposite front panel.
Also, count your stitches in the first edging round, so the button-hole side matches the button side.
Step 5: Beaded Charms for the Crochet Cardigan Pattern
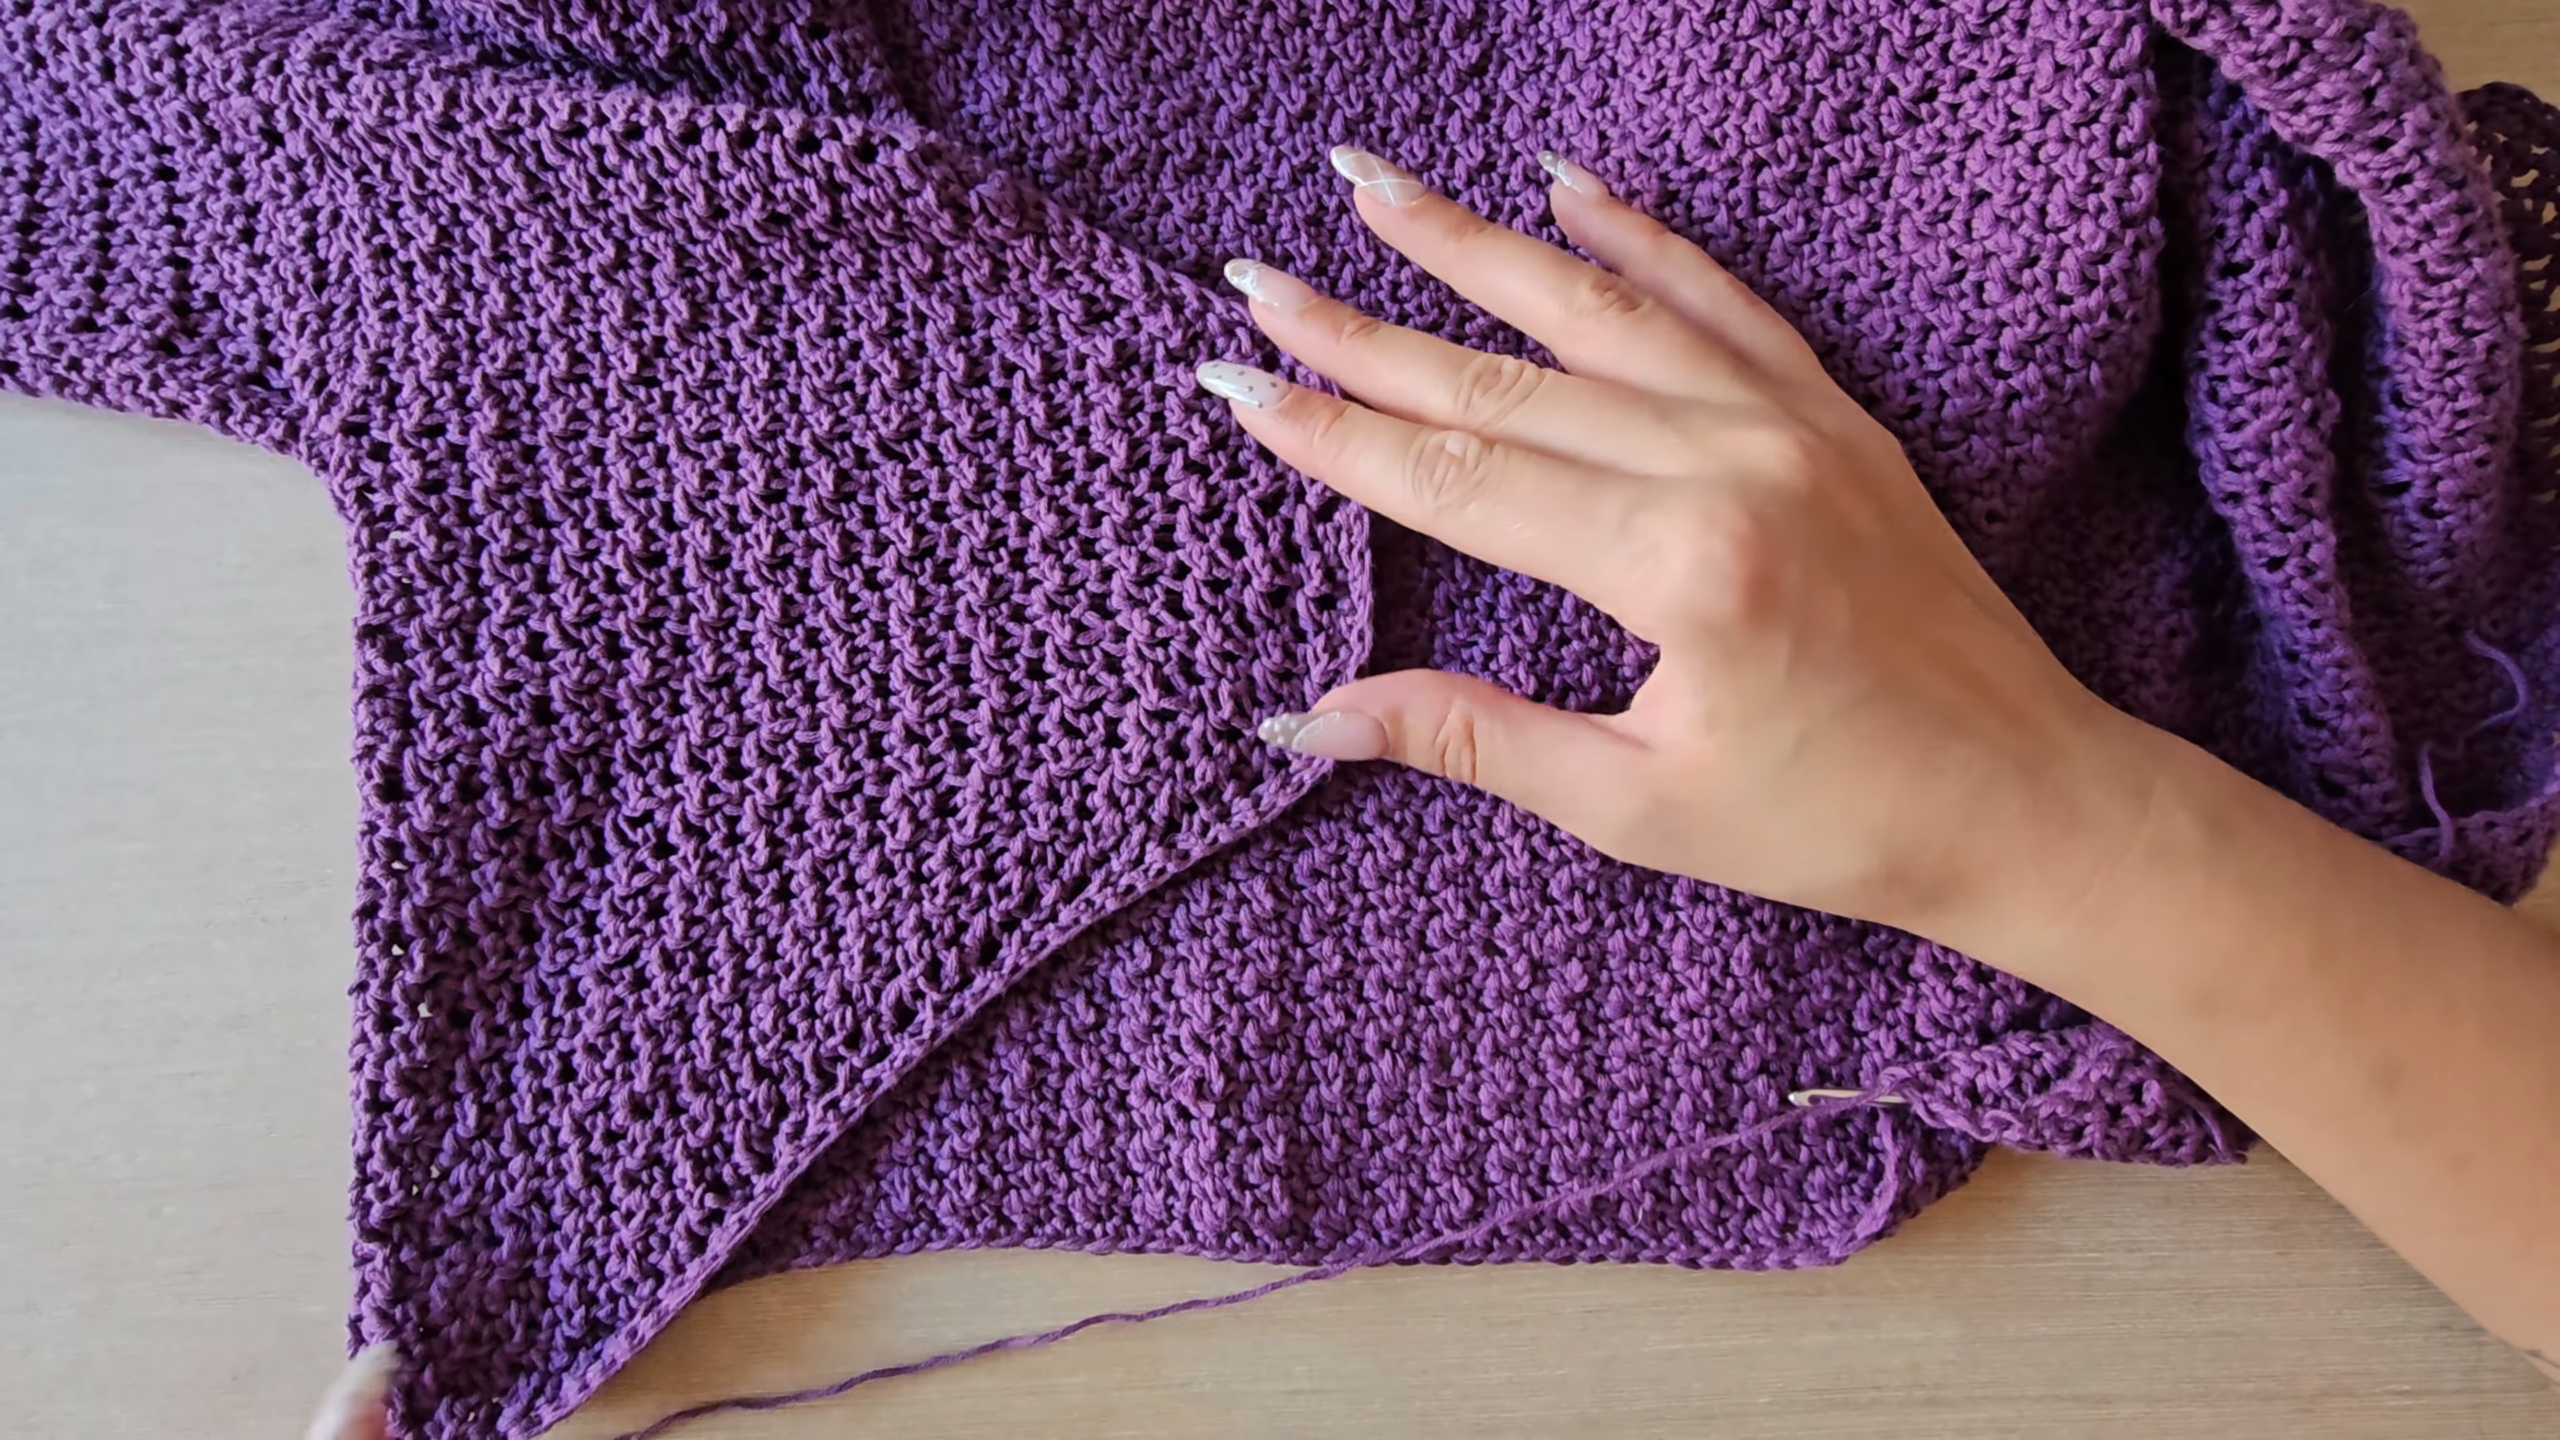
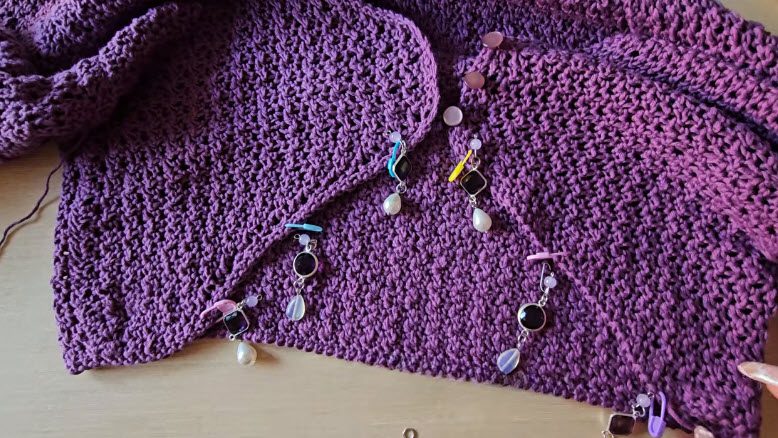
- Lay your finished cardigan flat with the front edges in view.
- Mark the positions where you want the charms. Small stitch markers work well for this, as in the photo.
- Pick up one bead-and-stone charm and open a jump ring.
- Slip the jump ring through the loop on the charm.
- Hook the jump ring onto the edge of the cardigan at the first marked position, then close the ring.
- Repeat with the other charms, one at each marked position.
- Lastly, let the charms hang freely along the edge and check that they sit evenly.
Pliers make this part easier. However, handle the tiny jump rings carefully, since they bend quickly.
Step 6: Assembly and Blocking
First, use a darning needle to sew the front panels to the back panel, working from right to left.
Next, open the garment flat and sew the sleeves along the marked armhole.
Then sew each sleeve shut from the cuff to the armpit. After that, continue down the side to close the torso seam.
To finish, block the cardigan so it takes shape and fits comfortably.
How the Pieces of This Crochet Cardigan Pattern Come Together
In short, this cardigan is built from just a few parts. The back panel is a plain rectangle, and the two front panels grow into triangles before they shrink again at the armhole. Meanwhile, the two sleeves are rectangles worked in the same lemon peel stitch. Everything is sewn together with a darning needle, and then you add the edging, buttons, and charms.
Bonus: Ways to Wear and Gift Your Cardigan
Once it is finished, this cardigan pairs nicely with a black top or a skirt. Besides that, the flared sleeves and beaded charms make it a lovely handmade gift. Therefore, you can easily make one for yourself and another for someone you care about.
Go Make Your Crochet Cardigan Pattern, You Have Got This
So that is the whole cardigan. Honestly, it is just a few simple pieces and one stitch you repeat again and again. Once you get the rhythm of switching SC and DC, the rows go quicker than you would think. Sew it up, add your edging and buttonholes, and hang those little charms on the front. Then block it so it sits nicely on you. Since it is made to your own size, it is really yours. Take your time, enjoy it, and have fun wearing what you made with this crochet cardigan pattern.