Free Crochet Book Cover Pattern – Simple Design with a Tie Closure
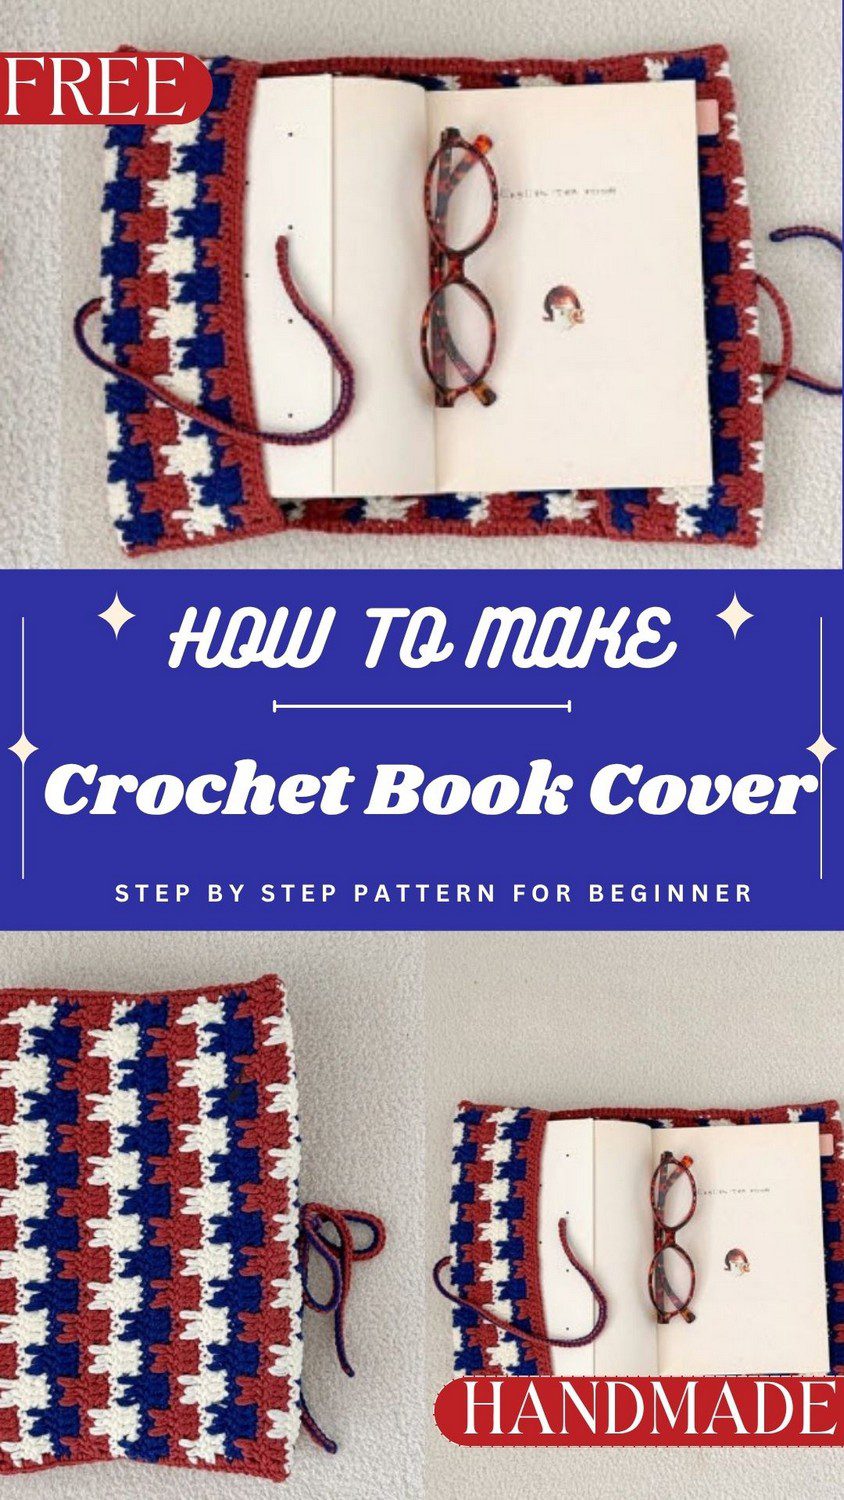
Want a cover for your favourite book? Try this Free Crochet Book Cover Pattern. It is easy, and it has pretty stripes. Also, the sides fold into pockets, and two cords tie it closed. So it makes a lovely handmade gift for book lovers.
Do you love books? Then make this Free Crochet Book Cover Pattern, which is simple and a good fit for confident beginners. You can call it a crochet book sleeve too. First, you make one flat piece with pretty stripes. Next, fold the sides in to make pockets for the book, and add two cords to tie it shut.
Crochet Book Cover Pattern Overview
Think of this as a crochet book sleeve made from one flat rectangle. You work it in rows, swap colours every two rows, and drop long double crochets down into earlier rows. Those tall stitches sit against short ones, so you get a textured crochet stitch.
When the panel is long enough, you fold the side edges inward and sew them into pockets, so the cover flaps of your book slide right in. A pair of two-tone cords then ties everything shut. It also works as a book cover for beginners who are ready to try something a little bolder.
Skill level: Advanced beginner to intermediate. You change colours every two rows and work long stitches down into earlier rows.
Finished size: Custom to your book. The sample panel used 56 rows on a 40-chain foundation (39 plus 1 turning chain).
Materials and Tools for the Crochet Book Cover Pattern
First, gather these supplies. For yarn, use sport or DK weight cotton or cotton-blend yarn, the kind often used for pouches and accessories.
- Colour 1: #05 Beige
- Colour 2: #37 Olive Khaki
- Colour 3: #07 Cocoa
You only need small amounts of each colour, so mini spools and leftovers work really well here. Prefer a simpler look? The same pattern can be made in 2 colours or in one solid colour.
Tools
- 3.5 mm crochet hook (US E/4)
- Tapestry needle
- Stitch markers
- Scissors
- Clear washable glue, wood glue, or fabric glue (optional, for securing cut tail ends)
Abbreviations for the Crochet Book Cover Pattern
These US terms are used throughout the pattern.
- ch = chain
- sc = single crochet
- dc = double crochet
- long dc = long (extended) double crochet
- st(s) = stitch(es)
- rep = repeat
- sl st = slip stitch
Special Techniques for the Crochet Book Sleeve
Long (extended) double crochet: Start with a yarn over. Then, instead of working into the next stitch, push your hook down into the skipped space or the lower anchor row that the pattern names. Next, draw up a long loop and stretch it until it reaches the height of the row you’re working on. After that, finish the stitch just like a regular double crochet. As a result, that drop down creates the tall, staggered look.
Carrying yarn up the side: You don’t have to cut the yarn at every colour change. Instead, leave the unused colour waiting and carry it up the edge as you go. The border round secures it later, so just keep your tension even. That way, the side edge doesn’t pucker or hang loose.
Double cord: A double cord uses two different coloured strands worked together in an interlocking chain. As a result, you get a thick, two-tone cord. You’ll use it for the closure ties at the end.
Stitch multiple: The stitch multiple is 6 x n + 3, which is why the foundation chain changes with the size of your book.
Crochet Book Cover Pattern Instructions
Step 1: Foundation Chain
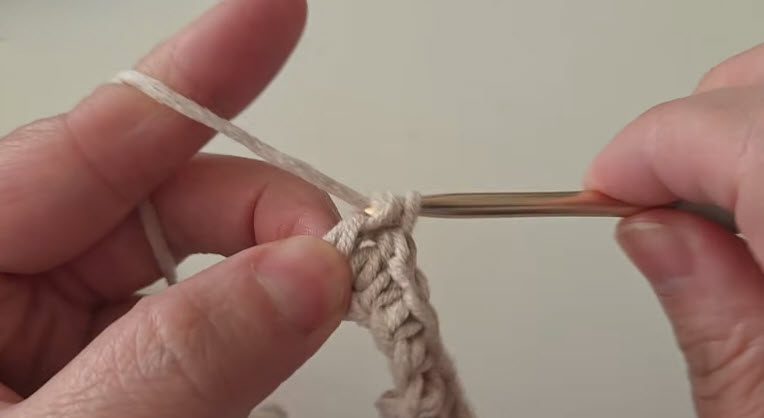
First, make a slip knot and place it on your 3.5 mm hook. Next, hold the yarn over your index finger and keep the chain stitches even as you work. Then chain a multiple of 6 plus 3, and add 1 extra chain for turning. The sample used 39 + 1 = 40 chains, so change the number to match the height of your book.
Step 2: Work Rows 1 to 4
To begin, work Row 1 in Color 1 (Beige): into the 2nd chain from the hook and across, work 3 sc, [3 dc, 3 sc] repeat across to the end. Then turn.
Next, work Row 2 in Color 1 (Beige): ch 1, 2 sc, [ch 2, skip 3 sts, 1 sc in next st, ch 2, skip 3 sts, 3 dc in next 3 sts] repeat across, ending with ch 2, skip 3 sts, 2 sc. Then turn. Also, switch to Color 2 on the final pull-through of the last stitch of this row, so the new colour is already on your hook for Row 3.
After that, work Row 3 in Color 2 (Olive Khaki): ch 2 (counts as the first dc) and work 1 dc in next st. Then [1 long dc down into the skipped space of Row 1, 1 dc in next st, 1 long dc down into the skipped space of Row 1, 3 sc in next 3 sts] repeat across, ending with 2 dc. Finally, turn.
Likewise, work Row 4 in Color 2 (Olive Khaki): ch 1, 2 sc, [ch 2, skip 3 sts, 1 sc in next st, ch 2, skip 3 sts, 3 dc in next 3 sts] repeat across, ending with ch 2, skip 3 sts, 2 sc. Then turn.
Step 3: Repeat the Rows and Check the Fit
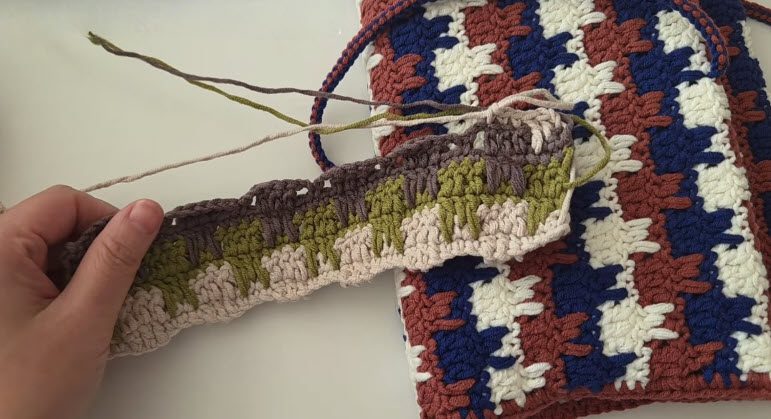
Now repeat Rows 1 to 4, changing colours every 2 rows and rotating through Beige, Olive Khaki, and Cocoa. Keep going until the panel wraps around your closed book, plus about 10 cm (4 in) on each side for the inner flaps. The sample reached that point at 56 rows. Finally, end on a solid (non-mesh) row, which is a Row 1 or Row 3 type row, and don’t cut the yarn yet.
Pro-Tip: Wrap the work around your book after the first 1 or 2 repeats. A quick check at the start saves you from finding a sizing problem at row 50.
Step 4: Work the Border
Keep the yarn on the hook after your last row, and then work 1 round of sc around the whole outer edge of the rectangle. Work 2 sc into each corner stitch, and space the sc evenly along the raw side edges, about 2 sc per row end. Next, join the round with an invisible join, and fasten off. As a result, the border neatens every raw edge where yarn was carried or turned.
Step 5: Fold the Flaps and Sew the Pockets
Fold the flaps: First, lay the panel flat with the right side facing up. Then fold the left and right edges inward by about 10 cm (4 in), matching your book’s inner cover width, and pin them in place.
Sew the pockets: Next, thread your tapestry needle with leftover tail yarn. Whipstitch or mattress stitch the top and bottom edges of each fold to form the pockets. However, leave 1 or 2 stitches unsewn at the outer corners, so the edges don’t flare awkwardly. Also, hide your anchor knots inside the seams.
Step 6: Make the Two-Tone Closure Cords
- First, take two contrasting strands and knot them together at one end.
- Next, hold one strand over your hook or finger.
- Then chain with the other strand, alternating the two in an interlocking rhythm, until the cord is about 30 cm (12 in) long.
- After that, make 2 cords.
- Stitch the centre of one cord to the middle of the front cover edge and the other to the back cover edge, and then tie them to close the book.
- Finally, add a tiny drop of clear glue to the knot tips, let it dry, and trim the extra tails.
Finishing Your Crochet Book Cover
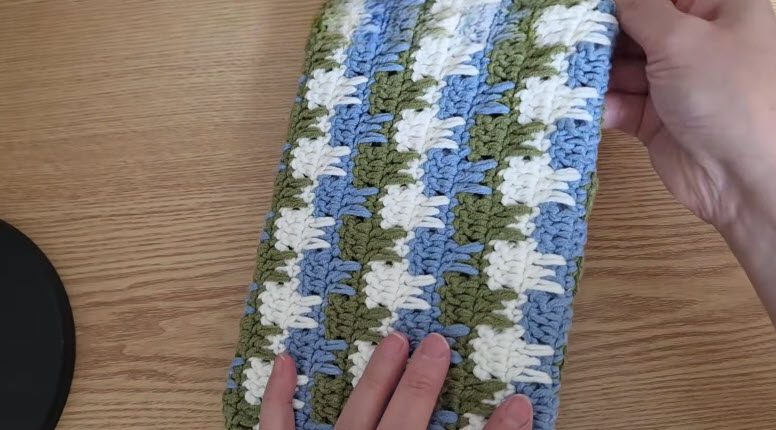
Weaving in ends: Weave every tail under stitches on the wrong side. For the cut ends, a tiny drop of clear washable glue or wood glue stops fraying. Because it dries transparent, you can trim right after.
Optional extra: Add a few extra chain loops inside the cover to act as ribbon bookmarks.
Common Mistakes with the Crochet Book Cover Pattern
- Skipping the fit check: wrap the work around your book after the first 1 or 2 repeats, before you commit to 50 or more rows.
- Uneven tension on the side yarn: carried yarn that is too tight pulls the edge in, while yarn that is too loose leaves loops. So keep it steady, and let the border round hold it in place.
- Dropping edge stitches: place stitch markers at the start and end of your rows, so you can keep track of the turning chains and the edge stitches.
Care Tips for Your Finished Cover
Cotton yarn handles daily use well, but a few habits keep the stripes crisp. First, spot clean with a damp cloth when you can. If it needs a full wash, use cool water and a gentle soap, and then lay it flat to dry. Finally, slip the book in after the cover is fully dry, so the shape stays neat.
Gifting and Styling Ideas
A handmade bookish gift feels extra personal when the cover is chosen with one reader in mind. So pick the book first, measure it, and make the cover to match. Then slide the book into its new pockets and tie the cords in a neat bow, so the present looks finished the moment it is unwrapped.
This crochet book cover pattern suits almost any book you can wrap the panel around, from a well-loved paperback to a journal or planner. For a lively look, choose the three-colour stripes, or go with 2 colours or one solid colour for a calmer, quieter style. Also, if the reader likes to mark pages, the optional ribbon-bookmark loops make a thoughtful touch inside.
To keep it looking neat, tie the cords in a tidy bow and give it a gentle spot clean now and then.
Bonus: Quick Sizing Cheat Sheet
Sizing is the one part you must adjust, so keep these numbers handy. First, the foundation chain follows 6 x n + 3, plus 1 turning chain. For example, n = 6 gives 39 + 1 = 40 chains, which is what the sample used. Also, each extra repeat adds 6 chains.
Next, the panel should wrap around your closed book, plus about 10 cm (4 in) on each side for the inner flaps. The sample reached that point at 56 rows. After that, fold each side edge in by about 10 cm (4 in), and make two cords of about 30 cm (12 in) each.
Crochet Book Cover Pattern FAQ
Is this crochet book cover pattern good for beginners?
It is rated advanced beginner to intermediate. Because you change colours every two rows and work long stitches down into earlier rows, it suits confident beginners best.
How do I size the foundation chain?
Chain a multiple of 6 plus 3, and then add 1 extra chain for turning. Change the number to match the height of your book.
How many rows did the sample use?
The sample panel used 56 rows on a 40-chain foundation. Your own count depends on your book, so wrap the work around it as you go.
Can I make it in fewer colours?
Yes. The same pattern can be made in 3 colours, 2 colours, or one solid colour.
How do I keep the side edges neat?
Carry the unused colour up the edge with even tension, not too tight and not too loose. The border round then holds it in place.
How do I wash it?
Spot clean with a damp cloth when you can. For a full wash, use cool water and a gentle soap, and then lay it flat to dry.
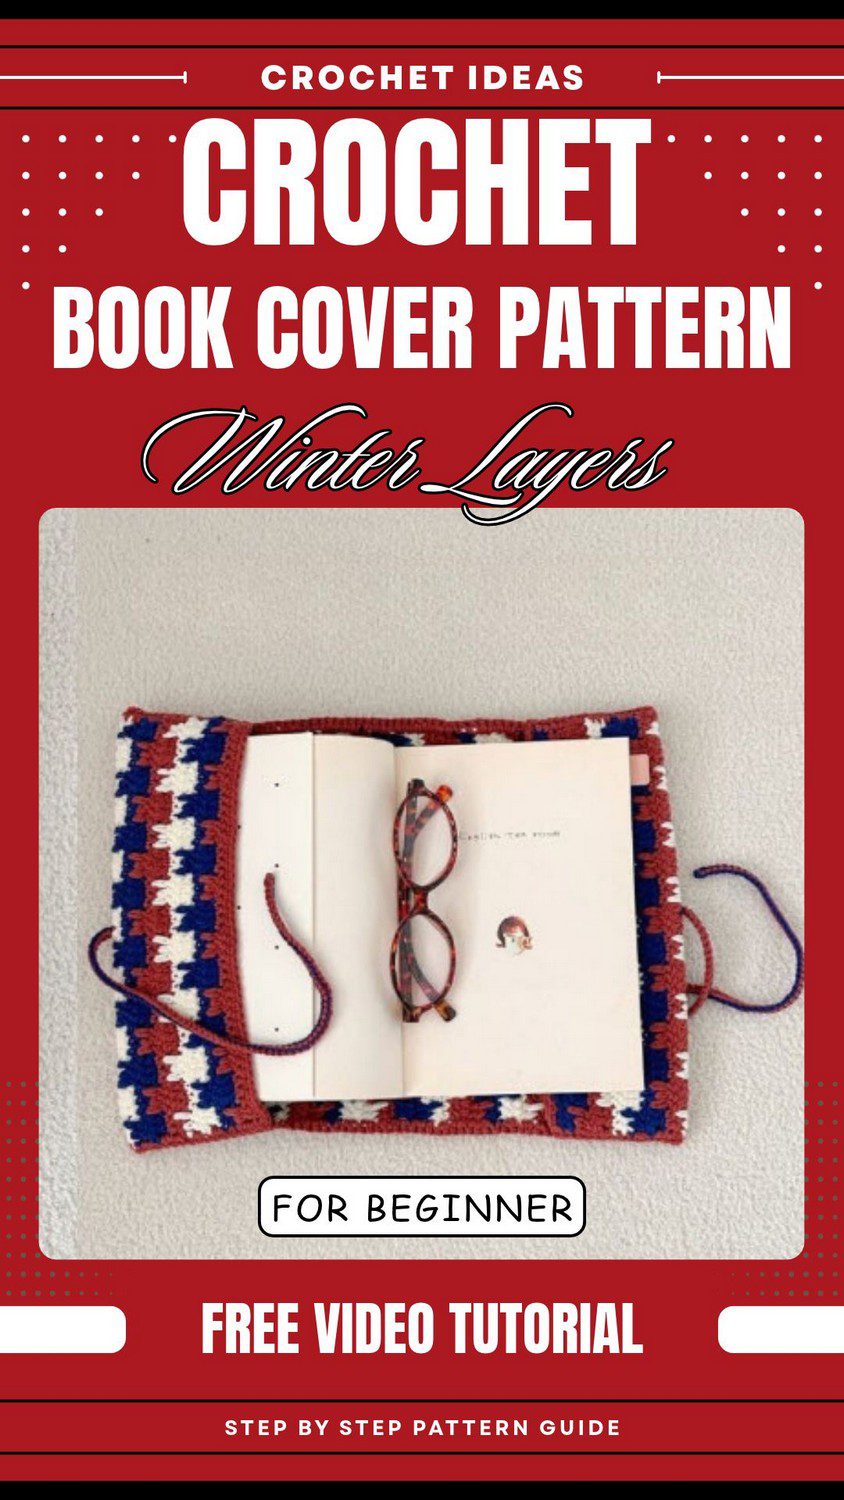
Pick Up Your Hook and Start
So that’s the whole cover, start to finish. It looks fancy, but it’s really just rows, a colour swap every two rows, and a few long stitches dropped down where the pattern says. Wrap it around your book early, and you’ll save yourself a lot of grief.
I’d say just start. Grab your leftover cotton, chain your foundation, and see how the stripes build up. And once the first one is done, you’ll probably want a second. Try a different colour mix, or give one away to a friend who always has a book in their bag.