Crochet Wool Scarf Pattern for Total Beginners
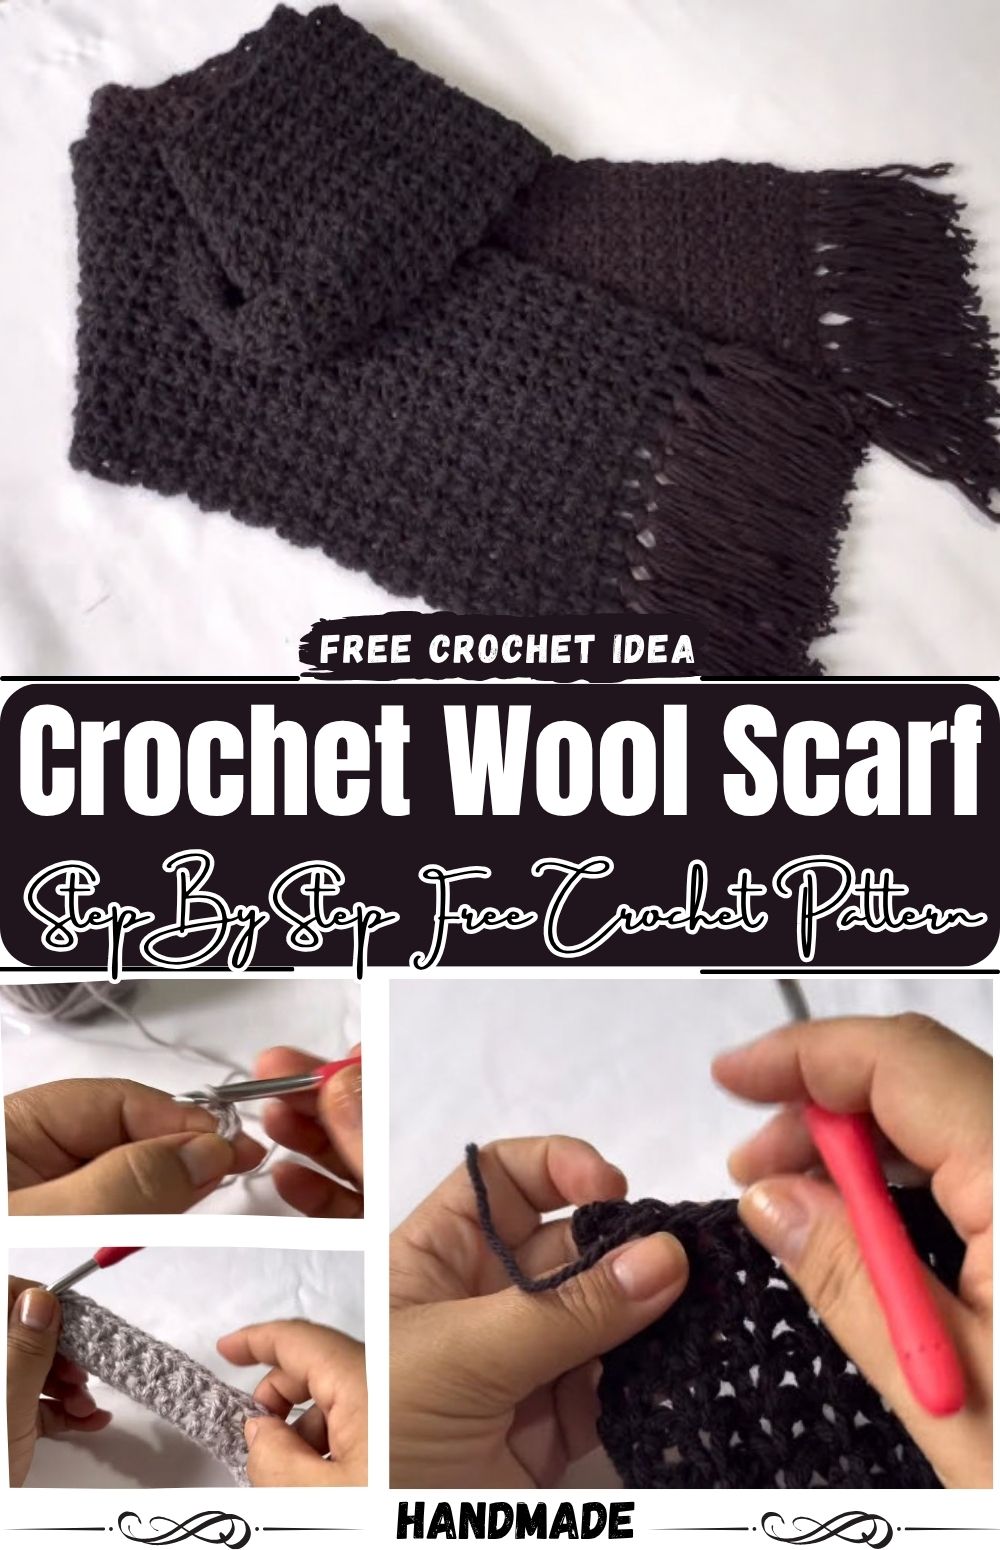
There is something comforting about wrapping a handmade scarf around your neck on a chilly morning. If you have always wanted to learn crochet, this simple Crochet Wool Scarf Pattern is the perfect first project, and it needs only one basic stitch.
This Crochet Wool Scarf Pattern is worked flat in rows from one end to the other, using nothing but chain stitches and single crochet. The pattern is easy to memorize, forgiving when you make small mistakes, and quick enough to finish over a few evenings with a cup of tea nearby.
The finished scarf is soft, warm, and about 6 inches wide by 60 inches long. It makes a lovely handmade gift, and it is a great first step into crochet.
Skill Level
Total beginner. If you can make a slip knot and hold a hook, you can make this scarf. There is no shaping, no counting stitches around a circle, and no tricky joins. This is one of the best easy crochet project ideas for anyone just starting out.
Materials and Supplies
Yarn
- About 250 to 300 yards (230 to 275 m) of worsted weight wool or wool blend
- One solid color is best for your first scarf, because it shows your stitches clearly
- Soft shades like cream, oatmeal, dusty rose, or forest green are always popular
Crochet Hook
- 5.5 mm (I-9) crochet hook
- If your stitches feel too tight, go up half a size. If they feel loose and floppy, go down half a size.
Other Supplies
- Tapestry needle for weaving in the ends
- Sharp scissors
- 2 to 3 stitch markers (a bobby pin or safety pin works too)
- Measuring tape
- Optional: a decorative button, wooden toggle, or extra yarn for tassels
No safety eyes or stuffing are needed here, which keeps this project cheap and quick to set up.
Crochet Techniques Used
- Slip knot and foundation chain
- Single crochet (sc)
- Turning chain at the end of each row
- Joining a new ball of yarn
- Weaving in ends
- Optional: making simple tassels
If you can already follow a basic crochet tutorial, none of this will feel new. If not, do not worry. Each step is explained below in plain language.
Step-by-Step Crochet Pattern Instructions
Pattern notes: This pattern uses US crochet terms. The turning chain does not count as a stitch. Your work should have 21 stitches in every row.
Step 1: Make the Foundation Chain
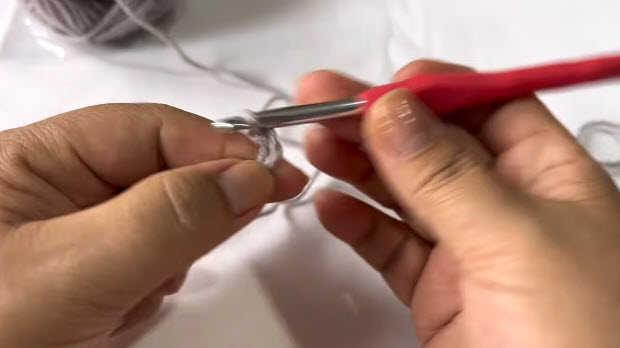
Make a slip knot and place it on your hook. Chain 22. Try to keep your chains loose and even, because this is the base of the whole scarf. A tight foundation chain makes the bottom edge pull in and look uneven.
Tip: if you are unsure about tension, use a hook one size larger just for this foundation chain.
Step 2: Work the First Row
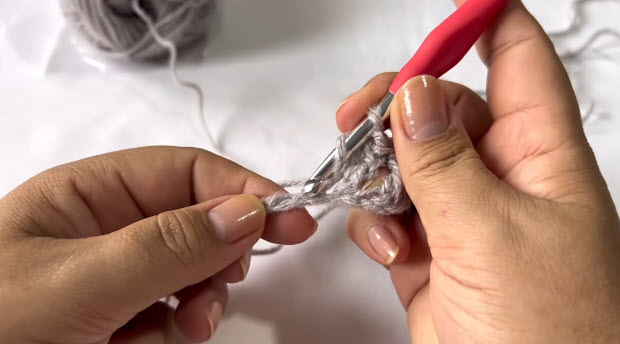
Insert your hook into the second chain from the hook. Yarn over, pull up a loop, yarn over again, and pull through both loops. That is your first single crochet.
Work one single crochet into each chain across. When you reach the end, you should have 21 single crochet stitches. Count them before moving on. Catching a mistake now saves a lot of frustration later.
Step 3: Turn and Begin Row 2
Chain 1 and turn your work so the other side faces you. Work one single crochet into the first stitch, then one into each stitch across.
Look at the top of the row. You will see a “V” shape on each stitch. Put your hook under both loops of that V every time. Missing the first or last stitch is the most common beginner slip, so place a stitch marker in the first stitch of each row until the pattern feels natural.
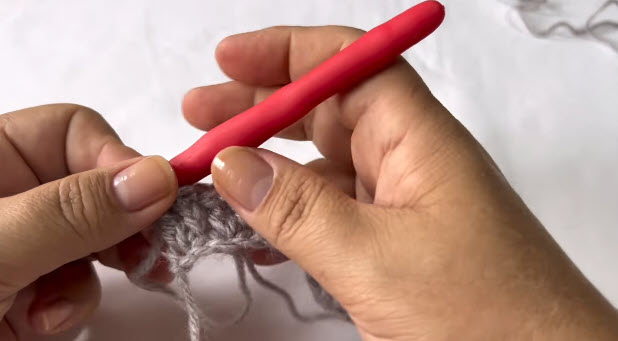
Step 4: Repeat Until the Scarf Is Long Enough
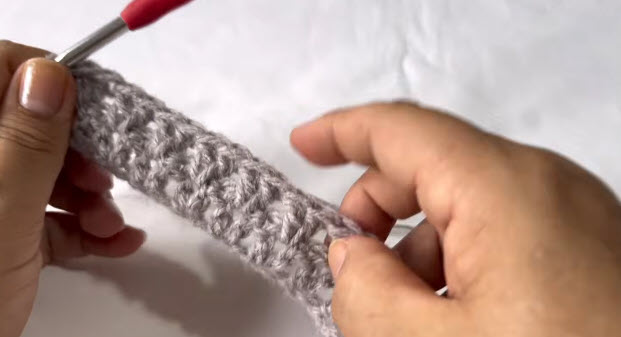
Repeat Row 2 again and again. Chain 1, turn, and single crochet in each of the 21 stitches. This is the body of the scarf, and it is where you will relax into a steady rhythm.
Keep going until the scarf measures about 60 inches, or whatever length you like. Some people prefer a shorter scarf of around 50 inches, while others love a long one they can wrap twice. Measure it every few inches, laying it flat without stretching.
Step 5: Join a New Ball of Yarn
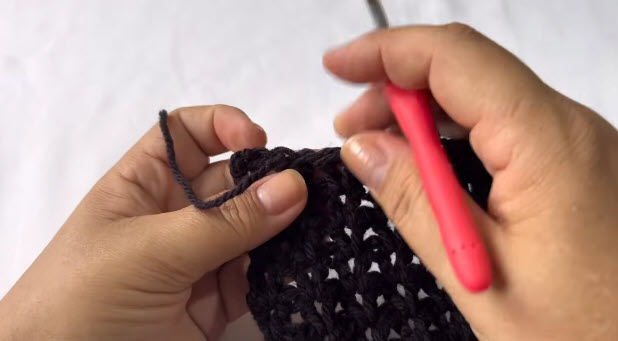
When your yarn runs low, work the last stitch of a row until two loops remain on the hook. Drop the old yarn, pick up the new yarn, and pull it through both loops. Leave a tail of about 6 inches on each strand. You will weave these in later.
Joining at the end of a row keeps the knots at the edge, where they are easy to hide.
Step 6: Fasten Off
When the scarf reaches your target length, cut the yarn about 8 inches from the hook. Pull the tail through the last loop and tighten gently. Your scarf is complete, apart from the finishing touches.
Finishing Touches
Weave In the Ends
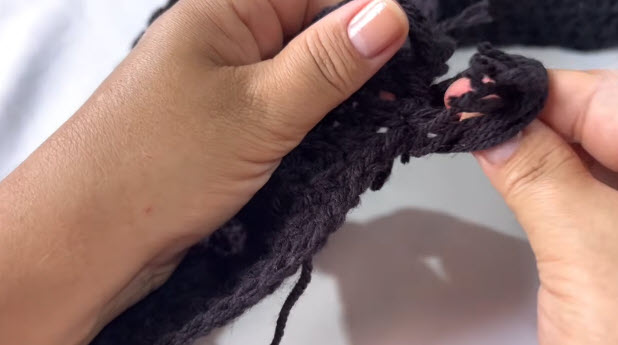
Thread a tail onto your tapestry needle. Weave it through the stitches along the back of the scarf for about 2 inches, then turn and weave back in the other direction. Trim the leftover yarn close to the fabric. Repeat for every tail.
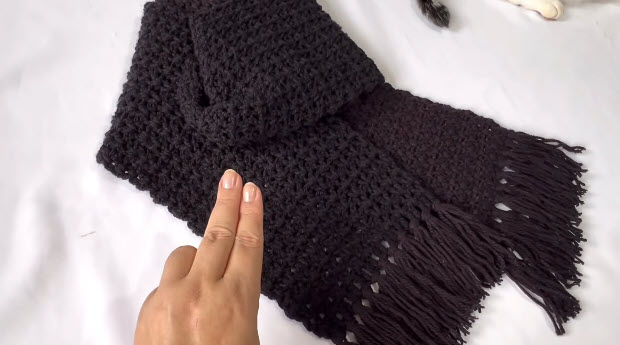
Add Tassels (Optional)
Cut 12 to 16 strands of yarn, each about 8 inches long. Fold a few strands in half, push the folded loop through the edge of the scarf with your hook, and pull the ends through the loop. Tighten it and repeat across both short edges. Trim them even for a neat look.
Block Your Scarf
Wool responds beautifully to blocking. Soak the scarf in cool water with a little wool wash, press out the water with a towel (do not wring it), and lay it flat to dry at the right size. Blocking evens out your stitches and makes the scarf drape softly.
Helpful Beginner Tips
Keep Your Stitches Even
Beginners often crochet too tightly. Relax your grip and let the yarn slide through your fingers. The fabric should feel soft and bendy, not stiff like a board. If your hand hurts, your tension is probably too tight.
Use Stitch Markers
Mark the first stitch of each row. It is the easiest way to avoid accidentally adding or losing stitches, and your edges will stay straight.
Count Often
Count your stitches at the end of every few rows. If the number is 21, you are doing great. If the scarf starts looking like a triangle, you have probably added or skipped a stitch somewhere.
Do Not Worry About Mistakes
Every crocheter pulls out stitches. It is part of learning. If you spot a mistake a few rows back, unravel to that point and try again. Your hands learn quickly.
Bonus Section: How to Care for Your Wool Scarf
Wool lasts for years when you look after it properly. Hand wash it in cool water with a gentle wool detergent, and never twist or wring it. Press the water out in a towel and dry it flat, away from direct heat.
- Store it folded, not hanging, so it does not stretch.
- Keep it in a breathable bag with a cedar block to discourage moths.
- If it pills a little, remove the fuzz with a fabric shaver or a gentle comb.
Design Customization Ideas
Try Different Colors
Once you feel confident, switch colors every 10 or 12 rows for a stripy scarf. Two shades of the same color look soft and modern, while bright combinations feel playful. Ombre yarn is another easy way to get a beautiful result without changing colors yourself.
Add Cute Accessories
- Sew a wooden button on one end and make a buttonhole on the other to create a snug neck warmer.
- Add pom-poms or tassels to the ends.
- Stitch on a small embroidered flower or initial.
Frequently Asked Questions
What is the best yarn for a crochet wool scarf?
Choose a smooth worsted weight yarn in a light color. Merino and wool blends feel soft against the neck, while very fuzzy yarns can hide your stitches and are harder to learn on. If you have sensitive skin, look for superwash merino or a wool and acrylic blend.
How do I make a crochet scarf firmer or softer?
For a firmer scarf, use a smaller hook and keep your tension snug. For a softer, drapier scarf, go up a hook size and relax your grip. Blocking also helps the fabric settle nicely.
How long does this project take?
Most beginners finish in 8 to 12 hours of crochet time, which is usually two or three weekends of relaxed stitching. Experienced crocheters often finish in a single weekend.
Can I use a different stitch?
Yes. Once you are comfortable with single crochet, try half double crochet for a faster and stretchier scarf. Just adjust your turning chain to 2.
Your Scarf Is Waiting on the Hook
You do not need fancy skills or expensive tools to make something beautiful. A ball of wool, a hook, and a little patience are enough. Your first scarf may not be perfect, but it will be warm and truly yours.
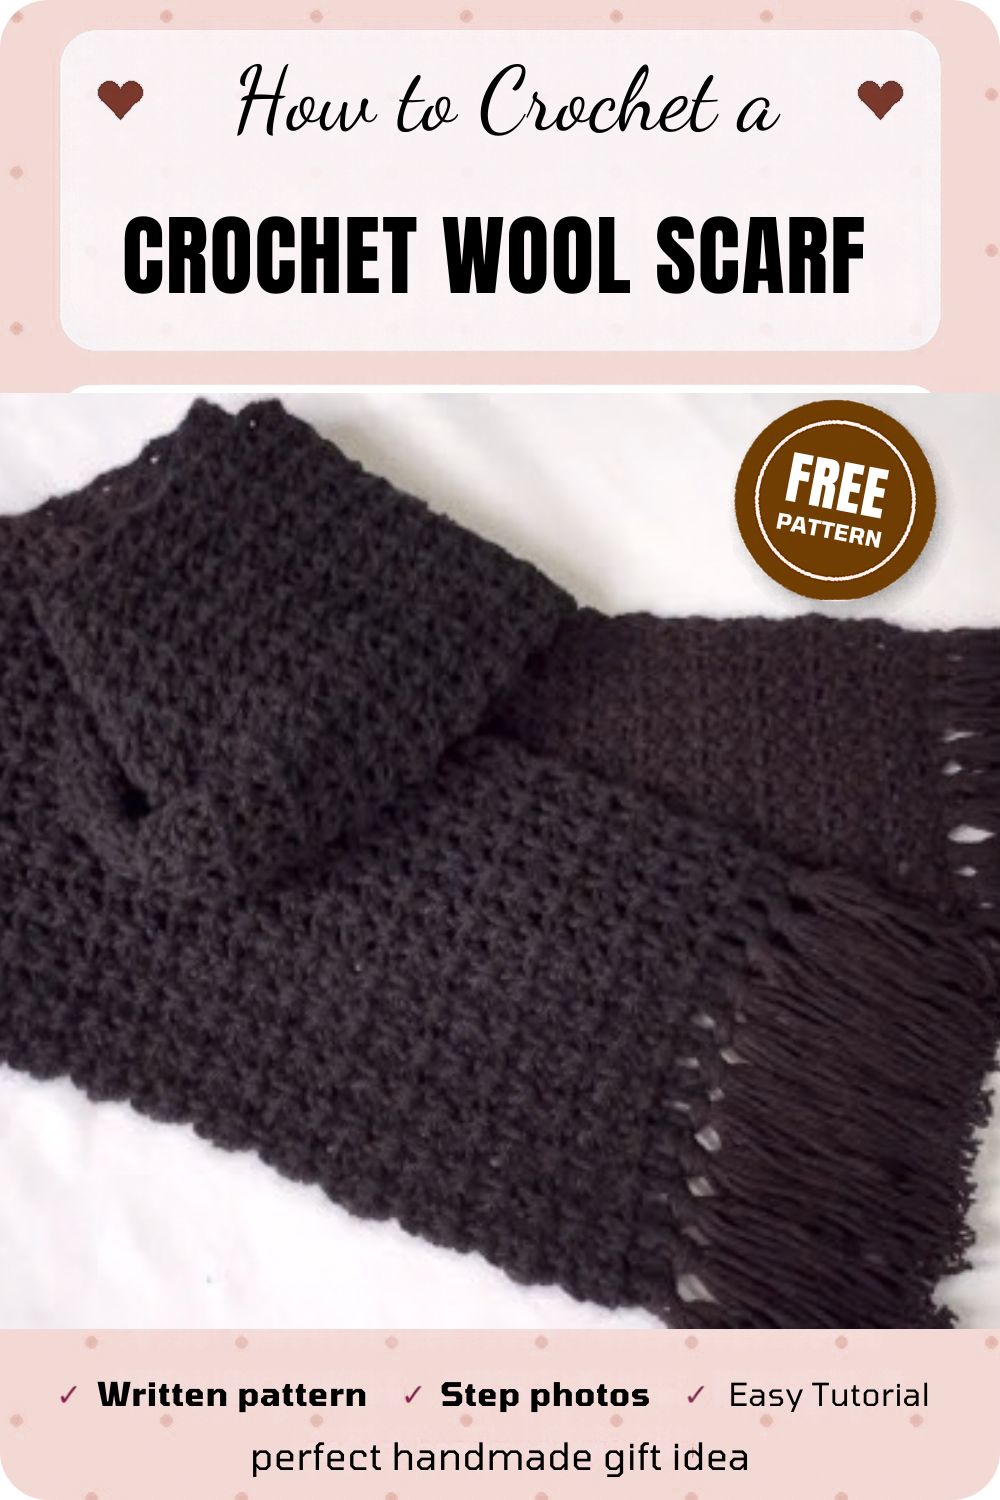
Time to Wrap Your Neck in Something You Made
Look at that, you went from a loose ball of yarn to a warm, wearable scarf using just one stitch. Every row you finished was practice, and your hands now know more than they did when you made that first slip knot. Do not worry if a few edges look a little wavy. Handmade charm lives in those small imperfections.