Crochet Hand to Power Doll Amigurumi Pattern
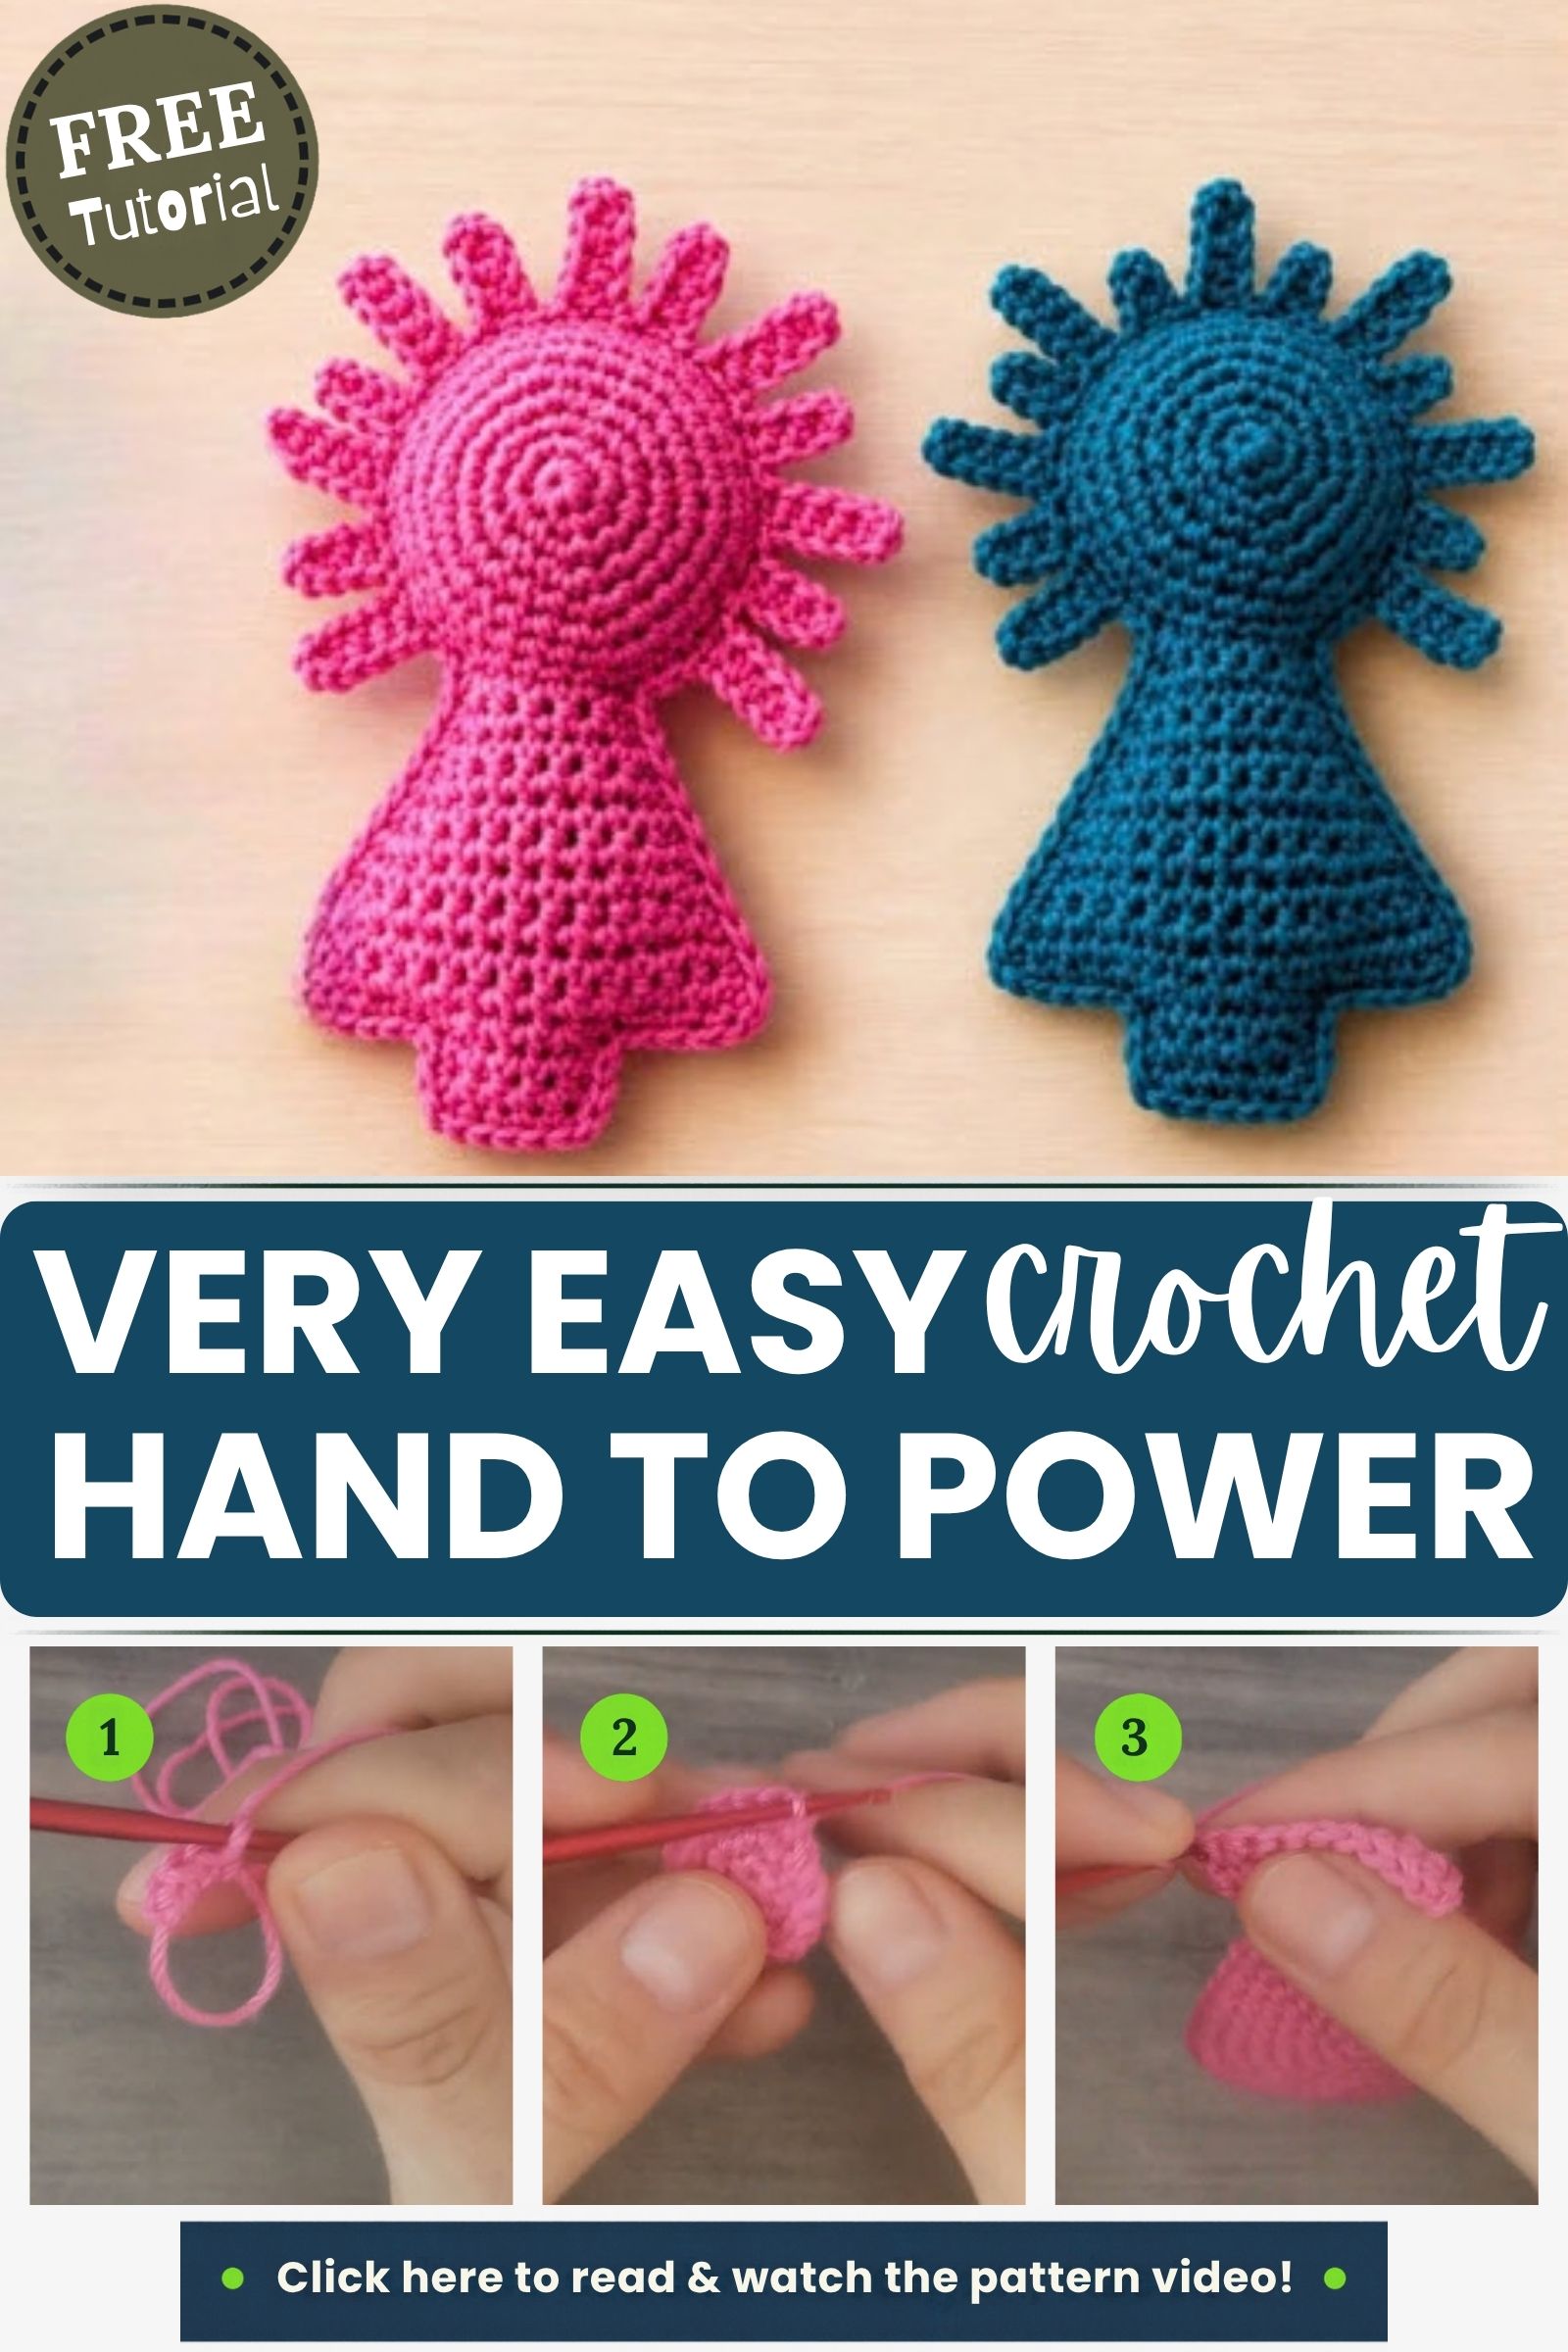
Bright bubblegum pink sets the tone for this Crochet Hand to Power Doll Amigurumi Pattern, a small, quirky make built from simple rounds and tidy edges. Even a modest yarn stash supplies enough color, and the finished piece doubles as a lively photography prop.
Few small projects combine sculptural shaping with beginner-friendly stitches this neatly. The amigurumi hand doll pattern builds a rounded palm, a joined wedge, and a ring of tiny finger tabs, all in one color. Meanwhile, the crochet power doll hand shape photographs well, stitches up fast, and rewards careful tension. As a result, makers who enjoy quirky character pieces will find plenty to love here. If you’d like some background on the craft, this overview of amigurumi is a good place to start.
What You Need for the Crochet Hand to Power Doll Amigurumi Pattern
- Smooth pink cotton or cotton-blend yarn in a light weight (the Craft Yarn Council’s yarn weight guide explains the weight categories)
- A small metal hook with a cushioned grip, in the size shown in the video
- Polyester fiberfill for light, even stuffing
- A blunt yarn needle for joining and hiding tails
- Two or three locking stitch markers
- Sharp scissors
Getting Ready to Start Your Crochet Power Doll Hand
Start by winding the yarn into a loose center-pull ball, which keeps the strand flowing smoothly. Next, work a small tension swatch in single crochet, because tight, even fabric hides the stuffing and keeps the shape firm. Then clip a stitch marker into the first stitch of the round, so each lap stays easy to count. Finally, keep your scissors and yarn needle within reach.
How to Read This Pattern
Abbreviations follow standard US terms: ch for chain, sc for single crochet, sl st for slip stitch, and inc for increase. A repeat sits inside brackets or asterisks, so work the group as many times as listed. Rounds spiral continuously without joining, while rows turn at the end. Check the stitch total after every round.
How Long the Crochet Power Doll Hand Takes
A confident maker can finish this small piece in one to two hours, while beginners should allow a relaxed afternoon, since counting and joining take extra attention. Splitting the work into two sittings also keeps your hands comfortable and your stitches even. Stuffing and tail weaving add about fifteen minutes at the end.
Step-by-Step Crochet Hand to Power Doll Amigurumi Pattern
Each step below matches one photo, in order. The stitch totals for each round are shown in the video above, so compare your counts with it as you work. If the magic ring is new to you, our magic ring tutorial shows it slowly.
Part 1: The Starting Ring and the Disc
Step 1: Form the starting ring. First, wrap the pink yarn into loops over your fingertips, then hold them steady beside the hook. Keep the loops snug, so the first stitches have a firm anchor.
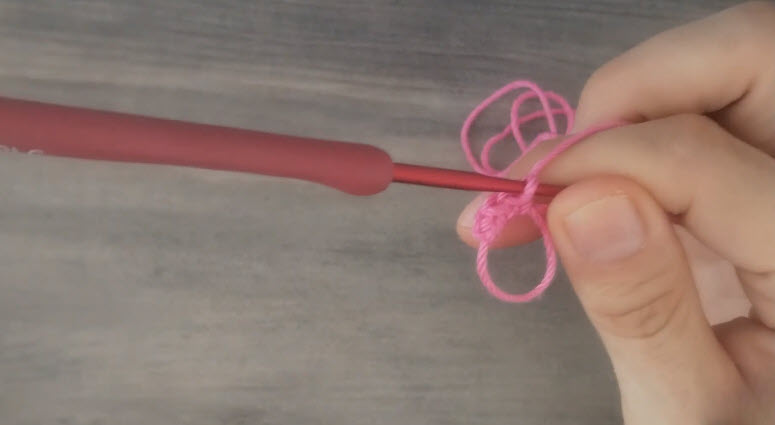
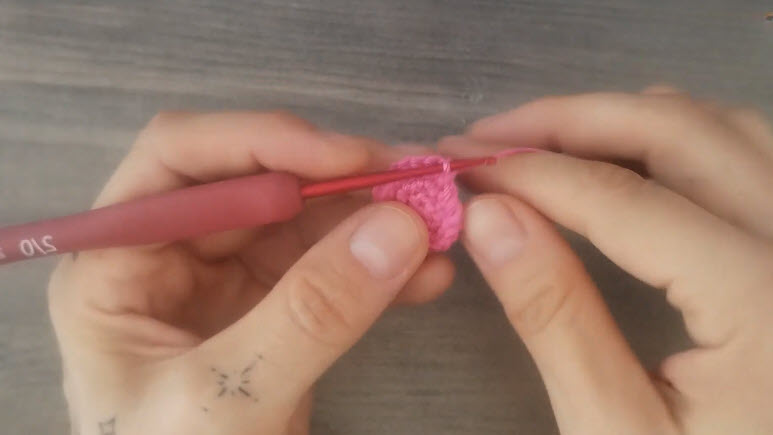
Step 2: Work the first small rounds. Next, stitch into the ring and pull the tail to close it. A small, dense disc soon forms on the hook, so hold it between both hands and keep the stitches tight.
Stitch check: The disc should look flat, with no gap in the center. Compare the total against the video before continuing.
Part 2: The Edge Row and the Join
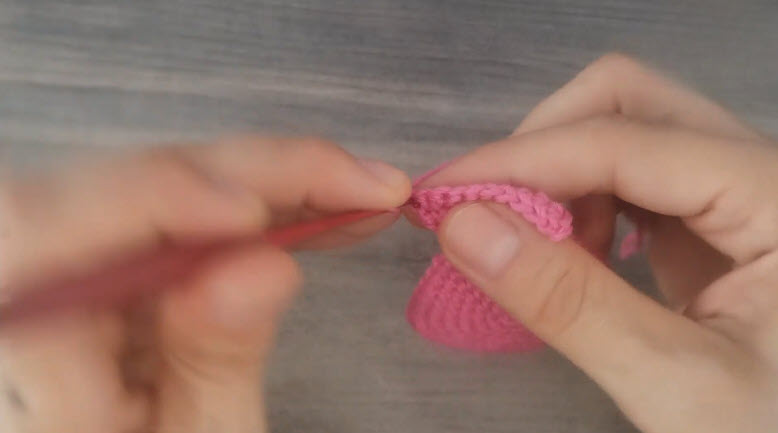
Step 3: Stitch a straight row along the edge. Now switch to working along the edge of the piece. Insert the hook under the front of each edge stitch and keep the row level. Pull the working yarn gently, so the stitches stay even.
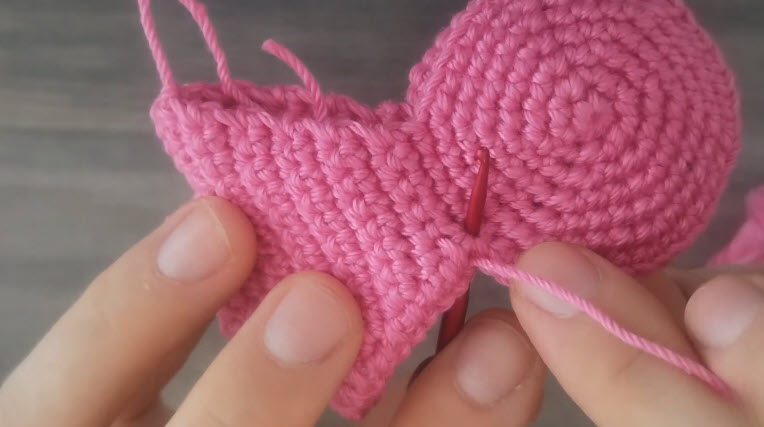
Step 4: Join the wedge to the disc. After that, line up the shaped wedge against the round disc, with the edges meeting cleanly. Insert the hook at the meeting point and pull a loop through to begin the join.
Count now: Tally the joined stitches on both sides. Matching totals keep the seam from twisting.
Part 3: The Rim and the Finger Tabs
Step 5: Work around the rim. Then stitch evenly around the edge of the disc. Small loops rise along the rim, and each one becomes the base of a finger. Place the hook into every edge stitch without skipping any.
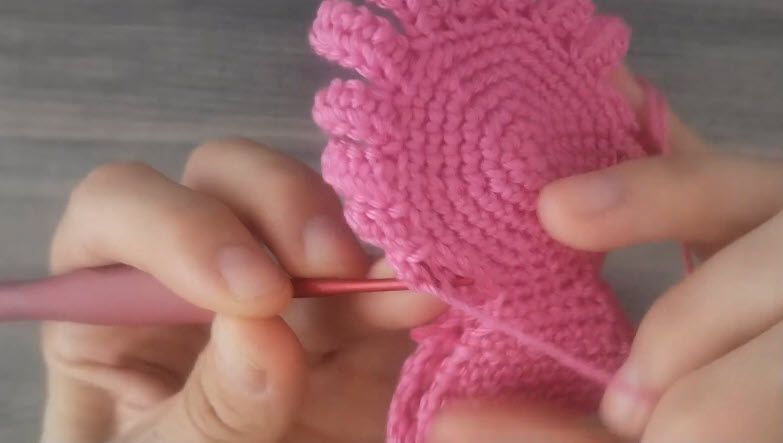
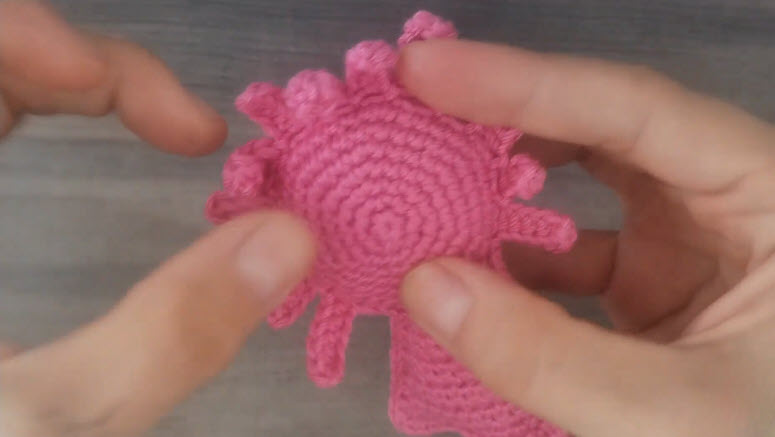
Step 6: Shape the finger tabs. Finally, work the last stitches and check the ring of small tabs around the disc. Pinch each tab gently into shape, then fasten off and tuck the tails inside.
Before moving on: Count the tabs and compare their sizes. Even spacing gives the finished piece a balanced look.
Common Mistakes With the Crochet Hand to Power Doll Amigurumi Pattern
Most trouble starts with tension. Loose stitches let white stuffing peek through the fabric, and miscounted rounds cause lopsided edges. Skipped edge stitches leave gaps near the joins. In addition, uneven finger tabs often come from pulling the yarn harder on some stitches than others.
How to Avoid Mistakes on Your Amigurumi Hand Doll
- Keep a stitch marker in the first stitch of every round.
- Count the total at the end of each round, not only at the end of the section.
- Drop one hook size if the fabric looks gappy.
- Stuff in small pinches rather than one large wad.
- Pin or clip the wedge in place before joining.
- Pause when your hand cramps, since tension tightens with fatigue.
Troubleshooting Your Crochet Power Doll Hand
- Visible stuffing: Re-stitch with a smaller hook, or line the piece with a thin layer of batting.
- Floppy finger tabs: Add a firm pinch of fiberfill to each tab, then close the gap.
- Wavy edge: Frog back to the last correct round and recount the increases.
- Puckered seam: Pull out the join and ease the stitches in evenly.
- Fuzzy surface: Trim stray fibers with small scissors and smooth the surface by hand.
Washing and Care for Your Crochet Power Doll Hand
Spot clean with a damp cloth and a drop of mild soap. For a deeper clean, hand wash in cool water, then press out moisture in a towel without wringing. Afterward, reshape the piece and let it dry flat, away from direct heat. Keep it out of the dryer, because heat can warp polyester stuffing.
More Projects to Make With This Amigurumi Pattern
If you enjoy quirky character pieces, try a few more small amigurumi shapes. A tiny plush body part, a keychain charm, or a desk decoration all use the same simple rounds. Our free amigurumi patterns and amigurumi stuffing tips support the finishing stage, and our quick crochet gift ideas fit nicely beside this make.
Bonus: Color Swap Ideas
A single color change transforms the mood completely. Soft lilac suits a gentle shelf display, while bold red creates a dramatic photo accent. Neutral cream looks calm beside plants, and two-tone tabs add playful contrast without changing the stitch count.
Bonus: Turn It Into a Photo Prop
The bright pink color pops against plain backgrounds, so this hand makes an easy photo prop. Place it on a pale surface near a window and shoot in soft daylight. Then try a few angles, because the finger tabs cast small shadows that add depth. A simple setup like this works well for craft fair listings and social posts.
Is the Crochet Hand to Power Doll Amigurumi Pattern Good for Beginners?
Yes, with a few cautions. This pattern relies on basic stitches and short rounds, so the learning curve stays gentle. However, the joining step asks for careful alignment. Beginners benefit from practicing the starting ring first. After that, the project moves quickly and builds real confidence.
Why This Pink Hand Doll Is Worth Making
Small, expressive shapes are fun to make and easy to show off, and makers like projects that finish in one sitting. For these reasons, this compact design fits easily into busy schedules:
- Quick to finish, so progress shows fast
- Bold shape that stands out in photos
- Low yarn use, ideal for leftover skeins
Crochet Hand to Power Doll Amigurumi Pattern FAQs
Can the size be changed?
Yes. A thicker yarn with a larger hook scales the piece up, while fine yarn shrinks it. Adjust the stuffing amount to match.
Does it need safety eyes or extra parts?
No. The design relies on shaped stitches alone, so add embroidered details only if you want a face.
Can left-handed crocheters follow it?
Absolutely. Mirror the hand positions shown in the photos, and keep the stitch counts identical.
What yarn hides stuffing best?
Smooth, tightly spun cotton works well, since it holds its shape and keeps the fabric dense.
How much stuffing is enough?
Fill until the piece feels firm but still squeezes slightly. Overstuffing, on the other hand, stretches the stitches and exposes the fiberfill.
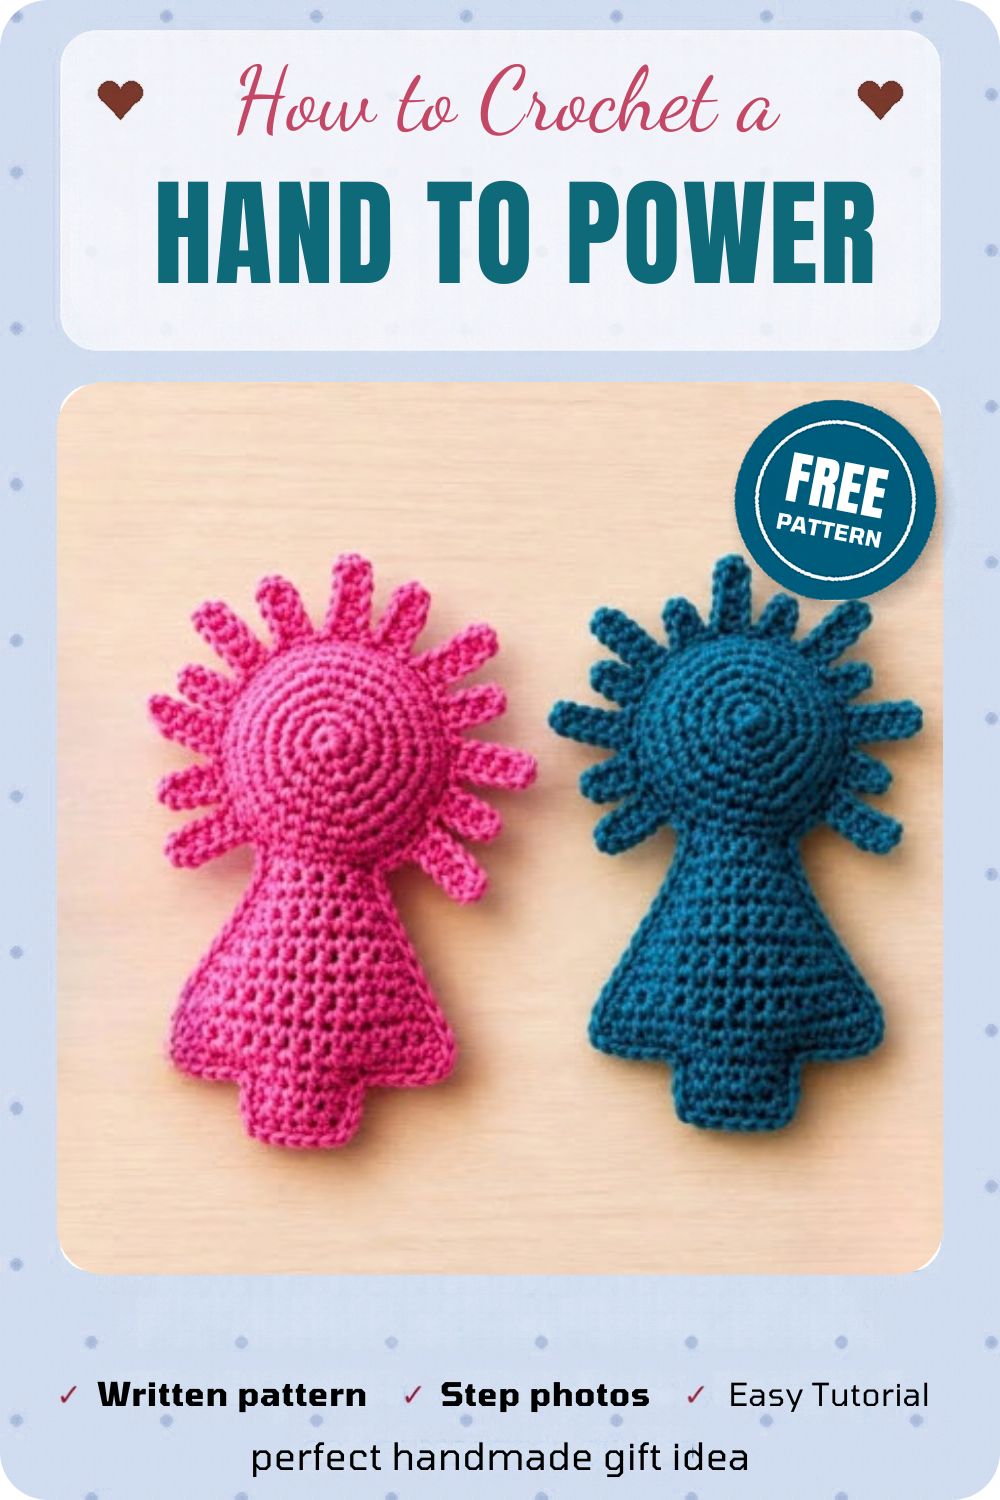
Pick Up the Hook and Begin
Small projects often teach the biggest lessons, and this one is a good example. Careful counting, steady tension, and patient joining produce a polished result. Once the first piece comes together, a second one in a new color feels natural. So grab a pink skein, load the hook, and let the first round begin.