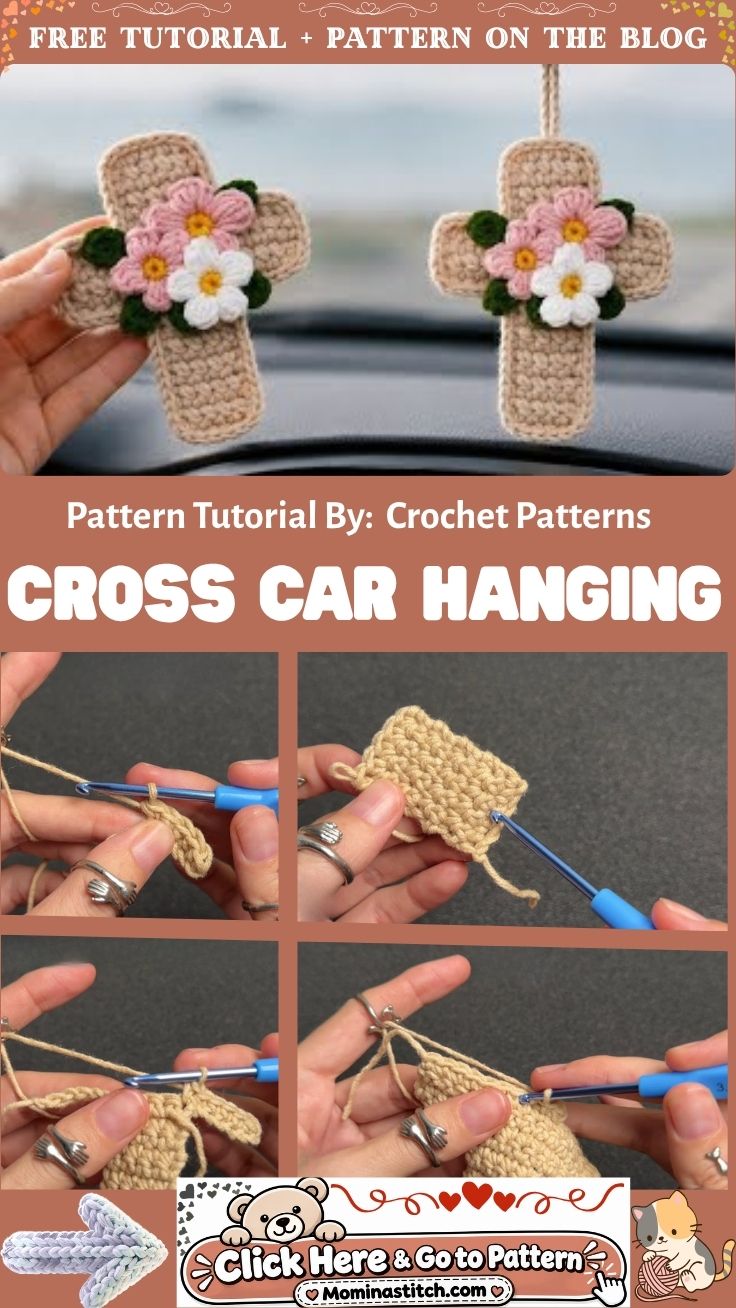
Crochet Cross Car Hanging Pattern Rearview Mirror Charm
Soft stitches build into a tidy accent with the Crochet Cross Car Hanging Pattern Rearview Mirror Charm, a compact cotton cross meant to swing gently from a rearview mirror. Quick to stitch, the small rearview mirror charm adds a handmade touch to any dashboard.
Small amigurumi-style crosses have become a favorite dashboard accessory because they combine minimal yarn use with a shape that reads clearly from across the seat. Built from two crossed rectangles rather than a single round motif, the design keeps its arms even without blocking or wire support. Sized as a crochet car accessory, the finished cross works equally well as a hanging car charm for a rearview mirror or as a bag clip, giving crafters a fast, giftable project that finishes in under an hour.
What You’ll Need
Gathering supplies for the crochet cross car hanging pattern takes only a few minutes, since the project uses small amounts of yarn and basic tools.
- Worsted weight cotton yarn (approximately 15–20 yards), solid or variegated
- 3.5mm crochet hook
- Yarn needle for weaving in ends and joining pieces
- Small scissors
- Stitch markers (optional, for tracking rows)
- 6–8 inch cord, ribbon, or keyring for the hanging loop
- Polyester fiberfill (optional, for a slightly padded finish)
Materials Substitution Ideas
Swapping in a DK weight yarn with a 3.25mm hook produces a smaller, denser cross, useful for keychains rather than mirror charms. Moving up to a bulky yarn and 5mm hook creates a larger, plush version, better suited to a car seat headrest loop. Acrylic yarn substitutes cleanly for cotton, though the finished fabric feels softer and less structured. Jute or hemp cord can replace the hanging loop for a rustic look, though it adds bulk near the join.
Skills You’ll Use
The project relies on single crochet worked in rows, a slip stitch join, and simple joining stitches that fuse the two rectangles into a cross. Basic shaping rounds out the arm tips, while a final edging round smooths uneven sides. None of the techniques require advanced skill, though comfort with counting rows helps keep the arms symmetrical.
What You’ll Learn
- How to shape a symmetrical cross from two crocheted rectangles
- How to join layered pieces with a clean single crochet edge
- How to finish a small accessory with a secure hanging loop
Time Needed
Prep takes about 5 minutes for gathering supplies and measuring yarn. Stitching the two rectangles and joining them into the cross shape takes roughly 35–40 minutes for an average crocheter. Finishing, including weaving in ends and attaching the hanging loop, adds another 10 minutes, bringing total project time to under an hour.
Step-by-Step Process
Working through the crochet cross car hanging pattern step by step keeps the shaping accurate and the finished cross even on both sides.
Step 1: Chain the Foundation
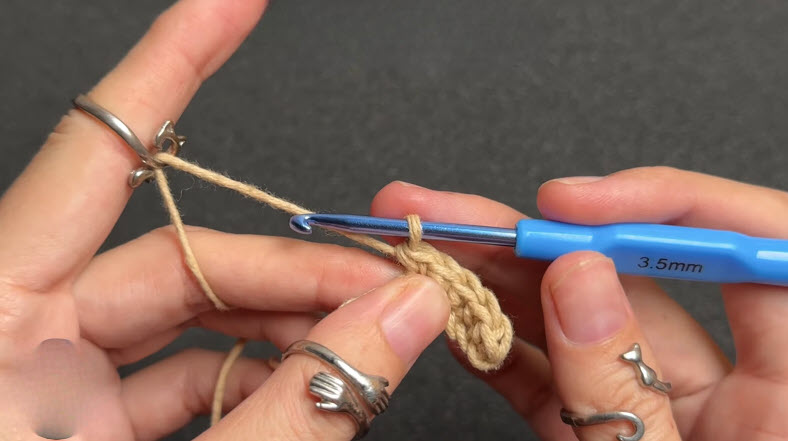
Start the base of the cross by making a foundation chain long enough to match the desired width, typically 8–10 chains for a mirror-sized charm. Hold the hook at a slight angle, keeping tension even across the working yarn so the first row sits flat rather than curling.
Step 2: Build the First Rectangle
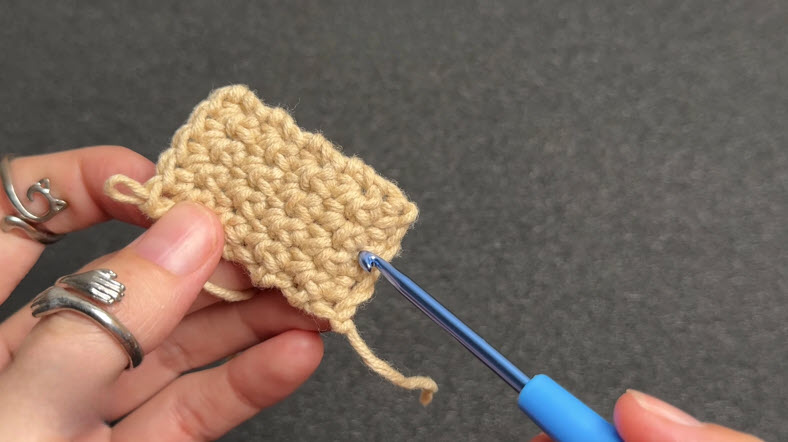
Turn the chain and work single crochet across each row, repeating until the piece measures roughly 2 inches long. Count stitches at the end of every row to keep the edges straight rather than tapering.
Even rows keep the rectangle from twisting once it gets crossed with the second piece.
Step 3: Cross the Second Piece Over the First
Stitch a second rectangle to matching dimensions, then lay it perpendicular over the center of the first piece to form the plus shape. Insert the hook through both layers at the intersection and work several stitches to lock them together before continuing around the arms.
Shape check: confirm all four arms sit at even lengths before securing the center.
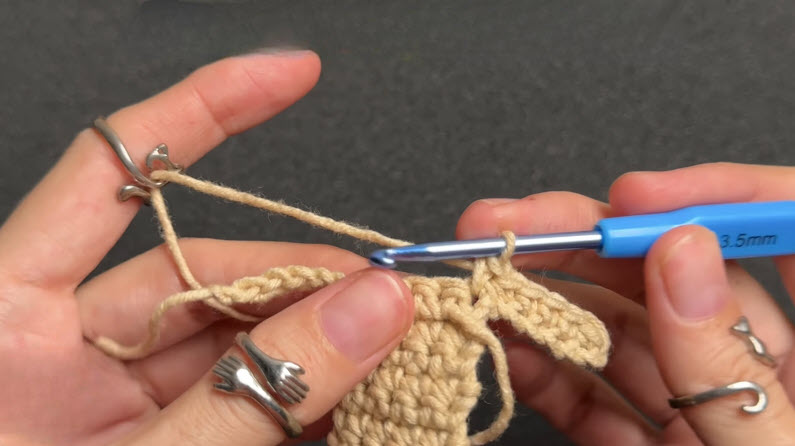
Step 4: Single Crochet Around the Joined Edges
Work a single crochet round around the outer edge of the crossed pieces, easing the hook around each inside corner to keep the shape crisp. Pull the working yarn snug at the corners so the arms hold their angle instead of curling inward.
Tight corner stitches keep each arm looking sharp rather than rounded.
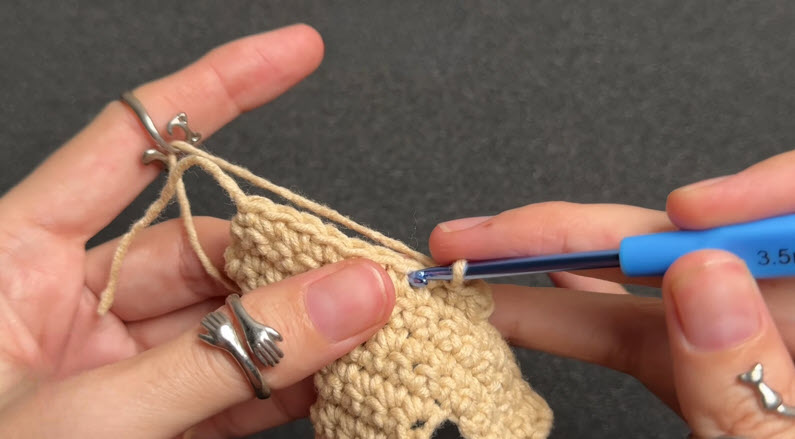
Step 5: Finish the Outer Edge and Shape the Cross
Complete the final round of single crochet around the entire perimeter, joining with a slip stitch once the round meets its starting point. Weave in any remaining tails through the back of the stitches so the front stays smooth.
Count now: the finished outline should show four equal arms and no gaps at the seams.
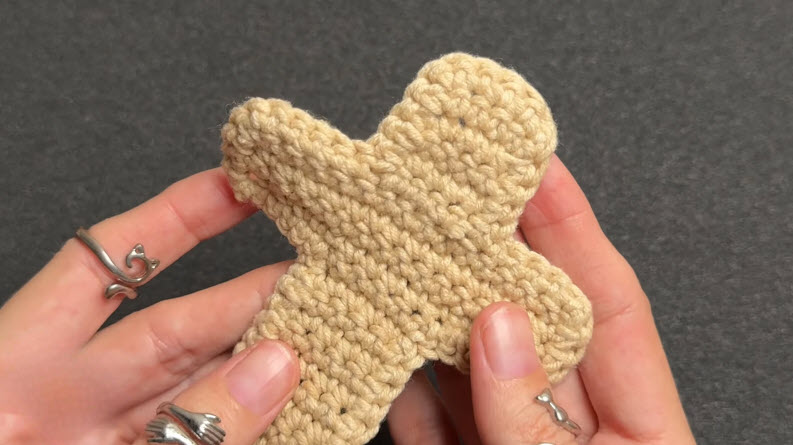
Signs You Did It Right
- All four arms of the cross measure the same length and width
- The center join sits flat without puckering or visible gaps
- Stitches along the outer edge look uniform in size and tension
- The finished piece lies flat rather than curling at the corners
Common Mistakes and Their Fixes
Uneven arm lengths often happen when row counts drift between the two rectangles.
Fix: Recount rows on both pieces before joining and add or remove a row to match.
Loose center joins can leave the cross wobbly at the middle.
Fix: Work an extra reinforcing stitch through all layers at the intersection point.
Curling edges usually signal tension that is too tight or too loose.
Fix: Switch to a slightly larger or smaller hook until the fabric lies flat.
Gaps at the seams happen when the joining round skips a stitch at the inside corners.
Fix: Slow down around each corner and work an extra stitch into the corner space.
Troubleshooting Guide
- Cross won’t hold its shape after finishing: work a light steam block or tuck a small amount of fiberfill inside the center for structure.
- Arms look flat compared to reference photos: switch to a slightly thicker yarn weight or add a second edging round.
- Hanging loop twists the charm sideways: reposition the loop closer to the true center of the cross.
- Colors look uneven across the two rectangles: pull yarn from the same dye lot for both pieces before starting.
Finishing and Assembly Tips
Weave in every yarn tail securely through several stitches rather than tying a knot, since knots can work loose with regular handling in a moving vehicle. Attach the hanging cord or keyring at the top arm, checking that the charm hangs level before trimming excess yarn. A light press with a cool iron, worked through a damp cloth, helps set the shape without flattening the stitch texture.
Care & Cleaning Tips
Store the finished charm flat or loosely coiled in a drawer to avoid crushing the arms. Spot-clean with a damp cloth and mild soap rather than submerging the piece, since repeated washing can fade cotton yarn faster than gentle wiping. Keep the charm out of direct sunlight when the car sits parked, as UV exposure fades color over time. Hand washing works if needed, followed by reshaping while damp and air-drying flat.
Bonus: Add a Fragrance Boost
Tuck a cotton ball dabbed with a favorite essential oil inside the center of the cross before closing the final seam, turning the charm into a subtle air freshener. Lavender or citrus oils hold their scent well against yarn fibers and refresh easily with a fresh drop every few weeks.
Creative Projects You Can Make With This Pattern
Scaling the rectangles down by half turns the same shaping method into a set of matching earrings or a zipper pull. Working the cross in variegated yarn and adding a longer cord produces a bookmark that clips over a page edge. Larger versions, stitched with bulky yarn, work well as coasters or as an accent on a tote bag. Crafters already comfortable with the crossed-rectangle technique will find it adapts easily to holiday ornaments, keychains, and other small charm projects.
Ways to Style or Display It
Hang the finished cross from a rearview mirror using a short cord, or clip it to a backpack zipper for a portable accent. Some crafters loop several charms together along a single cord for a fuller, layered look. Displayed on a hook near an entryway, the same cross doubles as a small wall accent when not in the car.
Who This Pattern Is Great For
Beginners comfortable with basic single crochet will find the shaping approachable, since no complex stitch combinations are involved. Crafters looking for quick, giftable projects often reach for the pattern when stitching multiples for craft fairs or stocking stuffers. Anyone wanting to personalize a vehicle without buying mass-produced air fresheners will appreciate the handmade result.
Why It’s Popular Right Now
Car accessories made using the crochet cross car hanging pattern have gained traction alongside the wider handmade gift trend, particularly for small, low-cost projects that finish quickly.
- Fast stitching time compared to larger amigurumi projects
- Strong visual payoff from a simple, recognizable shape
- Easy customization through color and yarn weight changes
FAQ
What yarn works best for the crochet cross car hanging pattern?
Worsted weight cotton gives the crochet cross car hanging pattern its structure and clean stitch definition, though acrylic works as a softer, lower-cost substitute.
How long does the cross take to finish?
Most crafters complete the project in under an hour, including finishing steps like weaving in ends and attaching the hanging loop.
Can the cross be made without a hanging loop?
Skipping the loop turns the same shape into a flat coaster, patch, or appliqué for another project.
Does the charm need stuffing?
Stuffing stays optional; a flat cross hangs just as well as a lightly padded one, though padding adds a bit more dimension.
Is the pattern beginner-friendly?
Beginners comfortable with single crochet and basic counting can complete the pattern without needing advanced shaping skills.
Conclusion
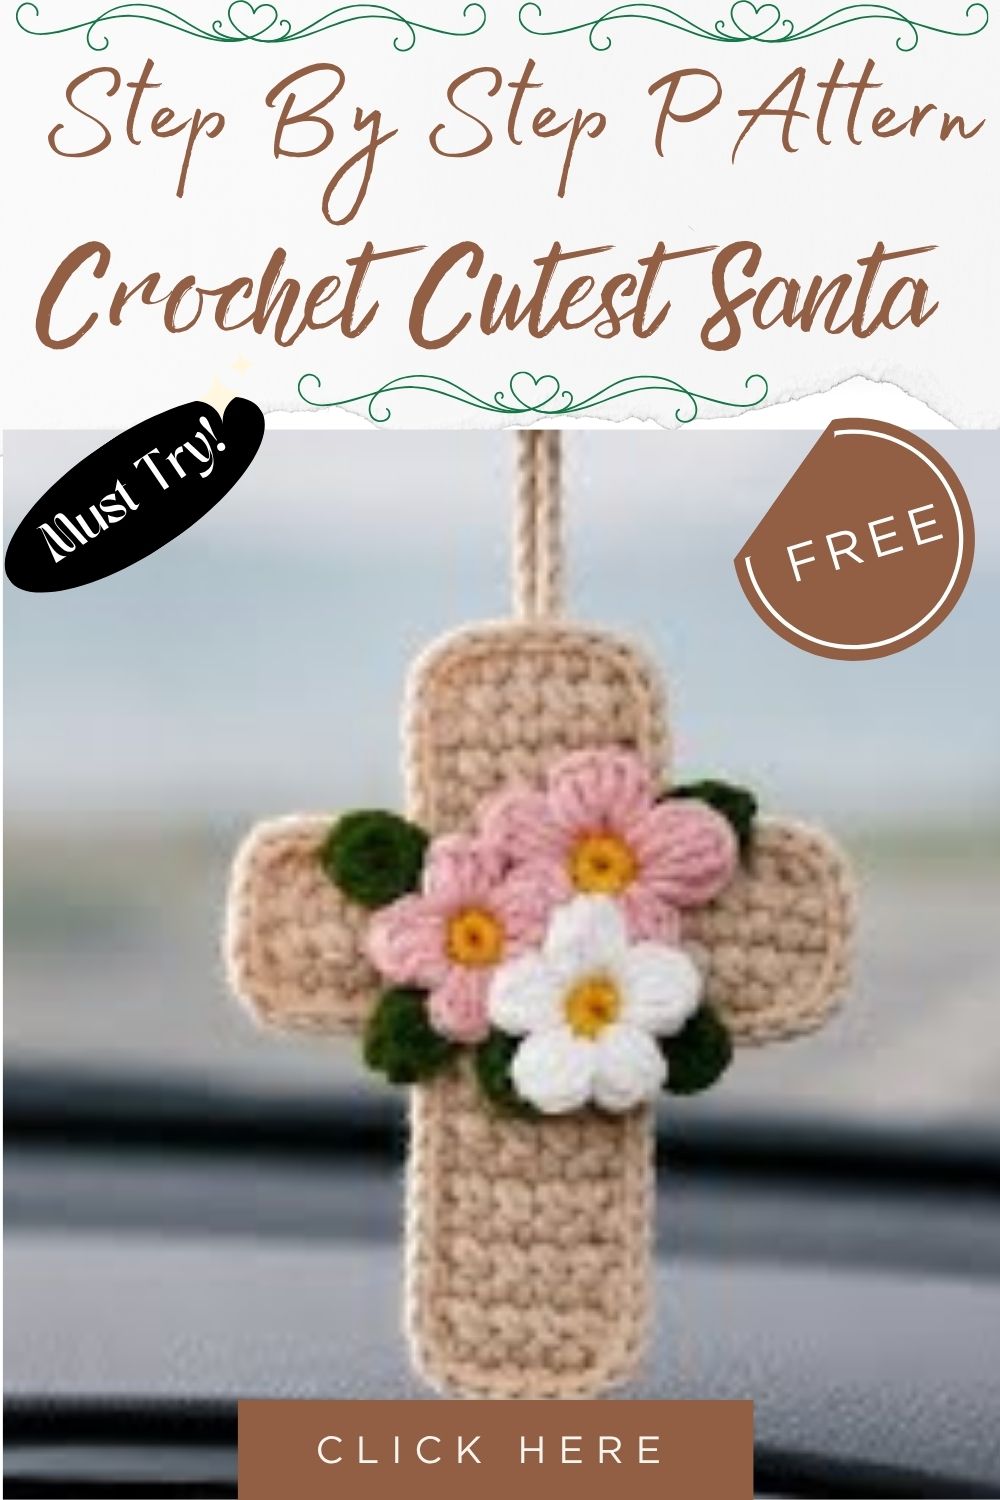
The crochet cross car hanging pattern turns a small amount of yarn into a charming, personal accessory that takes under an hour from chain to finished loop. Whether displayed on a rearview mirror or gifted to a fellow crafter, the finished cross brings a handmade touch to everyday driving.