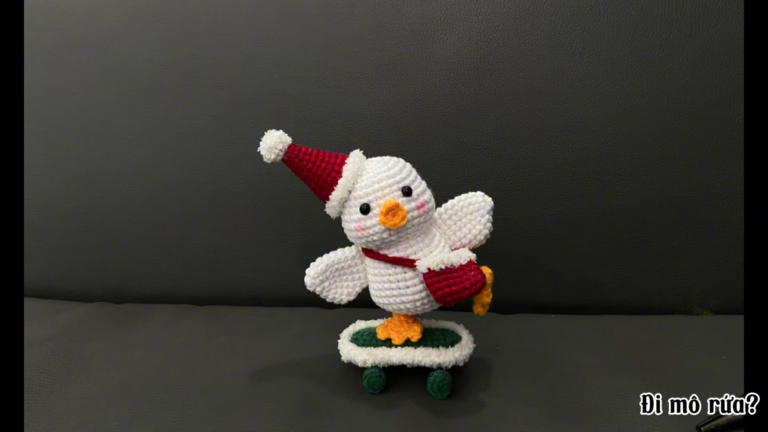
Crochet Santa Spiral Elf Ornament Pattern Fun Holiday
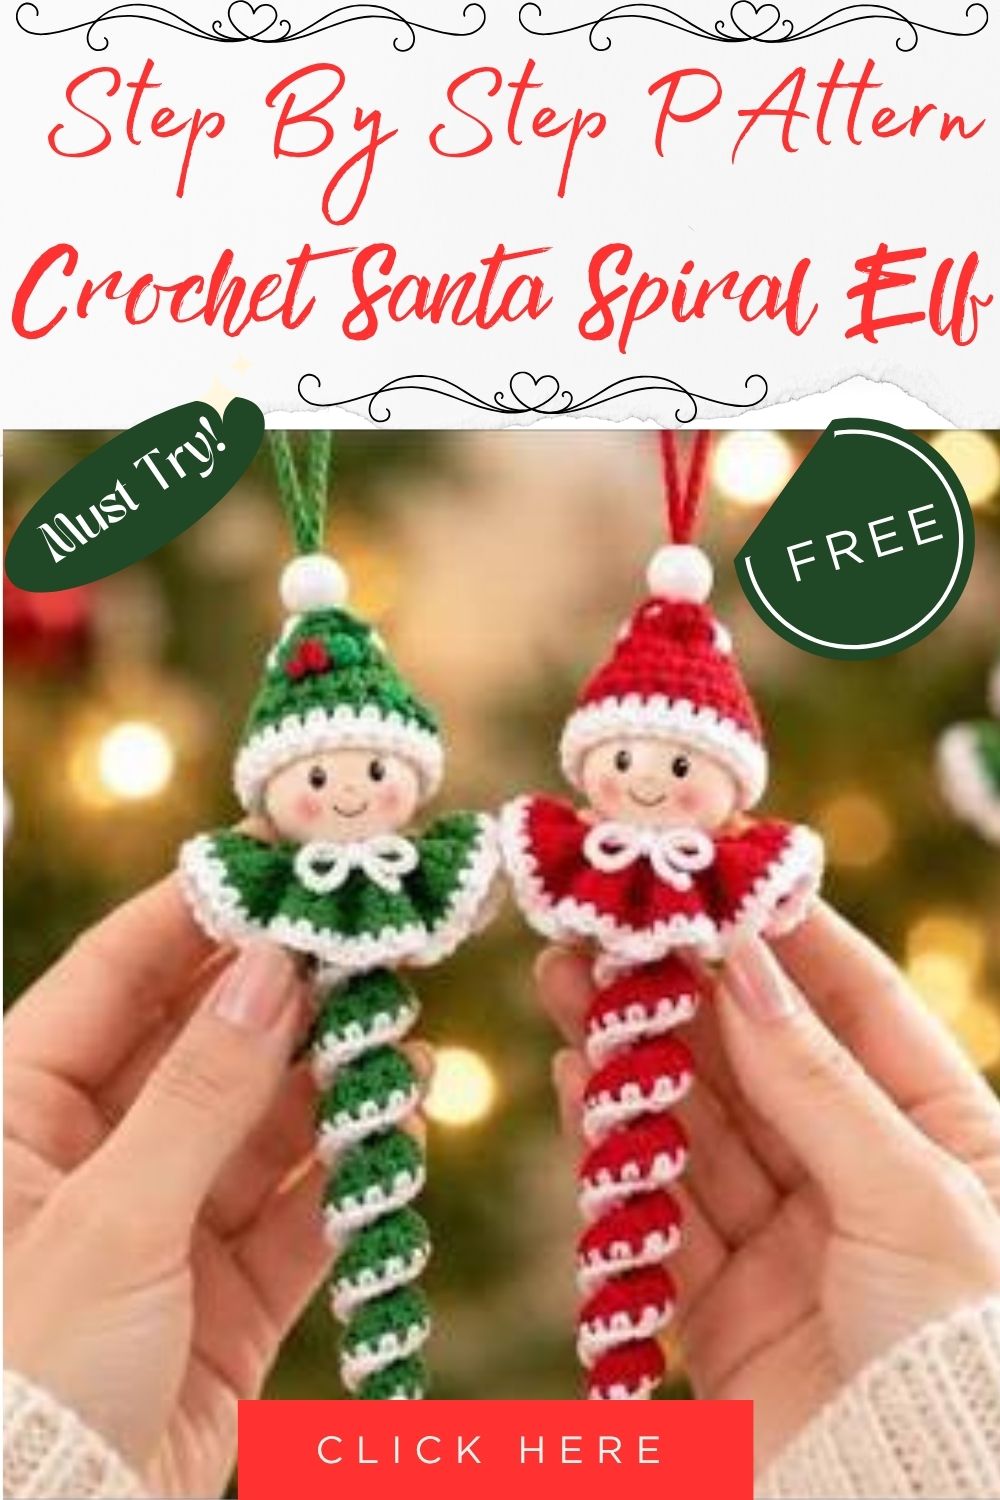
A small wooden peg head turns into a festive character through the Crochet Santa Spiral Elf Ornament Pattern Fun Holiday, using spiral stitches and a white brim for a cap.
The pattern below walks through materials, core techniques, and the three-stage stitching process, from the early spiral rounds to shaping the cone and finishing the white trim. Readers also get a rundown of common mistakes, color variations, styling ideas, and helpful beginner-friendly tips, plus answers to frequent questions before diving into the full pattern details and step-by-step instructions that follow.
Its purpose stays simple: give a plain wooden bead head instant holiday character in under an hour of stitching.
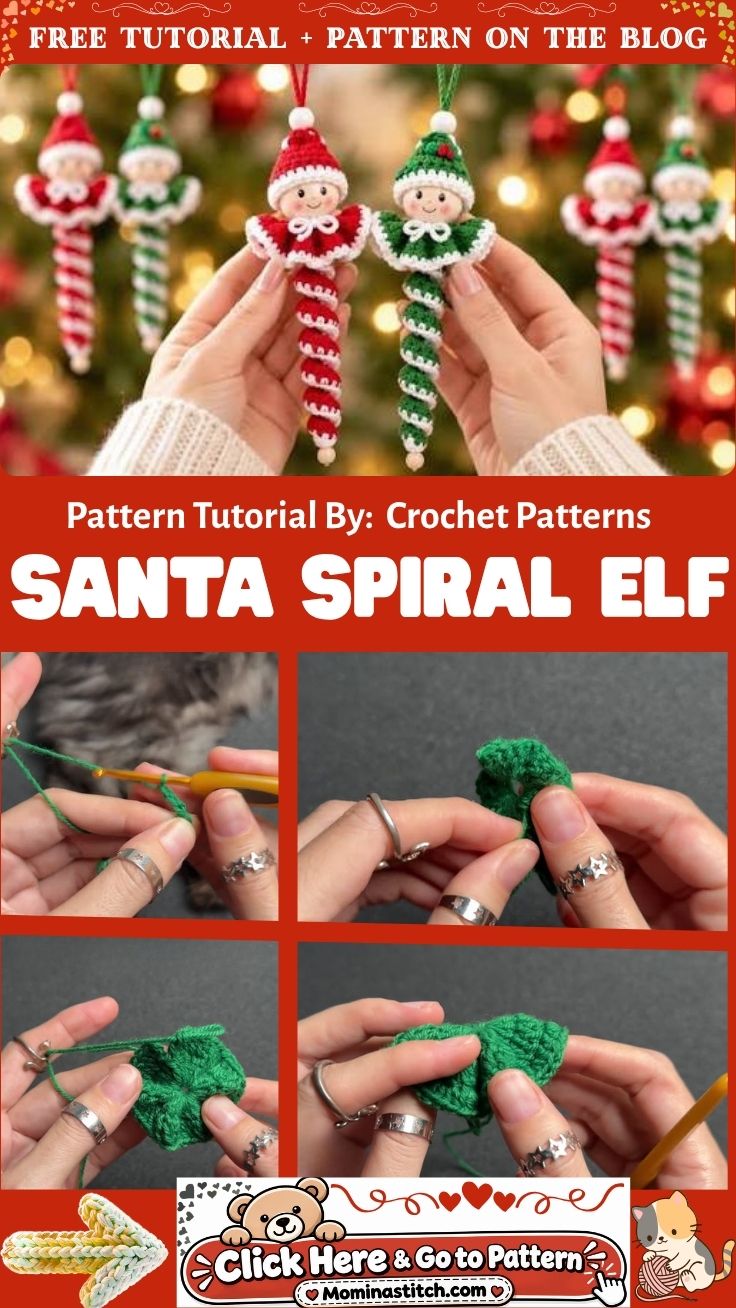
The Look and Feel of This Piece
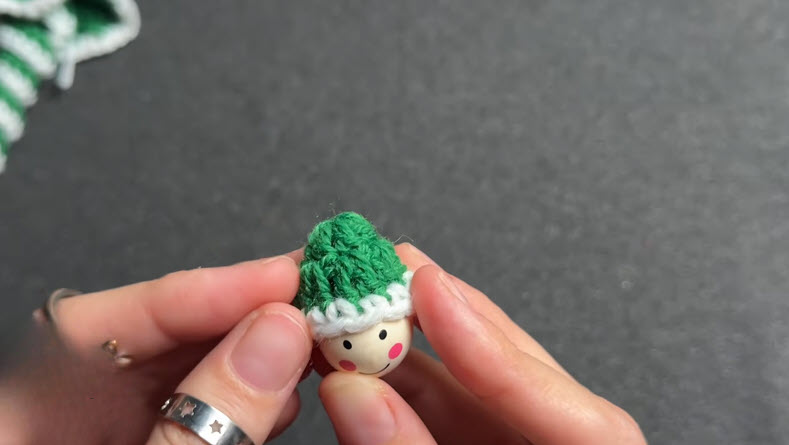
Texture drives the visual appeal here. Rounds of half double crochet twist gently around the center, creating a spiral rather than flat, stacked rows, so light catches the yarn at slightly different angles across the cap. Forest green pairs against a white scalloped trim, echoing a classic Santa spiral elf ornament silhouette without leaning cartoonish.
The overall shape tapers from a wide, gathered base to a soft point, similar to a jester or pixie cap. Consequently, the piece reads as playful rather than stiff, and the slight asymmetry from the spiral stitching keeps every cap looking a touch different from the last. Scale stays intentionally tiny, generally sized to fit a 1-inch wooden bead, which makes the finished topper easy to tuck into ornament bowls, stocking stuffers, or gift-wrap accents.
Materials Needed
- Worsted weight yarn in green (main color) and white (trim)
- 2.75mm crochet hook
- Wooden bead or peg doll head, roughly 1 inch
- Yarn needle for weaving in ends
- Small scissors
- Fabric glue or hot glue (optional, for securing the cap to the bead)
- Fine-tip paint pen, if the peg head needs a face added first
Because the Santa spiral elf ornament uses such a small amount of yarn, scrap ends from other projects work well and help keep the build low-waste.
Techniques Used
The cap relies on a few core techniques, each simple enough for a confident beginner to manage in one sitting.
- Magic ring, to start the crown with a tight, gap-free center
- Half double crochet worked in a continuous spiral (no joining or turning)
- Increases spaced evenly to keep the cone shape flat and round rather than cupped
- A scallop stitch (single crochet, chain, slip stitch repeats) for the white brim
- Whip stitch or slip stitch seaming to fold and shape the finished cone
Pro tip: mark the first stitch of each round with a scrap of contrasting yarn, since spiral rounds have no clear seam to reference otherwise.
Making It – 3 Visual Stages
Early shape: Work begins with a magic ring and a few rounds of half double crochet, spiraling outward into a flat, slightly domed disc. At this stage, the hook and working yarn stay visible against the small green circle, and fingers gently cup the piece to check its shape before adding more rounds.
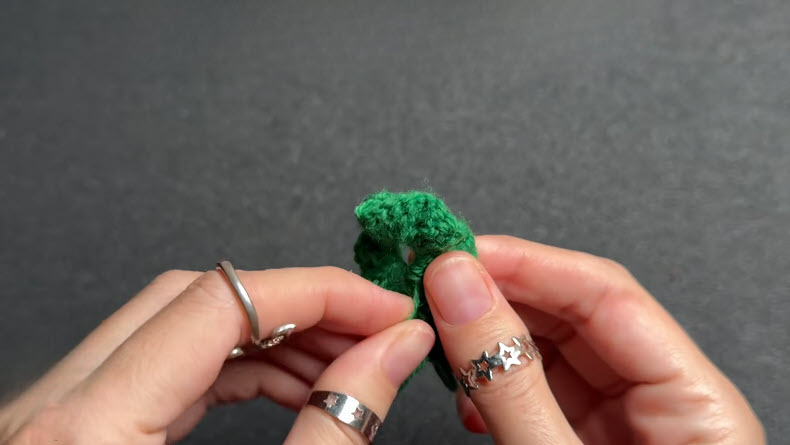
Building up:
Once the disc reaches the target diameter, the piece gets folded and worked into a cone rather than left flat. A white trim is added around the open edge using a scalloped stitch, creating a clean, contrasting border. The folded shape starts to resemble a fan or a half-moon at this point, with the seam pinched between the fingers to test how the final cap will sit.
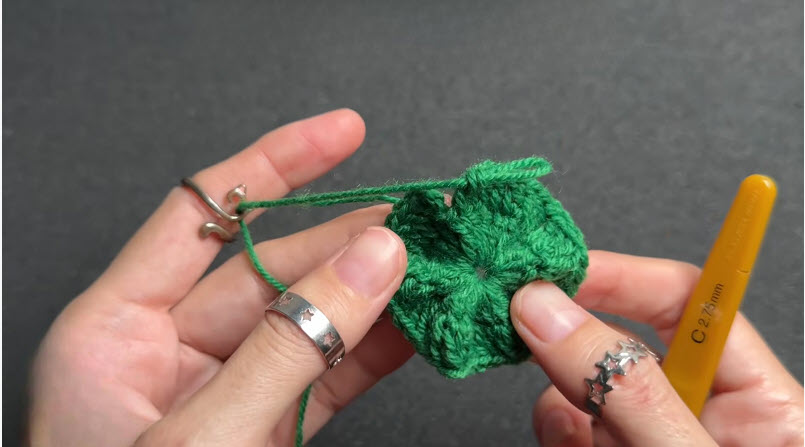
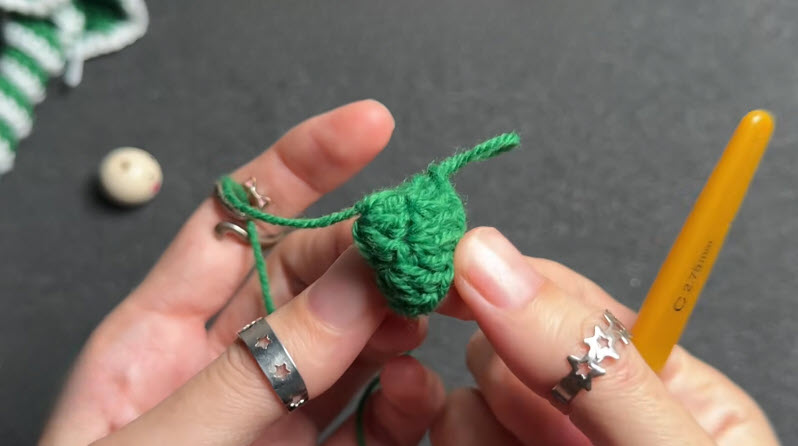
Finishing: The last rounds taper the cone to a point, leaving a small tail at the tip for a whimsical curl. Ends get woven in, and the cap is fitted directly onto the painted wooden bead head, where the white scallop trim lines up neatly above the face. A dab of glue along the inside edge keeps the piece secured without flattening the spiral texture.
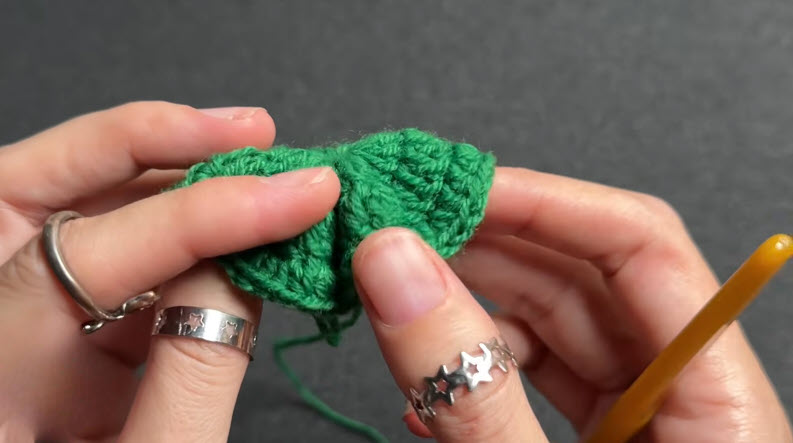
Once the white scalloped trim is complete, the piece opens into a half-moon shape, with the folded edge held gently between the fingers. A metal keyring threaded through the top corner turns the design into a wearable or clip-on accessory rather than a flat motif.
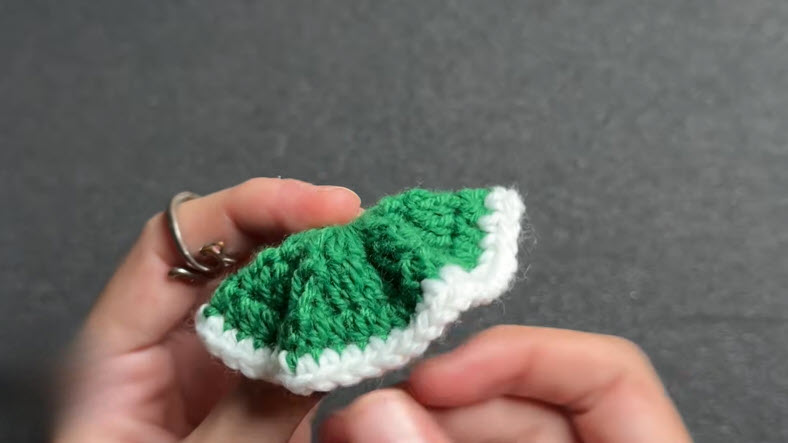
The folded edge gets pinched together at the base, bringing both sides of the scallop trim to meet. This step shapes the flat fan into a rounded, three-dimensional form and sets up the seam that holds the final shape.
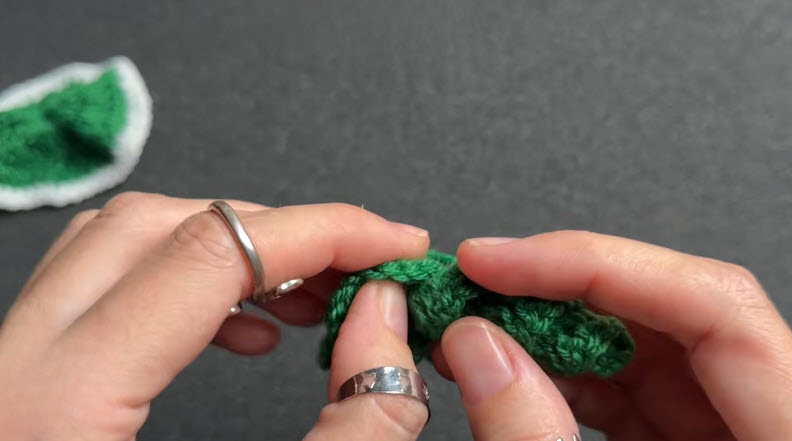
A few closing stitches secure the pinched seam, tapering the piece into a small, rounded bud with a short yarn tail left at the top. The tail can be woven in for a clean finish or left slightly longer if it will be used to attach the piece to another part of the project.
Common Mistakes
Tension issues cause most of the trouble with a project this small. Stitching too loosely leaves visible gaps between spiral rounds, while overly tight stitches make the cone hard to fold cleanly.
- Skipping the increase count, which leaves the disc cupping instead of lying flat
- Losing track of the round start, since spiral crochet has no marked seam
- Pulling the scallop trim too tight, puckering the open edge
- Gluing the cap on before test-fitting it against the bead’s actual size
- Trimming yarn tails too short to weave in securely
Color and Yarn Variations to Try
Swapping the palette changes the entire mood of the Santa spiral elf ornament without altering a single stitch count. Red and white trim leans traditional, while burgundy paired with cream reads more rustic. Icy blue with silver metallic trim suits a winter-wonderland theme, and forest green with gold accents dresses the piece up for a more formal mantel display. Cotton yarn holds stitch definition slightly better than acrylic for a project this small, though either fiber works fine for a first attempt.
Styling Ideas for the Home
Once finished, the little cap opens up several display options beyond a single tree ornament. Crafters often clip a finished piece to a gift bag, dangle it from a stocking, or tuck it into a wreath alongside other mini figures. Grouped in threes or fives along a mantel, several elf heads add height variation to a holiday vignette. Attaching a small loop of thread through the top turns the piece into a hanging charm for a kitchen window or a small tabletop tree.
Best Occasions or Settings to Use This
Winter gift exchanges, office holiday parties, and craft fair tables all suit a small batch of these ornaments well. Because the build time stays short, the pattern also works for last-minute stocking stuffers or teacher gifts. Beyond December, a green-and-white version doubles as a general winter decoration that doesn’t read as strictly Christmas-specific, extending its shelf life past the holiday season.
Beginner-Friendly Tips
New crocheters should count stitches after every round for the first few attempts, since a missed increase compounds quickly on a shape this small. Working with a stitch marker prevents confusion around where each spiral round begins. Additionally, practicing the magic ring separately before starting the actual project helps avoid a loose, gappy center. Choosing a slightly larger hook than usual can also make the tiny stitches easier to see and manage.
Why This Style Is Trending
Miniature amigurumi accessories have grown steadily in popularity across handmade marketplaces, and peg-doll toppers fit neatly into that trend. Quick builds like the Santa spiral elf ornament photograph well for social platforms, ship easily, and appeal to shoppers looking for small, affordable gifts.
- Low material cost makes the pattern accessible for bulk production
- Compact size suits shipping and craft fair booths without extra padding
- Spiral texture photographs distinctly from flat, ribbed patterns already saturating the market
Pairing Ideas
A matching scarf or vest worked in the same white trim ties a full peg-doll set together. Several crafters also build a companion basket, tiny mittens, or a small wreath to accompany the elf head as a boxed gift set. For shops selling multiples, offering the cap alongside a plain undecorated bead lets buyers choose whether they want a finished character or a DIY kit.
Bonus: Quick Gifting Tip
Packaging several finished caps in a small kraft box with tissue paper turns a single pattern into a ready-made gift set, ideal for craft fair tables or last-minute teacher presents.
FAQ
How long does one ornament take to finish?
Most crafters finish a single cap in 30 to 45 minutes, including trim and seaming.
Can this pattern work without a wooden bead head?
Yes, the cap can top a pom-pom, a felt ball, or even a painted wooden bead in a different size with minor increase adjustments.
What yarn weight works best for this size?
Worsted weight yarn with a smaller hook (2.75mm) gives the tightest, most defined spiral texture for a piece this small.
Does the white trim need to be crocheted separately?
No, the scallop trim attaches directly along the open edge in the same working session, avoiding a separate seam.
Conclusion
Small in scale but rich in texture, the Santa spiral elf ornament proves that a handful of rounds and one contrasting trim can create a complete holiday theme. Its quick build time and low material cost make it a practical addition to any December project list. Flexible styling also lets it work well on a tree, as a gift tag, or on a shelf with other tiny characters.