
Crochet Motocross Booties Pattern For Holiday Season
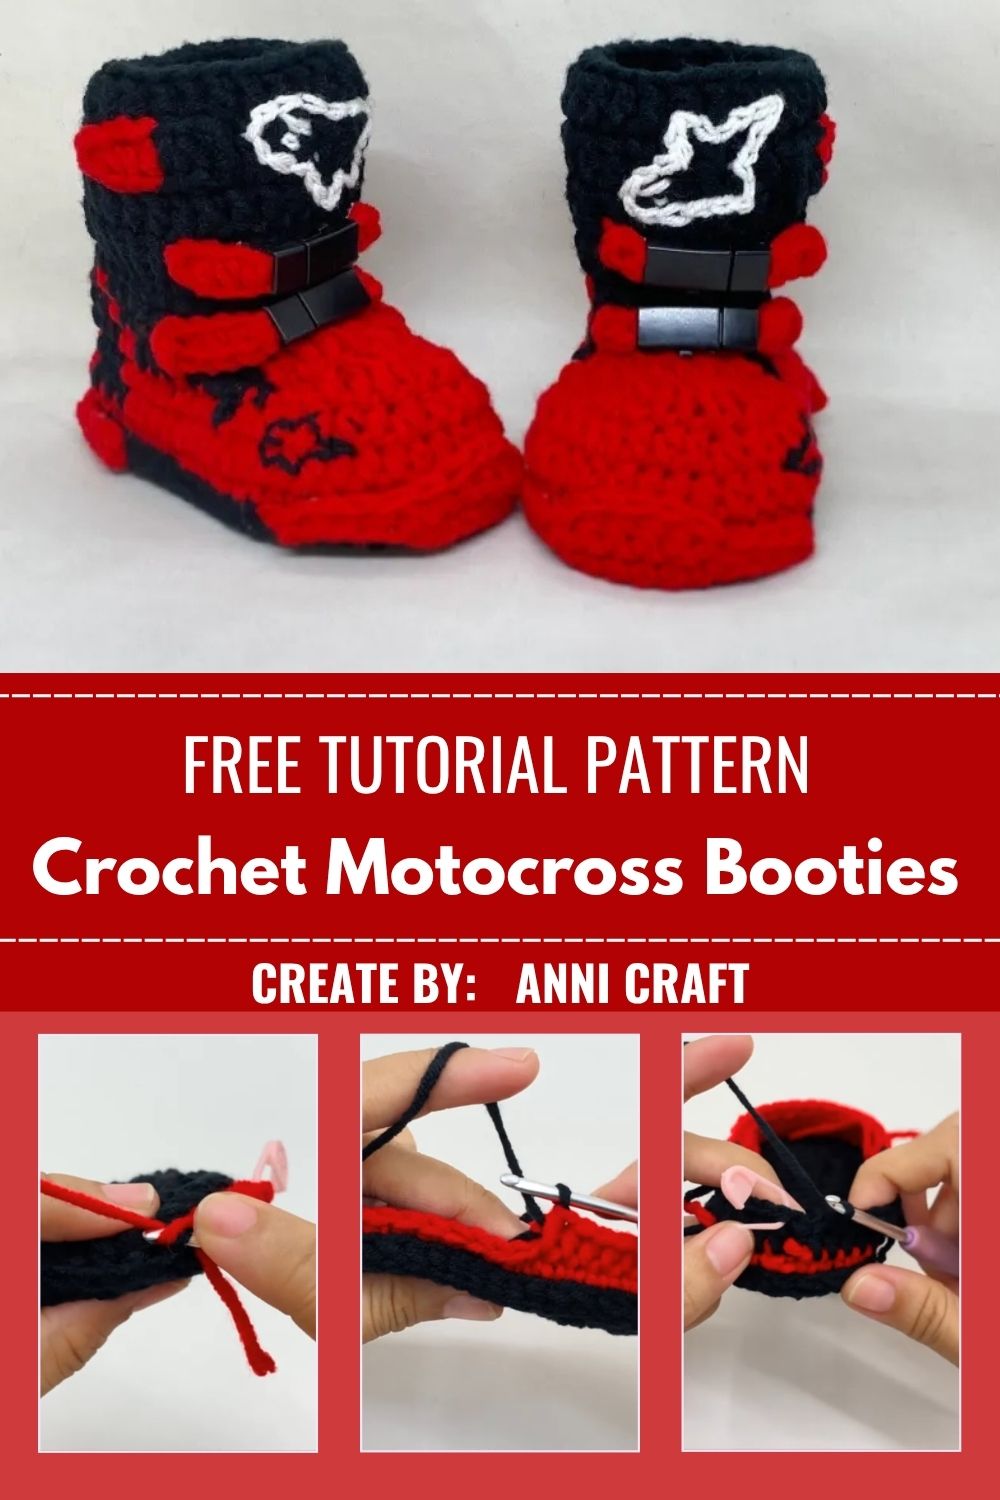
Red and black yarn tangled together under soft studio light, hook moving steadily between colors. This Crochet Motocross Booties Pattern For Holiday Season turns a simple bootie into a bold little statement piece, built around one standout color-block design that instantly catches the eye.
Holiday crochet often leans soft and predictable, but this pattern breaks that mold completely. Sharp red-on-black contrast gives these baby booties real personality, echoing the rugged look of actual motocross gear. What makes this pattern special is the padded pink pull-tabs, adding a tiny handmade detail that turns a basic bootie into a genuine keepsake gift.
What You’ll Need
- Worsted weight yarn in black and red
- A 4mm or 4.5mm hook
- Stitch markers for tracking transitions
- A yarn needle for weaving ends
- Small, sharp scissors
- Comfort with magic rings, increases, and decreases
The appeal of this motocross booties pattern lives in the contrast, not fancy supplies.
Choosing the Color Combination
I sat with the yarn for a while before starting. Red and black felt obvious, almost too obvious. But that’s exactly what motocross gear leans on.
I tested a few swatches with orange and grey first. Neither had the same punch as red-on-black. Sometimes the boring choice really is the right one.
Getting My Tension Right
Before committing to the actual sole, I worked a small practice round. My usual tension runs slightly loose for amigurumi.
I dropped down half a hook size to compensate. That single adjustment saved me from a floppy, oversized first bootie. Worth the extra ten minutes every single time.
Stage 1: Shaping the Sole
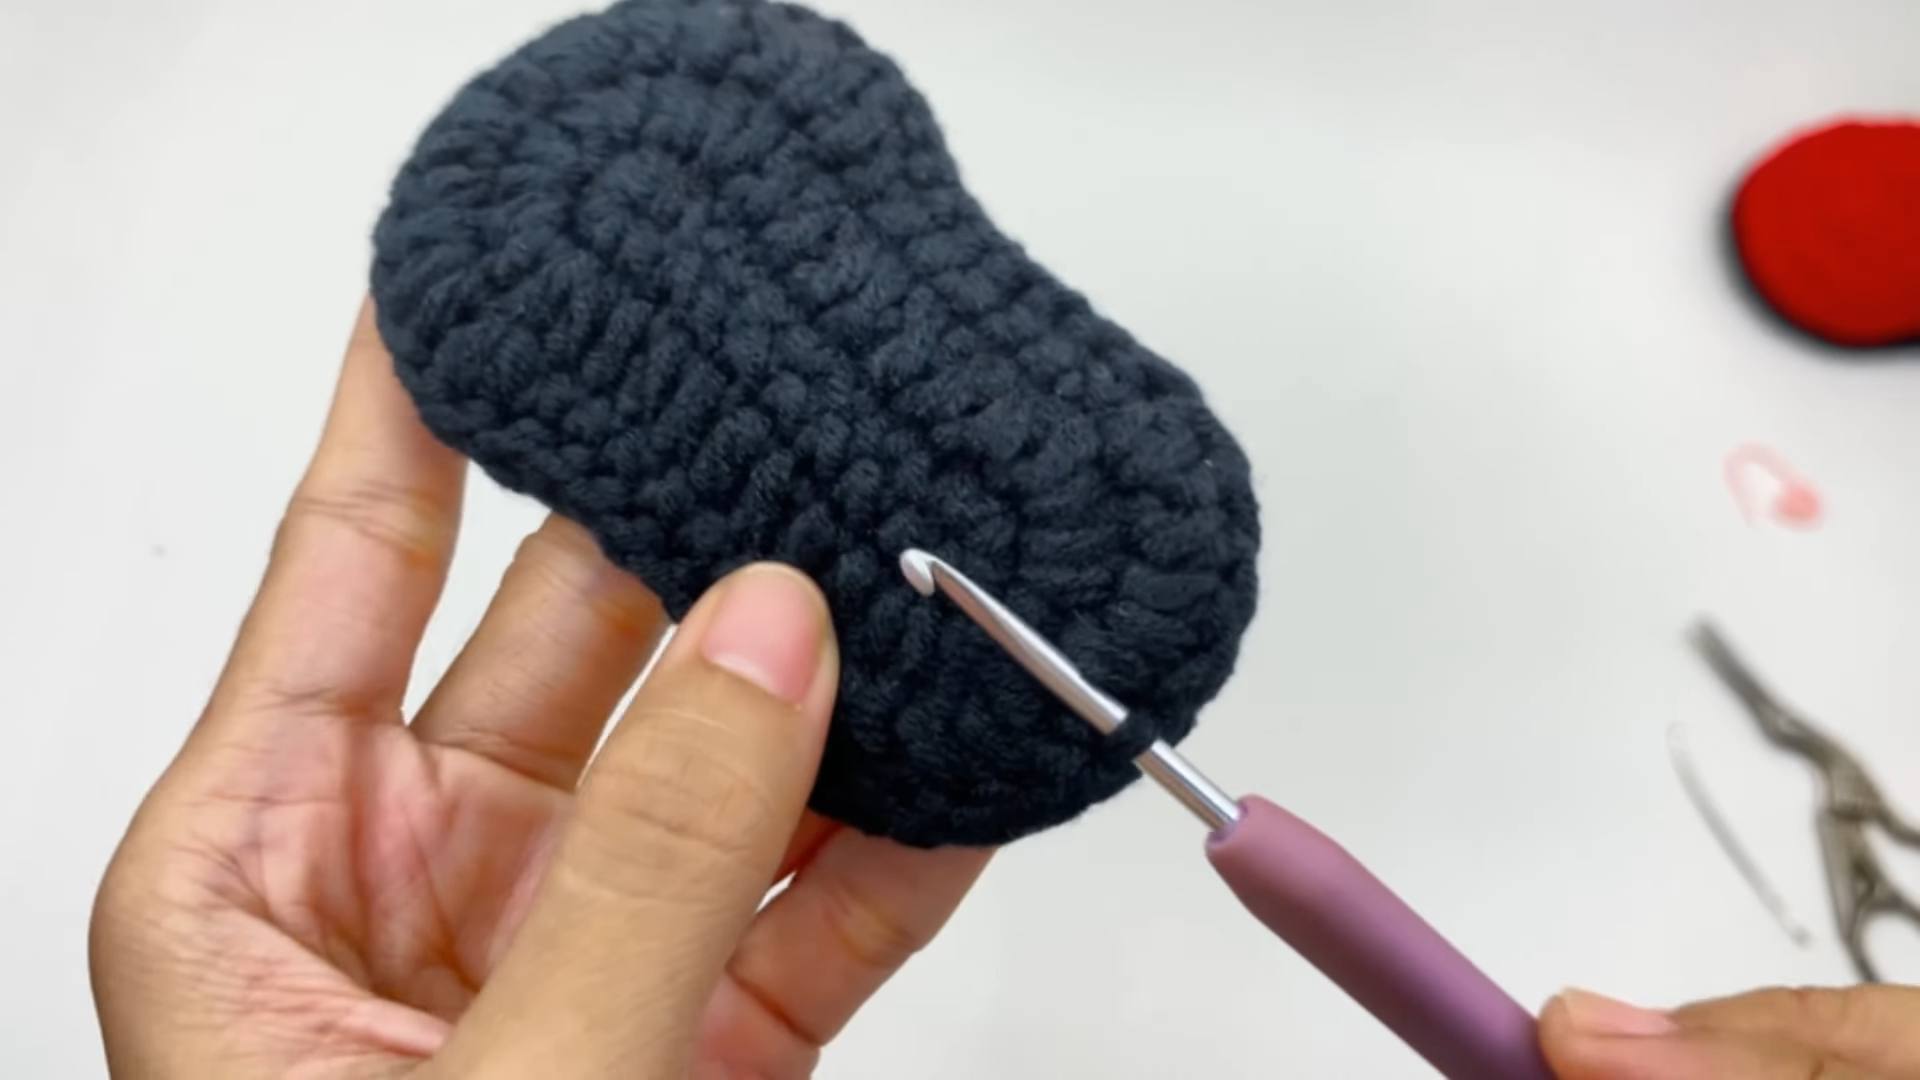
Every Crochet Motocross Bootie starts flat and oval. I chained a short foundation row first, then worked single crochet around it, increasing at both ends. This builds that classic peanut shape.
Getting the increases even matters more than expected. A lopsided sole throws off the whole boot later, and there’s no easy fix once rounds stack on top.
Stage 2: Starting the Color Block
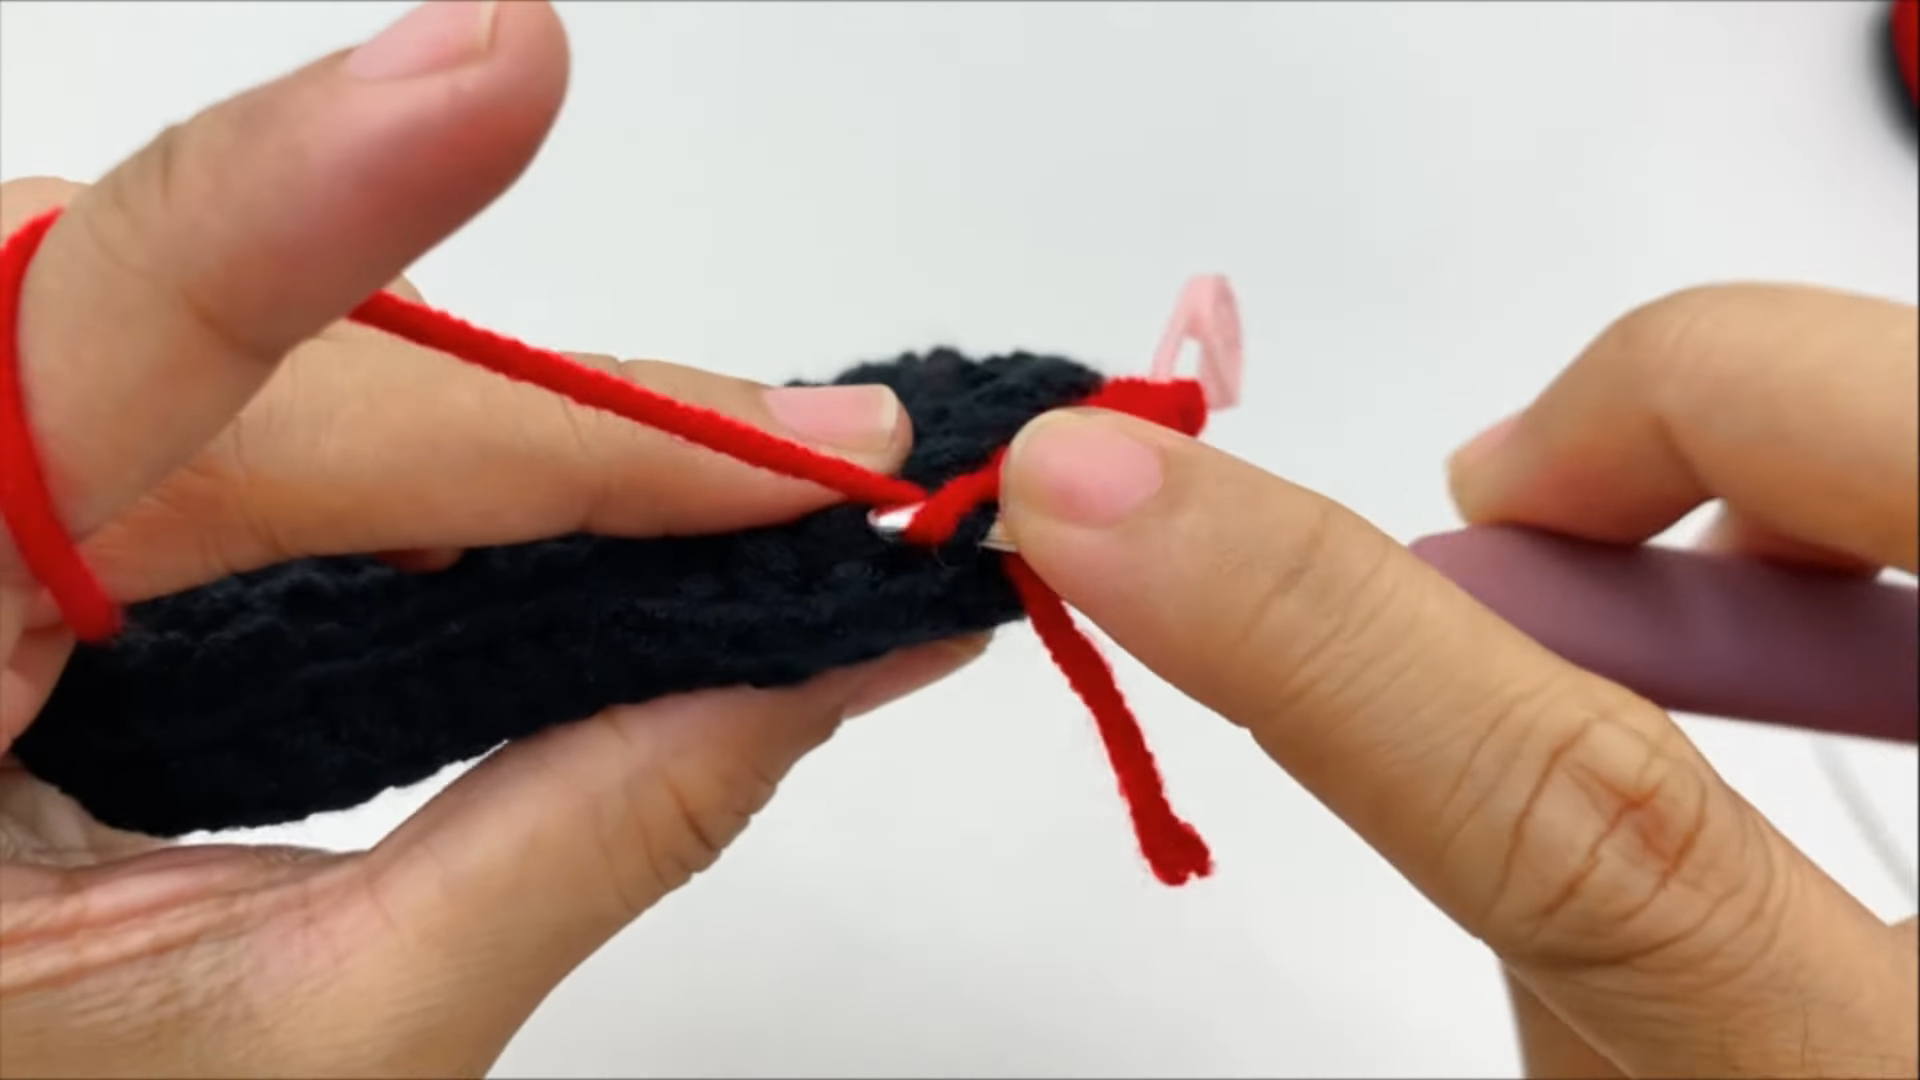
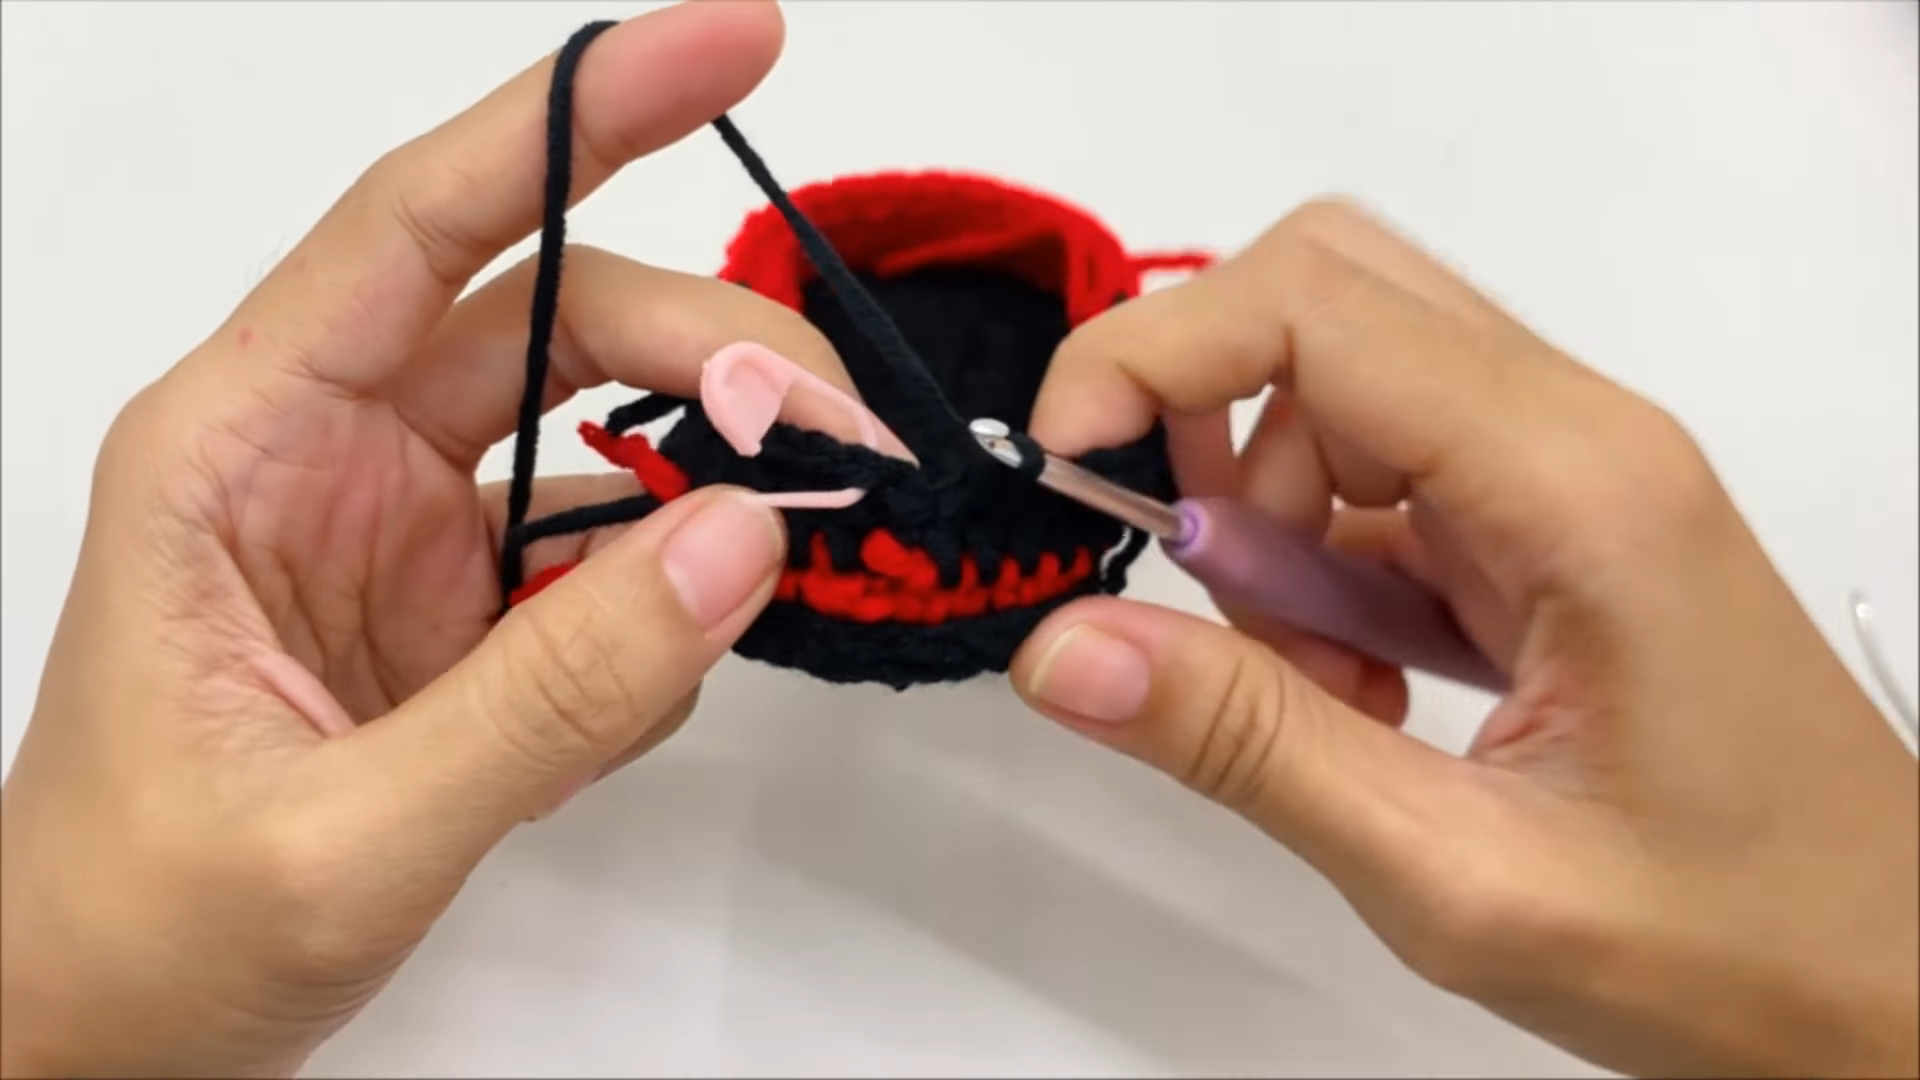
Once the sole was solid, I switched to working in the round in black only. After a few rounds, I dropped in red for the first time.
This is where the motocross booties get their personality. I finished the last black stitch with red already looped through, so the join sits clean instead of stepped.
Stage 3: Building the Boot Wall
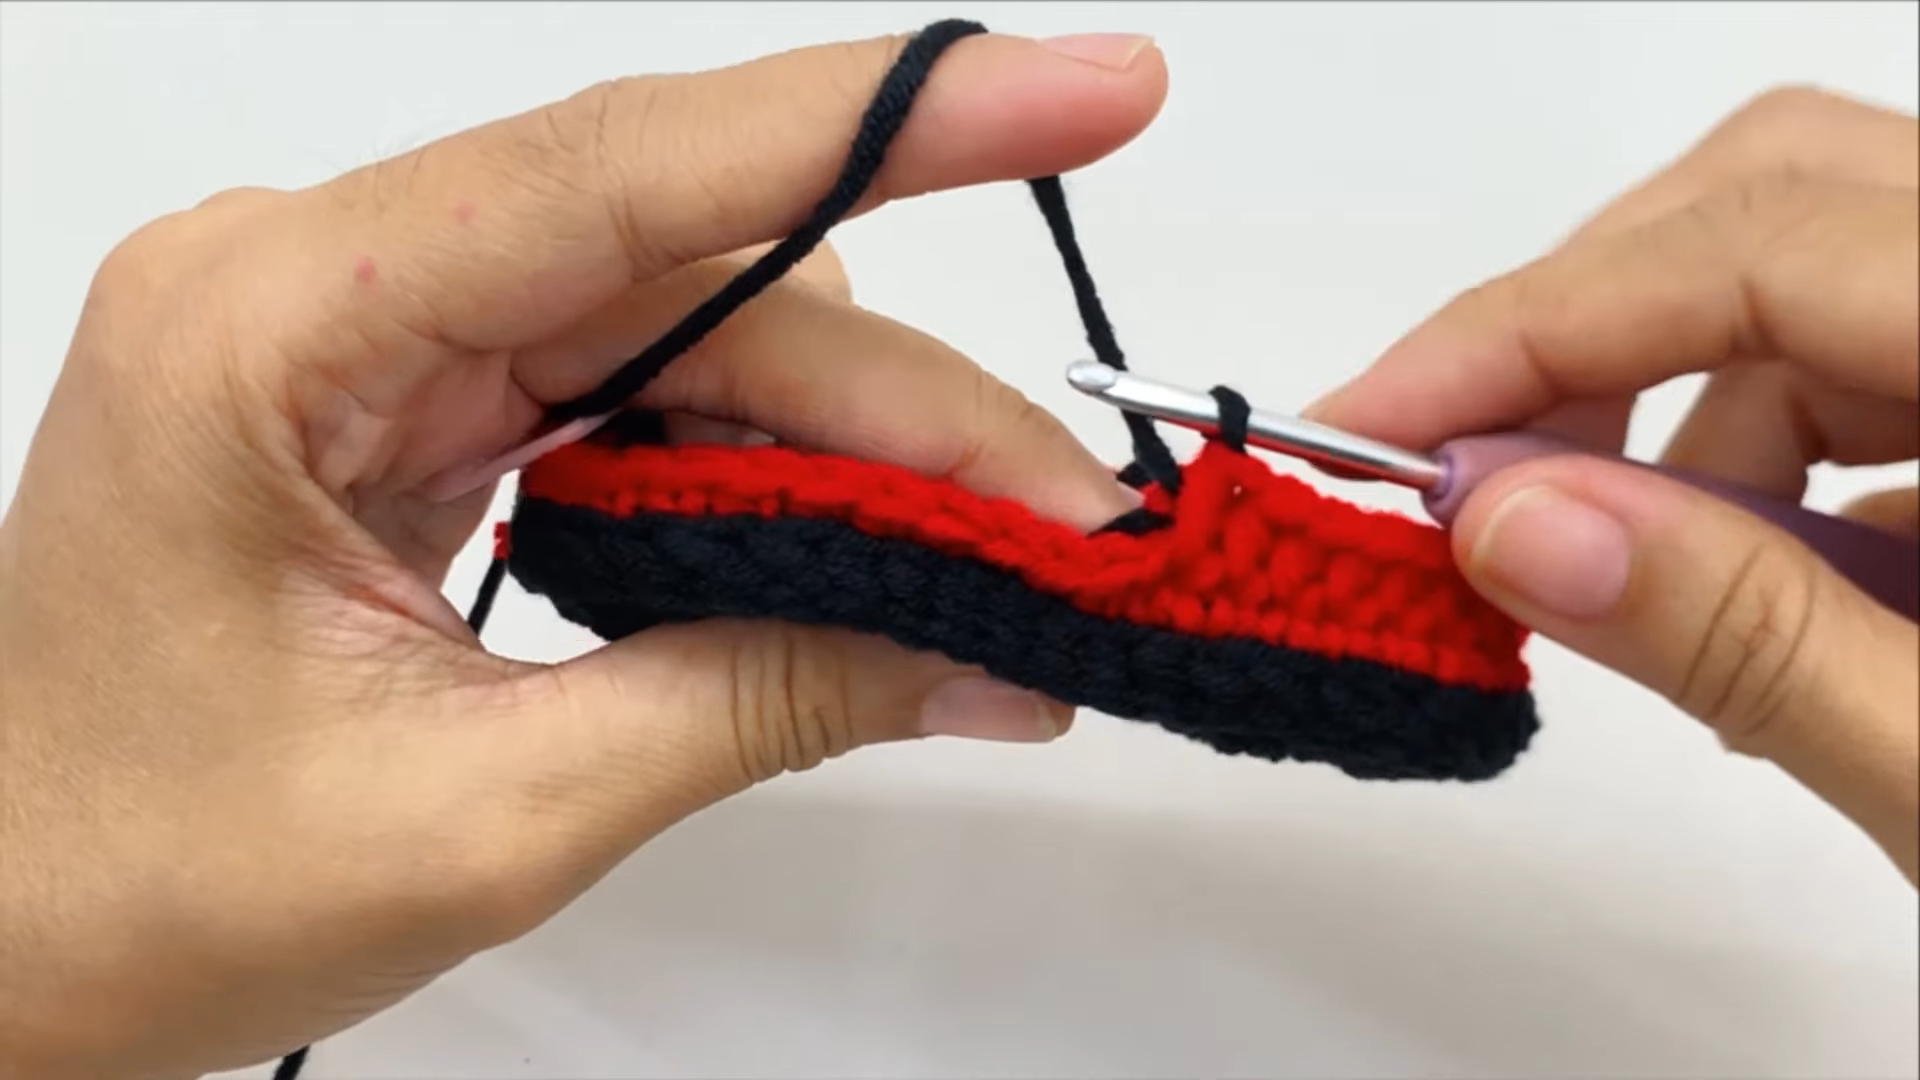
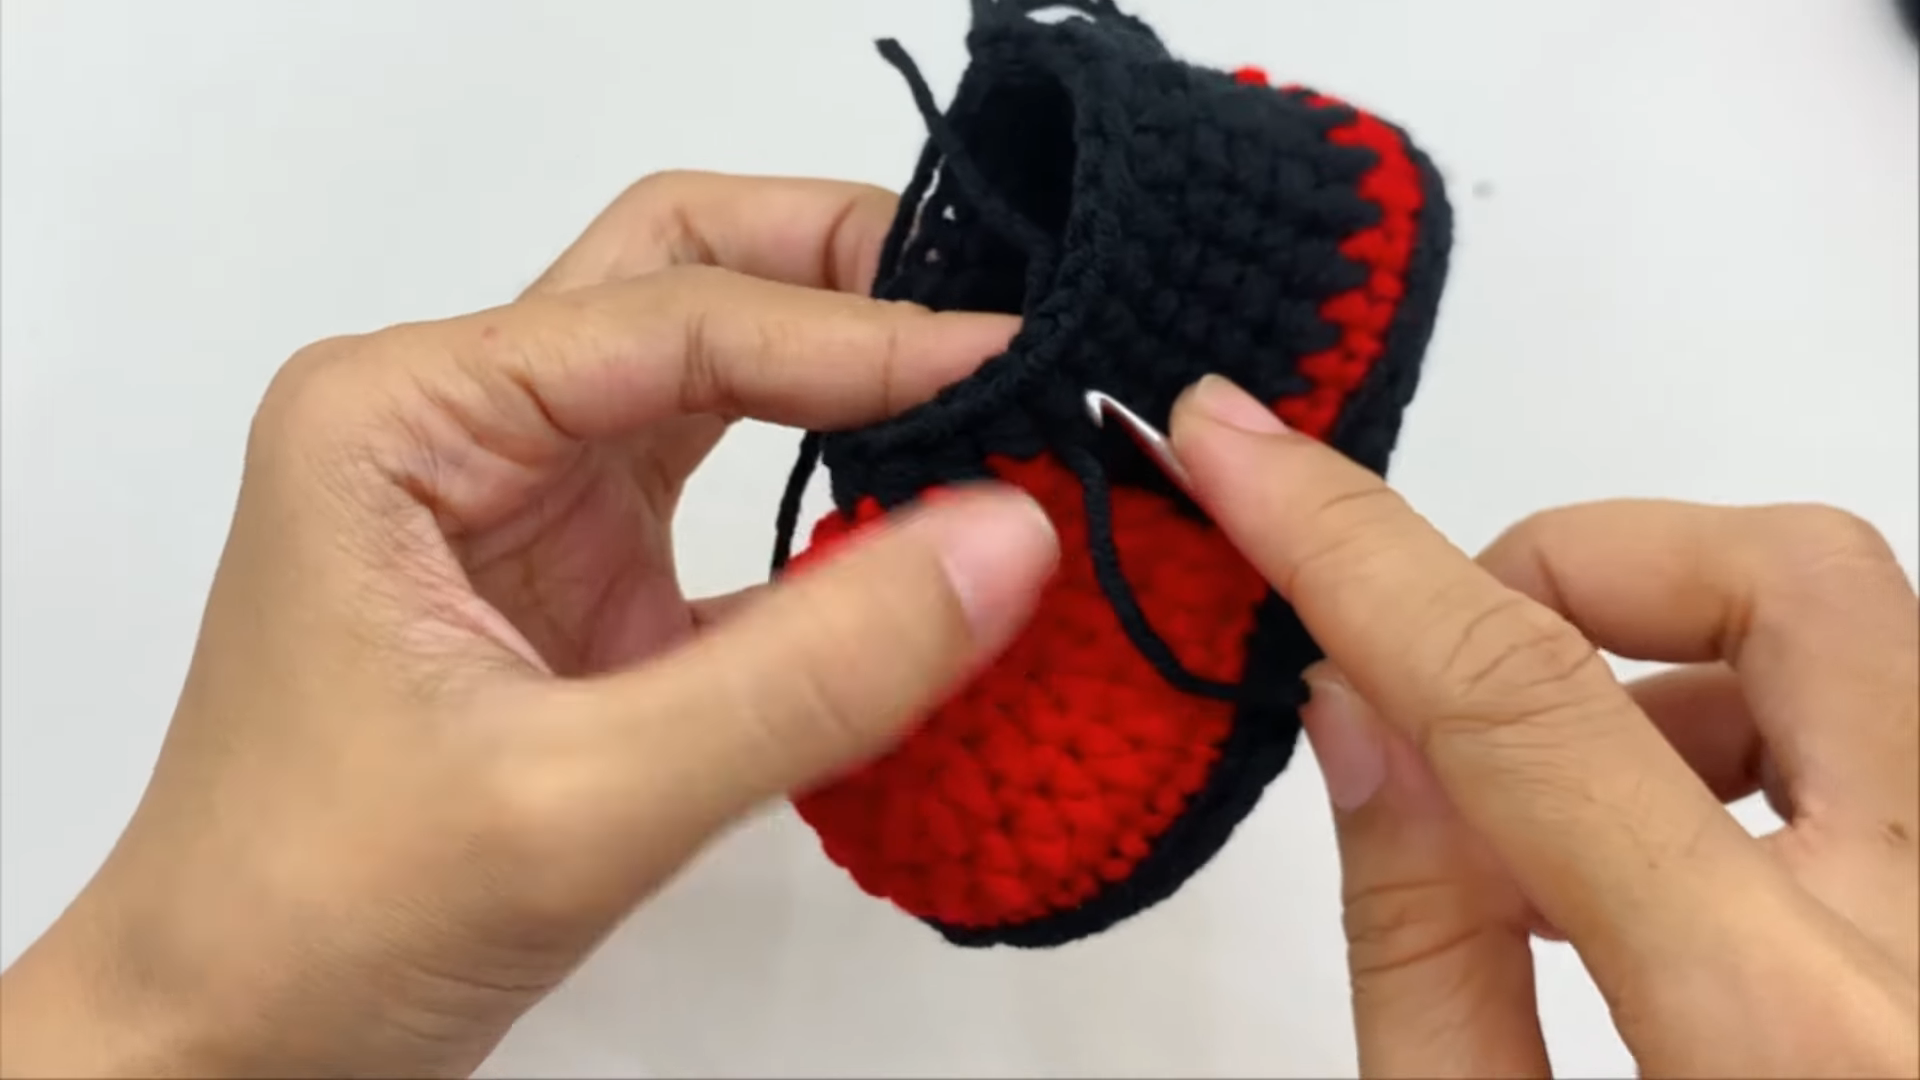
The red band wraps the lower boot like a racing stripe, echoing the sole below it. Height builds straight up here, no new stitches added.
My first few joins had a small ropey bump. Switching colors one stitch before the pull-through fixed that almost completely. Toward the ankle, I decreased gradually to narrow the opening.
Stage 4: Attaching the Pink Details
The little pink tabs mimic the padded pull-loops on real motocross boots. I stuffed each one lightly before sewing it on.
That gave them a slight three-dimensional pop instead of lying flat. Placement had to match across both boots, which took more patience than I expected.
Stage 5: Finishing Touches
A contrast trim in black frames the top opening, echoing a real boot’s collar. I wove in every loose end and checked both boots side by side.
Small gaps at the color joins got a quick pass with the yarn needle. That last check made both motocross booties look finished, not just done.
What Went Wrong / What I’d Do Differently
My first sole came out narrower on one end. I didn’t catch it until three rounds up, and ripping back stung. Next time, I’d mark the sole’s halfway point before increasing.
I also sewed one pair of pink tabs too early. Placement didn’t match once both boots were done. Finish both pieces to the same stage first, then compare.
Where This Piece Lives Now
Both booties sit near my front door now, upright like tiny sneakers. They photograph well against plain white, which made them an easy holiday gift add-on. Some makers clip finished booties to a stocking as an ornament instead.
For First-Timers
Don’t rush the sole; everything above it depends on that oval being even. Keep a stitch marker on the first stitch of every round.
If color changes intimidate you, practice on a scrap swatch first. Don’t skip stuffing the small accent pieces; flat details read as an afterthought.
FAQ
What yarn weight works best?
Worsted weight gives the cleanest stitch definition for color blocking on motocross booties.
Can I skip the pink accent tabs?
Yes, the booties still look complete with just the color blocking.
How long does one bootie take?
Budget an evening or two per boot, longer if color changes are new to you.
Are these meant for actual wear?
They work best as decorative or gift pieces rather than daily footwear.
Closing Thought
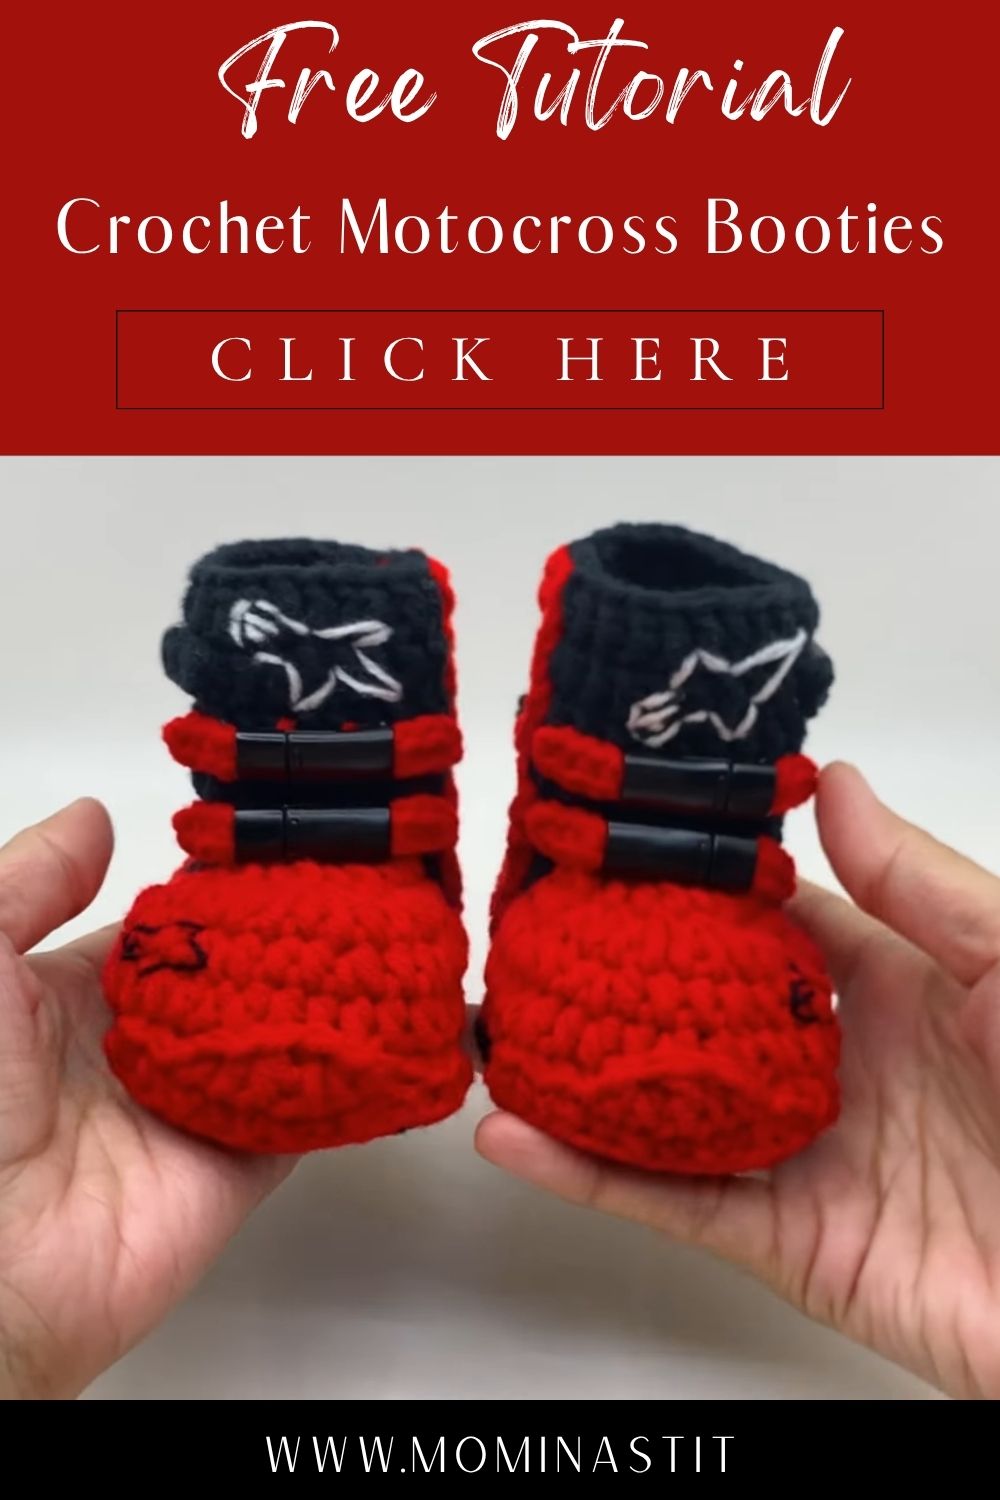
Somewhere between the ripped-back sole and the finally-matched tabs, this stopped being just a pattern. This pair of Crochet Motocross Booties came out with real personality, and that felt like the right outcome.


