Crochet Strawberry Tote Bag Pattern with Berry Appliqué
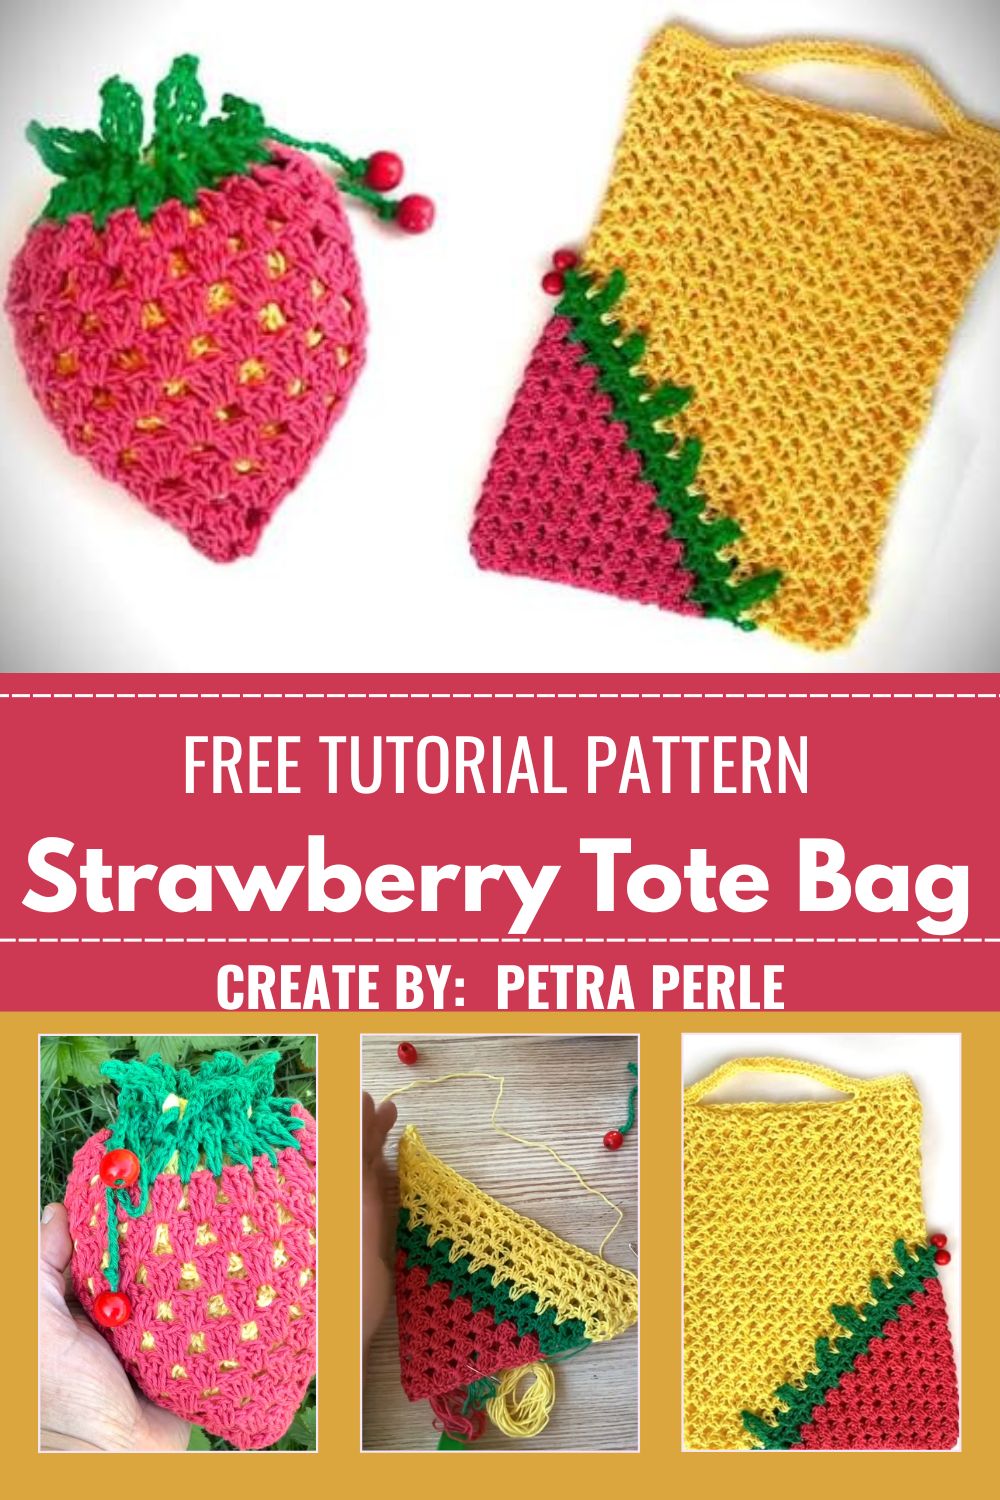
This Crochet Strawberry Tote Bag Pattern with Berry Appliqué combines an open granny-mesh body with a playful crochet strawberry appliqué charm dangling from the strap, giving a plain summer tote a sweet, fruity personality. Warm yellow yarn forms the airy panels, while a leafy green picot trim and a tiny stuffed strawberry charm bring the whole design together into something genuinely fun to carry.
Rows of airy granny-style mesh build the main tote in a soft golden shade, while a leafy green picot trim frames the top edge with delicate little points. A separate three-dimensional strawberry amigurumi charm hangs from the bag as a sweet finishing detail, giving this summer tote bag pattern a fun, fruity personality that stands out from a plain market bag.
About This Crochet Strawberry Tote Bag Pattern
Open granny-stitch rows form the airy triangular panels that make up the body of this tote, letting light pass through the mesh in a way that feels breezy and summery. A pointed green leaf border finishes the top edge of each panel, echoing the look of a strawberry’s leafy crown before the panels join into a finished bag shape.
Skill level lands comfortably in intermediate territory, mainly because the granny mesh pattern involves consistent chain-space counting across every row. The separate strawberry charm adds a bit of amigurumi shaping on top of the flat panel work, though neither technique feels overly complex once the rhythm sets in.
Project Details
- Skill Level: Intermediate
- Finished Size: Approximately 12 to 14 inches wide, 12 inches tall (excluding straps)
- Estimated Time Required: 5 to 7 hours
- Recommended Yarn Weight: DK or lightweight cotton yarn
- Crochet Hook Size: 4.0mm
Materials Needed
- Yellow yarn (main tote body color)
- Green yarn (leaf trim and appliqué stem detail)
- Red or pink yarn (strawberry charm color)
- Small amount of contrasting yarn for strawberry “seeds”
- Crochet hook (4.0mm)
- Fiberfill stuffing (for the strawberry charm)
- Tapestry needle
- Stitch markers
- Scissors
- Small jump ring or cord (to attach the charm)
Crochet Stitches & Techniques
- Chain Stitch (ch): Forms the foundation row for each triangular panel.
- Double Crochet (dc): Builds the open granny-mesh texture of the bag body.
- Picot Stitch: Creates the pointed leaf trim along the top edge.
- Magic Ring (MR): Starts the strawberry charm’s rounded body.
- Increase (inc): Shapes the widest point of the strawberry charm.
- Color Changes: Switches between red, green, and yellow throughout the panels and charm.
- Fastening Off: Secures each finished panel and the charm piece.
- Sewing Pieces Together: Joins the front and back panels and attaches the charm and straps.
Only these techniques appear throughout the pattern, keeping the project approachable despite its layered, multi-piece construction.
Pattern Instructions
Chaining the Panel Foundation
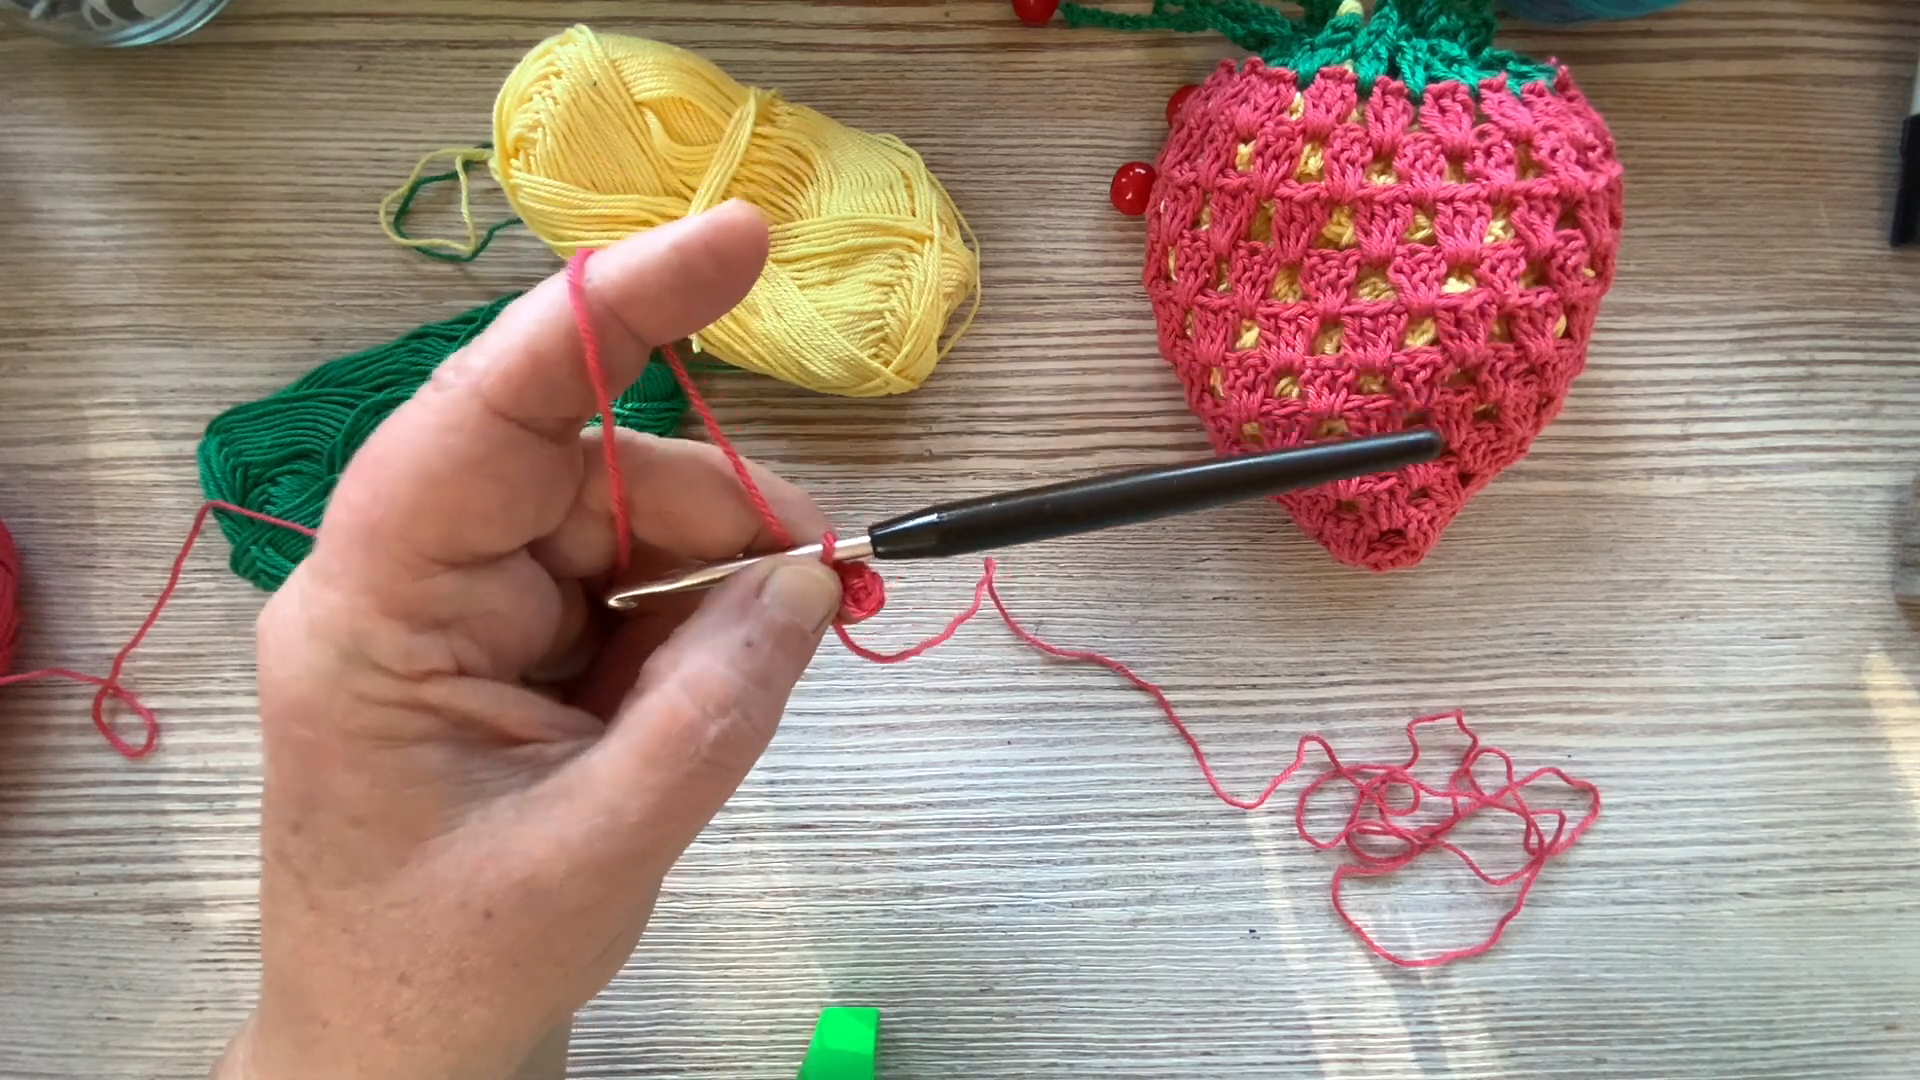
Chain a length matching your desired panel width, then work the first row using double crochet and chain spaces to establish the open granny-mesh texture. Checking the row width against your target bag size early on saves time compared to unraveling a finished panel later.
Building the Mesh Body
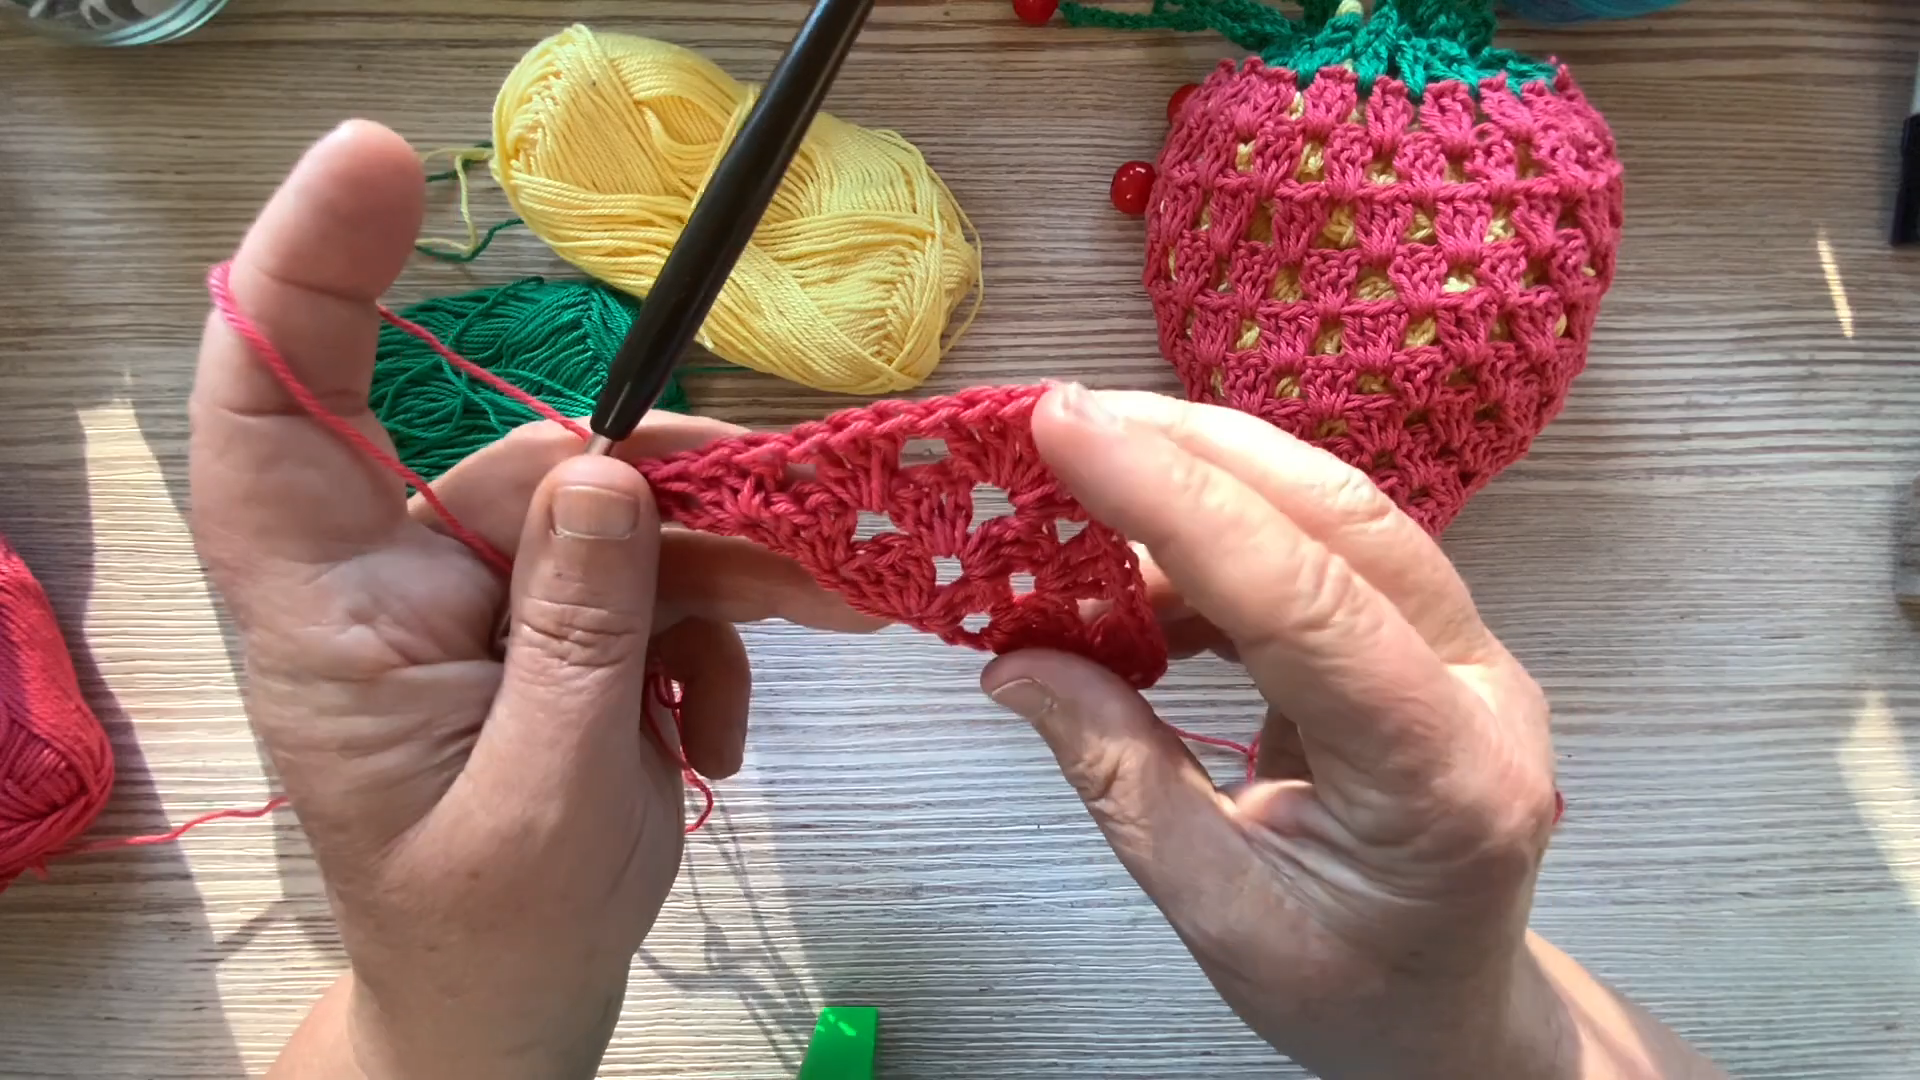
Continue working rows of double crochet and chain spaces, narrowing gradually toward one edge if following the triangular panel shape shown in the pattern, or keeping the width consistent for a straight rectangular tote instead. Either version works well, so choose based on the finished silhouette you prefer.
Adding the Leaf Trim
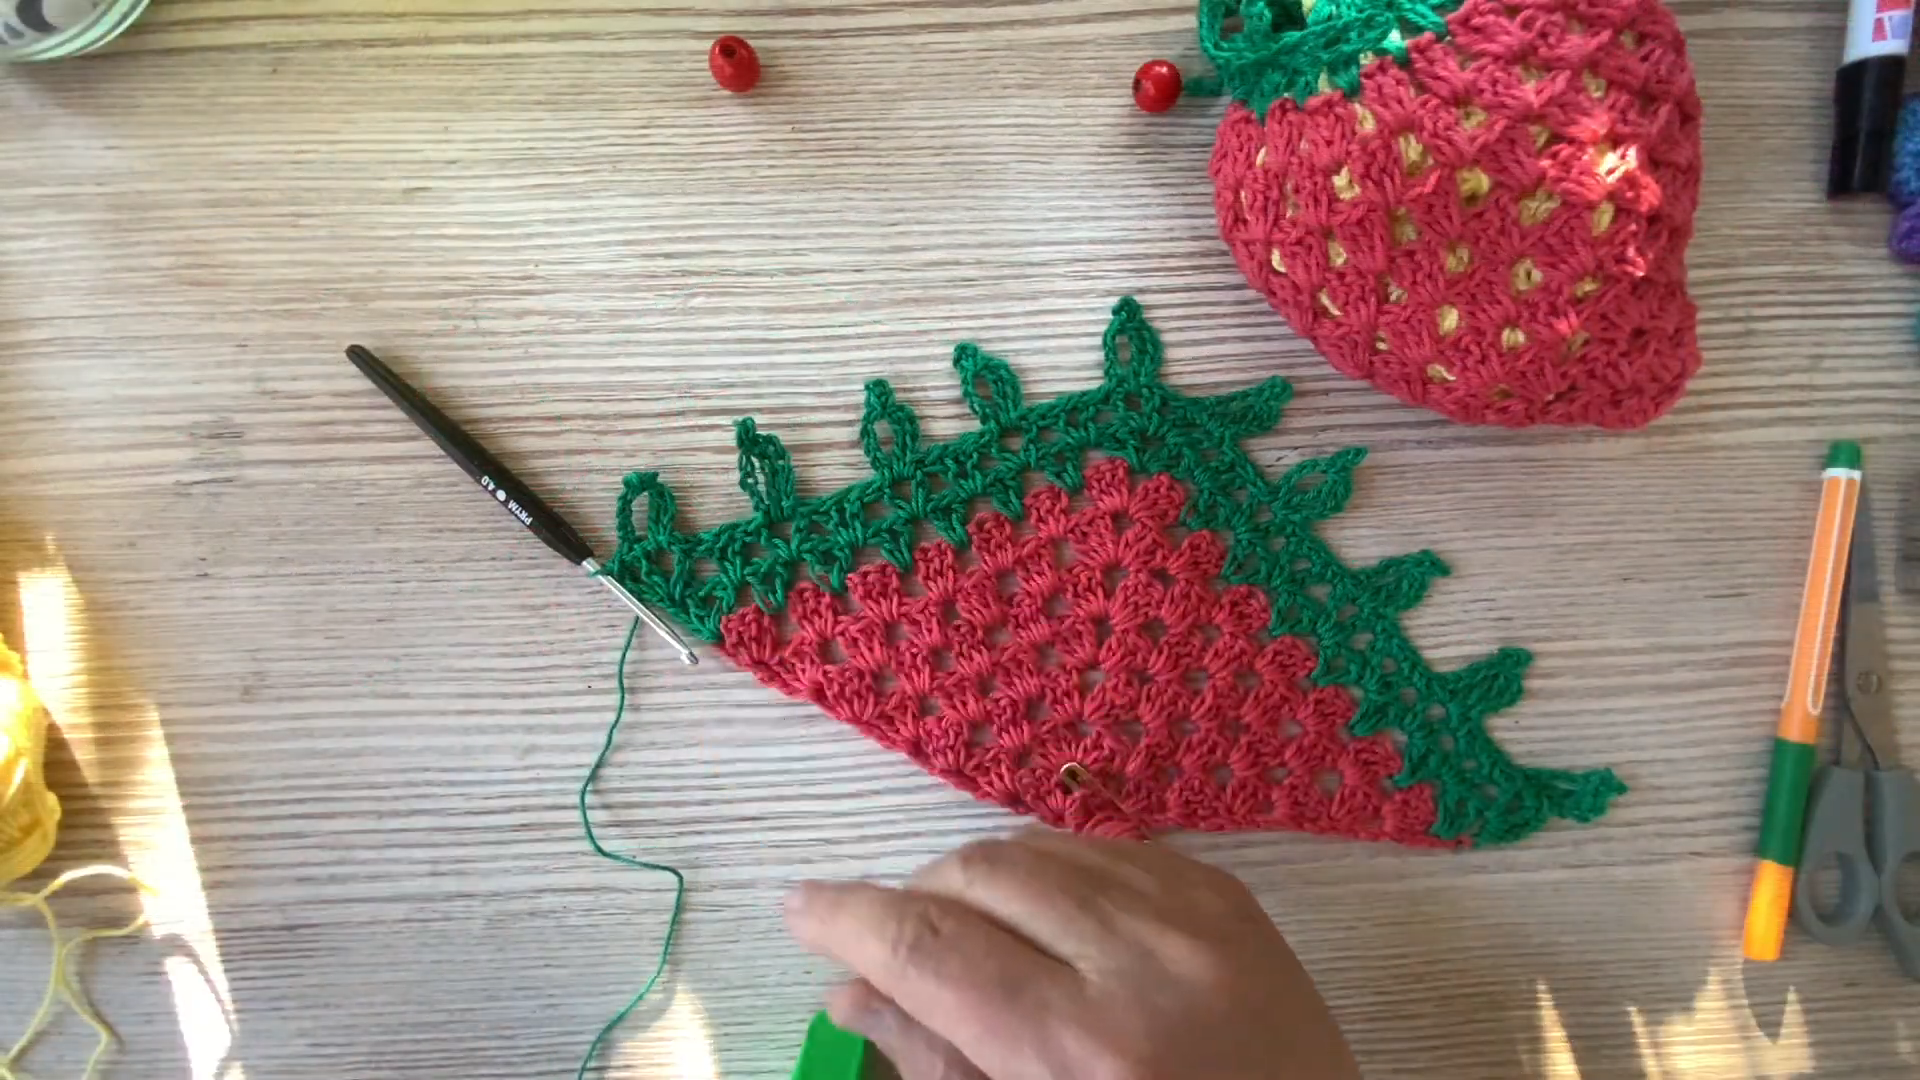
Switch to green yarn once the panel reaches its full size, working a row of picot stitches along the top edge to create the pointed, leaf-like border. Space the picots evenly so the leafy points look balanced rather than clustered unevenly along the trim.
Working the Striped Section
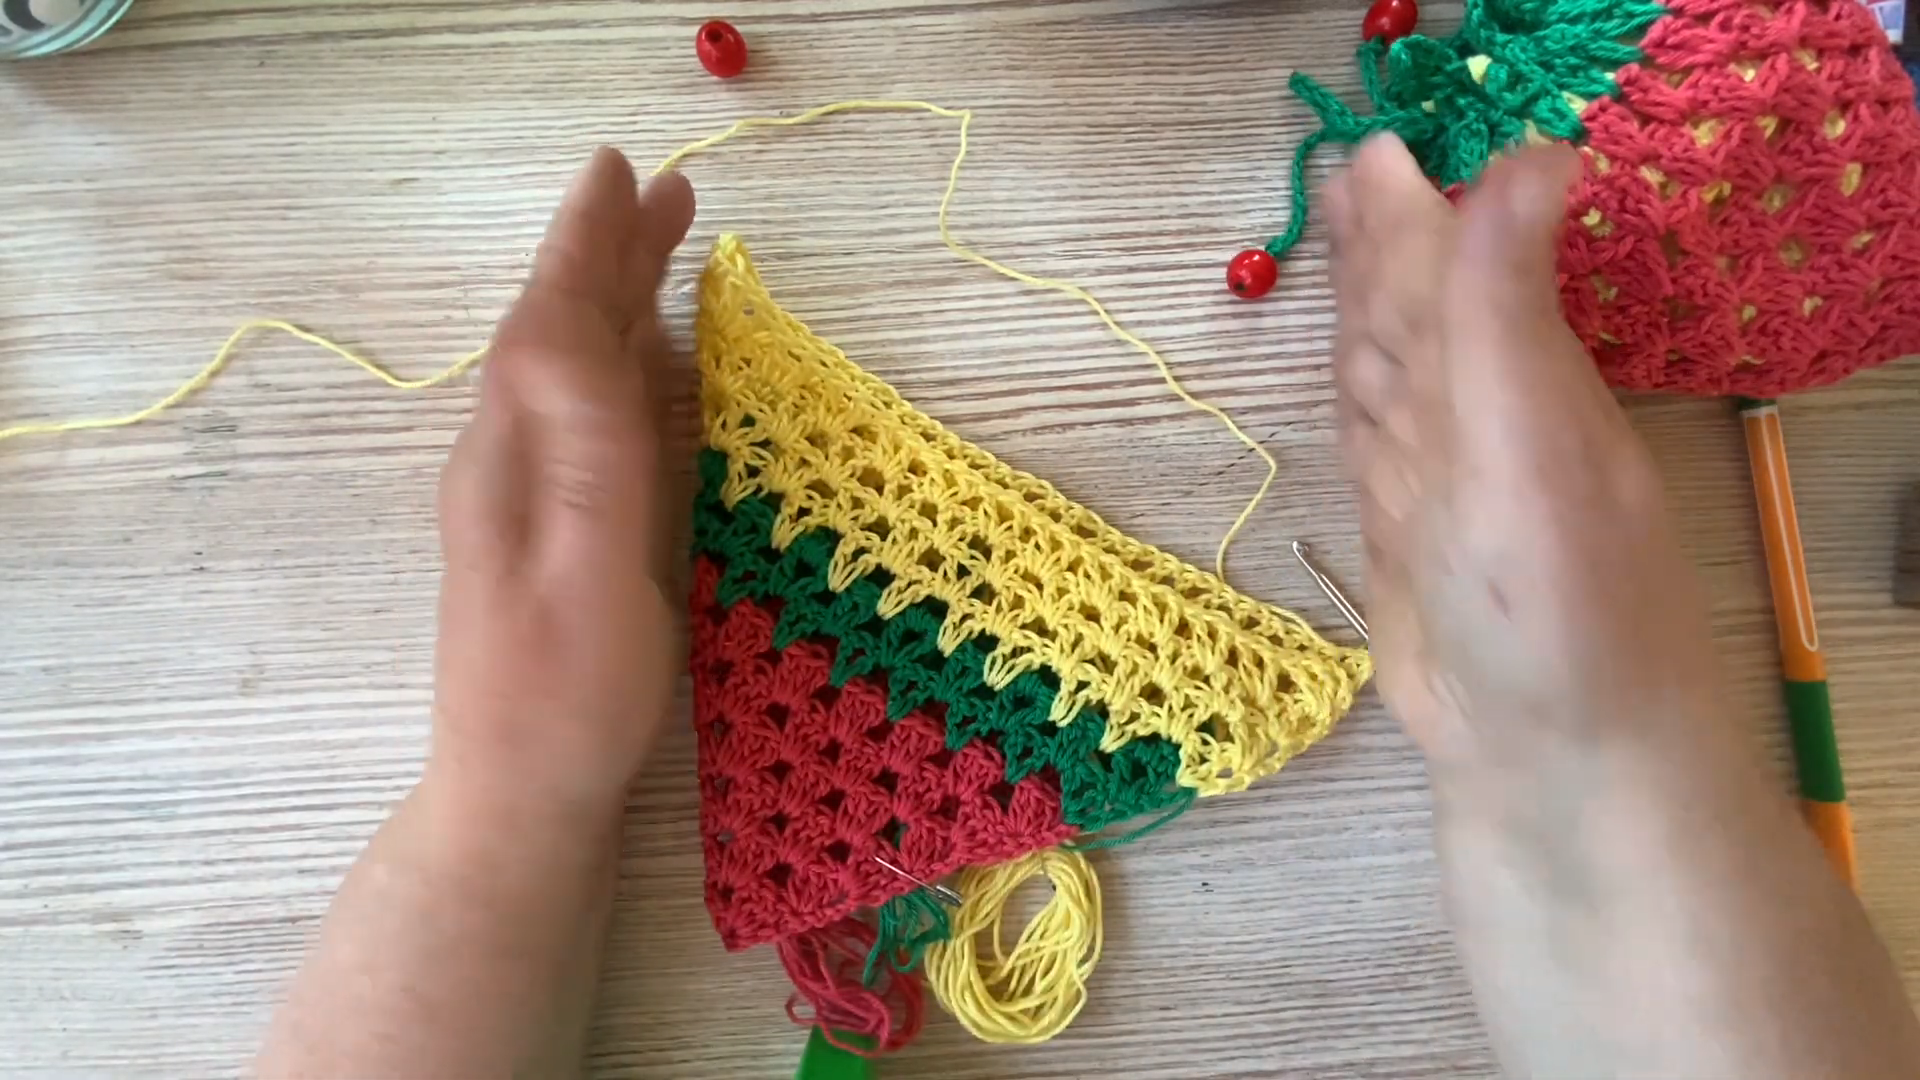
If following the layered red-green-yellow striping seen in this design, alternate short color bands near the base of the panel before transitioning into the solid yellow mesh body above. This striped section echoes a strawberry’s coloring and adds a playful visual anchor near the bottom of the bag.
Making the Strawberry Charm
Form a magic ring with red yarn and increase gradually over several rounds to build the rounded strawberry shape, adding tiny yarn “seed” stitches scattered across the surface once the body is complete. Finish the top with a small green leafy crown, stuffing lightly before closing the final round.
Joining the Panels
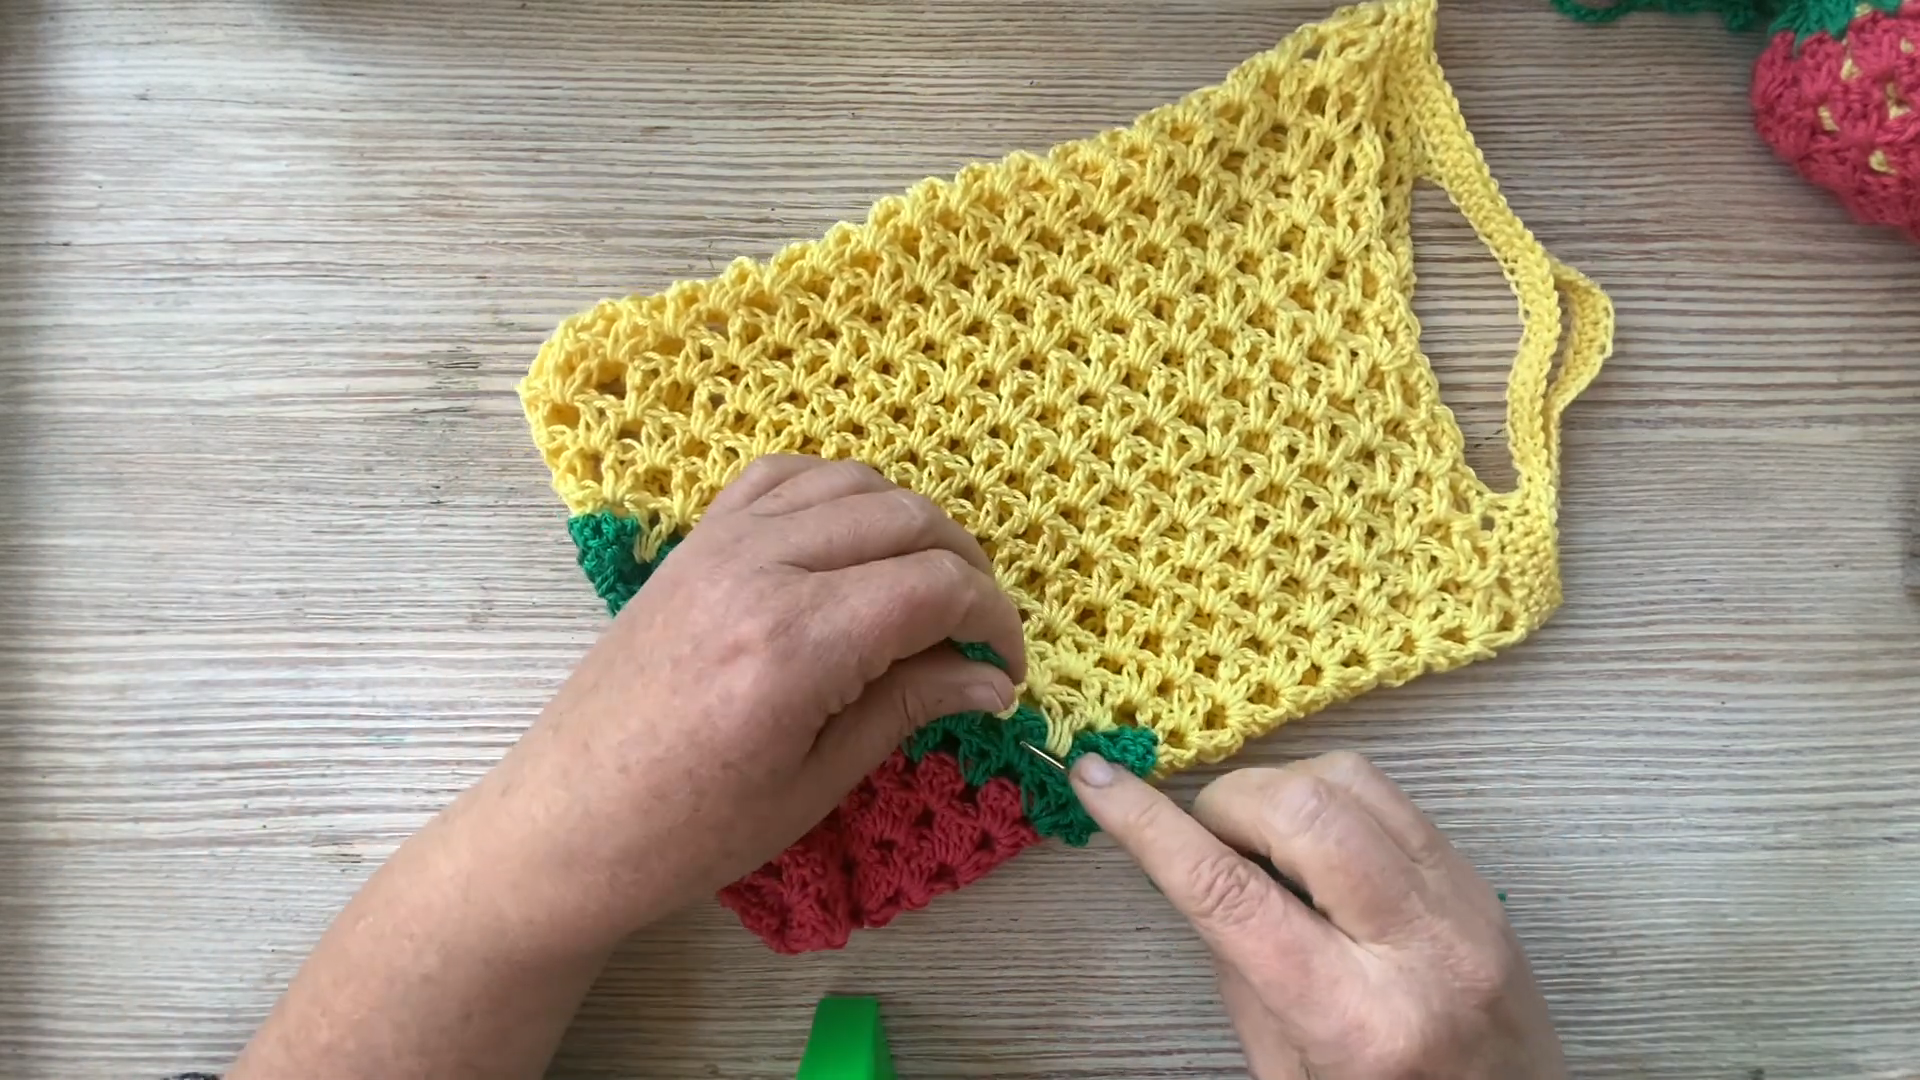
Lay the front and back mesh panels together and single crochet or whip stitch along the sides and bottom, leaving the top open for easy access. Keep tension even along the seam so the finished bag doesn’t pull to one side once filled with items.
Attaching Straps and Charm
Crochet two strap lengths using double crochet for extra strength, then attach both securely to the top edges of the panels at even, mirrored points. Sew the finished strawberry charm onto one strap or the front panel using a short cord or jump ring so it hangs freely as a decorative accent.
Final Assembly
Weave in every remaining loose end using a tapestry needle, checking the leaf trim and charm attachment points closely since these small details tend to hide loose tails less easily than the main mesh body. Give the finished tote a light steam or block if any panel edges look uneven.
Tips for Success
- Count chain spaces carefully on every mesh row to keep the panel width consistent.
- Space picot stitches evenly along the leaf trim for a balanced, symmetrical look.
- Stuff the strawberry charm lightly so it stays soft rather than stiff.
- Block finished panels before joining them for cleaner, straighter seams.
- Reinforce strap attachment points with a few extra stitches, since totes carry regular weight.
Personalization Ideas
Color Variations
Swapping yellow for cream or soft blush gives the mesh body a completely different seasonal mood.
Size Adjustments
Adding extra mesh rows before the leaf trim easily creates a larger, more spacious tote for everyday errands.
Charm Alternatives
Replacing the strawberry with a small cherry or lemon charm keeps the same construction while changing the fruity theme.
Lining Option
Sewing a simple fabric lining inside the mesh body adds structure and prevents small items from slipping through the open stitches.
Common Mistakes to Avoid
Losing count of chain spaces across mesh rows often causes the panel to widen or narrow unevenly, so checking stitch counts at the end of every row helps catch drift early. Rushing the picot trim sometimes leaves uneven spacing between leaf points, so working that row slowly and checking spacing as you go produces a much tidier finished edge. Skipping strap reinforcement can lead to stretching once the bag carries weight, so working straps a bit denser than the mesh body helps them hold up over time.
Frequently Asked Questions
What yarn works best for a mesh tote like this?
Cotton or cotton-blend yarn holds its shape nicely for open mesh work and resists stretching out of shape once the bag carries items.
Can I make the bag without the strawberry charm?
Certainly. The mesh tote looks lovely on its own, so the charm remains a fully optional decorative addition.
How do I keep my mesh rows even?
Counting chain spaces at the end of every row and using a stitch marker at the start helps maintain consistent width throughout.
Is this Crochet Strawberry Tote Bag pattern suitable for beginners?
Mostly yes, though the picot trim and charm shaping benefit from some prior experience with basic stitches and simple increases.
Can I line the bag with fabric?
Yes, sewing a lightweight fabric lining inside the finished tote adds structure and keeps smaller items from falling through the open mesh.
How much yarn do I need for the whole project?
Amount varies with bag size, but most versions use a moderate skein of the main color plus small amounts of accent shades.
Can I make the straps longer for a shoulder bag?
Absolutely. Extending the strap chains before working the strap rows easily converts this into a shoulder-length carry style.
Conclusion
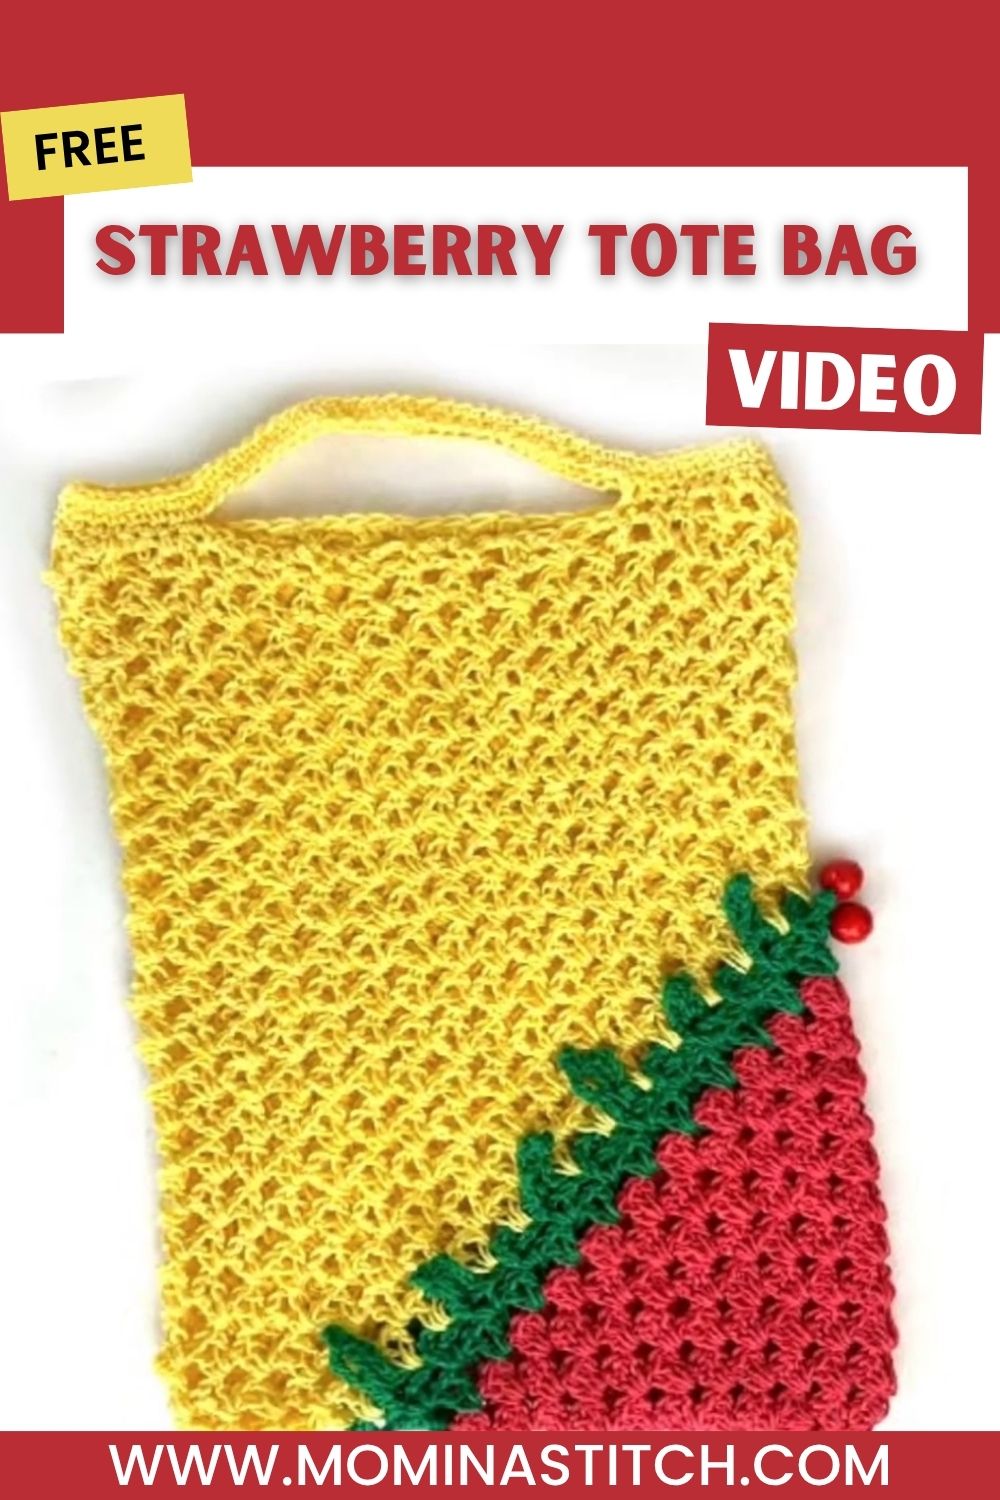
Sweet fruity details rarely feel this practical, yet this Crochet Strawberry Tote Bag proves that a decorative charm and an everyday market bag can share the same skein of yarn. Give this pattern a try, experiment with different fruit charms or color palettes, and share your finished tote with fellow crocheters who love a project full of personality and charm.