Crochet Granny Stitch Jersey Pattern with Classic Team Style
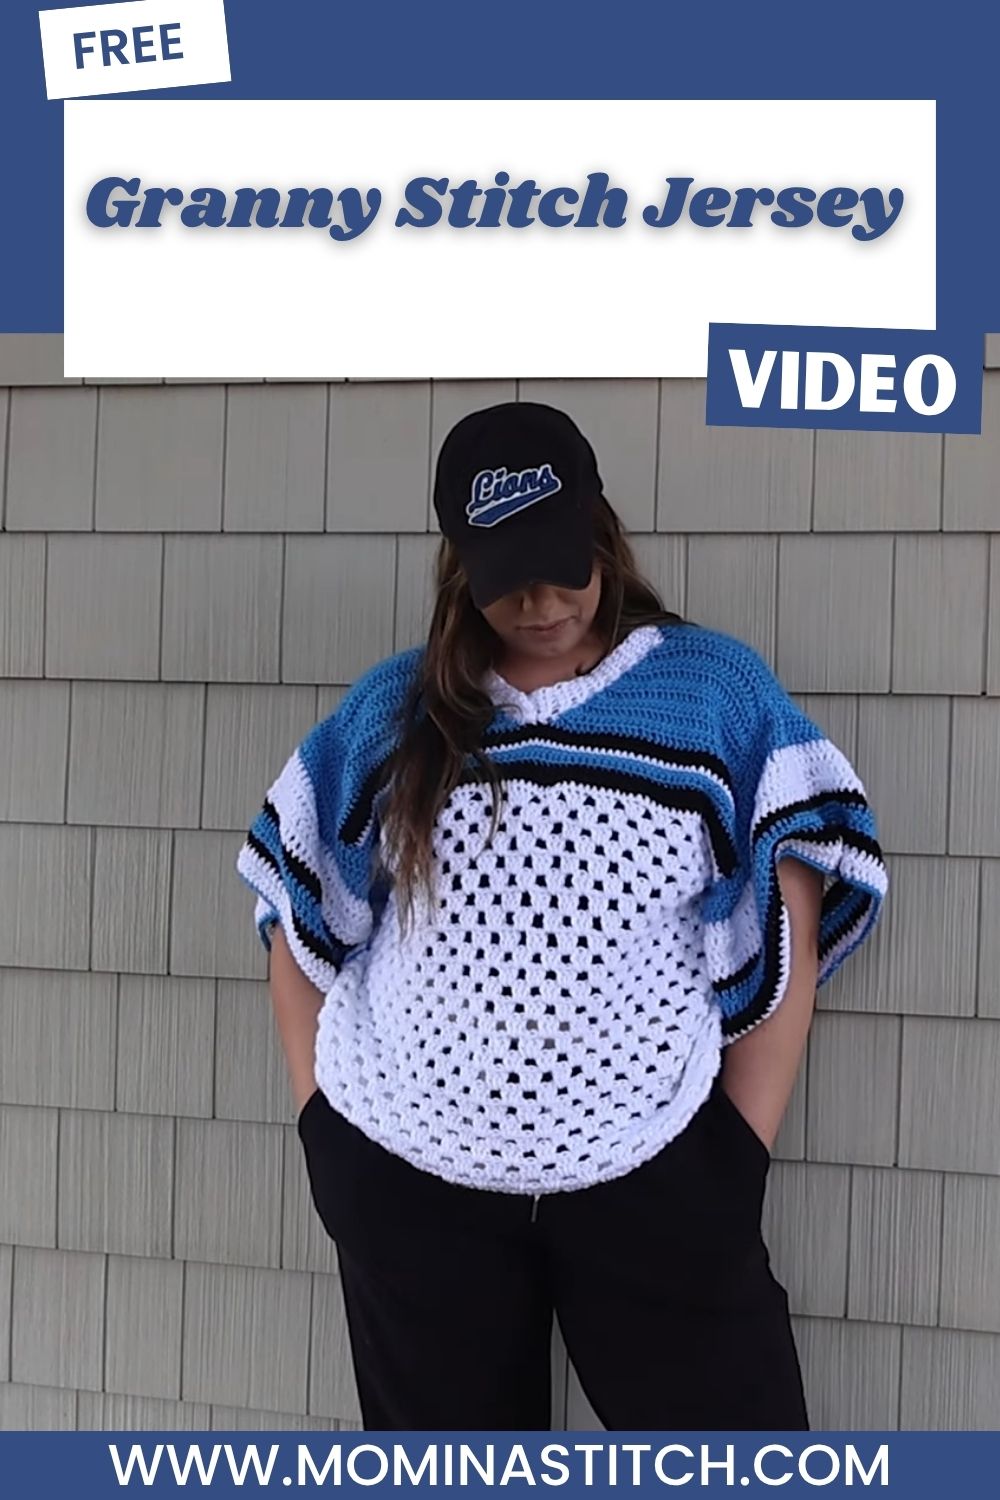
Granny stitch’s open, airy texture pairs with sporty stripes to give this Crochet Granny Stitch Jersey a distinctive, relaxed look. A lightweight, mesh-like fabric and retro sports-jersey-inspired colors make it lovely for warm-weather wear or layering over other pieces. This design comes together quickly while still delivering a bold, easygoing style.
Worked in traditional granny stitch, this jersey creates an airy, distinctive textured surface, its small open gaps keeping it breathable and comfortable for warm days. A bold navy stripe against the white background gives the piece that sporty, team-jersey look. This design suits beach outings, relaxed summer wear, or light layering over a tank top especially well.
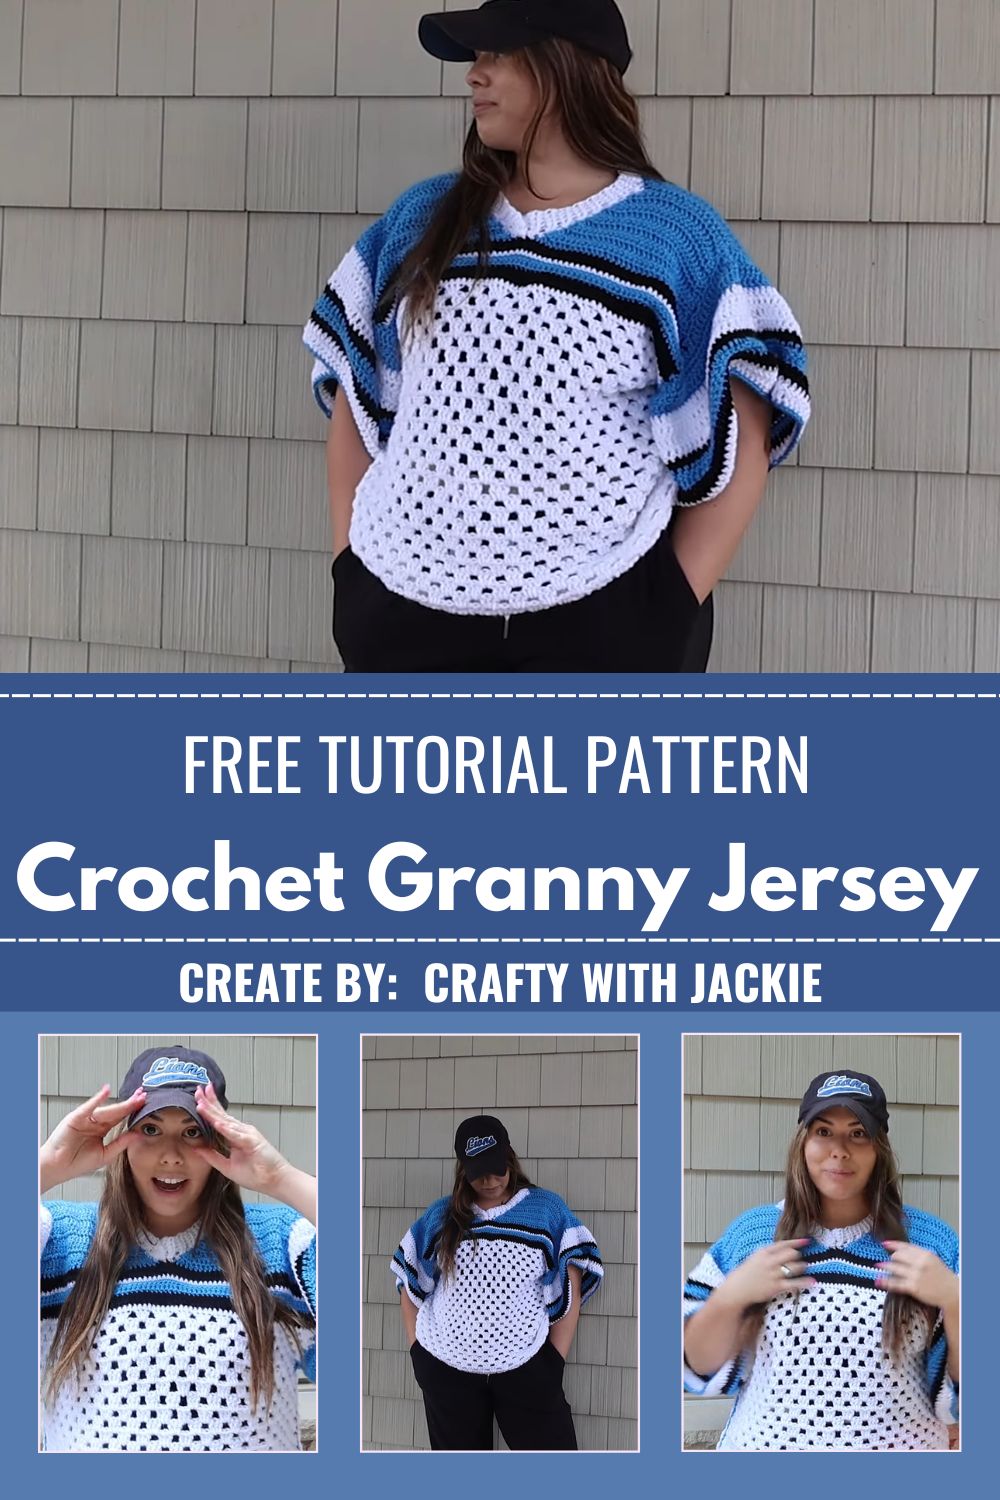
What makes this design so appealing is how the simple, repetitive granny stitch does all the visual work, letting the fabric’s natural texture and open mesh pattern carry the entire look without any complicated shaping. Because the stitch pattern stays consistent throughout, this jersey works well as a relaxed, low-pressure project for anyone wanting to practice garment construction without tackling intricate stitch changes.
Project Details
- Skill Level: Beginner-friendly
- Finished Size: Customizable, oversized relaxed fit
- Estimated Time Required: 5–7 hours total
- Recommended Yarn Weight: Worsted or bulky weight cotton or cotton-blend
- Crochet Hook Size: 5mm–6mm
Materials Needed
- Yarn in white and blue
- Crochet hook (5mm–6mm)
- Tapestry needle for seaming
- Stitch markers
- Scissors
- Measuring tape for sizing panels to fit
Crochet Stitches & Techniques
- Foundation Chain
- Granny Stitch (chain and double crochet cluster combination)
- Color Changes
- Fastening Off
- Sewing Pieces Together
Sticking to just the granny stitch throughout keeps this project refreshingly simple, which makes it an easy pick for a relaxed evening of crocheting.
Pattern Instructions
This jersey builds from a foundation chain into a full granny stitch panel, with a blue stripe woven in partway through to bring in that classic sporty look. Working through the stages below in order keeps the stitch pattern consistent and makes the color-blocking far easier to manage once the stripe section begins.
Step 1: Starting the Foundation Chain
Begin with a slip knot and chain a long foundation row in white yarn, sizing the chain length to match your intended body width. Keep the chain relaxed rather than tight, since a snug foundation row can pull the entire panel narrower than planned. This starting chain becomes the base that the whole granny stitch pattern builds from.
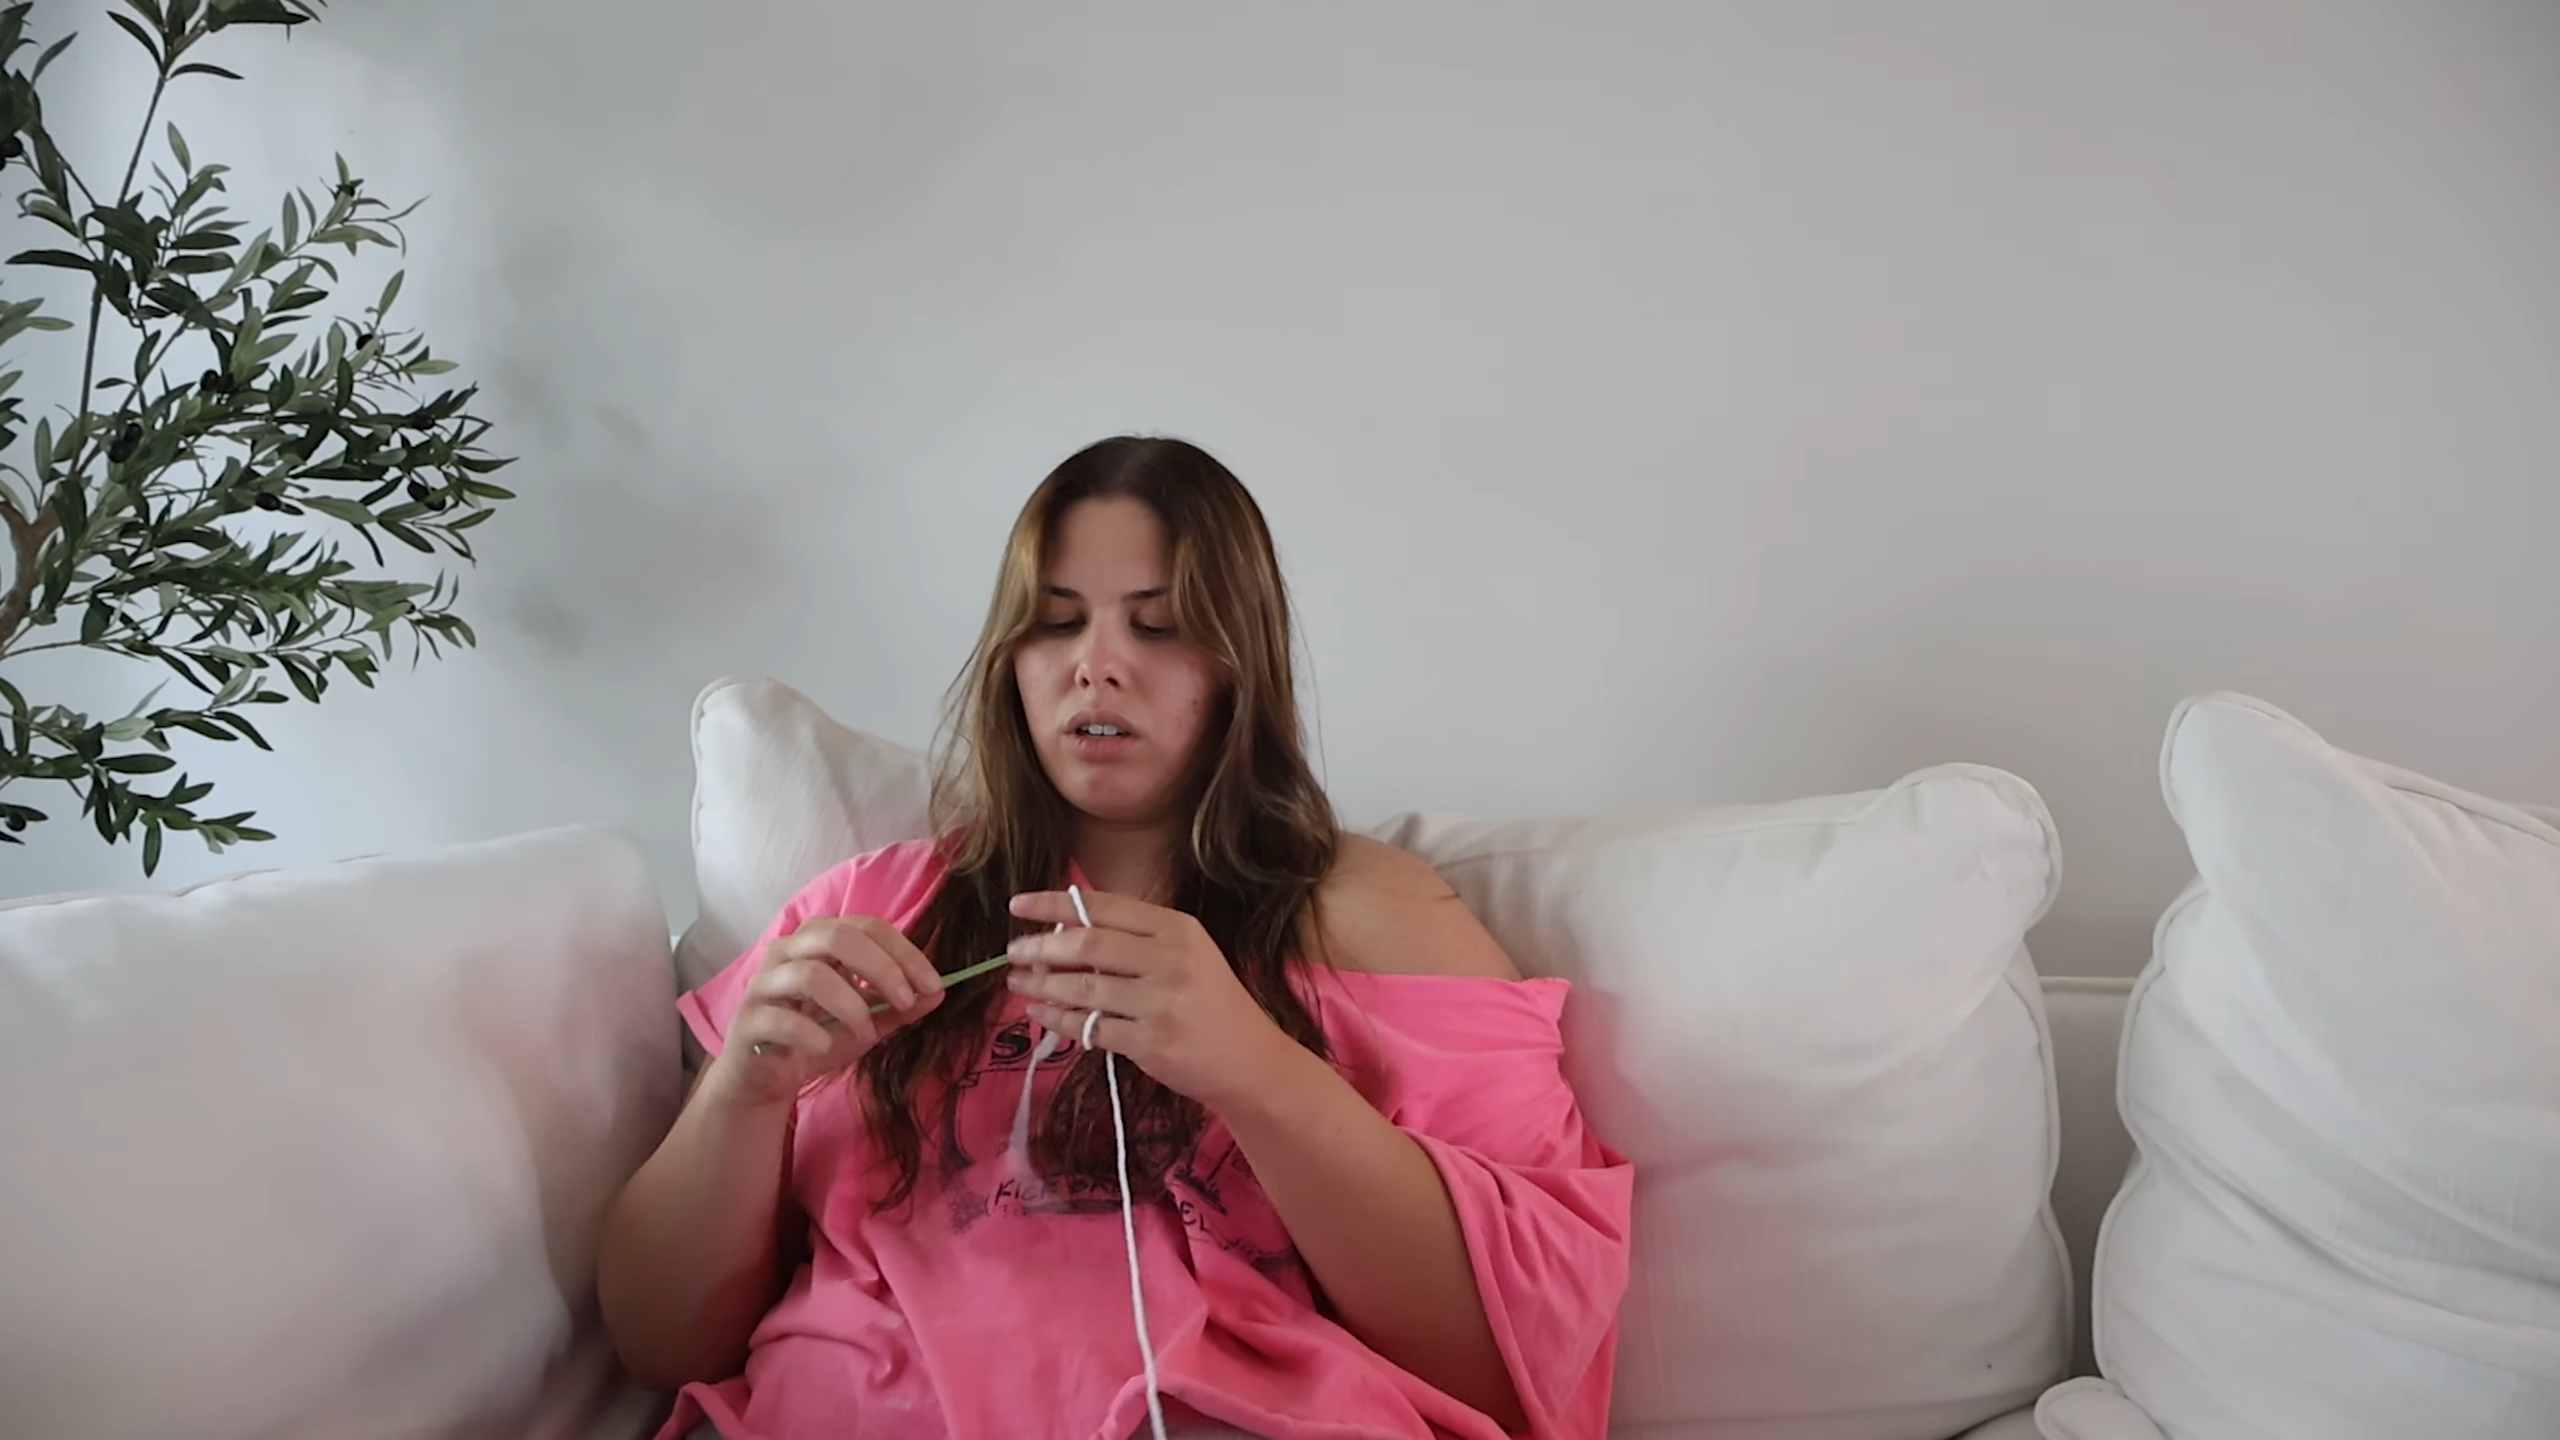
Step 2: Working the First Rows of Granny Stitch
Begin working your granny stitch clusters into the foundation chain, alternating chain spaces and stitch groups to build that signature open, textured look. Notice how the fabric starts forming small diamond-shaped gaps as the pattern repeats across the row. Keep your tension even here, since the granny stitch relies on consistent spacing to look clean once the panel grows longer.
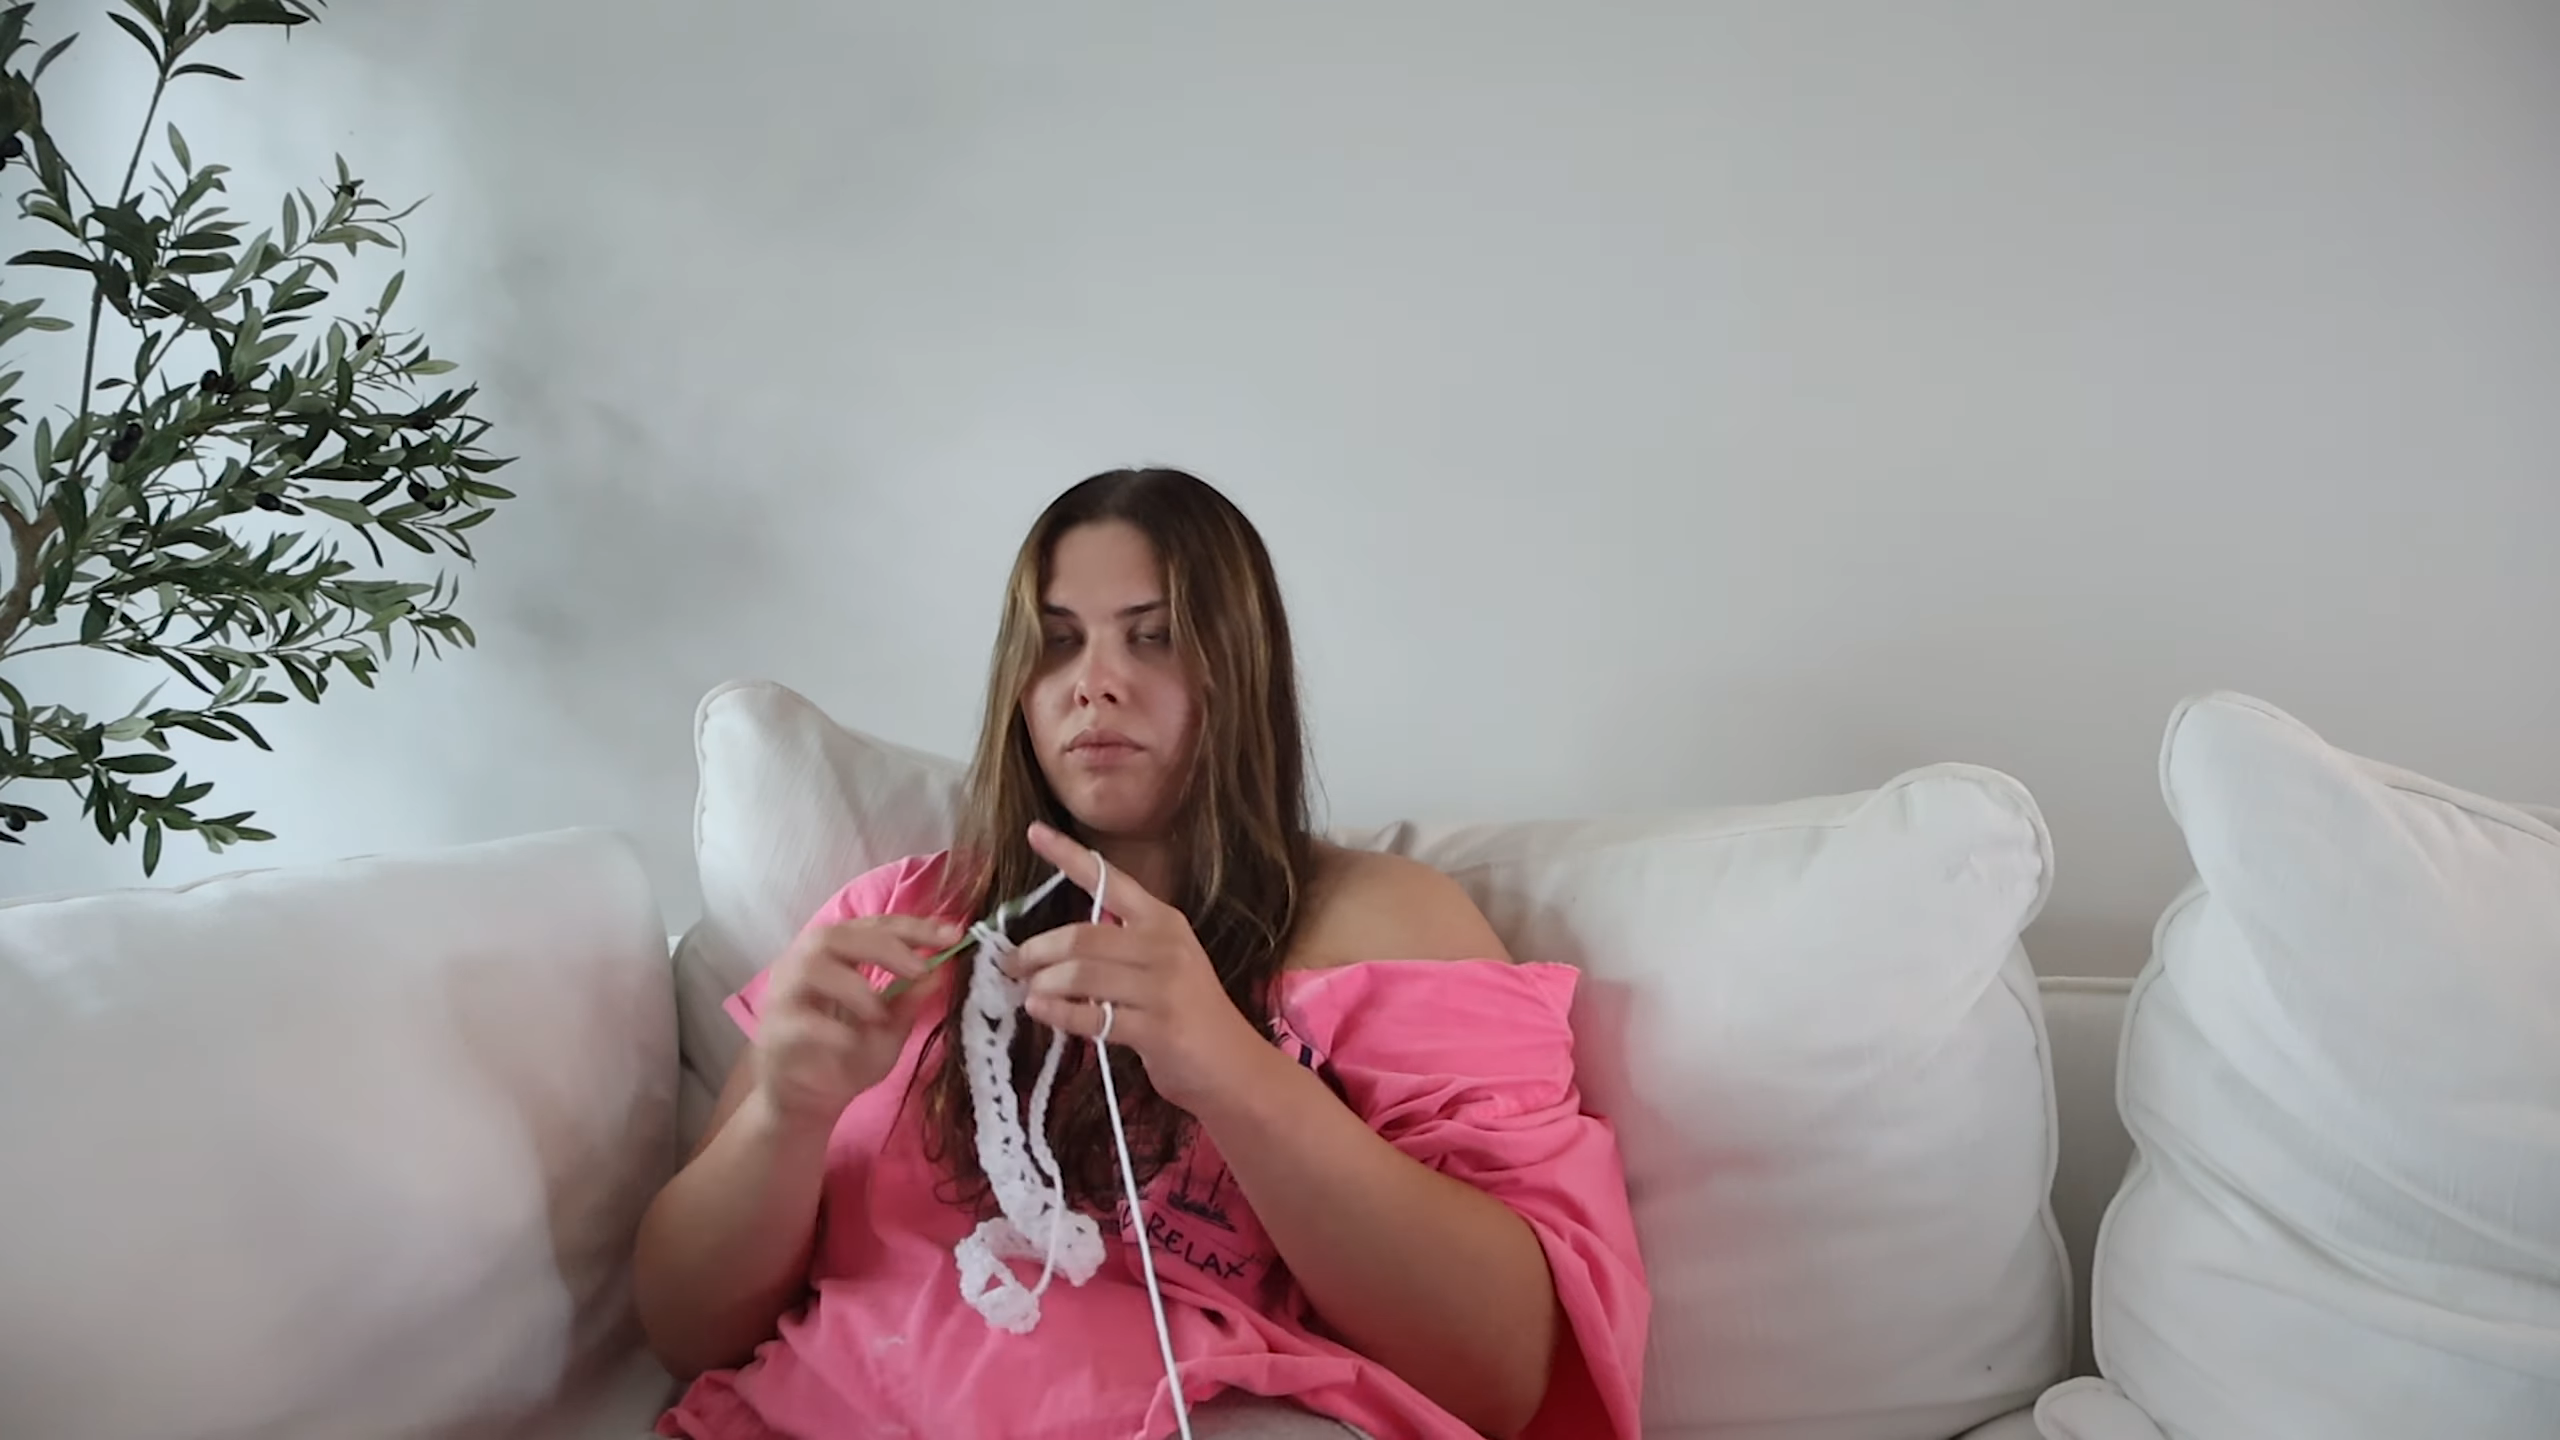
Step 3: Building Panel Length and Checking Progress
Continue working row after row, turning at the end of each one and repeating the granny stitch sequence to build the panel upward. Hold the piece up periodically against your body or a similar reference to track how the length is progressing toward your finished measurements. This straightforward repetition is where the fabric’s breathable, mesh-like texture really becomes visible.

Step 4: Reviewing the Full Body Panel
Once the panel reaches a substantial length, hold it up fully to check the overall width and drape before deciding where the stripe section will sit. This is a good moment to confirm the fabric feels appropriately oversized and relaxed rather than tight. Take note of roughly how many rows remain before reaching your target length, since this helps plan exactly where the color change should begin.
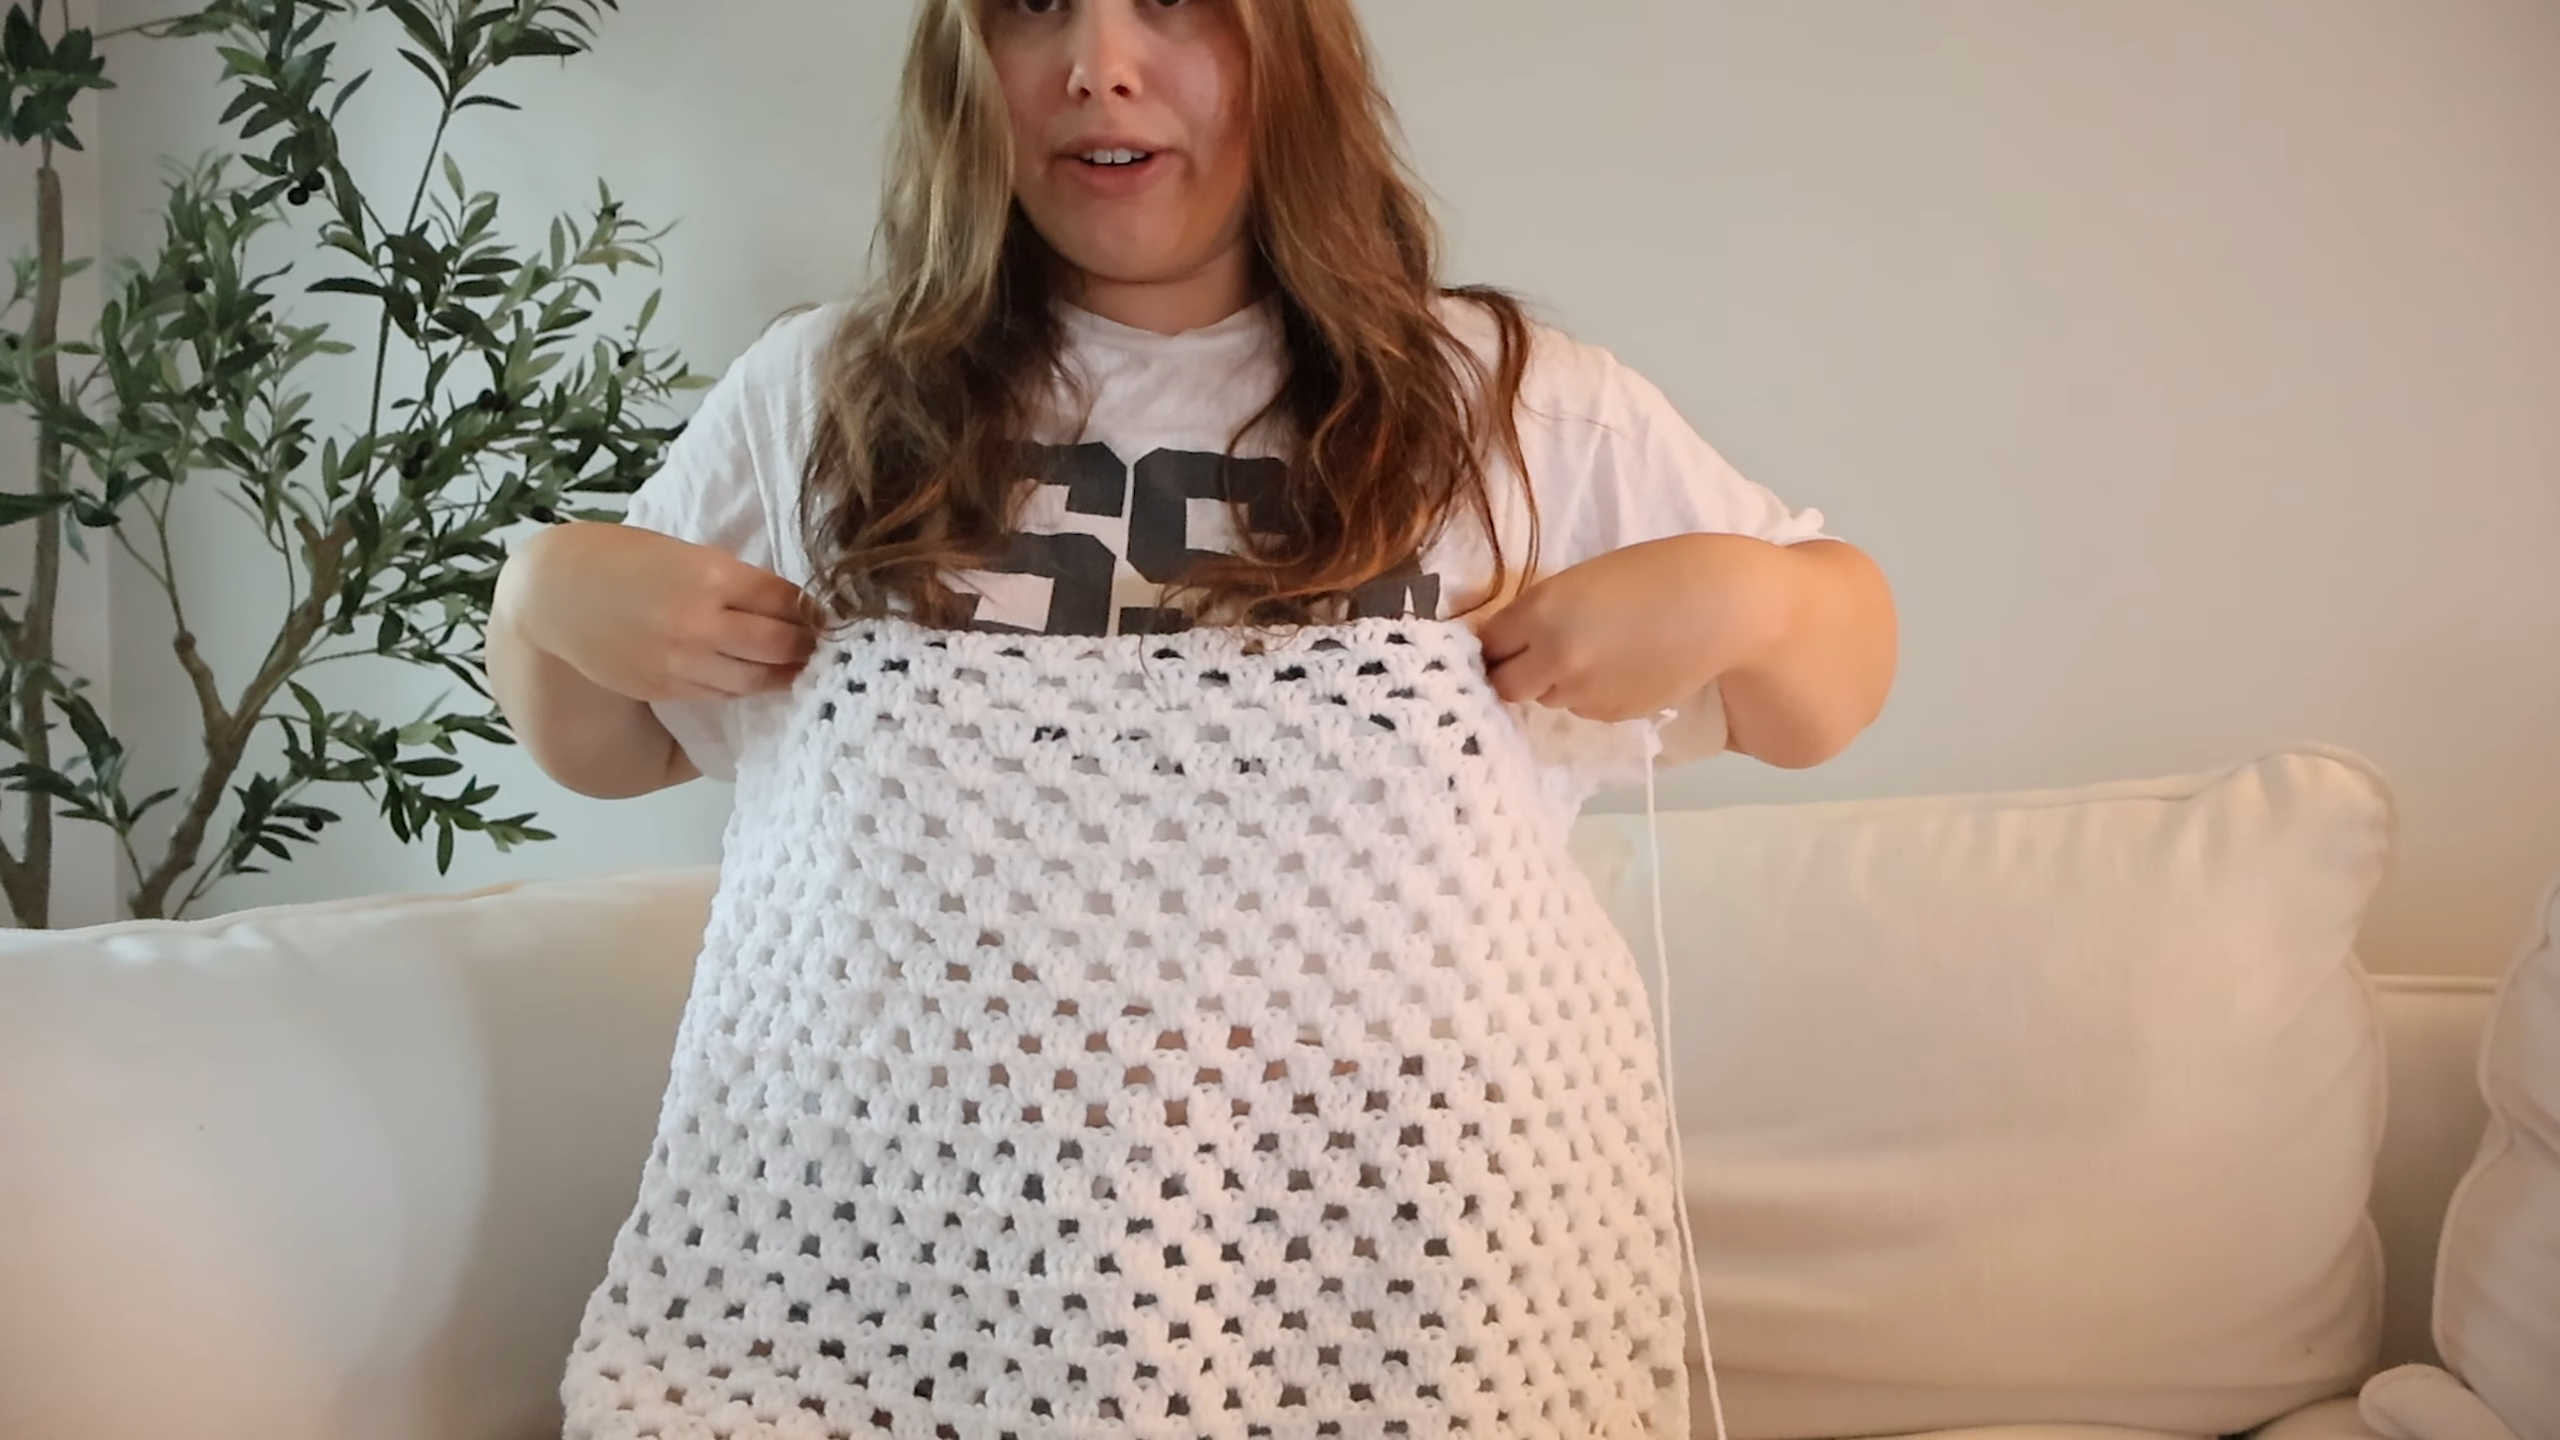
Step 5: Adding the Blue Stripe Section
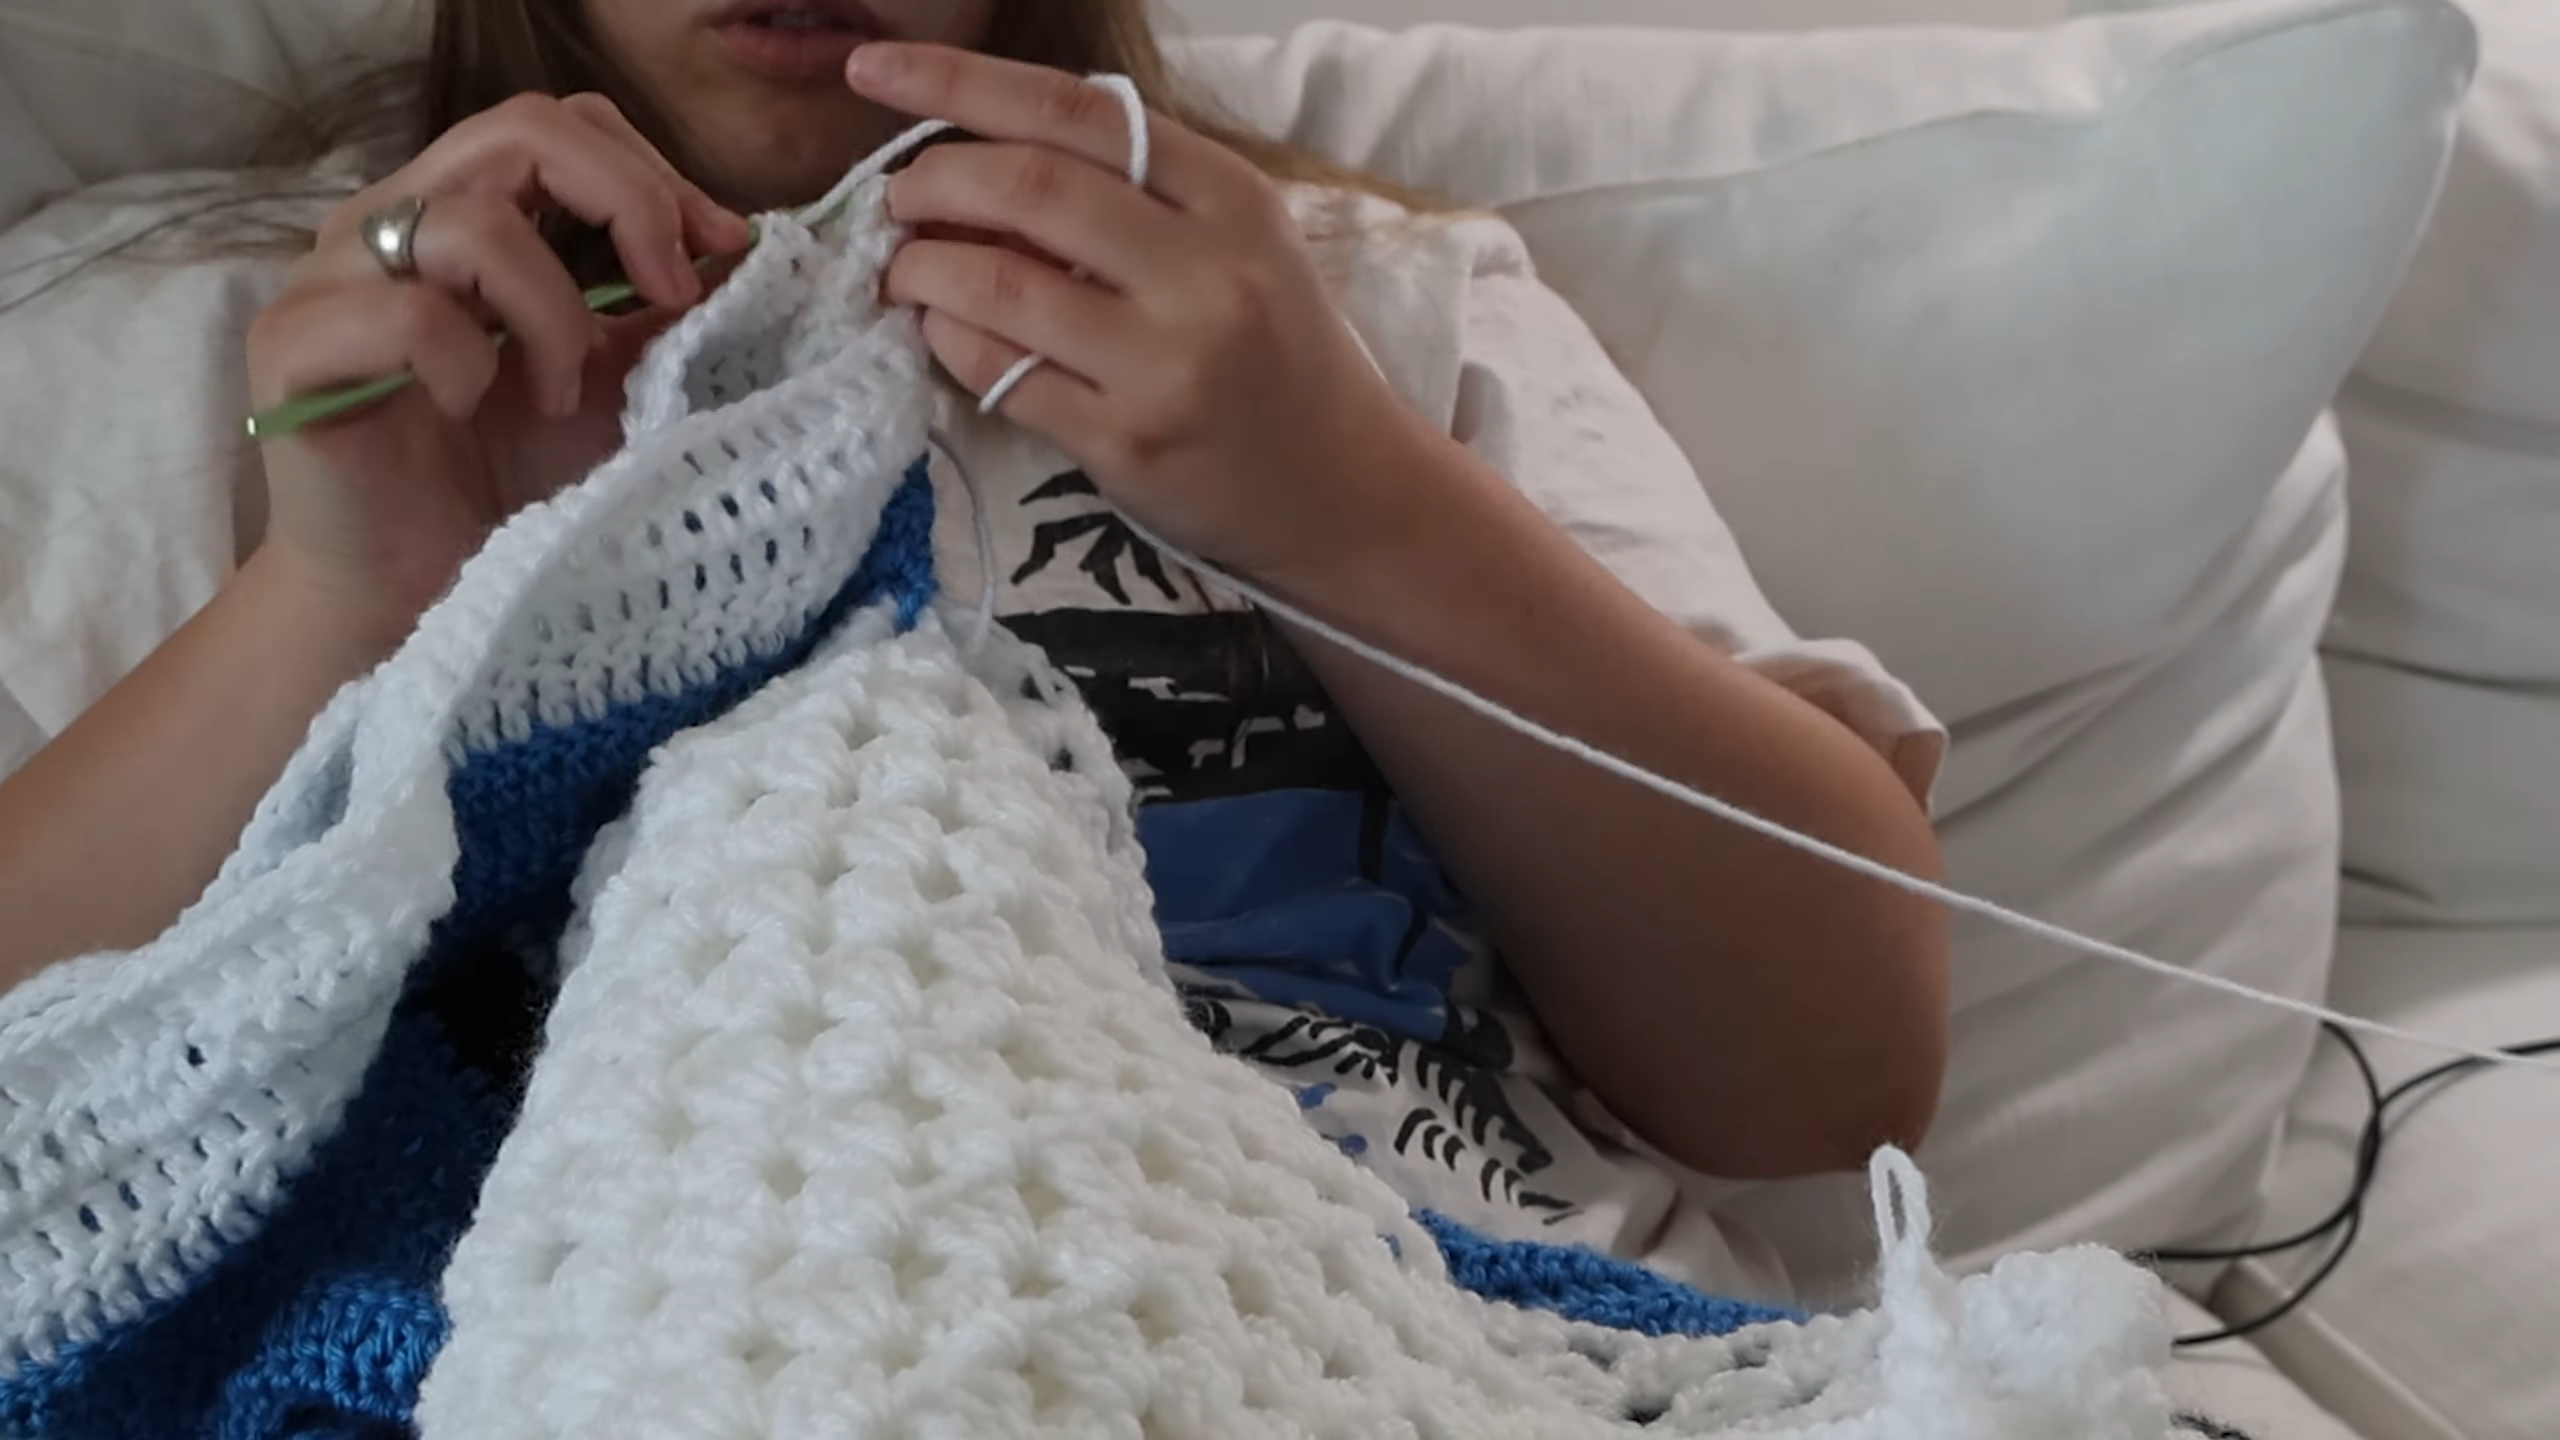
Switch to blue yarn at the point you identified in the previous step, working your color change cleanly at the last pull-through of the final white stitch. Continue the same granny stitch pattern in blue for several rows to create a bold, clearly defined stripe across the fabric. Switch back to white once the stripe reaches your desired width, keeping the transition points tidy so the color blocks read crisply against each other.
Joining All Pieces
Sew the front and back panels together at the shoulders and sides, leaving openings for the sleeves and neckline as needed for your intended jersey style. Attach any additional panels, such as sleeve pieces, using the same granny stitch joining technique to keep the texture consistent across every seam.
Final Assembly
Weave in every loose yarn end neatly through the back of the stitches once all panels are joined together. Work a simple border around the neckline, sleeve openings, and hem for a clean, finished edge, and give the whole jersey a light steam to help the granny stitch texture sit evenly.
Tips for Success
- Keep your foundation chain relaxed so the panel reaches its full intended width.
- Space granny stitch clusters evenly to maintain that signature diamond-shaped mesh look.
- Hold the panel up against your body periodically to track length and fit.
- Plan your stripe placement so the color blocking sits where you want it.
- Keep color-change stitches clean and tight to avoid a blurred transition line.
- Block the finished panel gently before joining for the smoothest drape.
Personalization Ideas
Swapping the blue stripe for red or forest green instantly shifts the jersey toward a completely different team-inspired color scheme. A double-stripe version with two thinner bands of color adds extra visual interest without changing the overall construction.
Shortening the body length turns this into a cropped jersey style, and adding short sleeves instead of a sleeveless design changes the overall silhouette into something more versatile for layering. A wider neckline also offers a more relaxed, off-shoulder look for anyone wanting a different fit.
Common Mistakes to Avoid
- Tight foundation chain: Keep the starting chain loose so the panel reaches its full intended width.
- Uneven granny stitch spacing: Keep chain spaces and clusters consistent across every row for a clean mesh texture.
- Poorly placed stripe: Plan your row count so the color block sits exactly where intended.
- Messy color transitions: Keep the color-change stitch tight and clean to avoid a blurred stripe edge.
- Skipping fit checks: Hold the panel up against your body regularly rather than only checking at the end.
Frequently Asked Questions
What yarn works best for this granny stitch jersey?</h3>
Worsted or bulky weight cotton-blend yarn holds the open granny stitch texture well while staying breathable for warmer weather.
How long does this project usually take to complete?
Most crocheters finish within five to seven hours, often working the panel across a couple of relaxed sessions.
Can I make this jersey without the blue stripe?
Yes, a solid white version still looks great and highlights the granny stitch texture on its own.
Is this Crochet Granny Stitch Jersey pattern appropriate for a first-time garment maker?
Yes, since the stitch pattern stays consistent throughout, it’s a gentle introduction to garment construction.
How do I keep the stripe looking crisp rather than blurry?
Make your color change exactly at the last pull-through of the final stitch before switching yarns.
Can I adjust the jersey to fit more snugly?
Yes, narrow your foundation chain slightly and reduce the panel width for a closer fit.
What’s the best way to keep Crochet Granny Stitch Jersey rows looking even?
Count your clusters and chain spaces at the end of each row to make sure the pattern stays consistent throughout.