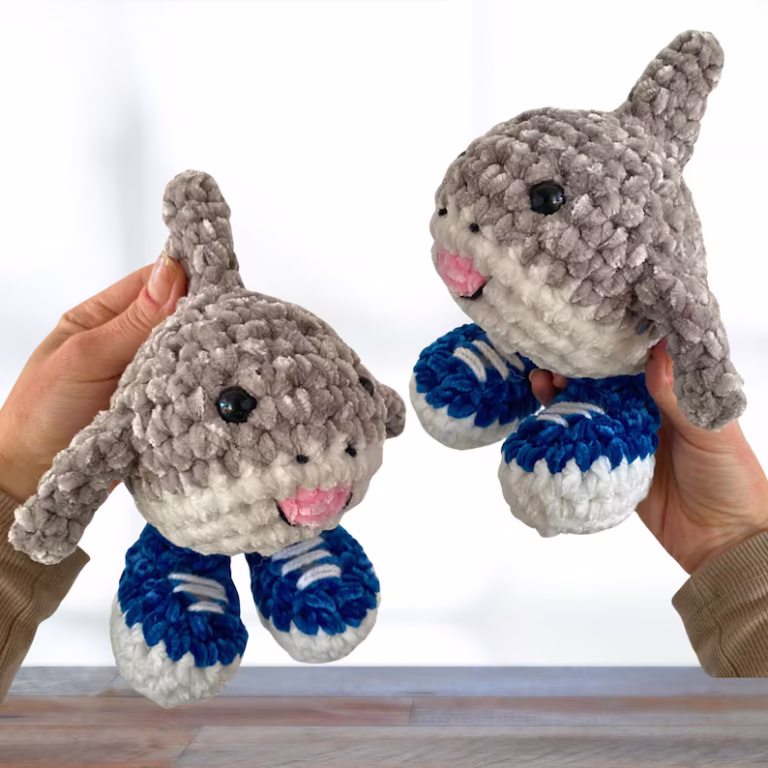
Mini Crochet Once Bag Charms Amigurumi Pattern
There’s a special kind of joy in turning a strand of yarn into something you can hold, clip to your bag, and smile at all day. Crochet slows time down in the loveliest way: stitches stack like puzzle pieces, and suddenly a tiny charm appears in your palm soft, colorful, and full of personality. That’s the magic of amigurumi. It’s not just crafting; it’s storytelling with yarn, and each character you make carries a bit of your imagination wherever it goes.
Today’s project is all about Crochet Once Bag Charms mini amigurumi cuties designed to hang from backpacks, totes, keys, zipper pulls, or even car mirrors. They’re small enough to work up quickly yet detailed enough to feel special. Think tiny heads with sweet faces, petite bodies, and playful accessories: bows, scarves, flowers, or hats. These little companions are eye-catching at any size and add instant charm to your everyday carry.
The best part? This project is perfect for all skill levels. If you’re a beginner, you’ll practice foundational amigurumi techniques magic ring, increases, decreases, shaping, and simple assembly on a quick, low-pressure canvas. If you’re an experienced crocheter, you’ll enjoy experimenting with textures, color changes, modifications, and creative add-ons to build a whole lineup of unique charms.
Crocheting mini bag charms is the essence of slow crafting: soothing repetition, small bursts of progress, and a rewarding finish that’s ready to use or gift the same day. Clip one onto a birthday present, dangle one from your handbag, or make a matching set for friends. Handmade pieces like these are little messengers of care and they’re ridiculously fun to make.

Materials & Tools
Here’s everything you’ll need for your Mini Crochet Once Bag Charms:
Yarn (Primary): Light (DK/Category 3) or fine (Sport/Category 2) yarn for crisp stitch definition. Cotton is ideal for durability and clean lines; acrylic gives a softer, plush look.
Accent Yarn: Small scraps for accessories (bows, scarves, hats, flowers).
Hook Size: 2.25–3.0 mm (go smaller than the yarn label suggests to keep fabric tight so stuffing doesn’t peek through).
Stuffing: Polyester fiberfill, a small handful per charm.
Safety Eyes: 5–8 mm (or embroider eyes for baby-safe gifts).
Tapestry Needle: For sewing pieces and weaving tails.
Stitch Markers: To mark the first stitch of each round.
Scissors: Small and sharp.
Key Hardware: Lobster clasp, key ring, or swivel clasp with a short chain.
Optional: Tiny bell, jump rings, split ring pliers, fabric glue, blush powder/fabric paint.
Choosing Yarn, Texture & Colors
Texture: Cotton DK = crisp, sculpted details. Plush/velvet yarn = cute, chubby look (use a smaller hook to avoid gaps).
Colors: Pastels for kawaii vibes; brights for playful, cartoon energy; neutrals for minimalist elegance.
Contrast: Use a lighter face color so facial features pop; darker colors for accessories or hair.
Durability: For bag charms, choose colorfast yarns that don’t pill easily, especially if handled often.
Step-by-Step Crochet Instructions
This tutorial is inspired by the construction approach seen in the referenced video (mini amigurumi bag charm proportions and assembly). The exact stitches and counts below are original, beginner-friendly guidelines you can adapt to your tension and yarn choice.
All rounds are worked in a spiral unless noted. Use a stitch marker and move it up every round.
1) Making the Head
MR (Magic Ring): 6 sc into MR. (6)
Round 2: inc around. (12)
Round 3: (sc, inc) × 6. (18)
Round 4: (2 sc, inc) × 6. (24)
Rounds 5–7: sc around. (24)
Eye Placement: Insert safety eyes between Rounds 6–7, about 5–6 sts apart. If embroidering, mark placement now.
Round 8: (2 sc, dec) × 6. (18)
Round 9: (sc, dec) × 6. (12) Stuff firmly but evenly.
Round 10: dec around. (6)
Close: Fasten off. Weave tail through front loops of remaining 6 sts and pull tight.
Shaping Tips:
Keep tension firm for a smooth sphere.
Add a pinch more stuffing under the eyes to prevent dimples.
For blush cheeks, lightly brush on powder or embroider small dots with pink thread.
2) Forming the Neck & Upper Body
We’ll create a subtle neck so the charm reads as a mini character rather than just a head.
Attach Body Color: Join yarn under the head’s center with a standing sc.
Round 1: (sc, inc) × 6. (18)
Round 2: sc around. (18)
Round 3: (2 sc, inc) × 6. (24)
Round 4: sc around. (24)
Pro Tip: If you want a more defined neck, work one round of BLO sc right after joining the body color this creates a neat ridge.
3) Building the Main Body
Decide if you want a teardrop-shaped charm (cute and compact) or a rounded cylinder (classic plush style).
Option A Teardrop Body
Round 5: (3 sc, inc) × 6. (30)
Rounds 6–7: sc around. (30)
Round 8: (3 sc, dec) × 6. (24)
Round 9: (2 sc, dec) × 6. (18)
Stuff gradually as you work.
Round 10: (sc, dec) × 6. (12)
Option B Rounded Cylinder
Rounds 5–8: sc around. (24)
Round 9: (2 sc, dec) × 6. (18)
Round 10: (sc, dec) × 6. (12)
Shaping Notes:
For bag charms, a compact silhouette hangs better and doesn’t flip upside down.
Add a small felt disk at the base before closing if you want a flatter bottom.
4) Shaping or Attaching the Base (Feet/Coil/Skirt)
Simple Flat Base: From 12 sts, dec to 8, fasten off with a long tail, cinch closed.
Mini Feet (optional): Make two ovals (ch 5; sc in 2nd ch, sc, hdc, 4 hdc in last ch, rotate, hdc, sc, sc), sew under the body for a standing pose.
Coil/Skirt Edge: After a BLO round under the body, join contrast yarn and work (sc, hdc, dc, hdc, sc) shells around for a ruffle.
5) Creating the Tail or Limbs (If Applicable)
For a classic charm with tiny arms:
Arms (make 2): MR, 5 sc. R2–3: sc around (5). Lightly stuff, fasten off, leave tail to sew at shoulder line.
Legs (optional, make 2): MR, 6 sc. R2: sc around (6). Sew under body.
Tail (optional): ch 7; sl st back along chain for a slim tail. For a leaf tail, work sc, hdc, dc, hdc, sc up one side and mirror down the other.
Balance Tip: Pin limbs before sewing to check symmetry. Lift one arm slightly higher for a lively gesture.
6) Assembly & Positioning
Order: Sew arms ➜ attach base/feet ➜ add tail ➜ embroider mouth/eyebrows.
Face: A tiny V or U mouth works great. Add a single stitch line for a serene smile.
Hanger Loop: At the crown, chain 8 with strong thread or crochet a tight i-cord. Attach a jump ring and lobster clasp.
Seamless Finish: Use ladder stitches and match yarn colors to hide joins. Weave tails through the stuffing, not just under surface stitches, to lock them.
7) Final Touches & Accessories
Bows: ch 12, row of hdc, roll into a bow, wrap center tightly with yarn.
Scarf: ch long enough to wrap; sc one row; fringe optional.
Hat/Beanie: MR 6; increase to 24; 2–3 rows even; optional crab-stitch edging.
Flowers: MR with (sl st, ch 2, 2 dc, ch 2, sl st) × 5 for a tiny rosette.
Charms: Add a bell or tiny felt heart with a jump ring for movement.
Professional Polish: Light steaming (not on safety eyes!) relaxes fibers and evens the surface.
Customization Ideas
Color Stories
Pastel Daydream: Mint, blush, butter yellow, lavender.
Bold Pop: Cherry red, cobalt, sunshine, black outline details.
Natural: Cream, oat, moss, terracotta for an earthy capsule collection.
Texture Play
Cotton for defined stitches; mercerized cotton for sheen.
Velvet or chenille for plush “mochi” charm look (use tiny hook).
Themes
Holiday: Santa hat, elf scarf, snowflake embroidery.
Rainbow: Body stripes or rainbow scarf.
Fantasy: Starry cloak, tiny wand, glitter thread embellishments.
Kawaii Animals: Add ears (cat, bear, bunny), simple tail, and a collar bell.
Add-Ons
Mini satchel, glasses (wire), felt cheeks, embroidered initials, removable hat.
Advanced Tips & Troubleshooting
Invisible Decrease (inv-dec): Work through front loops only of next two sts, yarn over, pull through both loops, yarn over, pull through 2. Smooths the surface dramatically.
Even Tension: Exhale while pulling loops through; gripping too hard creates ridges and hand fatigue.
Round Tracking: Always mark stitch 1; count every other round to catch errors early.
Prevent Spiraling Faces: If your face looks tilted, align increases vertically on the head’s back; avoid placing eyes over heavy increase points.
Fix Lumps: Under-stuff first, massage shape, then add a pea-sized bit at a time with a narrow tool (eraser end of a pencil).
Color Changes Without Bumps: Switch yarn on the last pull-through of the previous stitch.
Seamless Joins: Use the invisible finish (fasten off, needle under both loops of next stitch, back through last stitch’s center).
Hidden Knots: If you must knot, bury knots deep in the stuffing channel, not near the surface.
Secure Hardware: Stitch through the hanger loop multiple times and reinforce with a drop of fabric glue inside the crown.
Sizing Control: Need smaller charms? Drop hook size and use sport yarn; larger? Use worsted with a 3.25–3.5 mm hook.
Care Instructions
Hand Wash Gently: Cool water + mild detergent or baby shampoo.
No Wringing: Press between towels to remove excess water.
Air Dry Flat: Reshape while damp; keep hardware dry.
Avoid Direct Sunlight: Colors last longer when stored away from UV.
Storage: Hang, or place in a dust-free box. For velvet yarn, store loosely to prevent squashing.
Gifting Tip: Include a tiny printed Care Card for a boutique finish.
Display & Gift Ideas
Everyday Carry: Clip to backpacks, totes, pencil cases, gym bags.
Home Décor: Hang on a peg rail, indoor plants, or a memo board.
Desk Buddy: Perch beside your monitor for a dose of happy.
Holiday Ornament: Swap the lobster clasp for ornament thread in December.
Personalized Gifts: Stitch initials, birthstone colors, or a favorite team palette.
Pair a charm with a handwritten note instant keepsake energy.
Benefits of Making Crochet Once Bag Charms
Relaxation & Mindfulness: Repetitive stitches settle the nervous system and invite focus.
Stress Relief: Quick finishes give cheerful wins on busy days.
Accomplishment & Joy: Each charm is a complete, adorable project in your hand.
Eco-Friendly Gifting: Handmade beats plastic trinkets; use cotton and natural stuffing for greener choices.
Connection Through Craft: Customized colors and expressions make gifts deeply personal.
Skill-Building: Practice shaping, finishing, and clean assembly on a time-friendly canvas.
Entrepreneurial Friendly: Perfect stock for markets and online shops—lightweight, giftable, and customizable.
Photography & Social Media Tips
Light: Shoot near a window with indirect daylight; avoid harsh midday shadows.
Backgrounds: Soft neutral backdrops wood, linen, matte paper let colors shine.
Props: Spools of thread, hooks, tiny notebooks, or flowers add story.
Angles: A flat lay for the full set, 45° close-ups for stitch detail, and an in-use shot on a bag.
Consistency: Use similar framing and exposure to build a recognizable aesthetic.
Caption Hooks: Share color recipes, a 30-minute-make claim, or a quick how I attach hardware reel.
Watermark discreetly; it protects your work without distracting from the charm.
Quick Reference Pattern (Compact Version)
Head
MR 6 → (inc) × 6 = 12 → (sc, inc) × 6 = 18 → (2 sc, inc) × 6 = 24 → 3 rnds even → place eyes → (2 sc, dec) × 6 = 18 → (sc, dec) × 6 = 12 → stuff → dec × 6 = 6 → close.
Neck/Upper Body
Join body color; (sc, inc) × 6 = 18 → 1 rnd even → (2 sc, inc) × 6 = 24 → 1 rnd even.
Body (choose)
Teardrop: (3 sc, inc) × 6 = 30 → 2 rnds even → (3 sc, dec) × 6 = 24 → (2 sc, dec) × 6 = 18 → (sc, dec) × 6 = 12 → close.
Rounded: 3–4 rnds even at 24 → (2 sc, dec) × 6 = 18 → (sc, dec) × 6 = 12 → close.
Arms (x2)
MR 5 → 2 rnds even → fasten, sew.
Hanger
At crown, ch 8, secure to same spot; attach jump ring + lobster clasp; reinforce.
Conclusion
The Mini Crochet Once Bag Charms Amigurumi project captures everything we love about yarn crafts color, character, and heart packaged into a tiny treasure you can carry everywhere. From the first loop to the final clasp, each step is a gentle reminder that creativity can be simple, joyful, and wonderfully personal. Make one to brighten your backpack, stitch a set for your best friends, or start a rainbow collection for your shop.
Most of all, enjoy the slow, happy rhythm of the process. With every stitch, you’re not just making a charm you’re stitching a smile that travels with you. Clip it on, share the joy, and let your handmade story swing by your side wherever you go.