Spooky Crochet Witch Hat Amigurumi – Easy Halloween Pattern
The beauty of yarn crafting lies in transformation. With just a hook, some yarn, and your imagination, you can create something truly magical. There’s a certain kind of happiness that comes from turning a skein of yarn into a tangible work of art a cozy, spooky, and heartwarming little creation that’s completely your own. Crochet isn’t just about crafting; it’s about storytelling through stitches, expressing personality through color, and enjoying the meditative rhythm that comes with every loop and pull.
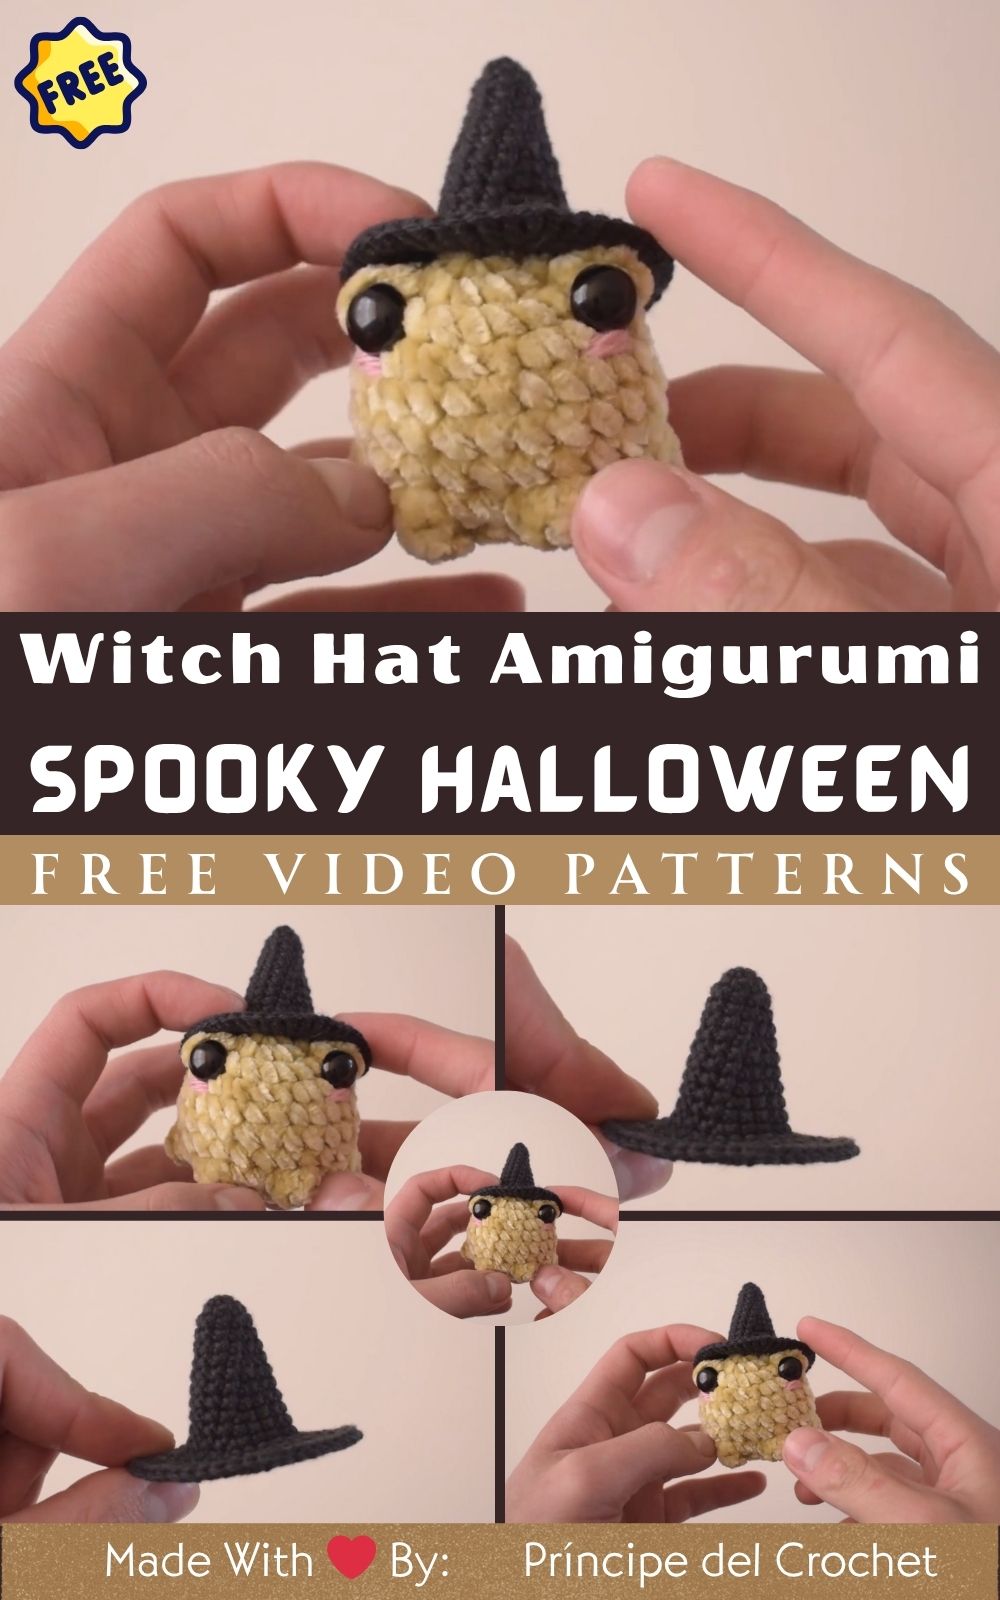
This Spooky Crochet Witch Hat Amigurumi captures that creative magic perfectly. It’s a project that combines Halloween vibes with handmade charm, giving you something that’s both festive and adorable. The tiny hat, whimsical face, and playful details make it a crowd favorite whether you’re decorating your home, making party favors, or creating a thoughtful handmade gift.
Best of all, it’s a project for everyone. Whether you’ve just picked up your first hook or you’ve been crocheting for years, this pattern offers something delightful. Beginners will find it approachable and fun, while experienced crafters can experiment with textures, colors, and embellishments to create a unique piece every time.
And beyond all else, there’s peace in the process. The repetitive rhythm of stitching, the gentle softness of yarn between your fingers, and the joy of seeing your creation come to life it’s therapeutic. The Spooky Crochet Witch Hat Amigurumi isn’t just a decoration; it’s a handmade symbol of patience, joy, and the creative spirit that thrives in every crafter’s heart.
Materials & Tools
To bring this spooky-cute witch hat to life, you’ll need a few simple materials and tools. The best part? Most of these are already staples in any crocheter’s kit!
Materials List
-
Yarn: Medium-weight (worsted) acrylic yarn — black (for hat), purple (for band), and orange or green (for details)
-
Crochet Hook: Size 3.0 mm or 3.5 mm, depending on your tension
-
Stuffing: Polyester fiberfill for shaping the hat if desired
-
Safety Eyes: 6 mm or 8 mm (optional if you want to add a cute face)
-
Scissors: Sharp and clean for precise yarn cuts
-
Tapestry Needle: For weaving in ends and sewing parts together
-
Stitch Markers: To keep track of your rounds, especially for beginners
Yarn Tips
When choosing yarn, opt for smooth, medium-weight acrylic or cotton blends. Acrylic yarn holds shape well, making it ideal for structured amigurumi projects like hats. Cotton yarn provides a crisp stitch definition perfect for clean details.
For color combinations, you can stay classic with black and purple or go creative with emerald green and silver for a fantasy twist. Metallic yarn can also add a magical shimmer effect to the brim or hatband!
Step-by-Step Crochet Instructions
Let’s dive into the fun part creating your witch hat! Follow these easy, step-by-step instructions inspired by Milena Miranda’s delightful pattern.
Step 1: Create the Hat Tip
-
Start with a magic ring.
-
Work 6 single crochets (sc) into the ring.
-
Pull tight and join with a slip stitch (sl st).
-
Continue increasing:
-
Round 2: 2 sc in each stitch (12 sts)
-
Round 3: (1 sc, inc) repeat around (18 sts)
-
Round 4: (2 sc, inc) repeat around (24 sts)
-
Keep increasing until your hat reaches the desired width.
-
Tip: If you want a pointier hat, stop increasing sooner. For a wider brim, continue increasing for a few extra rounds.
Step 2: Form the Hat Body
Once the tip is shaped, continue working in the round without increasing for about 10–12 rows. This forms the tall section of the witch’s hat.
Expert Tip: To keep your stitches neat, use a stitch marker at the start of each round. Slightly tighten your tension near the top so the hat retains its structure.
Step 3: Shape the Brim
-
When you reach the bottom, start increasing again:
-
Round 1: (3 sc, inc) repeat around
-
Round 2: (4 sc, inc) repeat around
-
Round 3: (5 sc, inc) repeat around
-
-
Adjust the number of rounds based on how wide you want the brim.
You can make the brim floppy (loose tension) or stiff (tight tension or add wire).
For a decorative look, use a contrasting yarn color for the last two rounds.
Step 4: Add a Hat Band
Use purple or orange yarn to crochet a thin strip:
-
Chain 25–30 (depending on hat size)
-
Single crochet back along the chain, fasten off, and weave ends.
-
Sew or glue the band around the base of the cone.
Optional: Add a small buckle or bow with metallic thread for extra flair!
Step 5: Make the Amigurumi Base or Character
If your witch hat sits atop a tiny head (like a ghost, pumpkin, or mini doll):
-
Create a round head by starting with a magic ring and increasing up to 36–42 stitches.
-
Continue several rounds evenly, then decrease symmetrically.
-
Insert safety eyes before final closing.
-
Stuff firmly but evenly for balance.
Step 6: Assembly
Position the hat on your chosen amigurumi base. You can:
-
Stitch it in place securely.
-
Lightly stuff the hat to maintain shape.
-
Tilt it for a “witchy” look or center it neatly.
Use your tapestry needle to weave any visible ends into the back.
Step 7: Final Touches
Add cute details like:
-
Tiny felt stars or moons
-
Embroidered smile
-
Glittery threads
-
A mini broom accessory beside the hat
Your witch hat amigurumi is now complete — adorable, spooky, and ready to enchant!
Customization Ideas
Crochet is all about creativity. Here’s how you can personalize your spooky hat:
Color Variations
-
Classic Witch: Black hat with purple band and orange buckle
-
Pastel Fantasy: Lavender hat with mint or baby pink band
-
Dark Academia: Charcoal gray with bronze accents
-
Rainbow Magic: Multi-colored yarn spiraling up the hat for a playful effect
Texture Play
Try velvet yarn for a soft, luxurious finish or metallic thread for a sparkling night-sky effect.
Add-on Accessories
-
Mini broomstick
-
Black cat companion
-
Crochet pumpkin or cauldron
-
Embroidered initials or spooky eyes
Each addition turns your project into a one-of-a-kind collectible.
Advanced Tips & Troubleshooting
Even seasoned crocheters face small hiccups. Here are 10 pro tips to ensure your witch hat amigurumi turns out picture-perfect:
-
Invisible Decreases: Use front-loop-only decreases for smooth shaping without visible bumps.
-
Even Tension: Relax your grip; tight tension distorts shapes.
-
Mark Rounds: Always use a stitch marker to prevent losing your round count.
-
Shape Control: Adjust stuffing gradually — too much can stretch stitches.
-
Avoid Twists: Ensure rounds align properly when working continuously.
-
Seamless Joins: End with a slip stitch and invisible finish for a clean edge.
-
Read Patterns Carefully: Familiarize yourself with abbreviations (sc, inc, dec, sl st).
-
Stuffing Balance: Distribute evenly to keep the hat from tilting.
-
Color Changes: Always switch yarn on the last pull-through of the stitch for neat transitions.
-
Final Shaping: Lightly steam or block the brim for smoothness.
Care Instructions
Your handmade witch hat deserves gentle love and care.
-
Hand Wash Only: Use cool or lukewarm water with a mild detergent.
-
No Wringing: Gently squeeze out water without twisting.
-
Air Dry: Lay flat on a clean towel and reshape as needed.
-
Avoid Heat: Direct sunlight or dryers can fade and shrink yarn.
-
Storage: Keep in a dust-free box or display cabinet, especially if you’re gifting or storing seasonal decor.
Display & Gift Ideas
Your Spooky Crochet Witch Hat Amigurumi is versatile — here are creative ways to showcase it:
-
Home Décor: Place on your mantel, bookshelves, or Halloween table display.
-
Kid’s Room Accessory: A magical plush companion for bedtime stories.
-
Desk Buddy: Brighten your work area with a tiny witchy charm.
-
Holiday Ornament: Hang on Halloween trees or use as part of a garland.
-
Gift Idea: Pair with a hand-lettered card and small candies for a thoughtful handmade treat.
You can even create a mini Halloween crochet collection with matching pumpkins, ghosts, and bats!
Benefits of Making a Spooky Crochet Witch Hat Amigurumi
Crafting this little witch hat goes beyond just yarn and hooks — it’s a journey of creativity and mindfulness.
Relaxation & Mindfulness
Crocheting soothes the mind. The repetitive motions and gentle rhythm help relieve stress and improve focus.
Stress Relief Through Creativity
Channeling your emotions into art is powerful therapy. Watching your project grow stitch by stitch releases calm and satisfaction.
Sense of Accomplishment
There’s nothing like finishing a handmade creation the pride in holding something you made from scratch is unmatched.
Eco-Friendly Gifting
Handmade crochet pieces are sustainable and meaningful. You’re gifting time, effort, and love not mass-produced plastic decor.
Emotional Connection
Every stitch carries warmth. Whether gifted or displayed, your witch hat will remind others of creativity, care, and imagination.
Photography & Social Media Tips
Want to share your creation online? Here’s how to make it shine:
-
Natural Lighting: Use soft daylight near a window for best results.
-
Background: Choose neutral or spooky-themed props — think pumpkins, candles, or lace.
-
Composition: Place the amigurumi slightly off-center for an artistic touch.
-
Close-ups: Highlight the texture of stitches, the hat band, and little accessories.
-
Props: Add yarn balls, crochet hooks, or mini broomsticks for context.
-
Editing: Use light filters — avoid over-saturation to keep natural tones.
Conclusion
Crocheting your own Spooky Witch Hat Amigurumi is more than a craft it’s a magical act of creation. From the first chain to the final stitch, you pour a bit of your soul into something that brings joy, mystery, and handmade warmth to your space. Each loop of yarn becomes a memory, each detail a reflection of your creativity.
Whether you make it for Halloween décor, a cozy gift, or simply to indulge in your love for amigurumi, this project promises pure satisfaction. So grab your yarn, light a candle, and let your imagination run wild.
With every stitch, you’re weaving a spell of joy, creativity, and timeless handmade magic.