Magical Crochet Wizard Cat Amigurumi Pattern for Fantasy Lovers
Bring a touch of magic to your crochet world with this enchanting Crochet Wizard Cat Amigurumi Pattern. This charming, wizard-themed plush combines the coziness of yarn crafting with the imaginative energy of fantasy artistry. Whether you’re a pet lover, a cat enthusiast, or simply a fan of adorable handmade characters, this crochet pattern promises a joyful crafting experience one that sparks creativity and adds a touch of magic to your day.
The Magic of Yarn & Imagination
From the moment we wind that first loop of yarn on our hooks, we’re drawing inspiration into reality weaving threads of imagination into something huggable and real. Crocheting doesn’t just give us soft toys or décor… it gives us mood lifters, handmade hugs, and a reminder that joy can be found in the simplest of stitches. That’s the heart of yarncraft the transformation of creativity into comfort and delight.
Meet the Crochet Wizard Cat
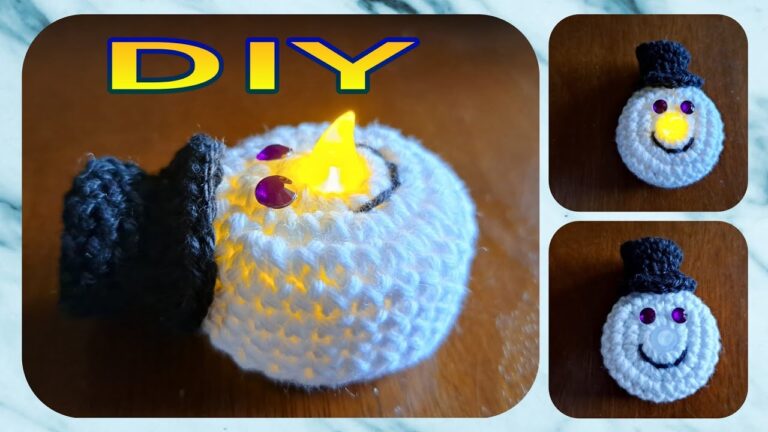
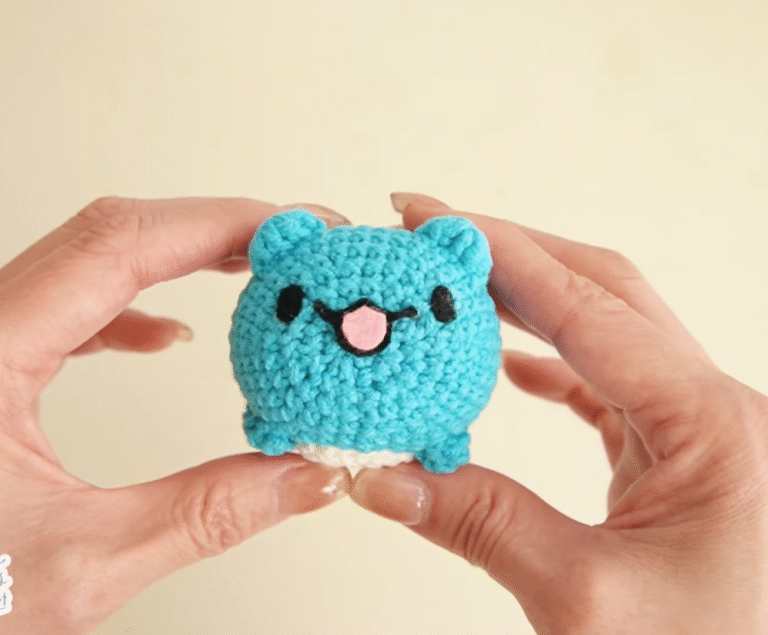
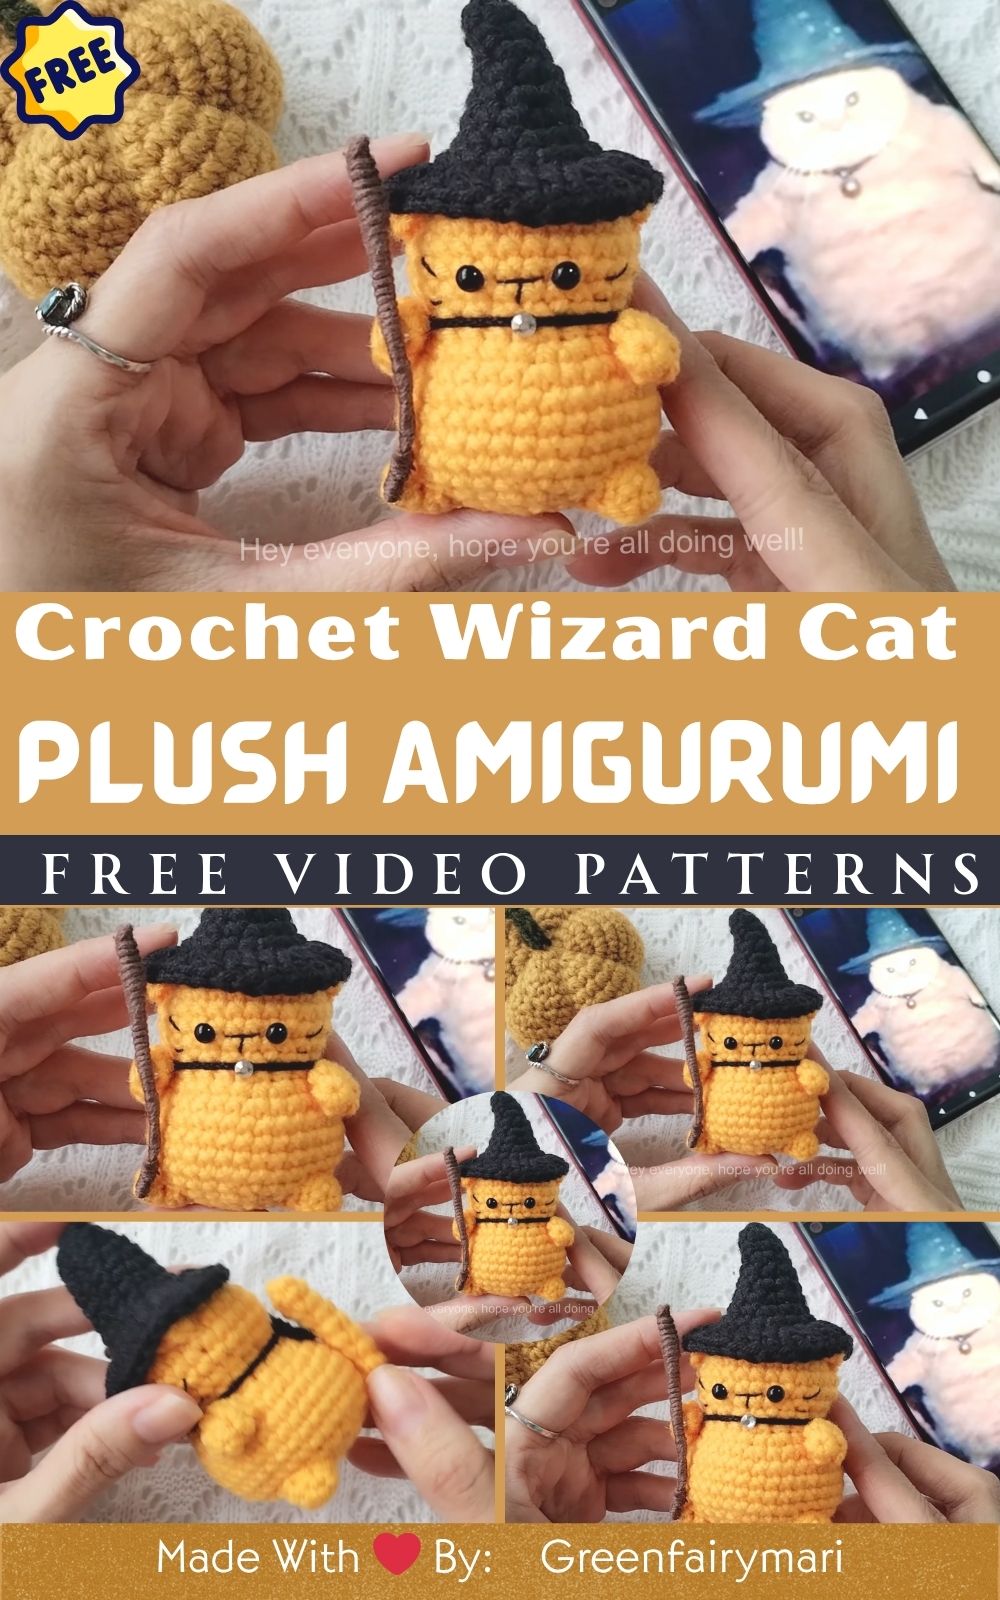
And what better embodiment of handmade magic than the Crochet Wizard Cat Amigurumi Pattern? With a pointed hat, star-topped wand, and adorable feline charm, this little spellcaster is the perfect playmate or display buddy for fantasy fans, cat lovers, and creative souls. It’s an eye-catching, squishable creation that blends charm and whimsy into a single adorable plush.
Beginner-Friendly with Room for Creative Flair
This pattern is ideal for beginners who want to learn amigurumi basics and experienced crafters looking for a fun weekend project.
Crafting, Calmness & Connection
There’s something soothing in the rhythm of crocheting the calming click of the hook, the gentle squish of yarn between your fingers, and the quiet satisfaction of bringing a delightful plush to life. This pattern is perfect for mindful crafting, relaxing weekends, or for gifting a thoughtful, handmade treasure that carries a touch of enchantment and love.
3. Materials & Tools
Follow the suggested supplies for the best results, but feel free to adjust based on yarn type, desired size, and personal preference.
Yarn (Recommended)
-
Weight: DK or Light Worsted (Size 3)
-
Colors: Gray or black (main body), purple/navy (wizard hat), yellow (wand star), white (accents)
-
Texture: Soft acrylic or cotton blends recommended
Hooks
-
3.0mm–3.5mm Crochet Hook for tight amigurumi stitches
Extras
-
Fiber stuffing (polyfill or plush-safe stuffing)
-
Safety Eyes (8mm–12mm) for expressive character
-
Scissors, tapestry needle, stitch markers
-
Optional: pipe cleaner or floral wire (to stiffen tail or hat)
Yarn Tip: To give your wizard’s robe or hat extra visual interest, try using self-striping or glitter-accent yarns. For extra fluff, brush lightly using a pet slicker brush after assembly.
4. Step-by-Step Crochet Instructions
Below is a full walkthrough for creating your Crochet Wizard Cat, guided by the referenced video — but made unique for your own project. Adjust as needed!
1. Making the Head
-
Start with Magic Ring: Chain 6 single crochets (sc) into a magic ring.
-
Increase Rounds: Work consistent increases until reaching approximately 30–36 stitches.
-
Shape & Insert Eyes: After a few standard rounds, attach safety eyes with ~6–7 stitch gap.
-
Add Nose & Whiskers: Embroider a small triangle nose with darker yarn, and add whiskers if desired.
-
Complete & Stuff: Before finishing the neck area, fill with fiber stuffing, shaping evenly.
Expert Tip: Go slow while stuffing — too firm can stretch stitches; too soft can look saggy.
2. Forming the Neck & Upper Body
-
Begin decreasing slightly to create a defined neck.
-
Work upward into a slightly oval shape for the torso.
-
Keep consistent tension and check alignment as you work.
Pro Tip: Use stitch markers at the beginning of every round to maintain accuracy and prevent spirals from drifting.
3. Building the Main Body
-
Alternate between flat rounds and increase rounds until reaching roughly 3.5–4” height.
-
Stuff continuously as you shape.
-
Leave a final opening for attaching limbs and base.
4. Shaping the Base & Feet
-
Crochet a small oval/round base piece separately and sew onto the torso.
-
Make two tiny feet pieces using 6–9 sc rounds (flattened slightly before sewing).
-
Attach so feet peek out under the body.
5. Creating Tail & Limbs
-
Tail: Crochet a slim, medium-length tube; add wire if flexible shape preferred.
-
Arms: Small tubes or semi-flattened shapes in matching body color.
-
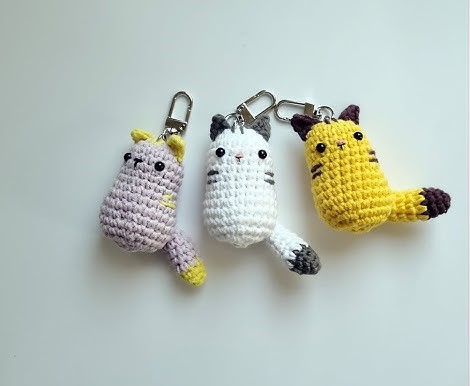
Optional: Add small “paws” using color change (lighter yarn).
Attach limbs carefully using a long-tail thread and needle, ensuring secure stitches that endure play or display.
6. Assembly & Positioning
-
Lay all pieces flat before attaching to check balance and alignment.
-
Sew in this general order: arms → tail → feet → hat → accessories.
-
Use pins or contrasting yarn strands to temporarily position pieces before sewing.
Pro Tip: After attaching each piece, lightly press and shape your plush to even out fiber stuffing and stitched edges.
7. Adding Final Touches & Accessories
Wizard Hat
-
Crochet a cone shape in desired wizard color.
-
Add brim and finish securely at head top.
-
Stitch or glue a tiny star or moon appliqué for extra flair!
Wand
-
Use felt, a small wooden stick, or crocheted i-cord.
-
Stitch a crochet star or use a glitter button for the top.
Add finishing touches like:
-
Sparkle embroidery thread for robe accents
-
Felt patches for stars, moons, sparkles
-
Mini crochet cape or collar
5. Customization Ideas
Give your wizard cat the personal touch it deserves! Try these fun variations:
-
Color Magic: Rainbow robe with black hat
-
Night Sky Theme: Midnight blue fur, silver stars on hat
-
Winter Wizard: White fur, icy blue accessories
-
Spooky Halloween Version: Orange and black yarn, pumpkin wand
-
Holiday Mage: Red robe, green hat, holly leaf trim
Accessorize with:
-
Velvet bow tie
-
Lace-trimmed cape
-
Mini embroidered spellbook
6. Advanced Tips & Troubleshooting
Here’s how to keep your crochet plush sharp and professional:
-
Invisible decreases make rounds smooth and fewer holes in shaping.
-
Consistent tension keeps each part even in size and density.
-
Use stitch markers at the beginning of every round.
-
Avoid overstuffing — lumps can distort limbs and features.
-
Match yarn fiber across all parts for uniform stretch.
-
Sew limbs with reinforced thread (double-threading is a good idea!).
-
Read abbreviations ahead — sc, hdc, inc, dec, BLO all power your pattern.
7. Care Instructions
Keep your wizard cat plush clean and cozy with simple care steps:
-
Hand wash gently using warm water and mild detergent
-
Air-dry flat — avoid wringing or machine drying
-
Avoid direct sunlight to prevent fading
8. Display & Gift Ideas
Once finished, your Crochet Wizard Cat makes the perfect:
-
Bookshelf guardian
-
Kid’s magical room décor
-
Desk companion to inspire creativity
-
Holiday ornament or festive display
-
Personalized handmade gift for a fantasy-loving friend or family member
9. Benefits of Creating a Crochet Wizard Cat Amigurumi
-
Eco-friendly gifting through handmade plush
-
Mindful crafting relaxes and soothes the mind
-
Improves skill & focus through repeated patterns
-
Emotional connection with meaningful, personalized gifts
10. Photography & Social Media Tips
Share your creation online in magical style!
-
Use indirect natural light for soft shadows
-
Add themed props like candles, spell books, or crystals
-
Try a neutral or pastel background to let the cat shine
-
Close-ups show off intricate stitches and texture
-
Reels or TikToks of your crochet in progress get tons of engagement!
11. Project Summary Table
| Category | Details |
|---|---|
| Skill Level | Beginner / Intermediate |
| Estimated Time | 2–3hours (approx.) |
| Finished Size | 10–14 inches tall |
| Estimated Cost | $10–15 (depending on yarn) |