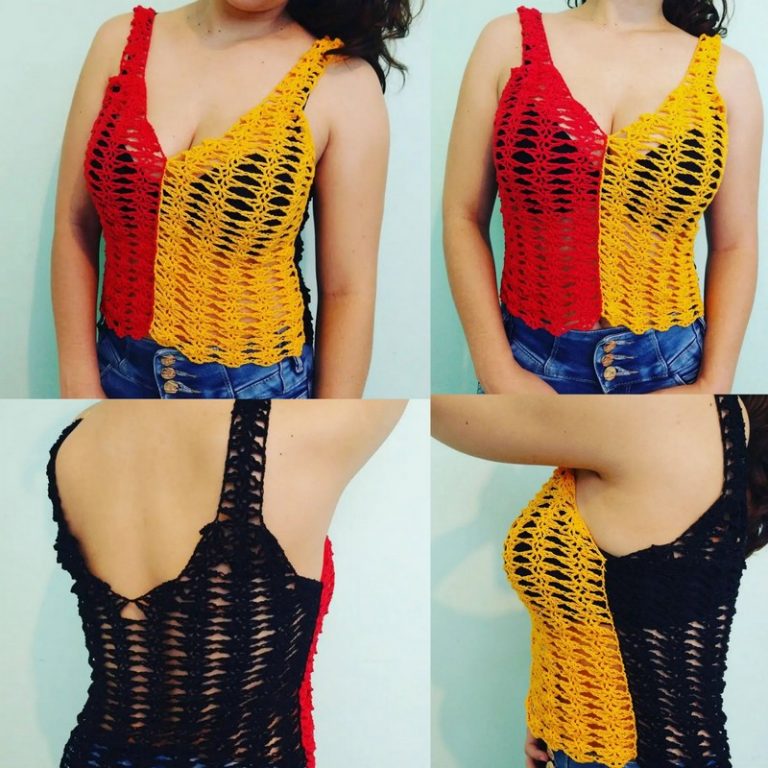
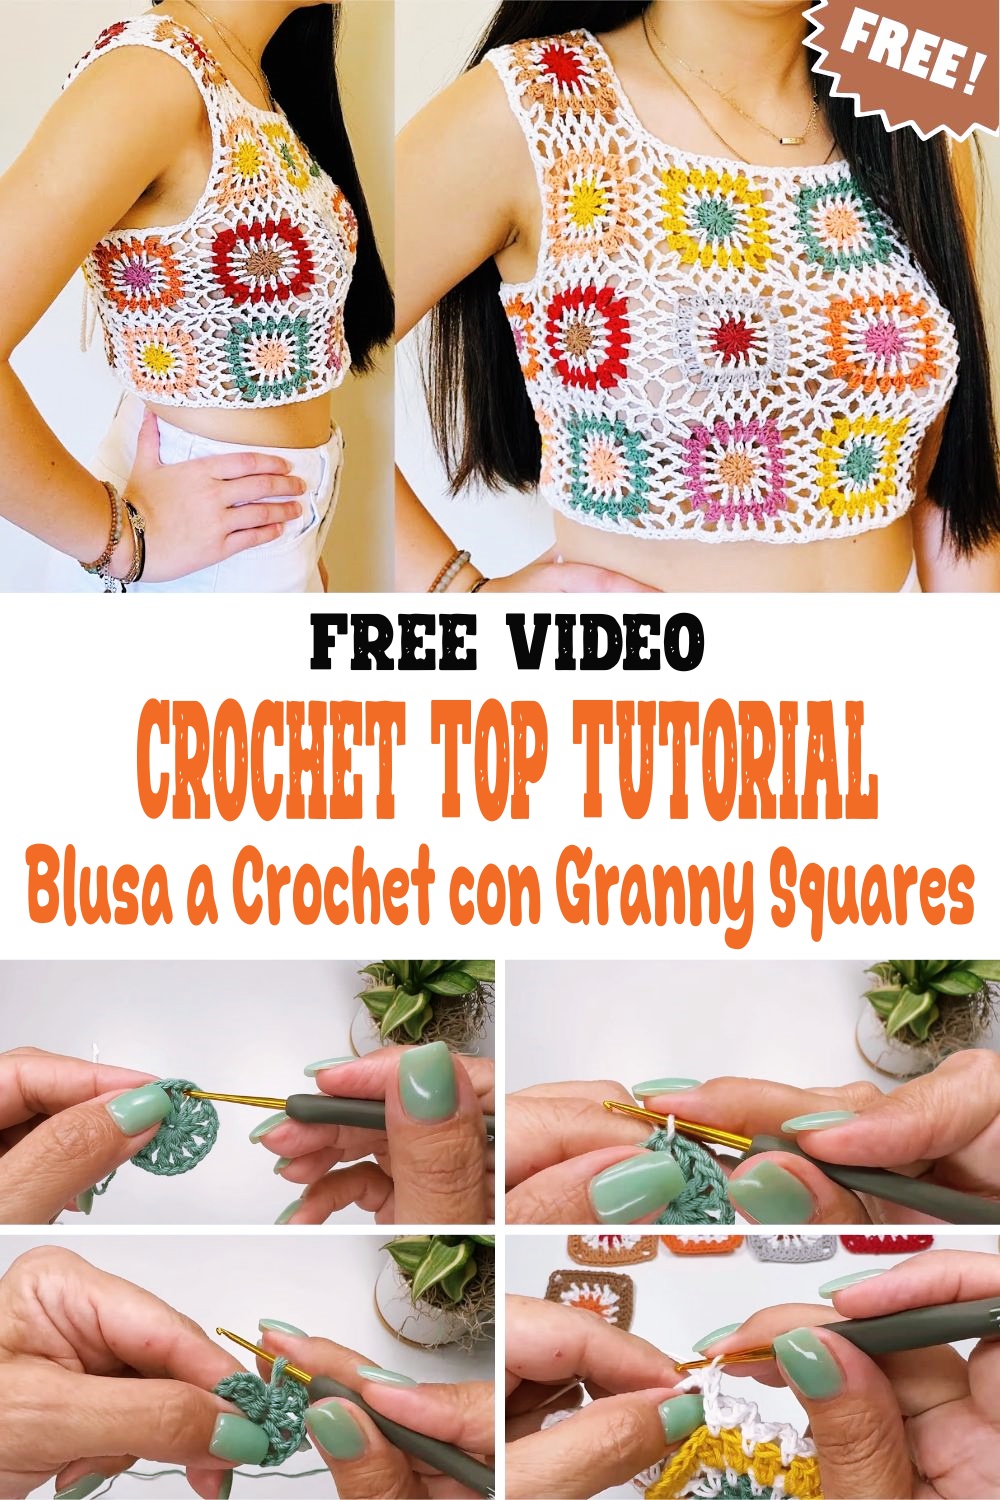
Crochet Top Tutorial Blusa a Crochet Top Granny Squares
Creating a Crochet Top Granny Squares is not only a delightful endeavor but also a chance to craft a cozy and stylish garment. This project revolves around constructing a charming top using a series of granny squares, complete with an attached hood for added flair. For the front, you’ll need eight granny squares, while the back requires four. Despite the intricate appearance, this pattern is beginner-friendly, making it an ideal choice for those new to crocheting. The result is a versatile piece, perfect for casual outings or cozy indoor lounging.
Materials Needed
Before you begin this crochet adventure, gather the following materials to ensure a smooth crafting experience:
-
Yarn: Opt for a blend of 50% cotton and 50% premium acrylic for a soft yet durable finish.
-
Crochet Hook: A 3 mm hook will be perfect to achieve the desired texture and size.
-
Tape Measure: Essential for ensuring accurate measurements.
-
Yarn Needle: For weaving in ends and sewing pieces together.
-
Body Measurements: Measure your bust circumference, shoulder to desired top length, and shoulder to bust length.
Instructions (Step-by-Step)
Crocheting the Cups (Front Granny Squares)
Begin by crafting the front granny squares, which form the cups of your top. Use double-crochet rows, and focus on increasing five stitches at the center to achieve a rounded shape. This technique will help in forming the cup-like structure needed for the front of your top.
Making the Back Granny Squares
The back squares are simpler and should match the size of the front. Use the same double-crochet technique to maintain consistency. Ensure that the back squares align perfectly with the front to create a seamless garment.
Joining Squares
Once all squares are ready, it’s time to join them together. Arrange the squares in the desired pattern and use your preferred method—such as slip stitch, whip stitch, or single crochet—to attach them. Each method offers a different finish, so choose according to your style preference.
Adding the Hood
To complement the top, crochet a hood that can be attached to the upper edge of the garment. The hood adds a stylish touch and provides warmth, making your creation multifunctional.
Finishing Touches
After attaching the hood, it’s time for the finishing touches. Weave in all loose ends and trim any excess threads to ensure a polished and professional look.
Customization Tips
Customizing your crochet top can be as fun as making it. To adjust the size, consider altering the number or size of granny squares and adapting the measurements. Experiment with different colors, yarn types, or alternative joining techniques to personalize your creation further.
Difficulty Level & Uses
This crochet pattern is designed with beginners in mind, offering a straightforward yet stylish project. The finished top is perfect for a variety of occasions—whether you’re dressing up for a casual summer outing, layering during cooler days, or enjoying a cozy day at home.
Conclusion
We invite you to try crafting this delightful crochet top. Its charming design and simplicity make it a rewarding project for crocheters of all levels. Moreover, this handmade piece makes a thoughtful and personal gift for friends and loved ones.