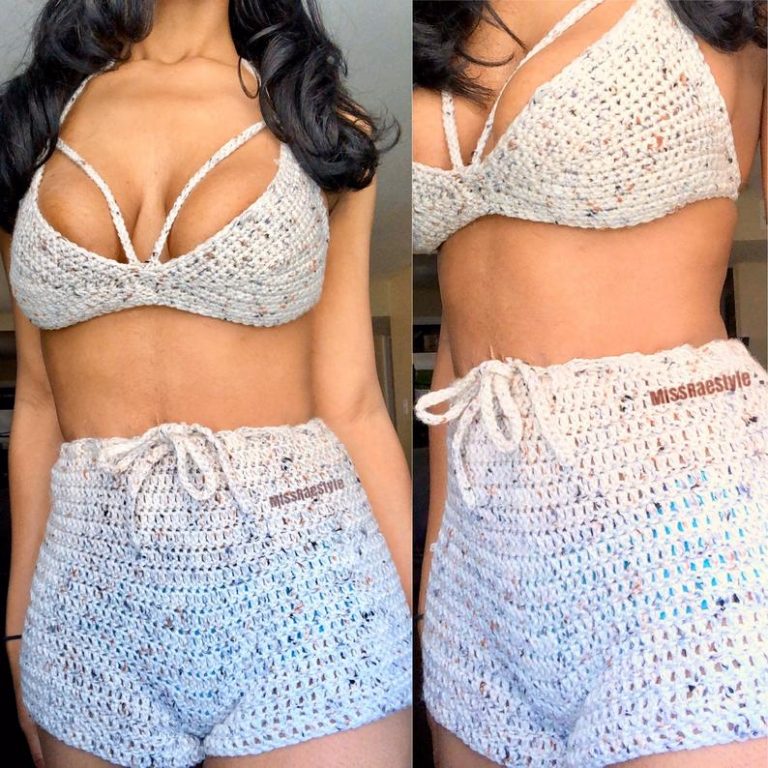
Crochet Laptop Case Pattern Made from Pink Granny Squares
Pink squares make this crochet laptop case pattern look so sweet. Each square is small and simple to crochet, so the whole project feels light. Afterwards, you join them to make one soft cover. Best of all, the pattern is free, and you can try it for your own laptop or as a present.
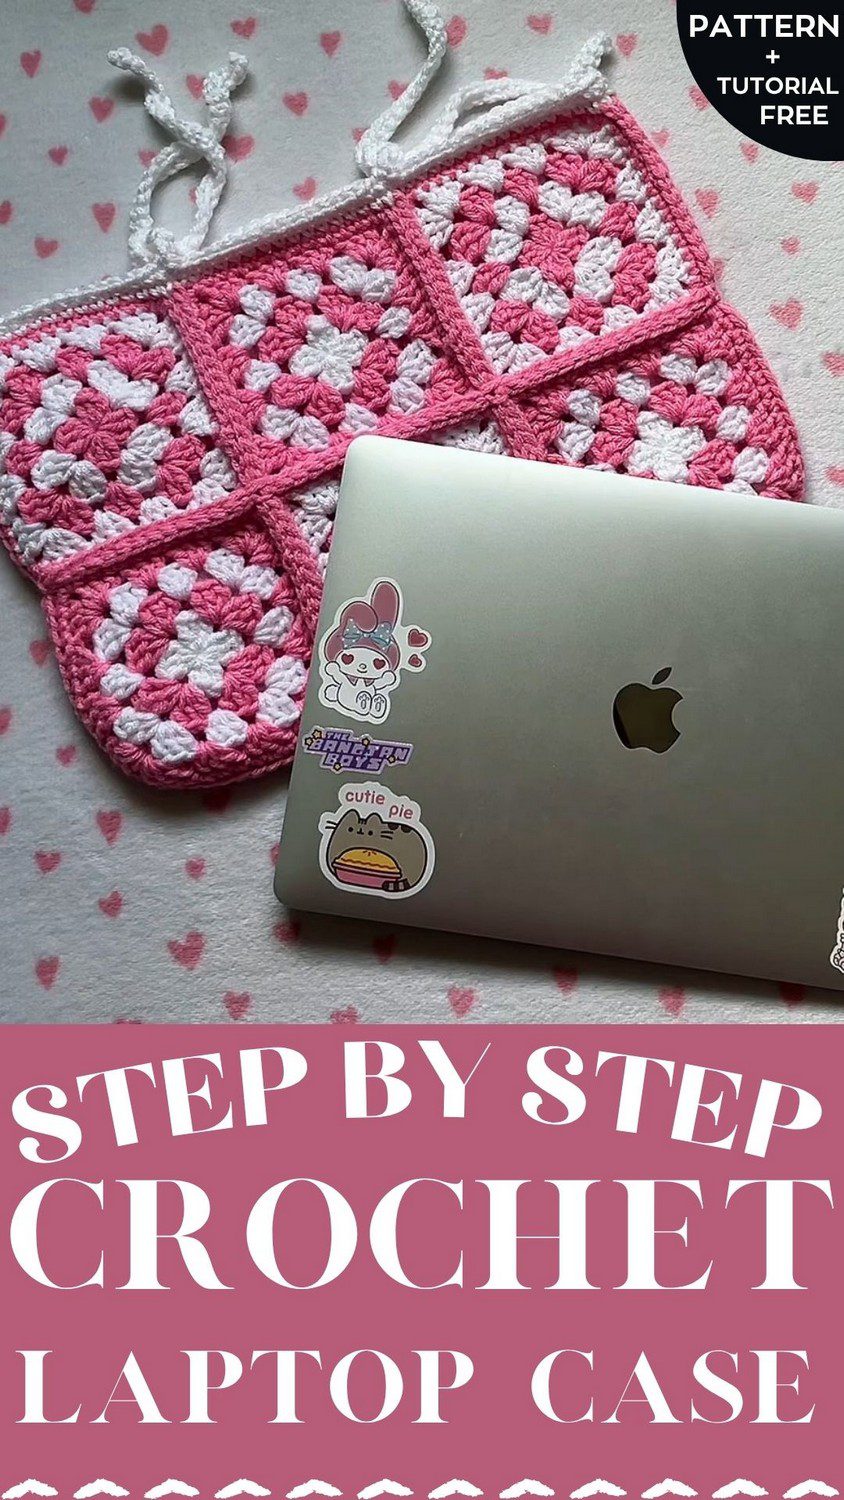
Here is a handmade idea for your laptop. This granny square laptop case is made from twelve pink and white squares, and each square takes four rounds. When all squares are ready, you join them and fold them into a pouch. In the end, a white border makes the top look neat. Because this free crochet laptop sleeve pattern is simple to follow, it also makes a lovely gift. Pin it and start whenever you like.
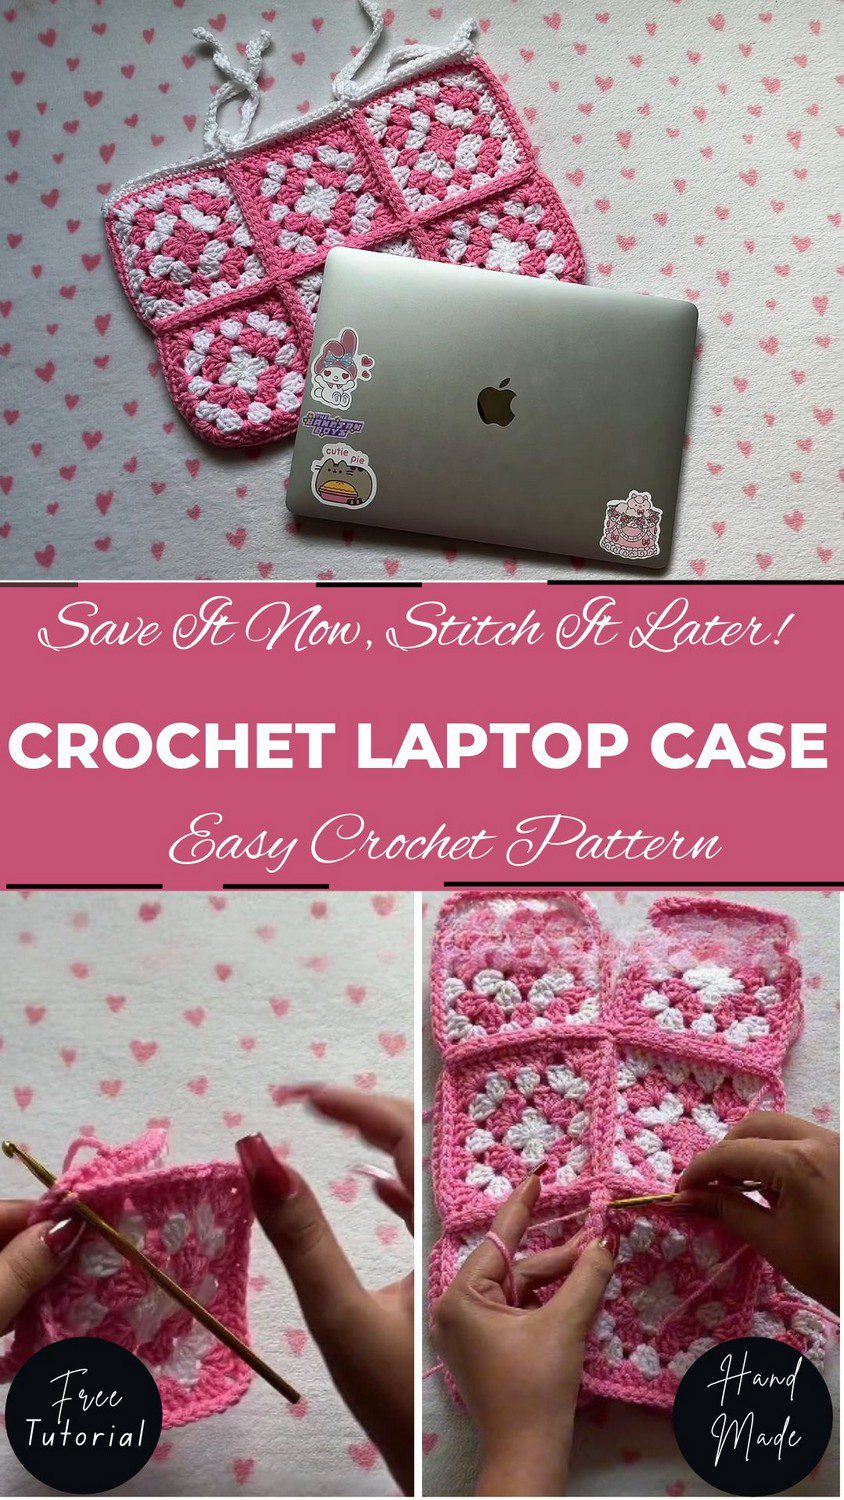
Crochet Laptop Case Pattern Overview
Skill level: Advanced Beginner
Finished size: About 8 x 12 inches (20 x 30 cm) after folding, depending on your tension and yarn.
The sleeve is built by joining 12 identical granny squares into a flat panel. Then the panel is folded and seamed into a pouch. Finally, a border and an optional decorative edge finish the top opening.
Materials and Tools for the Crochet Laptop Case Pattern
- Yarn: Worsted weight yarn in 3 colours for the rounds, plus white for the border
- Hook size: 5 mm
- Other tools: Darning needle and scissors
Stitch Guide
This pattern uses US crochet terminology.
Abbreviations:
- ch: chain
- dc: double crochet
- sc: single crochet
- sl st: slip stitch
Before You Begin
Take a minute to set up before you start your first square.
- First, pick your three round colours and keep your white yarn ready for the border.
- Work every square the same way, so all 12 end up the same size.
- Also keep your tension steady from the first square to the last. This matters more than usual here, because the squares have to line up when you join them.
Special Techniques
Magic Circle
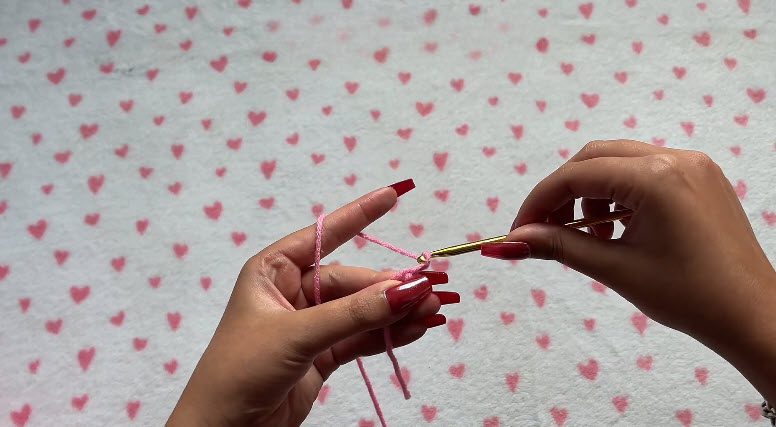
Every granny square begins with a magic circle.
Granny Square Method
Each square is worked in rounds. Clusters and chains alternate to make the corners and sides, and a single crochet border finishes each square.
Joining Squares
Place two squares with wrong sides touching and stitch them together with single crochet. After that, add a border to assemble the pouch.
Crochet Laptop Case Pattern Instructions
Part 1: The Granny Square for the Crochet Laptop Case Pattern (Make 12)
Round 1: Make a magic circle. Next, ch 3 (counts as the first dc). Work 2 dc into the circle, then ch 2 for the corner. Repeat [3 dc, ch 2] three more times. After that, pull the magic circle closed. Finally, join with a sl st to the top of the starting ch 3 and fasten off.
Round 2: Join a new colour in any ch-2 corner space. Then ch 3 and work 2 dc, ch 2, 3 dc into the same corner space. Ch 1 next. After that, work [3 dc, ch 2, 3 dc] into the next corner space. Keep going around this way, with a ch-1 space between each corner cluster. At the end, join with a sl st to the top of the starting ch 3 and fasten off.
Round 3: Join a new colour in any corner space. Next, ch 3 and work 2 dc into the same corner. Then ch 1 and work 3 dc into the next ch-1 space. After that, ch 1 and work [3 dc, ch 2, 3 dc] into the next corner space, followed by ch 1. Repeat around, and finish by joining with a sl st to the top of the starting ch 3. Fasten off.
Round 4: Join the final colour (white) in any space. Then sc around the whole square, working 2 sc into every corner space. To finish, join with a sl st to the first sc and fasten off.
Part 2: Joining the Squares for the Crochet Laptop Case Pattern
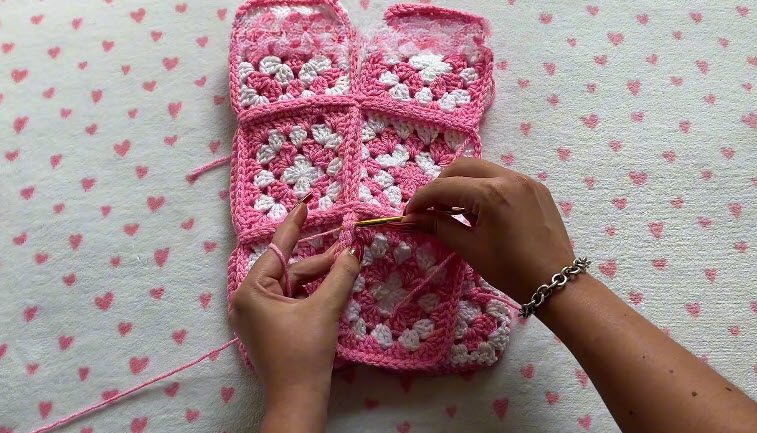
Lay out your 12 squares. A 3×4 grid makes the panel for one side of the sleeve, so join them in sections as you go.
- To begin, place two squares with wrong sides touching.
- Next, join your yarn in the corner. Insert the hook into the back loops of the corner stitches of both squares.
- Then pull the yarn through and sc the squares together along the edge, going through the back loops of both. Keep your tension even.
- At each corner, insert the hook into the corner gap so the shape stays neat and the corner stays secure.
- Finally, keep joining the squares one by one until all 12 are connected into one panel.
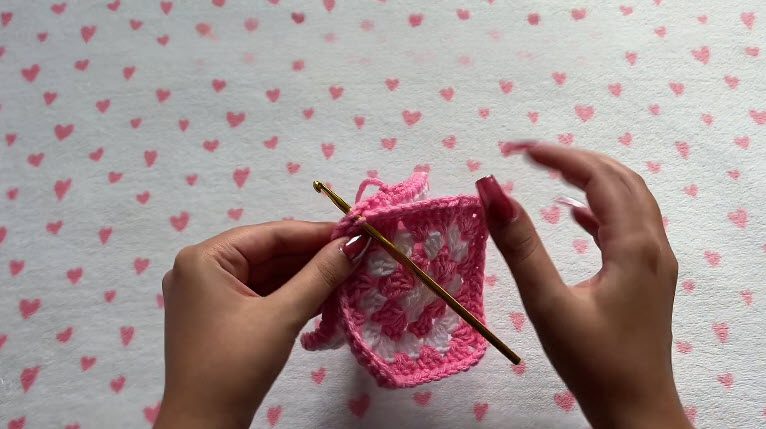
Part 3: Shaping and Final Assembly of the Crochet Laptop Case Pattern
Folding and Seaming the Sides
- First, fold the completed panel of granny squares to create the sleeve shape.
- Next, line up the sides of the folded sleeve.
- Then join your yarn at the side corner and work a single crochet along the side seam.
- Work through the stitches of both layers, so the case closes securely.
- Continue the single crochet seam all the way down the side, across the bottom, and up the other side.
- When the seams are finished, fasten off the yarn.
Final Border
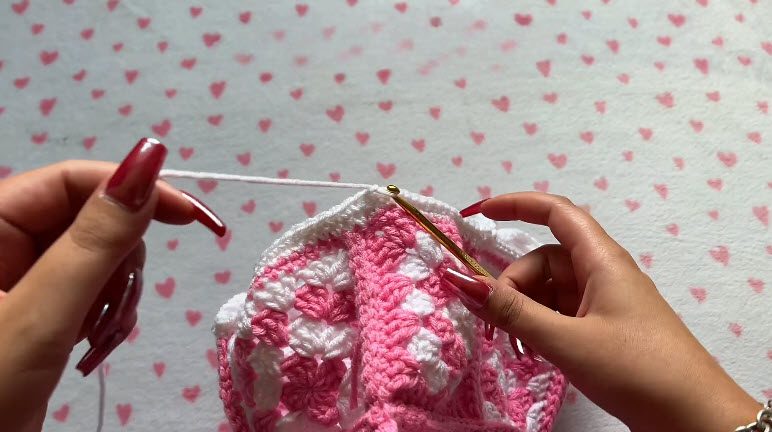
- To start, join your yarn to the top opening.
- Then work one round of single crochet all the way around the edge of the opening, to neaten it.
Decorative Edge (Optional)
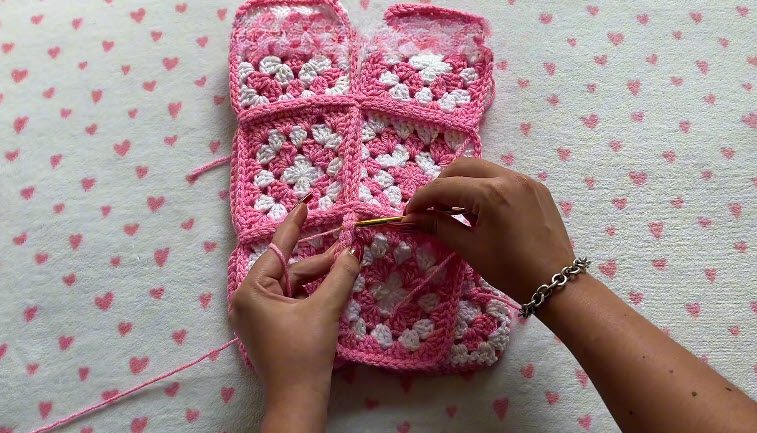
- Chain 3.
- Next, skip 1 stitch along the border edge.
- After that, work a single crochet into the next stitch.
- Repeat this sequence (ch 3, skip 1, sc) all the way around the top opening until you reach the beginning.
- Finally, join with a slip stitch at the top of the first stitch to close the round.
Finishing
Fasten off and weave in all remaining ends.
Size Adjustments
If you need a different size, you can either block the finished sleeve to stretch it or add more rounds to your granny squares.
Bonus Tips for Your Crochet Laptop Case Pattern
Bonus Section: Tips for Neat Squares
- Weave in your yarn ends as you work, because it saves you a big pile of finishing at the end.
- Likewise, keep your tension even while joining, so the panel lies flat.
- Always work into the corner gaps when joining, so the corners stay tidy.
Pro-Tips for a Polished Sleeve
- Instead of leaving them for later, weave in ends after every square. With 12 squares, this habit saves a lot of time.
- Lay all your squares side by side before joining. If one looks smaller or bigger, you will spot it early.
- Use the same hook for every square, since a hook change can shift your size.
- Finally, block your squares lightly if the corners curl, then join them. Flat squares join much more easily.
Common Mistakes in the Crochet Laptop Case Pattern
- Uneven tension while joining. A tight join makes the panel pucker, while a loose one makes it wavy.
- Skipping the corner gaps. The corners are where the shape holds together, so always go into the corner gap.
- Mixing up the join direction. Keep wrong sides touching on every join so the panel looks consistent.
- Leaving all the ends for the end. Twelve squares means many yarn tails, and they get tiresome fast.
Benefits and Gift Ideas for This Crochet Laptop Case Pattern
Benefits of a Handmade Laptop Sleeve
- It is a stash-friendly project, since each square uses only a little yarn.
- Moreover, the squares are portable, so you can crochet on the go.
- You choose the colours, which means no two sleeves look alike.
- In addition, it gives your laptop a soft cover that helps protect against everyday scuffs while you carry it around.
- Lastly, you can adjust the size by blocking the sleeve or adding rounds to the squares.
Gift Ideas
This sleeve makes a lovely handmade gift. Think of a student starting a new term, a coworker who carries a laptop everywhere, a friend who loves pink, or a teacher who would appreciate something cozy and personal. If you wrap it with a small note, it feels even more special.
FAQ About the Crochet Laptop Case Pattern
How many granny squares do I need for this crochet laptop case pattern?
You need 12 identical granny squares, joined as a 3×4 grid.
What yarn and hook should I use?
Use worsted-weight yarn in 3 colours for the rounds, plus white for the border, with a 5 mm hook.
Can I make the sleeve bigger or smaller?
Yes. Block the finished sleeve to stretch it, or add more rounds to your granny squares.
Is the decorative edge required?
No, it is optional, because the final sc border already finishes the top opening neatly.
Is this pattern beginner friendly?
It is written for an advanced beginner, so if you can make a granny square and use a magic circle, you can make this sleeve.
Your Laptop’s New Cozy Home
So that’s the whole sleeve, honestly. You make 12 squares, join them up, fold it, close the sides and add the border. Then weave in the ends, pop your laptop inside, and you’re done. It takes a little patience, but it’s worth it when you see all those pink squares come together. I hope you enjoy making it.