Crochet Christmas Tree Ornament Pattern With Stylish Comfort
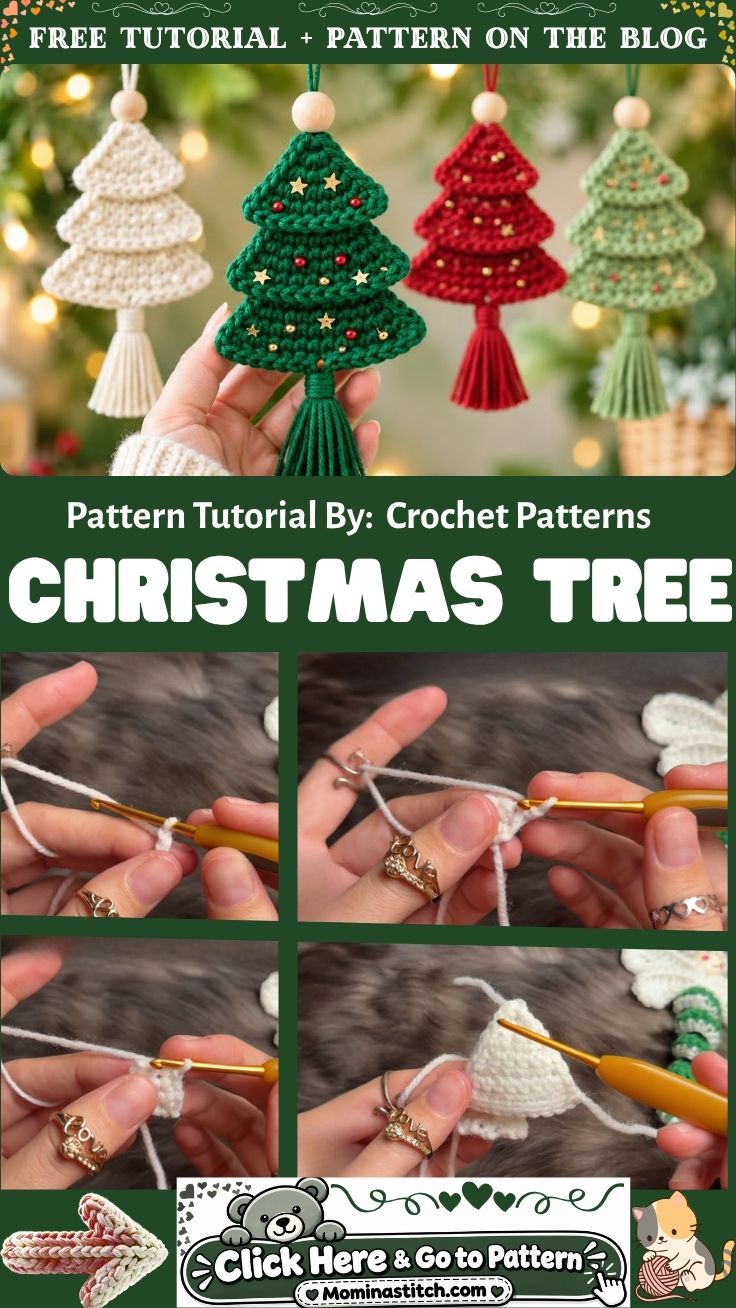
Snow-dusted stitches build into this Crochet Christmas Tree Ornament Pattern With Stylish Comfort, a beginner-friendly project that stacks pearl-trimmed triangles into a tasseled, ready-to-hang handmade holiday ornament for your tree.
Inside, you’ll find the full materials and supplies list, core techniques like magic ring, single crochet, and simple increases and decreases, plus step-by-step instructions covering each tier, the pearl details, and final assembly. Beginner tips, customization ideas, and answers to common questions round out the tutorial, making it easy to finish a polished handmade ornament even on your first attempt.
Project Overview
Built from a handful of stacked crochet triangles, this little ornament layers each piece to mimic the tiered branches of a snow-covered fir. A scattering of pearl beads across the lower tiers adds a touch of sparkle, while a yarn tassel at the base stands in for roots poking through fresh snow, and a loop at the top makes it instantly ready to hang.
Soft, textured, and small enough to finish in an evening, it works equally well as a tree decoration or a gift topper.
Skill Level
Beginner-friendly. Every triangle is built with straightforward single crochet rows, so anyone who knows the basics of increasing and decreasing can finish the whole ornament without much trouble. A few short rows of counting are the only tricky part, and even a newer stitcher will pick up the rhythm after the first tier.
Materials and Supplies List
Gather these before you sit down to stitch nothing fancy is needed, just a few holiday staples:
- Yarn: Worsted weight (category 4) acrylic or cotton-blend yarn in off-white or cream for a snowy look, plus small amounts of green and gold if you’d like a more traditional palette
- Crochet hook: 3.5mm (US E/4), or whatever size gives you a snug, gap-free fabric with your chosen yarn
- Pearl beads: Small faux pearls (6–8mm) with a hole large enough for a sewing needle and thread, used to decorate the lower tiers instead of safety eyes this ornament has no face, so pearls take the spotlight
- Stuffing: A small amount of polyester fiberfill for the top tier, just enough to hold its cone shape
- Needle and scissors: A yarn needle for sewing pieces together and weaving in ends, a sewing needle and matching thread for attaching pearls, plus a sharp pair of scissors
- Hanging accessory: A short loop of yarn worked right into the top stitches, or a small metal jump ring and ornament hook if you’d rather hang it from a sturdier loop
Crochet Techniques Used
- Magic ring to start each triangle piece without a gap at the center
- Single crochet (sc) as the main stitch throughout every tier
- Increases and decreases, spaced evenly to shape each tier into a clean triangle
- Sewing pieces together with a yarn needle, stacking and tacking each tier in place to build the finished cone
Step-by-Step Crochet Pattern Instructions
Building the Top Tier
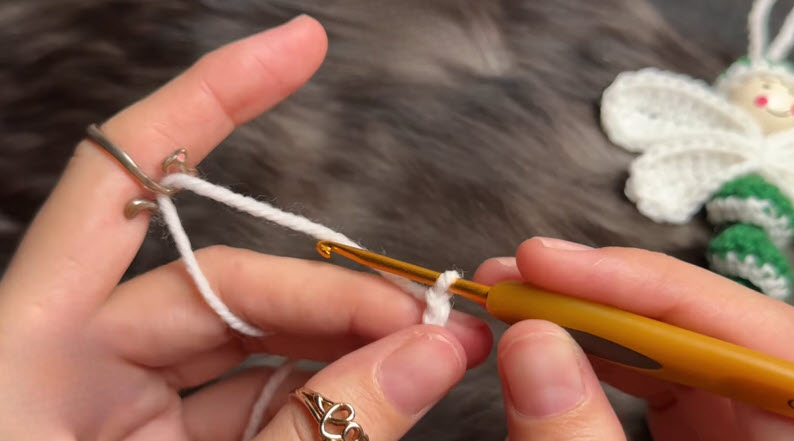
Start with a magic ring and work your first round of single crochet stitches into it, pulling the ring closed tightly. Continue in rows, increasing at the edges every other row so the piece widens gradually into a small triangle. Keep this tier the smallest of the group, since it forms the very tip of the tree.
Pro tip: Pull your magic ring closed before you flip your work to start row two a loose center leaves a visible hole at the very top of your ornament.
Making the Middle and Lower Tiers
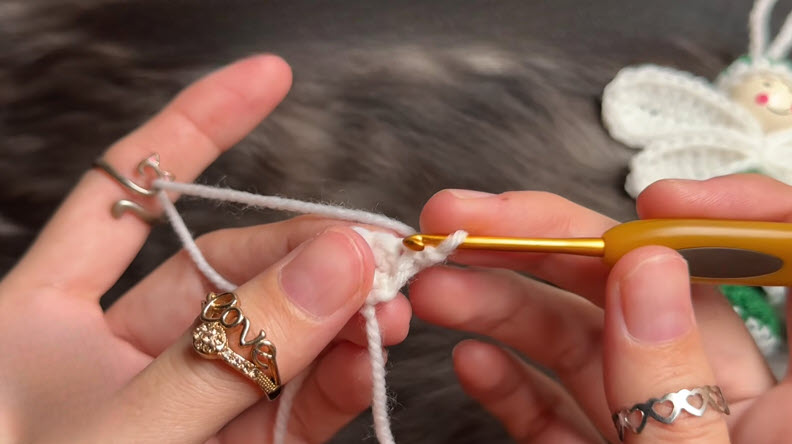
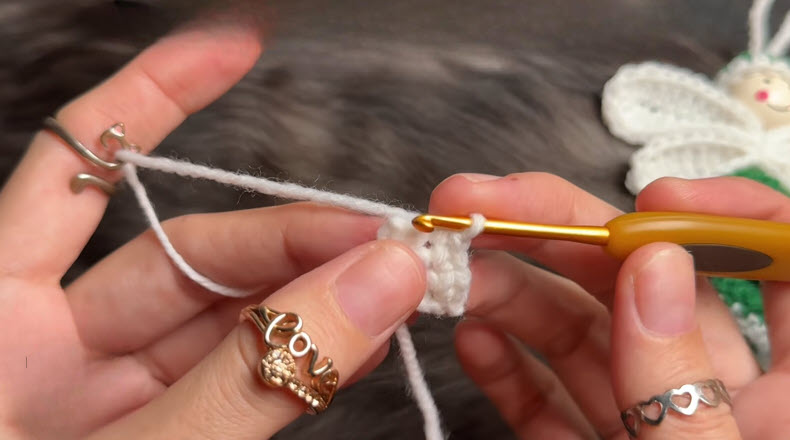
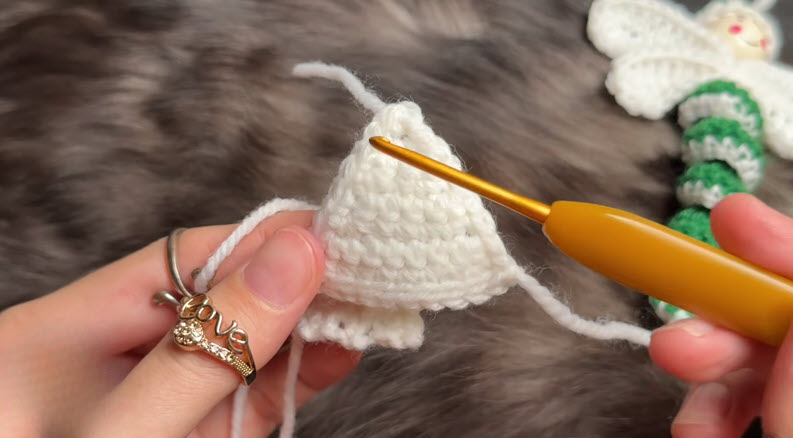
Repeat the same triangle shape two or three more times, making each new tier slightly wider than the last by adding one or two extra stitches at the start of your increase rows. Stack them from smallest to largest as you go, the way real fir branches spread wider near the ground.
Stitch check: count the stitches across the base of each triangle before moving on matching widths at each stage keep the finished tree looking even rather than lopsided.
Trunk, Tassel, and Hanging Loop
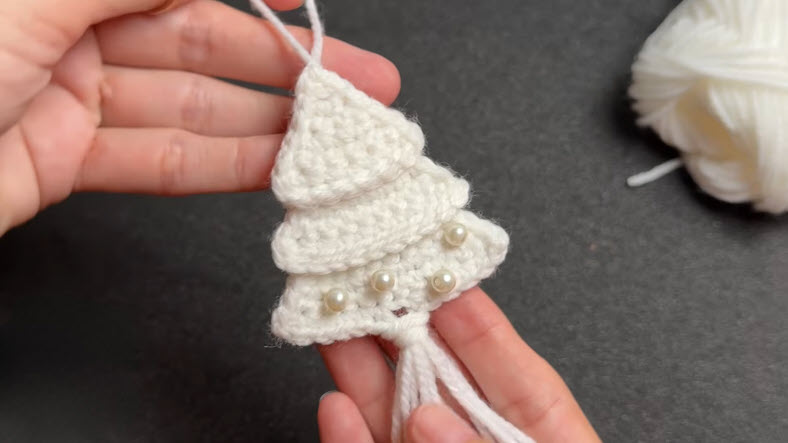
Once all the tiers are finished, cut several long strands of yarn and fold them in half to create a small tassel. Tuck the folded end into the bottom point of your largest tier and secure it with a few stitches, then trim the loose ends to an even length so they read as a little snow-dusted trunk.
At the very top point of your smallest tier, chain a short loop and fasten it off, leaving enough length to slip over a tree branch or ornament hook.
Adding the Pearl Details
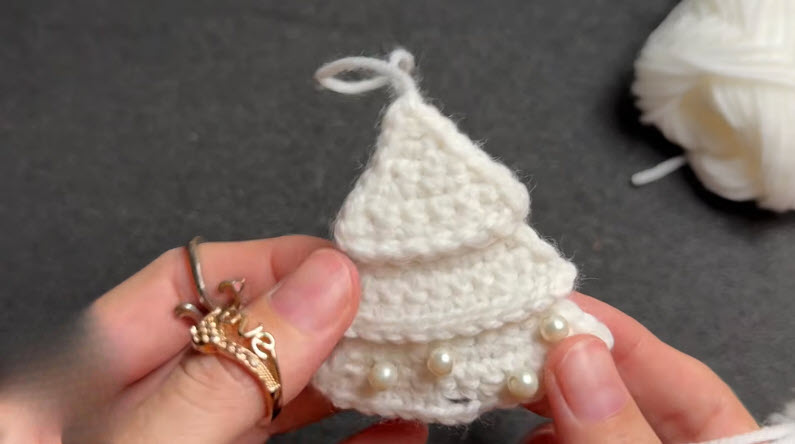
Thread a sewing needle with matching thread and stitch pearl beads across the front of the lower two tiers in a loose, scattered arrangement; three to five pearls per tier looks balanced without crowding the stitches. Knot off securely on the back of the work after each pearl so nothing slips loose with handling.
Assembly Process
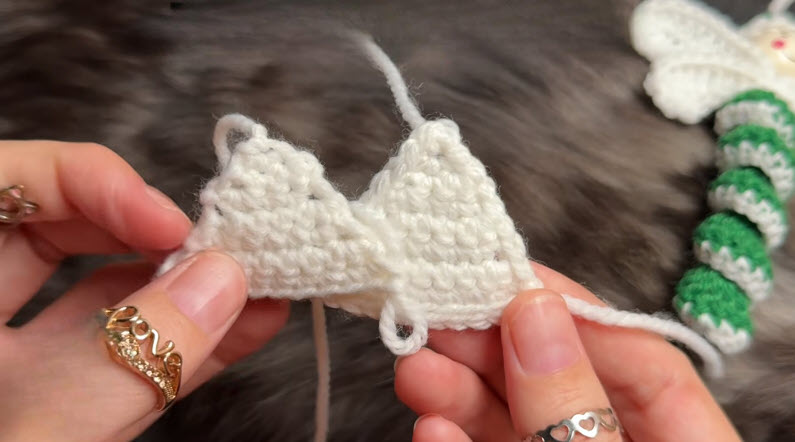
Lay your tiers in order from largest to smallest and stack them so each one slightly overlaps the tier below it, the way real branch layers shingle over one another. Pin or hold them in place, then use a yarn needle to tack the top point of each tier to the tier beneath, working from the back so your stitches stay hidden.
Fit check: hold the stacked tiers up before sewing anything permanently a quick check now saves unpicking stitches later if a tier sits crooked.
Finishing Touches
Weave in every loose end on the back of the ornament, and give the whole piece a gentle steam over a kettle or with a handheld steamer to relax the stitches and help the tiers sit flat against each other. Fluff the tassel strands with your fingers for a soft, snowy texture before hanging your finished tree.
Helpful Beginner Tips
- Keep stitches tight by working with a hook one size smaller than the yarn label suggests — loose amigurumi stitches let stuffing peek through and can make the tiers look floppy instead of crisp
- Use stitch markers on the first stitch of every round so you never lose track of where a new row begins, especially once you’re increasing on multiple tiers
- Stuff lightly and evenly, pushing small pinches of fiberfill into the top tier with the blunt end of your yarn needle rather than cramming it in all at once, which keeps the point from bulging
Design Customization Ideas
Different Colors
Swap the cream yarn for deep forest green with a gold trunk, or try a soft blush pink for a whimsical, non-traditional tree that still reads as festive.
Cute Accessories
Sew on tiny jingle bells alongside the pearls, wrap a thin ribbon around the base of one tier, or add a small crocheted star to the tip instead of a plain loop.
Mini Size Variations
Drop down to a 2.5mm hook and lighter yarn for a set of miniature trees that cluster nicely in a bowl or hang from a mantel garland, or size up to a 5mm hook for a chunkier statement ornament.
Bonus Section: Styling and Display Ideas
Beyond hanging it on the tree, this ornament works as a place-card holder tucked into a napkin fold, a gift-tag topper tied onto wrapped presents, or a small cluster of three or four strung along a mantel garland for extra texture. (Bonus section added this round: Styling and Display Ideas.)
FAQ
What’s the best yarn for amigurumi projects like this?
A smooth worsted weight acrylic or cotton-acrylic blend works best, since it holds its shape well and gives clean, defined stitches without splitting while you work the increases and decreases.
How do I make my crochet plush firm instead of floppy?
Use a hook a size smaller than usual for tighter stitches, and stuff gradually in small amounts so the fiberfill fills out the shape evenly rather than settling into lumps.
How long does this project take to finish?
Most stitchers finish one ornament in about two to three hours, spread across a couple of relaxed evenings, depending on how many tiers and pearl details you add.
Wrap Up and Get Stitching
A handful of triangles, a few pearls, and one cozy evening are all it takes to bring this little tree to life on your own hook. Pick up your yarn, work through the tiers one at a time, and watch a simple stack of stitches turn into a holiday keepsake worth hanging year after year. Share your finished ornament or tag your version online; the crochet community always loves seeing a new stylish twist on a classic shape.