
Crochet Green Pear Amigurumi Pattern with brown stem
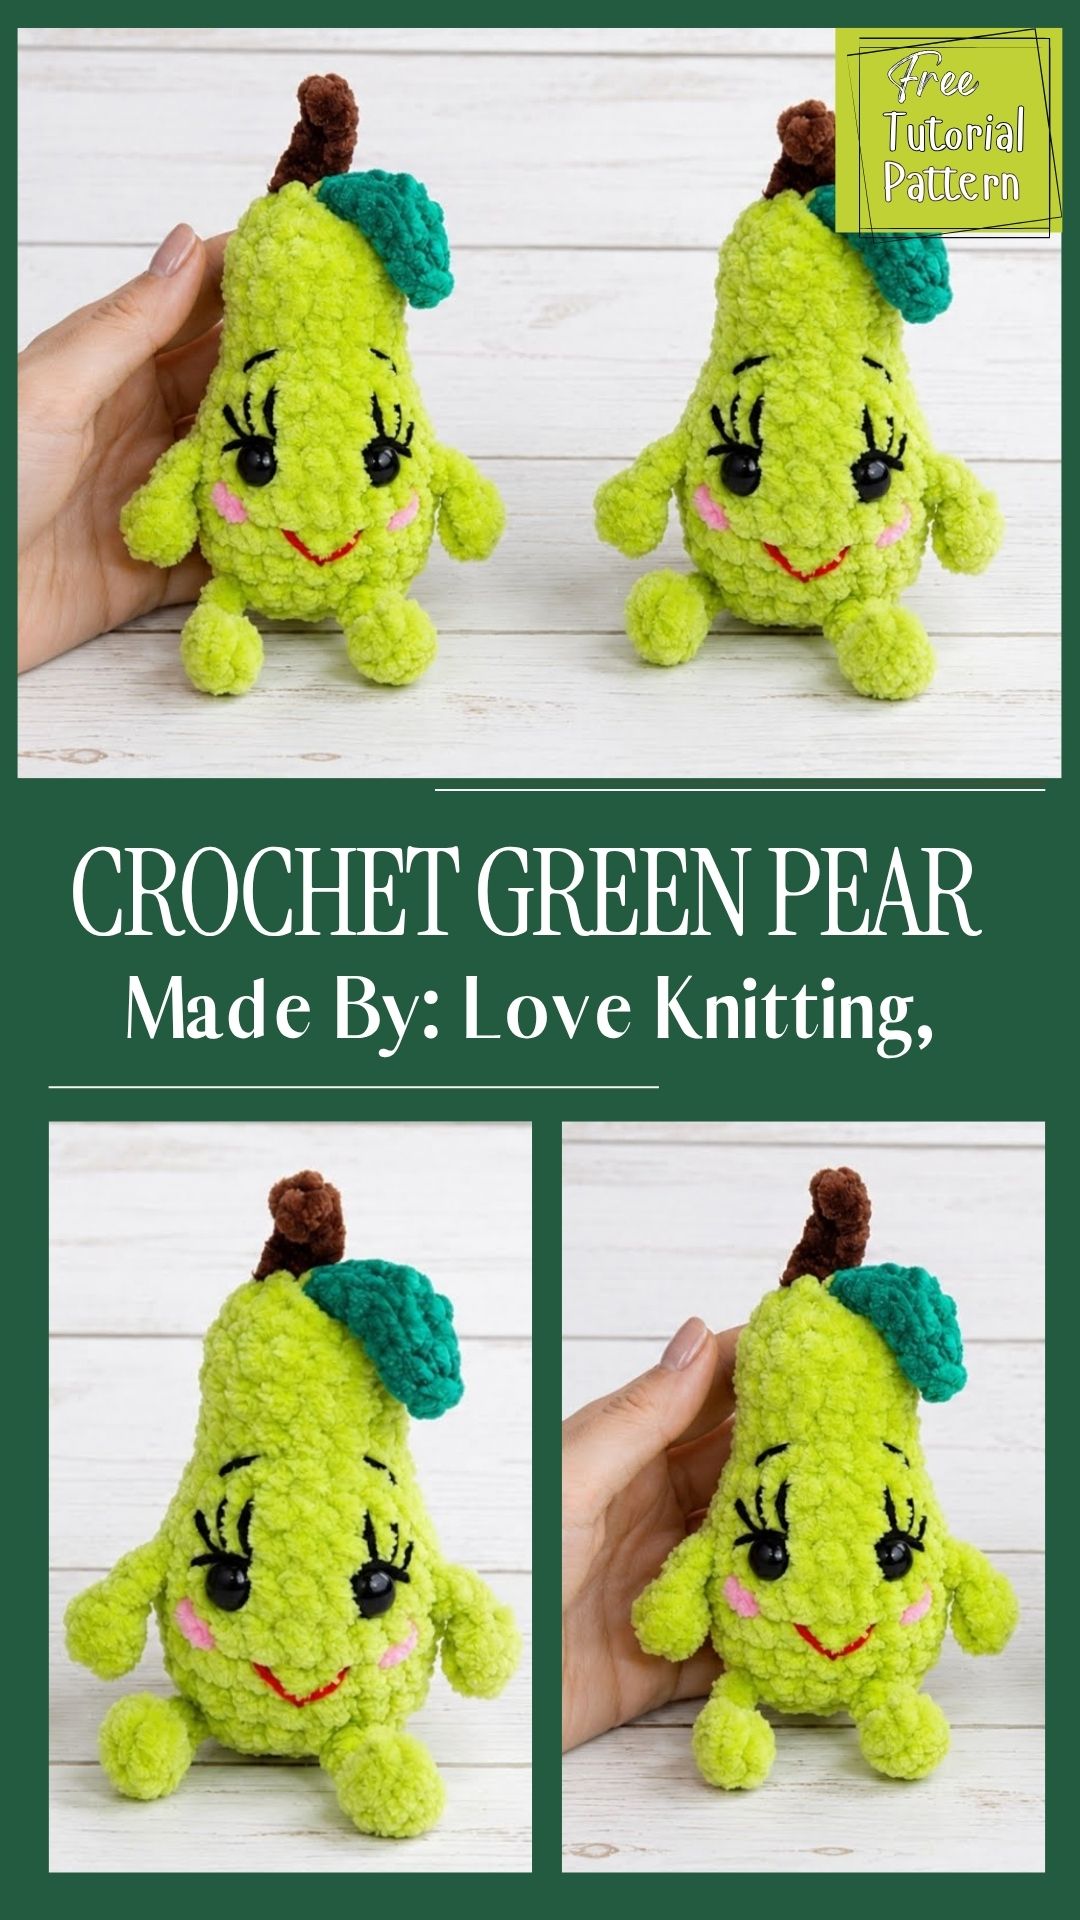
Soft chenille loops feel plush against the fingertips, so the Crochet Green Pear Amigurumi Pattern with a brown stem turns into a cuddly fruit with real charm. Its plump belly, narrow top, and tiny stem look sweet on any shelf. Best of all, the shape stays simple.
Few small projects deliver as much personality as a plush fruit. The pear here stands out because chenille yarn gives the surface a velvet finish, while a slim brown stem adds contrast. Moreover, the compact body suits a chenille pear plush just as well as a fruit amigurumi for the shelf. As a home accent, it brightens a windowsill, a bookcase, or a kitchen nook without taking up much room.
Your Supplies Checklist
- Light green super bulky chenille yarn for the body
- A small amount of brown yarn for the stem
- Recommended hook: 3.5 to 4 mm, because a smaller hook keeps chenille stitches dense
- One black safety eye, or black thread for embroidery
- Polyester fiberfill
- Red stitch markers, a tapestry needle, and sharp scissors
Furthermore, a smooth aluminum hook glides through fuzzy yarn with less snagging.
Skills You’ll Use
Most of the work relies on basic amigurumi skills. Beginners will recognize the starting ring, single crochet, increases, and decreases. In addition, light stuffing and simple sewing complete the shape. Because chenille hides stitches, careful counting matters more than advanced technique.
What You’ll Learn
- How to build a flat circle that rises into a rounded body
- How to keep tension even while working with fuzzy chenille
- How to taper the top so the shape reads clearly as a pear
Time Needed
Expect about three hours from start to finish. Prep takes ten minutes for gathering supplies. Stitching runs roughly two hours, since chenille slows the pace. Finishing and assembly add another 30 to 40 minutes.
Step-by-Step Process
The crochet green pear amigurumi pattern below follows five photo stages. Each step matches one picture, so the order stays clear from the first loop to the shaped top.
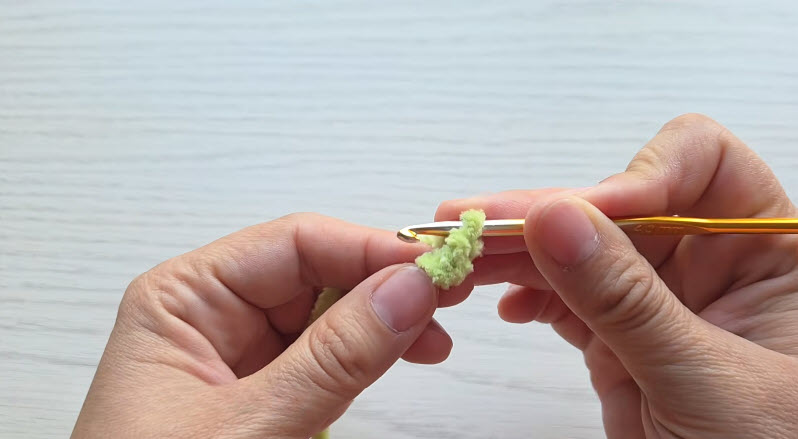
Step 1: Start the Base Circle
Hold the hook near the tiny starting ring and work the first cluster of stitches into it. The light green chenille bunches at the hook tip. Meanwhile, pinch the work between the thumb and forefinger of the left hand to keep it steady.
Why it matters: a snug start prevents a hole at the bottom of the pear.
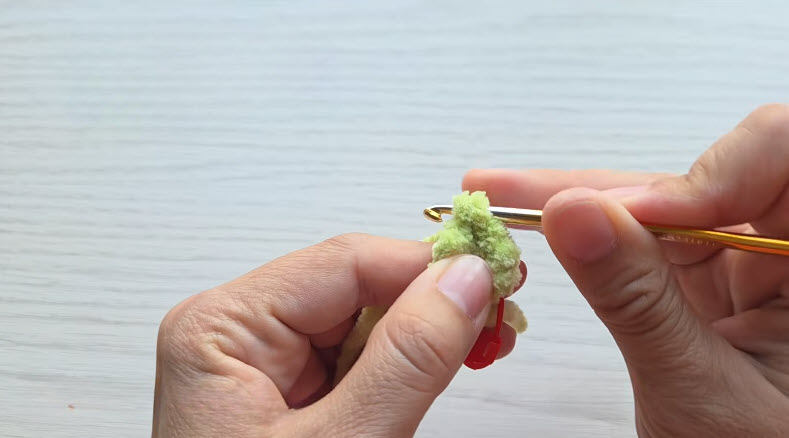
Step 2: Mark the Round and Keep Widening
Clip a red stitch marker into the first stitch of the round. Then pinch the small disc and keep working around, adding increases so the circle grows flat. Move the marker up after every full round.
Pro-Tip: Count stitches at the end of each round. Chenille hides them quickly.
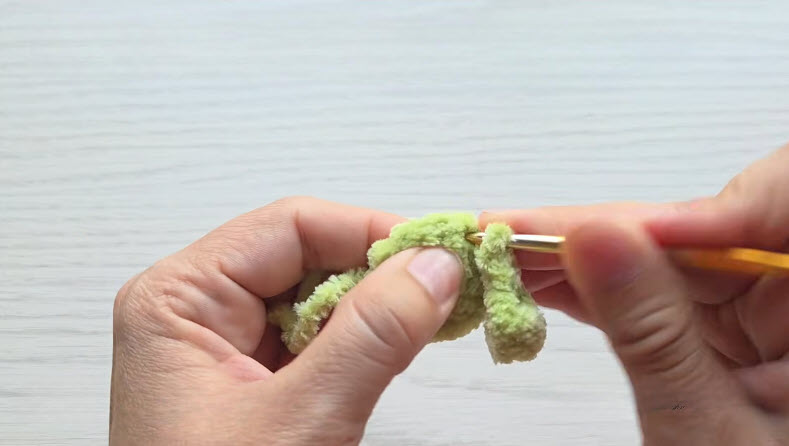
Step 3: Let the Sides Rise
Once the disc is wide enough, stop increasing and stack stitches evenly. The flat circle then curls upward into a shallow cup. Insert the hook into the top edge each time, and keep the fabric firm.
Step 4: Build the Rounded Belly
Continue with even rounds while the walls curve inward, forming the plump lower half. Keep tension snug throughout. Additionally, push fiberfill in with small pieces before the opening narrows, because stuffing gets harder later.
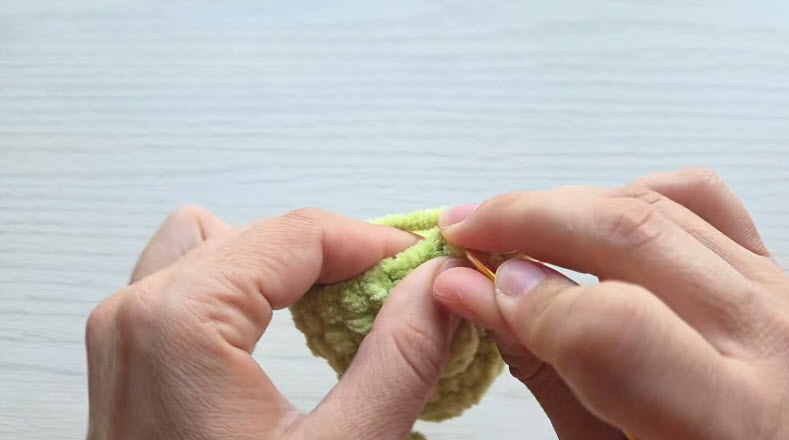
Step 5: Shape the Top and Mark the Details
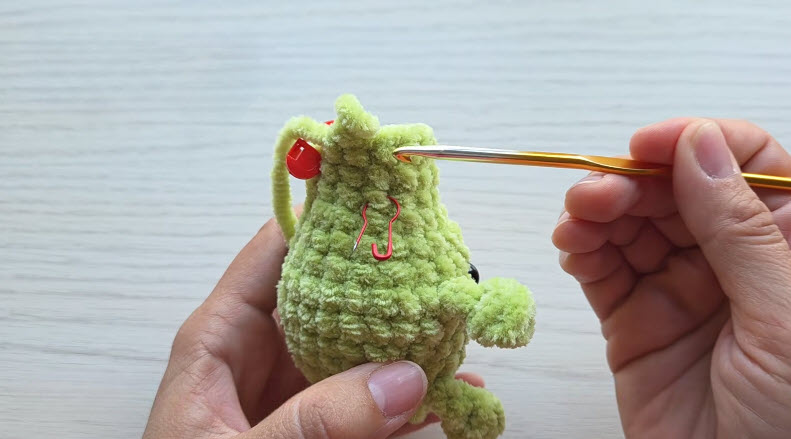
Narrow the opening with decreases so the top tapers like a real pear. Next, mark the spots for the small side pieces and the black eye with stitch markers. Stuff the body firmly, then close the top. Use the hook tip to nudge stray fibers back into place.
Where People Go Wrong
Loose tension tops the list. Chenille stretches, so gaps appear and fiberfill peeks through. Similarly, skipping the round marker leads to lost counts, and the belly ends up lopsided. Overstuffing the top also causes trouble, since the taper flattens. Finally, many makers rush the tapered top of the crochet green pear amigurumi pattern and place the stem off-center.
How to Fix Common Issues
- Visible gaps: Drop down half a millimeter in hook size and tighten each stitch as it forms. If gaps already show, push the fiberfill deeper.
- Lumpy belly: Pull out clumps of stuffing and re-add it in thin wisps. Then roll the body gently between both palms.
- Lost round: Count the stitches along the last full round. After that, move the red marker back to the first one.
Finishing and Assembly Tips
Start with the brown stem. Attach a short tube of brown stitches to the top center, then fasten the base with a few small stitches. Next, secure the black eye at the marked spot. Meanwhile, tuck each yarn tail deep inside the body. Brush the chenille with your fingertips to lift the fluff. Finally, set the pear on a flat surface and check that it stands steady.
Creative Projects You Can Make With the Pear Pattern
Beyond a single shelf piece, the crochet green pear amigurumi pattern adapts to other ideas. For example, thinner cotton yarn and a small hook produce a pear keychain. In addition, red, yellow, and green fruits together make a charming crochet fruit amigurumi collection. Readers who love bag charms can explore amigurumi keychain patterns, while holiday fans can add a yarn loop for a Christmas tree ornament.
Ways to Style or Display It
Set the pear in a wooden bowl beside real fruit for a playful centerpiece. Alternatively, line up several on a floating shelf. A woven basket on the kitchen counter also works well. Photographers can use the pear as a prop against linen or wood backdrops.
Who the Pattern Suits Best
Beginners gain confidence from the simple round shape. Meanwhile, seasoned makers enjoy a quick project between larger toys. Gift givers, market sellers, and fruit-themed decorators will also find plenty to love.
Color Palette Suggestions
Color choices change the mood completely.
- Classic orchard: light green body with a dark brown stem
- Soft sage: muted green with a tan stem for a calm look
- Golden pear: yellow-green body with a chocolate stem
- Autumn mix: olive body with a rust brown stem
Furthermore, matching the stem to the eye color ties the design together. Compare yarn shades in daylight before starting, because chenille shifts tone under lamps.
Why It’s Popular Right Now
Small fruit plushies are trending as cozy home accents and quick handmade gifts. Chenille yarn also keeps gaining fans for its huggable feel. Three reasons explain the appeal:
- Chenille texture photographs beautifully for social media
- The compact size finishes in one or two sittings
- Fruit themes suit every season and room
FAQ
What yarn works best for a green pear?
Super bulky chenille gives the plush look shown in the photos. However, cotton or acrylic works well for a smaller keychain size.
Can beginners make it?
Yes. Basic stitches and a simple shape keep the project approachable, although chenille asks for a little patience.
How tall is the finished pear?
Expect about five inches (13 cm) with chenille and a 4 mm hook. Changing the yarn or hook shifts the size.
Should the eye be a safety eye or embroidered?
Safety eyes suit display pieces. For baby gifts, embroider with black thread instead.
Conclusion
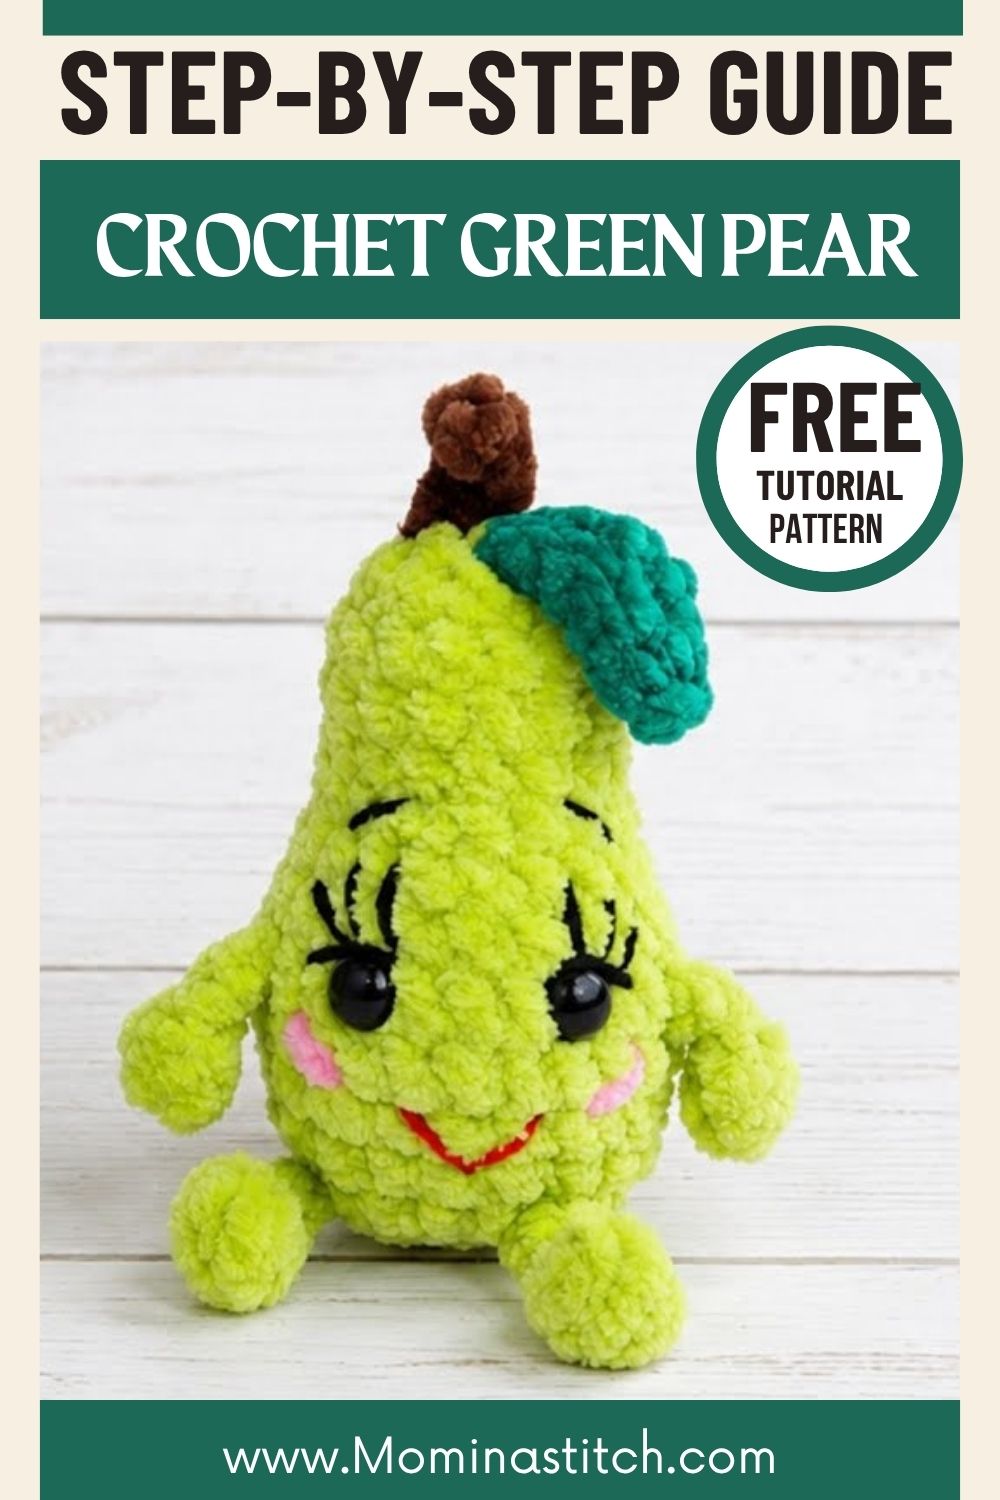
The crochet green pear amigurumi pattern proves that simple shapes can carry big personality. With steady tension, careful stuffing, and a neatly placed brown stem, the finished fruit looks polished and inviting. Ultimately, every stitch adds up to a keepsake worth displaying. After finishing one, readers are welcome to share their own version, whether it wears classic green or a bold new color.


