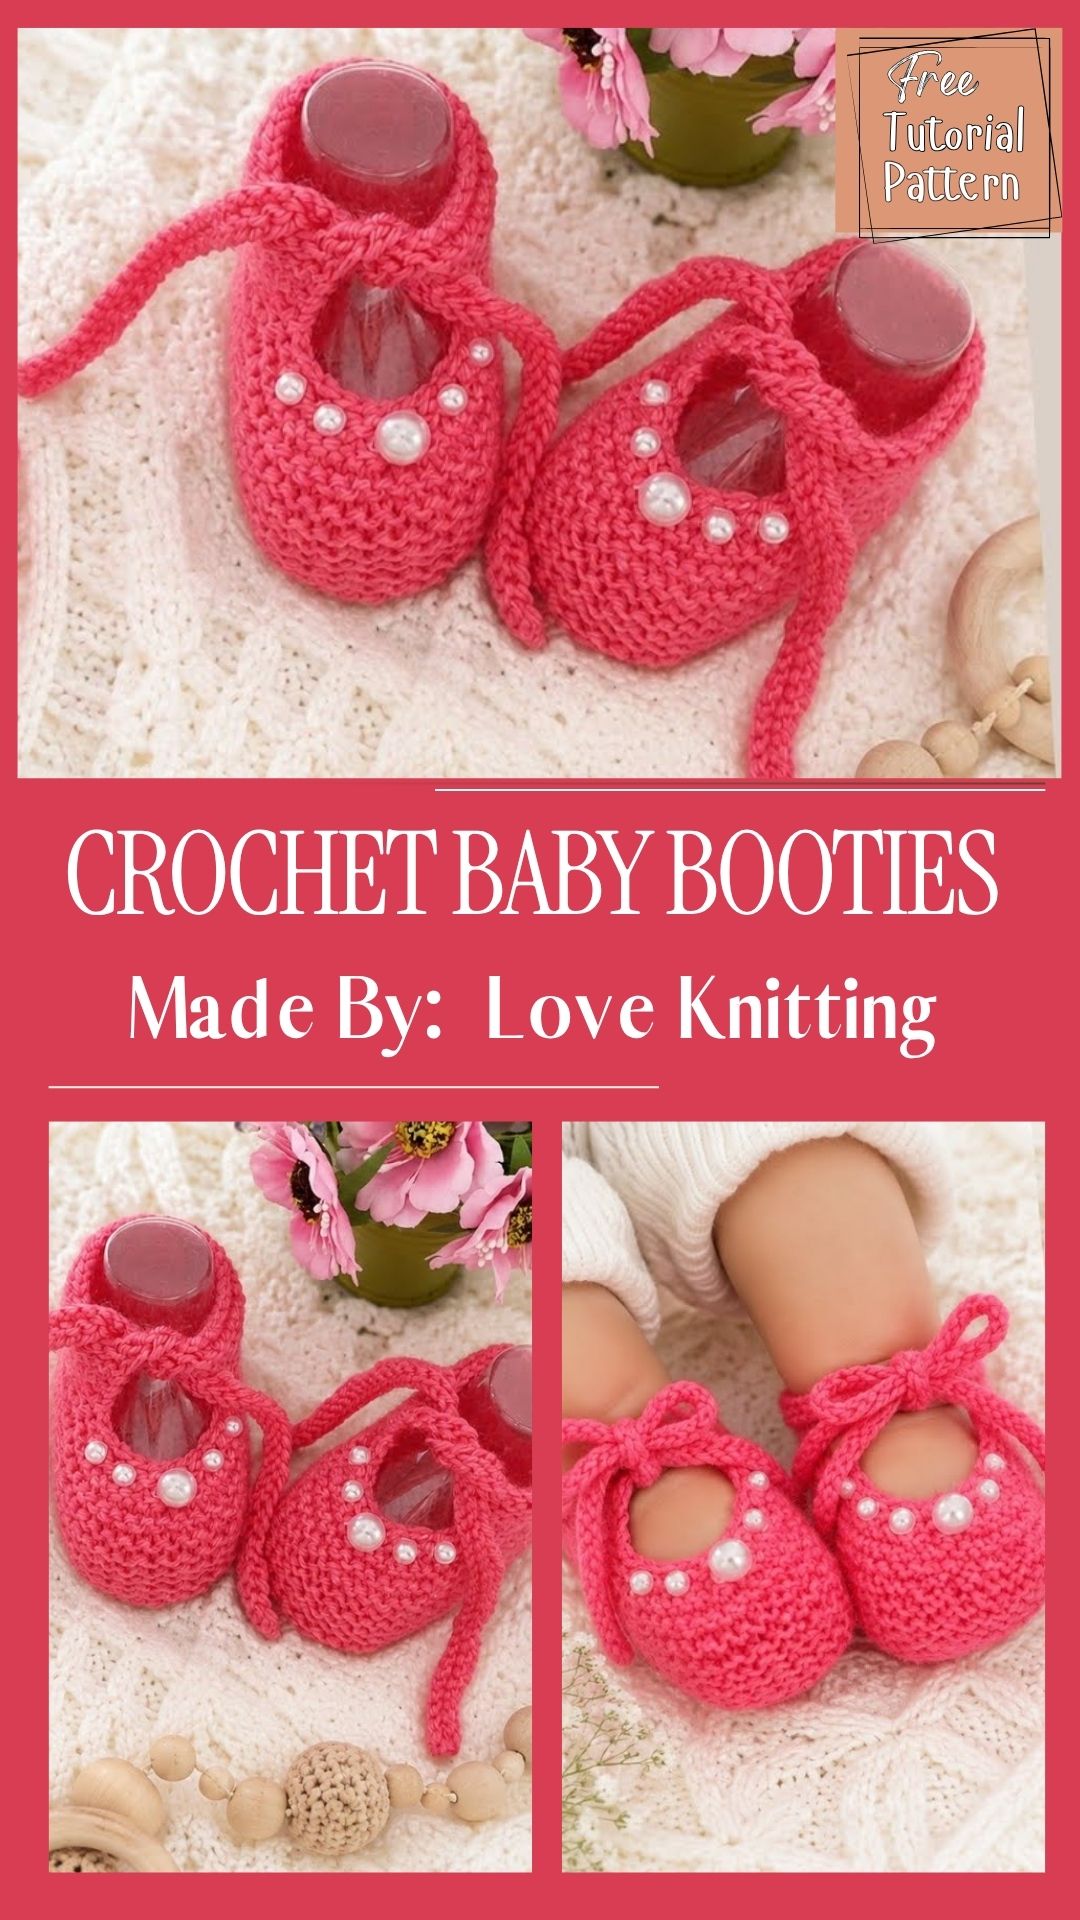
Soft Crochet Baby Booties Pattern with sock stitch texture
Nothing feels more special than tiny handmade shoes for a new baby. This crochet baby booties pattern uses a soft sock stitch texture that looks knitted but works up faster with a hook. It is cozy, stretchy, and perfect for gifting, which is why so many crocheters keep coming back to this style.
This crochet baby booties pattern creates a soft, ribbed-look bootie using a simple sock stitch technique that mimics knit ribbing. The texture gives extra stretch around the ankle, so the booties fit snugly without feeling tight, and they stay on active little feet much better than flat, smooth booties.
The finished pair looks polished and boutique-style, yet the stitches used are beginner-friendly. You only need basic crochet skills and a bit of patience to finish one bootie.
Skill Level
Beginner to Intermediate
If you already know how to single crochet and work in the back loop, you can complete this pattern. The sock stitch texture looks fancy, but it only repeats one simple stitch pattern over and over.
Materials and Tools Needed
- Soft baby-weight or DK weight yarn (2 colors work well: one for the sole/cuff, one for the sock texture)
- Matching or contrasting yarn for accents (optional)
- Crochet hook (size matching your yarn weight, usually 3.5mm–4mm)
- Yarn needle for weaving in ends
- Scissors
- Stitch markers (helpful for marking rounds)
- Small button or ribbon for closure (optional)
Key Features and Techniques
What Makes the Sock Stitch Texture Special
The sock stitch texture is created by working single crochet stitches through the back loop only in continuous rounds. This simple change creates raised horizontal ridges that stretch like real sock ribbing, giving the booties a soft, flexible fit around a baby’s ankle.
Why This Technique Works So Well for Baby Items
- It adds natural stretch without needing elastic.
- It creates a textured look without complicated stitch combinations.
- It keeps the fabric soft and breathable, which is gentle on baby skin.
- It hides small tension differences better than flat stitching.
Step-by-Step Instructions
1: Prepare Your Yarn and Hook
Choose a soft, washable yarn since baby items need frequent washing. Wind your yarn into a neat ball so it feeds smoothly. Pick a hook size slightly smaller than the yarn label suggests, since baby booties need a tighter, sturdier fabric.
2: Crochet the Sole Base
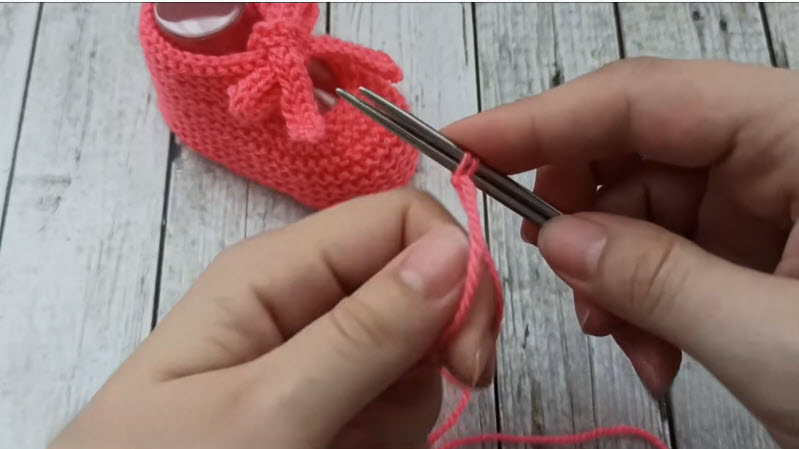
- Start with a foundation chain of about 10-12 stitches, depending on the baby size you are making.
- Work single crochet stitches around the entire chain, adding extra stitches at both rounded ends to shape the oval sole.
- Continue building 1-2 more rounds, increasing evenly, until the sole matches your desired foot length.
- Fasten off if you plan to switch colors for the sock texture section.
3: Begin the Sock Stitch Texture Section
- Join your second color (or continue with the same yarn) at the back of the sole.
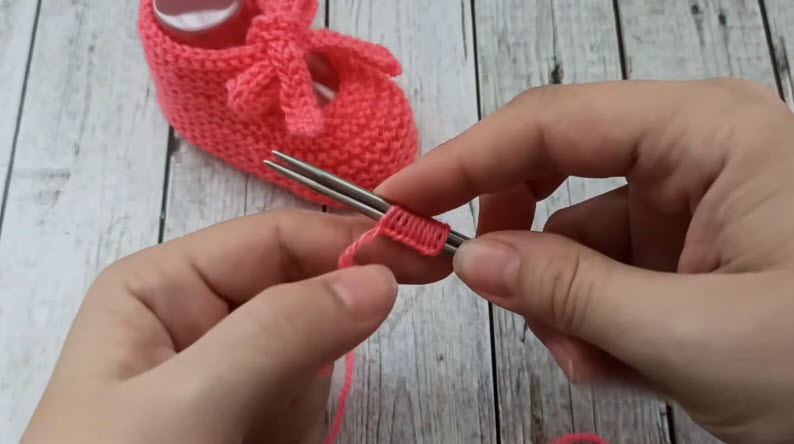
- Work single crochet stitches through the back loop only for every stitch in this round.
- Continue working in a continuous spiral, always going through the back loop only, without joining or turning.
- Repeat this for several rounds to build up the ribbed foot section. This is what creates the signature sock-like ridges.
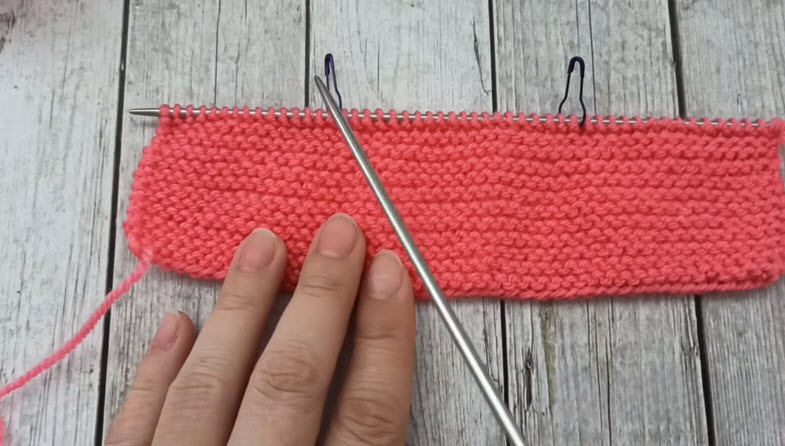
4: Shape the Ankle Opening
- Once the foot section reaches the desired height, begin gentle decreases at the sides to taper the shape slightly toward the ankle.
- Keep working through the back loop only so the ribbed texture continues smoothly into the ankle area.
- Work 2-3 more rounds without decreasing to create the ankle cuff.
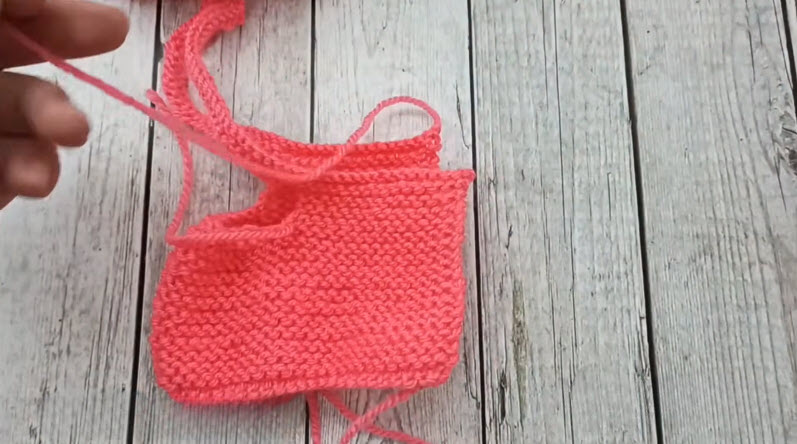
5: Finish the Cuff Edge
- Switch to a slip stitch round or a simple single crochet round for a neat, finished edge.
- If desired, work a round of reverse single crochet (crab stitch) for a decorative border.
- Fasten off and leave a long tail for sewing or weaving in.
6: Add Optional Closures
- Sew a small button near the ankle opening if you want a strap closure.
- Alternatively, weave a thin ribbon or crochet chain through stitches near the top for a drawstring tie.
7: Weave in Ends and Finish
- Use your yarn needle to weave in all loose ends securely along the inside of the bootie.
- Trim excess yarn close to the fabric.
- Repeat all steps for the second bootie to complete the pair.
Helpful Tips for Beginners
- Always crochet a small swatch first to check your gauge before starting the actual bootie.
- Count your stitches at the end of every round to avoid accidental increases.
- Use a stitch marker on the first stitch of each round so you always know where the round begins.
- Work slightly tighter than your usual tension for a sturdier, longer-lasting fabric.
Common Mistakes to Avoid
- Skipping the back loop only step: This is the most common mistake, and it removes the entire sock stitch texture effect.
- Making the sole too long or too short: Always measure against a baby sock or existing pair of booties for accuracy.
- Using scratchy yarn: Baby skin is sensitive, so always pick a soft, gentle yarn.
- Forgetting to mark rounds: Working in a continuous spiral without markers often leads to miscounted rounds.
- Pulling stitches too tight around the ankle: This can make the bootie hard to put on and take off.
Customization Ideas and Variations
- Try two contrasting colors for the sole and the sock texture section for a bold, playful look.
- Add a tiny crochet flower or bow to the top of the cuff for a girly touch.
- Use a striped pattern by changing colors every round for a fun, colorful pair.
- Make a matching hat or blanket using the same sock stitch texture for a full baby set.
- Adjust the sole length slightly to create sizes for newborns, 3-6 months, or 6-12 months.
Frequently Asked Questions
What yarn weight is best for Crochet Baby Booties?
DK or baby-weight yarn works best because it creates a soft fabric that is gentle on delicate baby feet while still holding its shape.
How long does it take to finish one pair?
Most crocheters finish one pair in about 2-3 hours, depending on skill level and how often they take breaks.
Can I make this pattern without knowing the back loop only stitch?
Yes, the back loop only stitch is very easy to learn. It simply means inserting your hook under only the back strand of each stitch instead of both loops.
What size hook should I use for baby booties?
A 3.5mm to 4mm hook usually works well with baby-weight yarn, but always check your gauge since hook sizes can vary by brand.
Can I add a closure to keep the booties on better?
Yes, a small button strap or a thin ribbon tie both work well and help keep the booties secure on active little feet.
Is this pattern suitable for complete beginners?
Yes, as long as you already know basic single crochet and how to work in continuous rounds, this pattern is very approachable.
In Summary
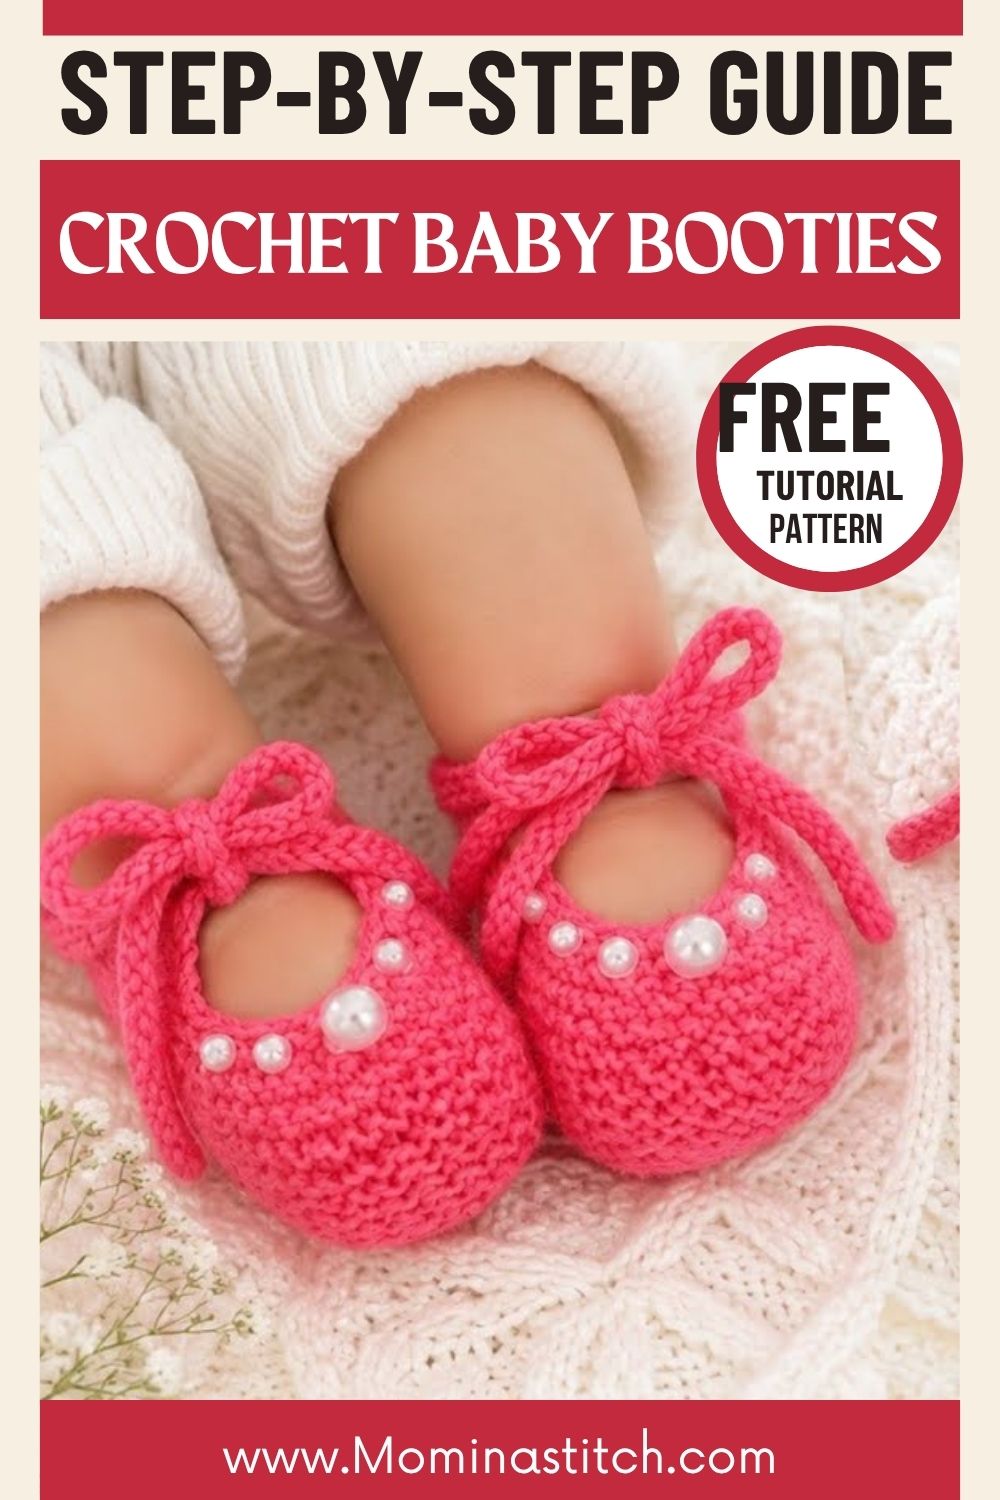
This soft crochet baby booties pattern with sock stitch texture is a wonderful project for anyone who loves making handmade baby gifts. The ribbed texture gives a stretchy, comfortable fit while still looking beautifully detailed. With simple stitches, a short project time, and endless color options, this pattern is easy to repeat again and again. Whether you are making a pair for your own little one or gifting them to a new parent, these booties are sure to be treasured. Try the pattern today, and feel free to experiment with colors and closures to make each pair uniquely your own.