Crochet Mexican Mango Doll Amigurumi Pattern Toy
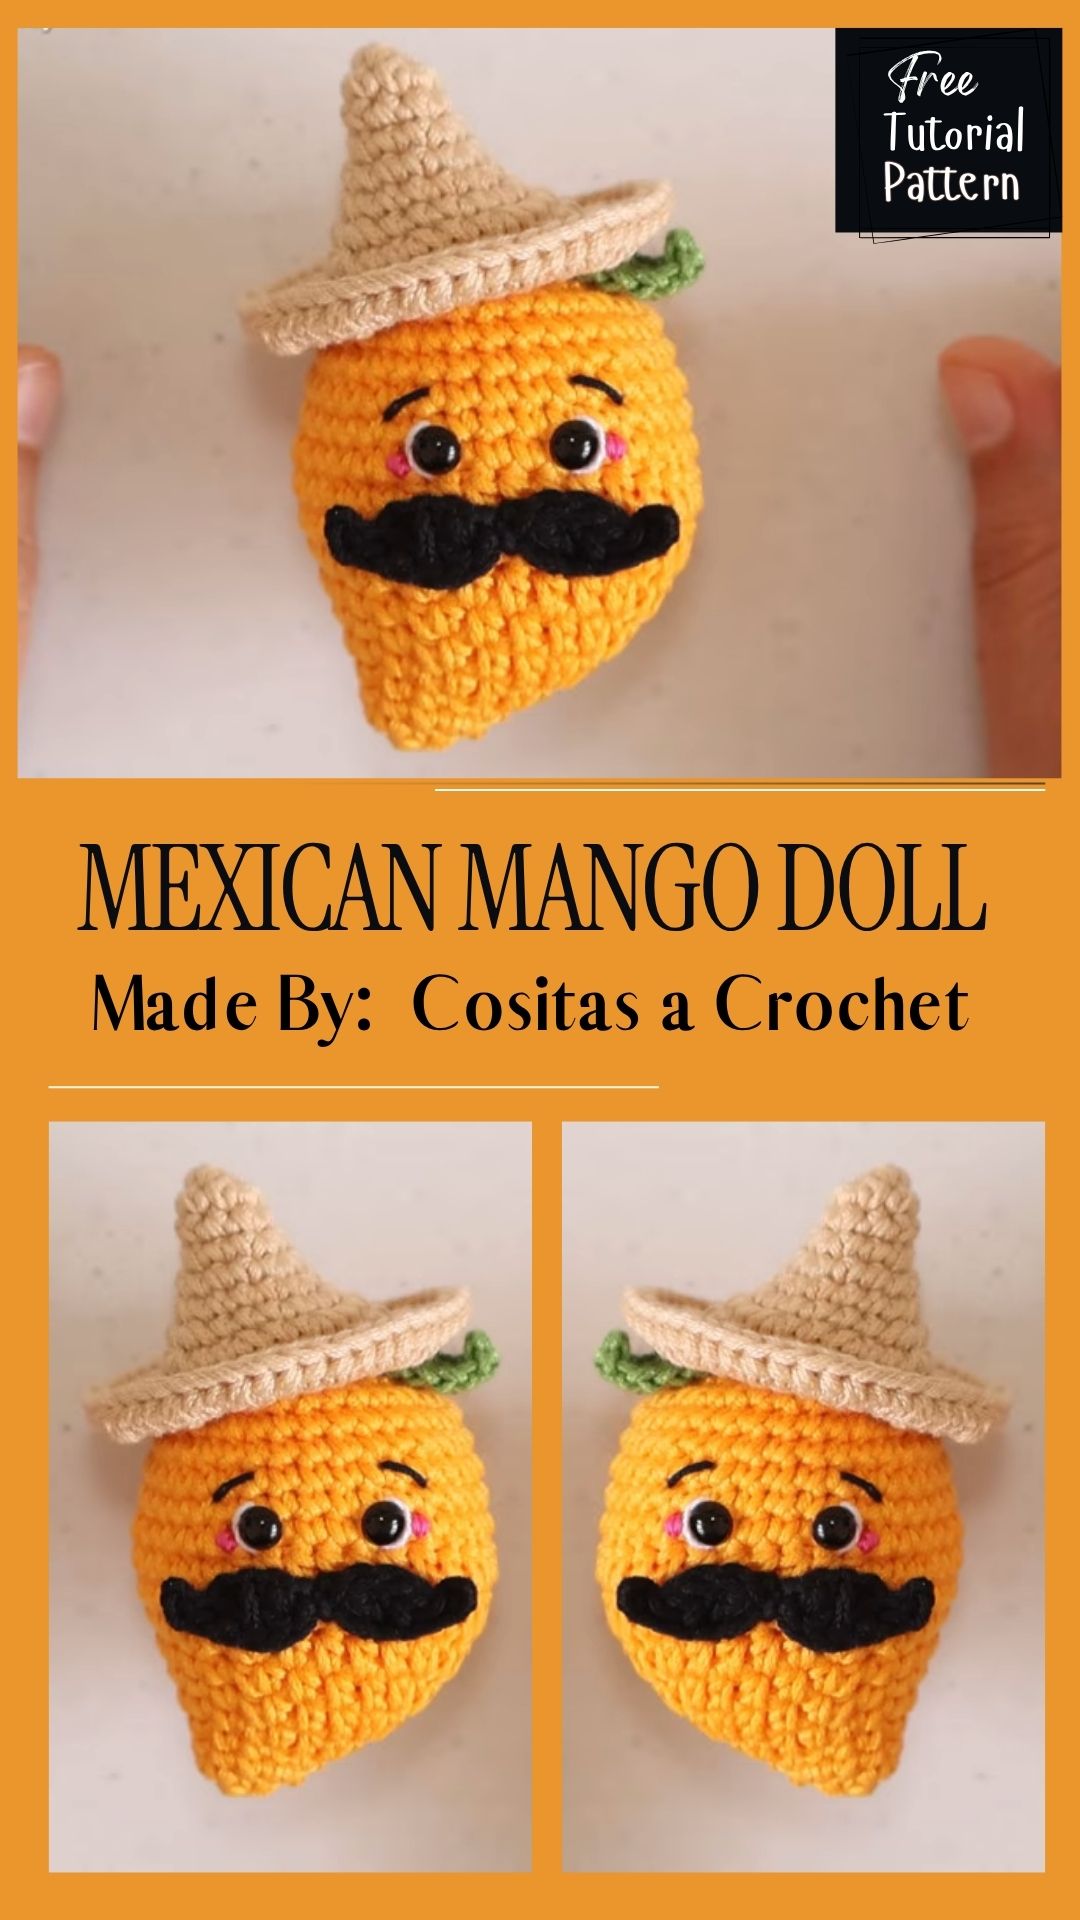
The physical structure of a mango is somewhat different from regular round amigurumi patterns, since it tapers slightly toward the top, which is why special attention needs to be given to shaping. In the Crochet Mexican Mango Doll Amigurumi Pattern Toy, a sombrero and poncho are added along with the curved body, giving it a unique, colorful, and charming Mexican look.
Most fruit-inspired doll patterns treat the body as just a simple round shape, addressing the outfit only afterward. This design, however, gives primary importance to the tapered body structure itself, so the shape stays balanced with every round. The face placement is also kept accurately centered on that same curved surface, while the sombrero and poncho are added so they sit precisely where they belong on the body, letting the doll’s Mexican-inspired look stand out fully.
Pattern Overview
- Character-style amigurumi with a tapered fruit body and Mexican-inspired costume details
- Combines color-blocked shading (green–yellow–red) with sewn-on accessories
- Best suited to crocheters comfortable with basic shaping, color changes, and hand-sewing attachments
Materials
Yarn: Worsted weight (4) acrylic or cotton-blend yarn in orange for the body, plus black for the mustache and pink for cheek accents
Hook: 3.5mm crochet hook
Stuffing: Polyester fiberfill
Safety Eyes: 8mm black safety eyes
Other: Tapestry needle, stitch markers, scissors, pink embroidery thread or fabric marker for cheek blush
Abbreviations
sc – single crochet
inc – increase · dec
decrease · st(s)
stitch(es) · rnd
round · sl st
slip stitch
Body: Achieving the Mango Taper (updated with round-by-round steps)
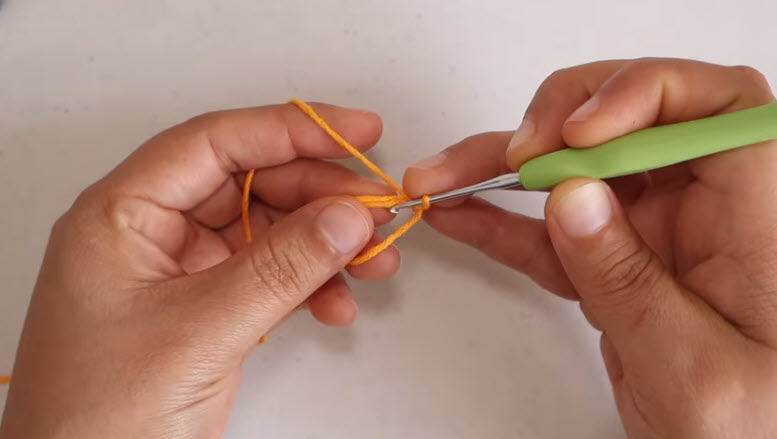
1: Start the Magic Ring
- Make a magic ring and work 6 sc into the ring
- Pull the tail to close the ring, do not join. Work in continuous rounds
- Place a stitch marker in the first stitch of every round from here on
2: Build the Increase Rounds
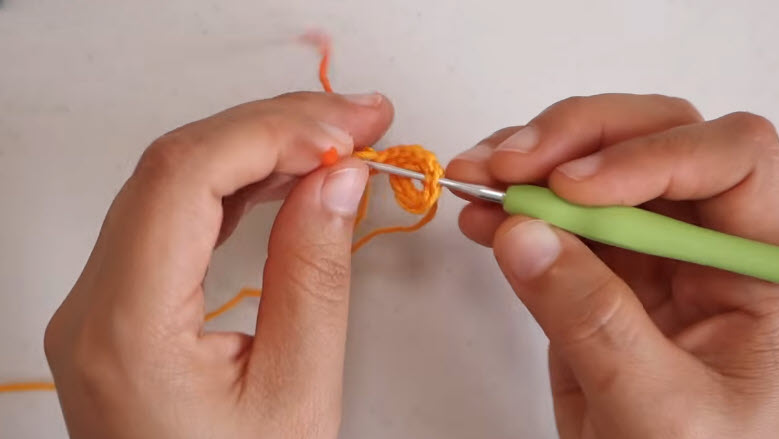
- Rnd 2: inc in each st around (12 sts)
- Rnd 3: sc 1, inc repeat around (18 sts)
- Rnd 4: sc 2, inc repeat around (24 sts)
- Continue increasing at this rate for 1–2 more rounds if a wider base is needed, based on how wide you want the bottom of the cup shape to be
3: Work the Straight Rounds
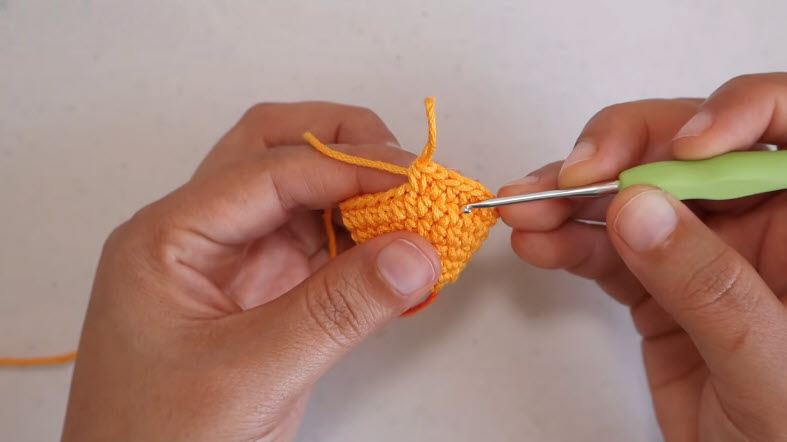
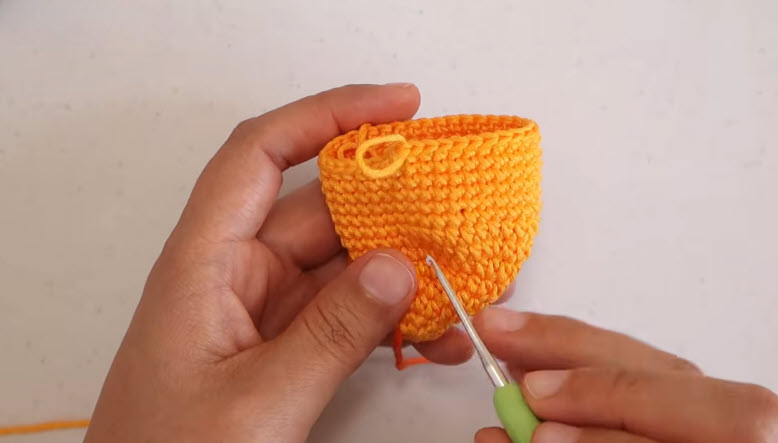
- Once the base reaches your desired width, sc even (no increases) for several rounds this is what builds the tapered “cup” wall visible once the piece is standing upright
- Keep tension slightly tighter here than usual; loose stitches on this straight section are what cause the wall to sag instead of holding its tapered shape
4: Shape the Top Opening
- Work the final 1–2 rounds without increasing or decreasing to keep the top opening even
- Fasten off, leaving a long tail if you’ll be using it to close the top later, or leave open if the piece is worked as a container/head shape with an opening
Face & Mustache Attachment (new section, based on finishing steps)
Step 5: Place the Safety Eyes
- Insert 8mm safety eyes symmetrically, using the centerline method described earlier in this article — mark both eye positions with stitch markers first, then check they’re level by viewing the piece head-on before snapping the washers on
6: Add Cheek Accents
- Using pink embroidery thread, stitch a small cluster of straight stitches or French knots just below and slightly outward from each eye for the blush effect
7: Sew On the Mustache
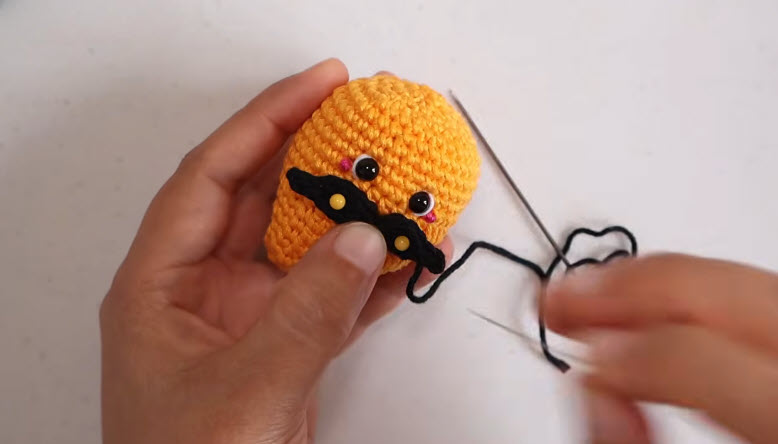
- Position the mustache piece centered below the eyes, resting just above where the mouth would sit
- Pin or hold it in place first and check symmetry from the front before sewing
- Sew around the outer edge of the mustache with matching black yarn, tacking down the center point last so both sides sit flush against the head
Pro-Tip: Every few rounds, hold the piece up in profile against a real mango or reference photo. Catching a drift toward “round” early is easier than fixing it twenty rounds later.
- Taper your increase rate down earlier than you would for a round head; this creates the narrower end
- Shift colors gradually (green at the base, yellow through the middle, orange-red at the top) rather than in one abrupt round
- Work color-change stitches slightly tighter than usual; loose tension at a join is the main cause of visible gaps and stuffing show-through, especially where yellow meets lighter sections
Stuffing the Tapered Shape
- Add stuffing in small amounts as you close each section, not all at once at the end
- Check the silhouette after each addition — over-stuffing early rounds it back out
- Adjust stuffing distribution before closing the final rounds; once sealed, reshaping is difficult
Face Placement on a Curved Body
A mango body has no single obvious “front,” so establish a centerline first:
- Use the color-transition line (yellow meeting orange-red) as your placement guide
- Mark eye position with stitch markers on both sides before inserting safety eyes, then check they’re level by looking at the doll head-on
- Keep the face slightly below the body’s widest point placed too high, it looks unbalanced once the sombrero is added
Arms & Legs
This pattern is worked as a single tapered piece without separate arms or legs. The mango shape stands on its own base, and all the character detail comes from the face placement and costume pieces rather than limbs.
If you’d like to add small stub arms as an optional variation:
- Work a tiny tube (5–6 sc, worked even for 4–5 rounds, lightly stuffed or left flat) in the same orange yarn
- Attach symmetrically on either side of the body, roughly level with the eye line, using the same centerline-marking method used for face placement
- Keep them small and close to the body oversized arms tend to compete with the sombrero and mustache for visual attention on a doll this size
Costume & Accessories
A brim proportioned to the doll’s head width, not the full body, reads as intentional rather than oversized.
- Anchor the hat with stitches through the crown into the head rather than glue alone; glue-only attachments shift more easily, which matters if the doll is for a child
- Check that the hat sits level from directly above before finishing
Poncho or Bandana
Proportion this to the body’s circumference rather than a fixed size a poncho cut for a wider body looks baggy on a tapered shape. Drape loosely and adjust before securing.
Assembly
- Attach costume pieces after the face is placed and secured a hat blocks your view of the head, making face symmetry harder to judge afterward
- Work one accessory at a time, checking front and side views before moving to the next
Stitch Count Checkpoints
Check your count immediately after every taper round and every color-change round these two moments account for most lost-count errors in this pattern.
Common Mistakes
- Body collapsing into a ball instead of a taper — usually from increasing too long before narrowing
- Off-center face — from skipping the centerline step
- Crooked sombrero — from attaching without a top-down check
- Visible gaps at color joins — from normal tension instead of slightly tighter stitches
- Disproportionate costume — from using a fixed size instead of measuring against the finished body
Troubleshooting
If the taper disappears once stuffed, it’s almost always over-stuffing in the early rounds — redistribute rather than add more. If the sombrero won’t sit flat, the brim is usually too large relative to the head; sizing it down corrects this faster than repositioning.
Color Variations
Shift the gradient toward a fully ripe yellow-orange mango, or a green unripe version, without changing the shaping; only the color-change placement moves.
Finishing & Care
Weave in all ends securely, especially at color-change points. Spot clean, or hand-wash and reshape while damp, laying flat to dry.
Why This Pattern Stands Out
Most mango amigurumi tutorials shape the body like any other sphere and treat the costume as decoration. This pattern treats the taper and the costume proportions as the two things that actually determine whether the finished doll looks intentional or accidental.
- The taper technique transfers to any tapered fruit or vegetable amigurumi, not just mango
- Face placement on a curved body solves a problem most character-doll patterns never address
- Costume proportioning (sombrero-to-head, poncho-to-circumference) prevents the single most common visual mistake in fruit-character dolls
FAQs
Why does my mango look round instead of tapered?
Almost always over-stuffing early or increasing too long before narrowing begins.
Does the sombrero need to be glued or sewn?
Sewn. A few securing stitches through the crown into the head hold better than glue alone, especially if the doll will be handled.
Is this doll safe for young children?
Only with small accessories attached permanently and securely, or left off entirely mini sombreros and similar small pieces are a choking hazard for children under 3.
Final Overview
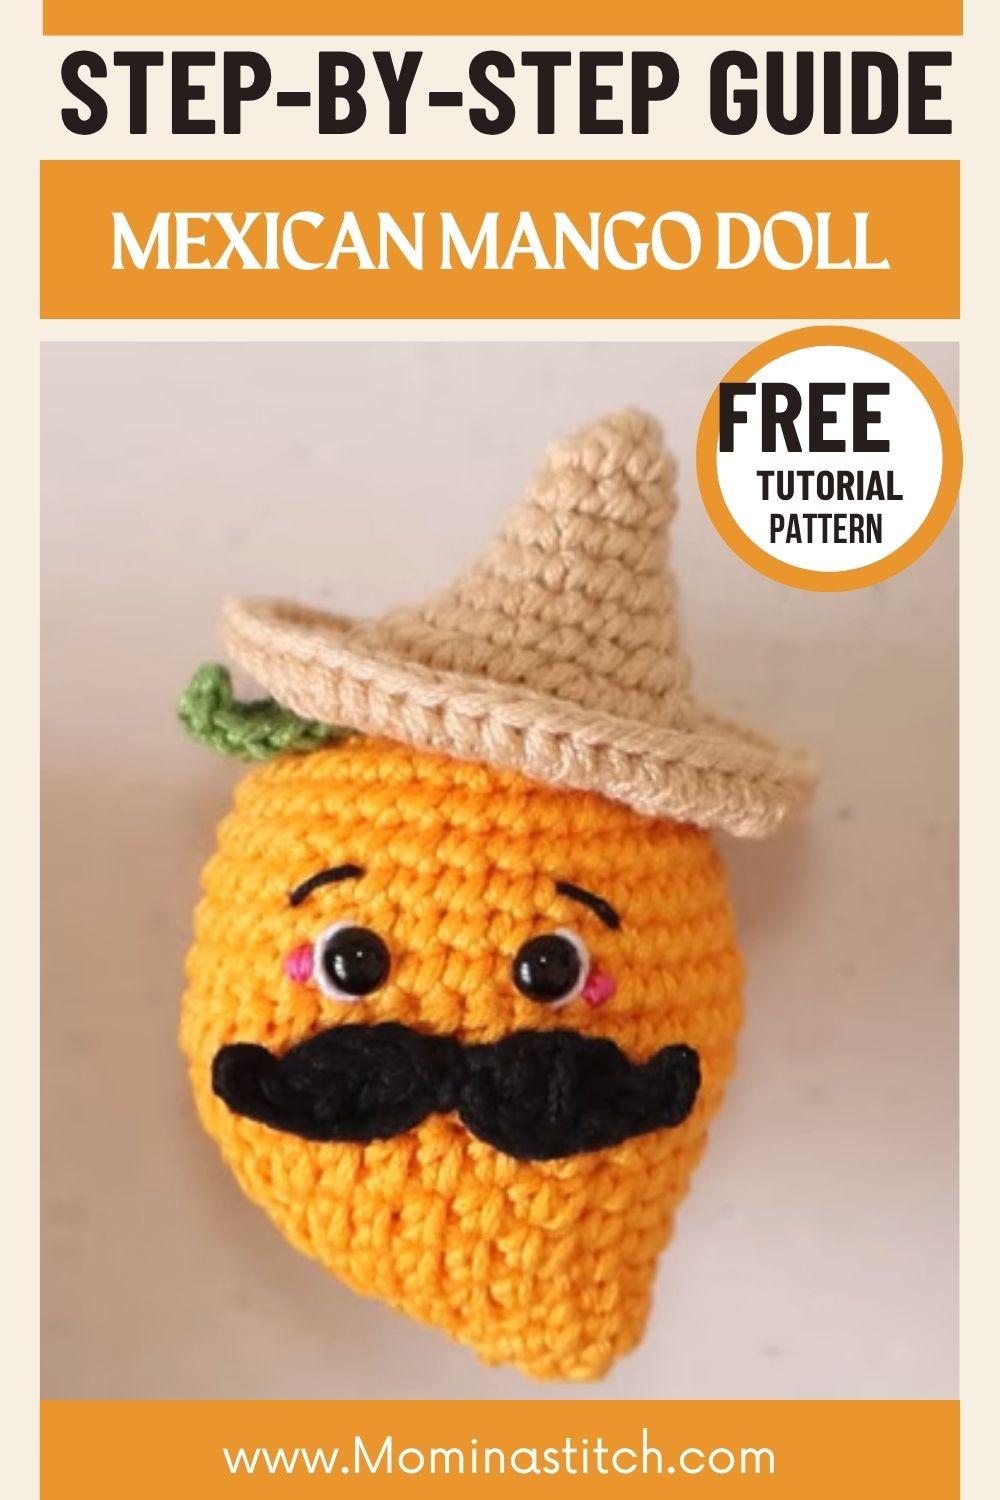
The taper is what separates this doll from typical round-body amigurumi patterns. Get the shape right and keep your tension tight at the color joins. Level the sombrero before sewing it down for good. Face placement on a curved surface takes a little more care than on a standard round head. Once the centerline is marked, however, the process becomes straightforward. Work through each section carefully and check your stitch counts at the flagged points. The finished doll will hold its shape properly instead of drifting into a plain sphere.