Free Crochet Ice Cream Earrings Pattern for Playful
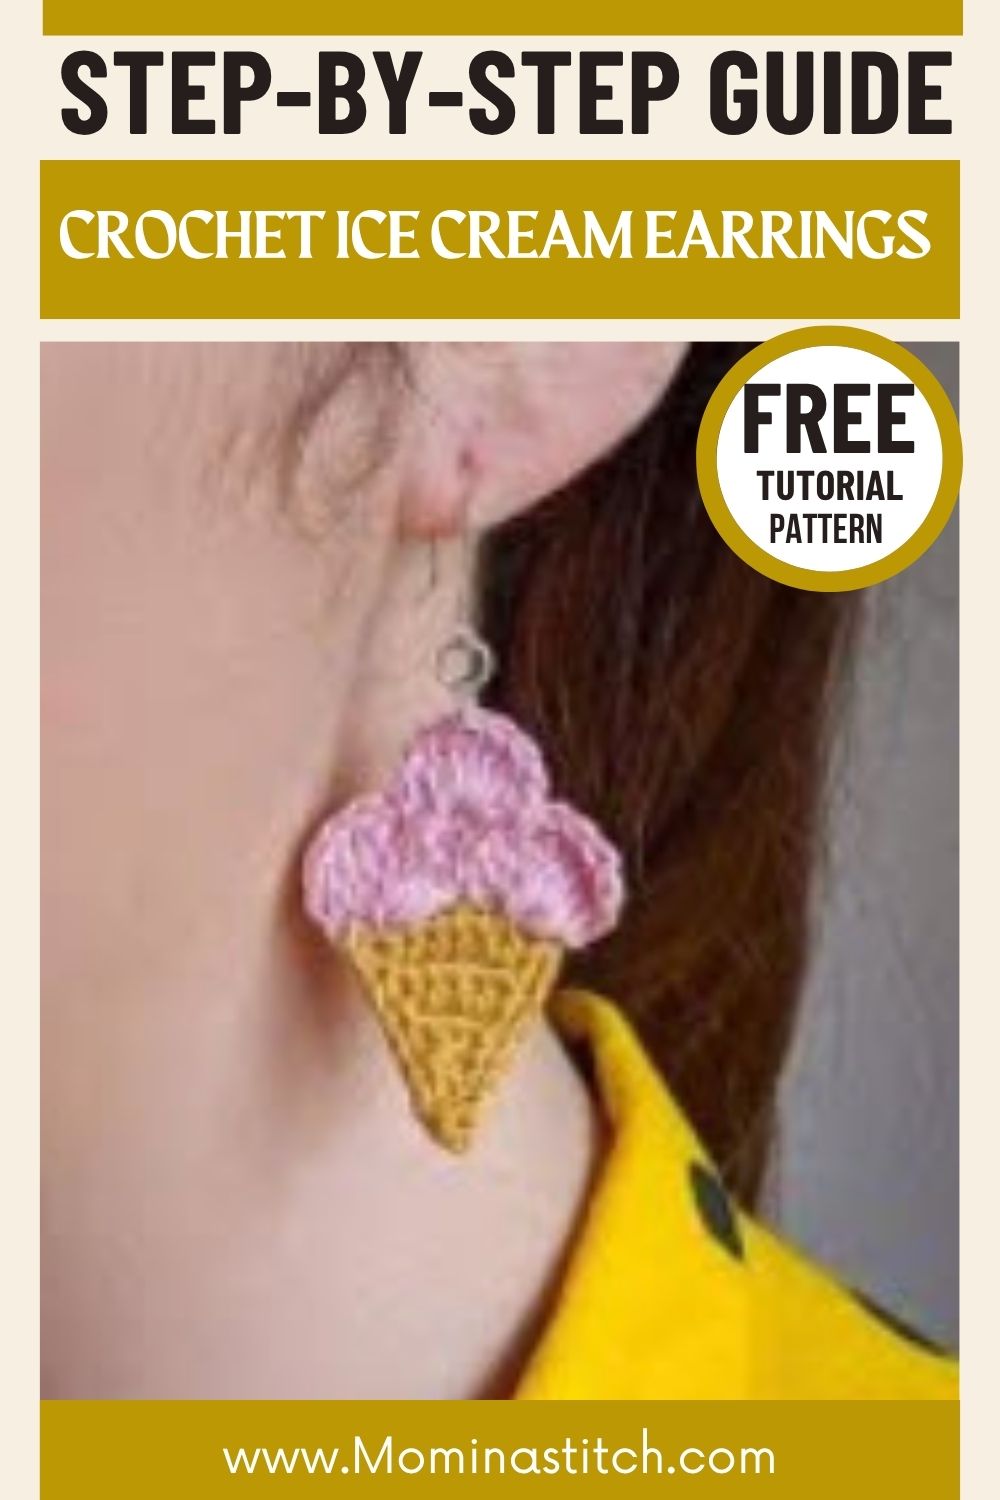
A tiny waffle cone topped with a rounded scoop, swaying below your ear, is the whole idea behind this Free Crochet Ice Cream Earrings Pattern for Playful summer wear made with a magic ring start and an afternoon of quiet stitching.
This mini amigurumi-style earring pattern is built for crocheters who want a fast, satisfying project rather than a multi-skein commitment a beginner-friendly design using simple increases and decreases that turns a small amount of leftover thread into a playful summer accessory, a quick handmade gift, or a batch of matching pairs for a small craft business.
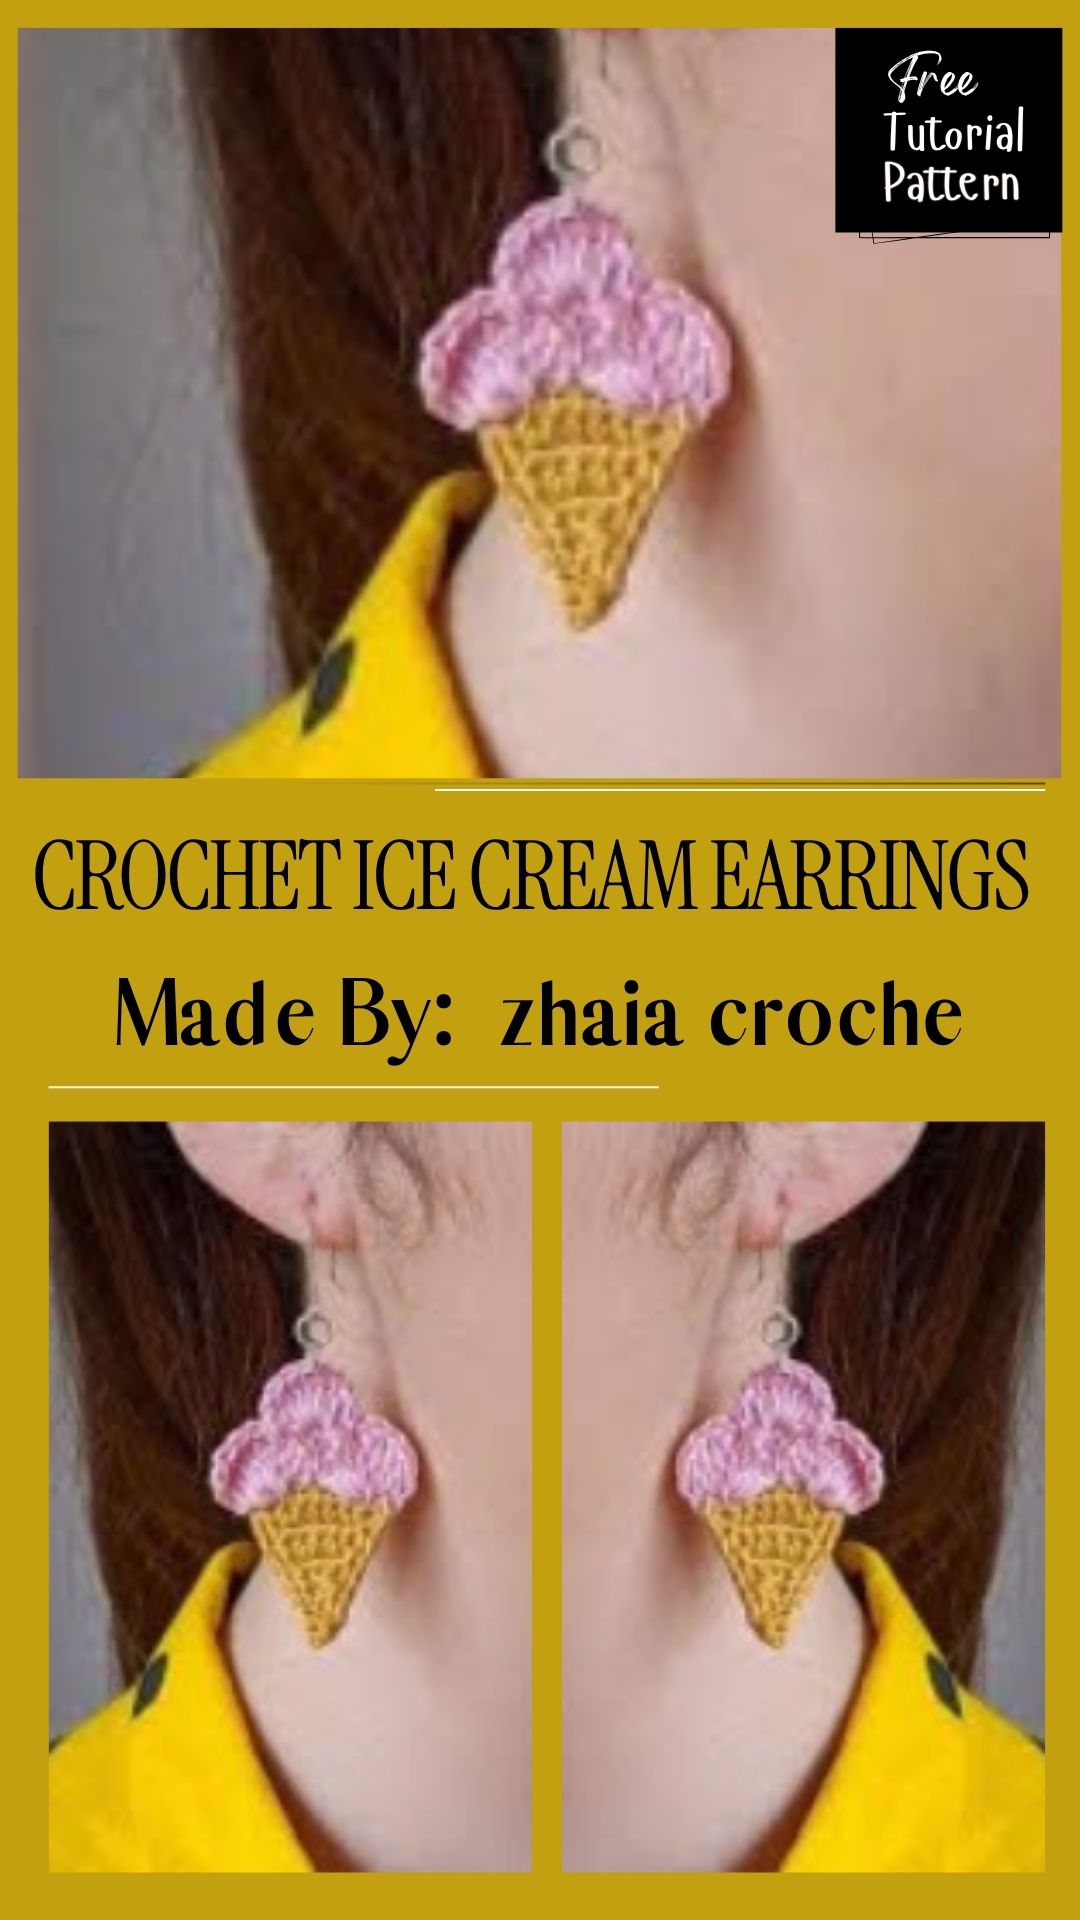
Crochet Ice Cream Earrings Overview
A scoop of crochet ice cream perched on a tiny cone might be the fastest way to turn leftover thread into something you’ll actually reach for on a Saturday morning. This pattern builds each earring from two small pieces — a cone and a scoop — worked in the round and joined into one lightweight charm. It’s a project small enough to finish in an afternoon, but the tiny scale means a few things behave differently than they do in full-size amigurumi, and this guide walks through exactly where those differences show up.
Style and Look
Picture a miniature soft-serve cone: a narrow, tapered cone shape topped with a rounded scoop, swinging gently from a small earring hook. Worked in crochet cotton thread rather than yarn, the finished piece has a neat, defined stitch texture that reads as delicate rather than bulky closer to a charm than a toy.
Skill Level (Time Box)
- Prep and materials gathering: 5 minutes
- Cone: 10–15 minutes
- Scoop: 15–20 minutes
- Assembly and hardware: 10 minutes
- Total per earring: roughly 40–50 minutes, so a pair fits comfortably into a single sitting.
Comfortable for confident beginners who know magic rings, single crochet in the round, and basic increases/decreases. The stitches are simple the small scale is what asks for a little extra patience.
Finished Size (per earring)
Approximately 1.25 inches tall (cone plus scoop) and 0.75 inch at the widest point of the scoop, roughly 1.75 inches total from earlobe to the bottom of the cone once the earring hook is attached — about the size of a dime stacked under a small grape.
Materials
Yarn/Thread Weight
Size 10 crochet cotton thread (such as Aunt Lydia’s Classic Crochet Thread or similar), in two colors — one for the cone, one for the scoop.
Yarn/Thread Quantity
Under 10 yards of each color per pair — this project comfortably uses up thread scraps too short for larger projects.
Hook Size
1.5mm steel crochet hook.
Gauge
Exact gauge isn’t critical the way it is for garments, but for reference: roughly 8 sc x 8 rounds = 1 inch worked in the round at this hook and thread weight. What matters more than hitting this number exactly is keeping tension consistent between both earrings.
Additional Supplies
- Earring hooks (a pair)
- Jump rings, small
- Stitch marker
- A pinch of polyester stuffing
- Small circle of felt or a dab of fabric stiffener for the cone (optional)
- Tapestry needle
- Scissors
- Jewelry pliers (for opening/closing jump rings cleanly)
Fit, Size & Proportion (Earring-Specific)
Earrings don’t have a “fit” in the garment sense, but size, weight, and symmetry matter just as much for wearability.
- Checking finished size: Lay one finished earring next to a dime or a small ruler at roughly 1.25 inches tall, it should sit close in height to a stacked nickel and dime.
- Thread vs. yarn on final size: Size 10 thread keeps this pattern at the delicate, charm-like scale described above. Swapping to a fingering or sport weight yarn will produce a noticeably bigger, softer, more toy-like earring — expect closer to 2 inches tall rather than 1.25.
- Keeping a pair visually identical: Match row counts, stitch counts, and hand tension between the two earrings — small tension shifts are far more visible on a one-inch piece than on a six-inch one.
- Hook size and density: Sizing down to a 1.25mm hook produces a denser, slightly smaller result; sizing up to 2mm loosens the stitch and adds roughly 10–15% to the finished size.
- Checking comfort/weight for ears: A finished pair in size 10 thread with light stuffing typically sits under 2 grams per earring light enough for most ears, but wear one for a few minutes first, then wear the finished pair for an hour before calling the design done.
- Testing hang/drape before attaching the hook: Hold the finished, assembled piece by a loop of thread through the top stitch and let it settle it should hang with the cone pointing straight down; if it twists, the jump ring is likely catching an uneven stitch.
- Substituting yarn weight or hook size: On a project this small, proportion shifts are much more dramatic than they’d be on a garment; sizing up even one yarn weight or one hook size can shift the cone-to-scoop ratio noticeably.
Abbreviations
- MR — magic ring
- sc — single crochet
- inc — increase (2 sc in same stitch)
- dec — invisible decrease
- st(s) — stitch(es)
- rnd — round
Important Stitches
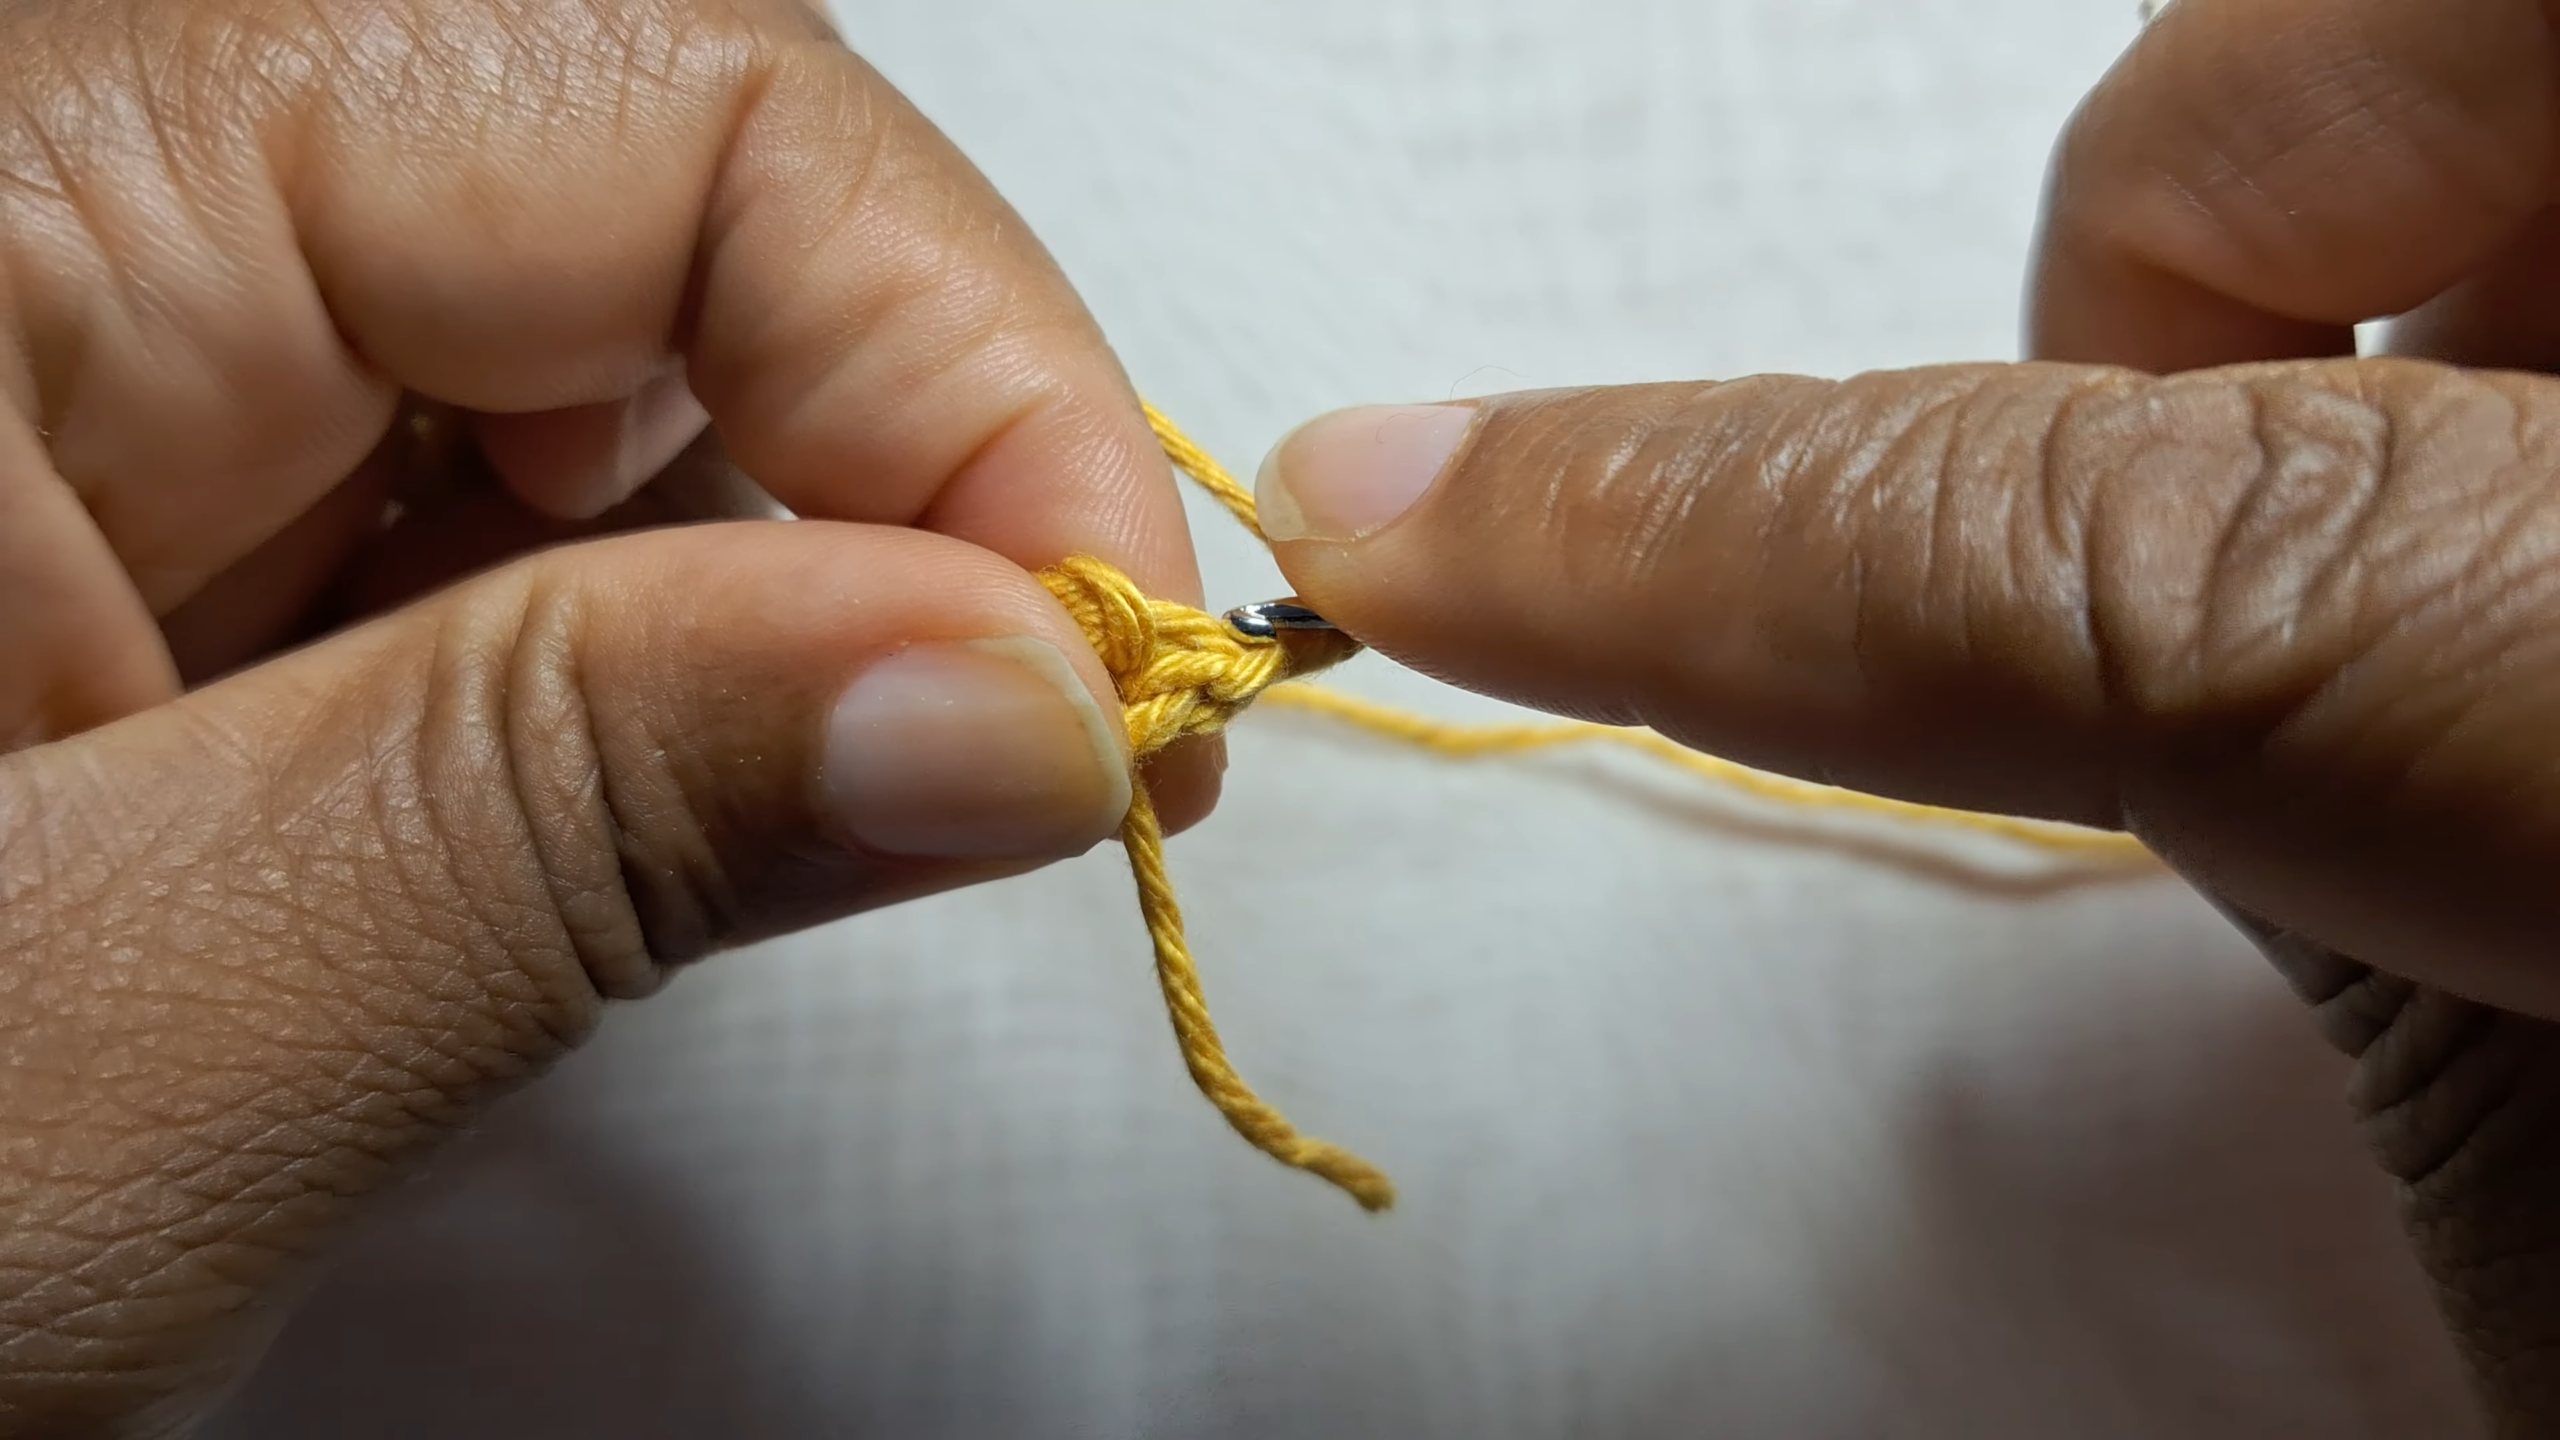
Single crochet worked continuously in a spiral (no joining, no turning) is the backbone of both pieces. Increases and decreases are what shape the cone’s taper and the scoop’s curve, so keeping those placed each round correctly matters more here than stitch variety.
Before You Start
Work with a stitch marker in your first stitch of every round at this scale it’s easy to lose your place, and losing your place for even one round throws off the whole shape. Keep your tail ends long enough to weave in cleanly; small pieces don’t hide sloppy ends well.
How the Earrings Are Constructed
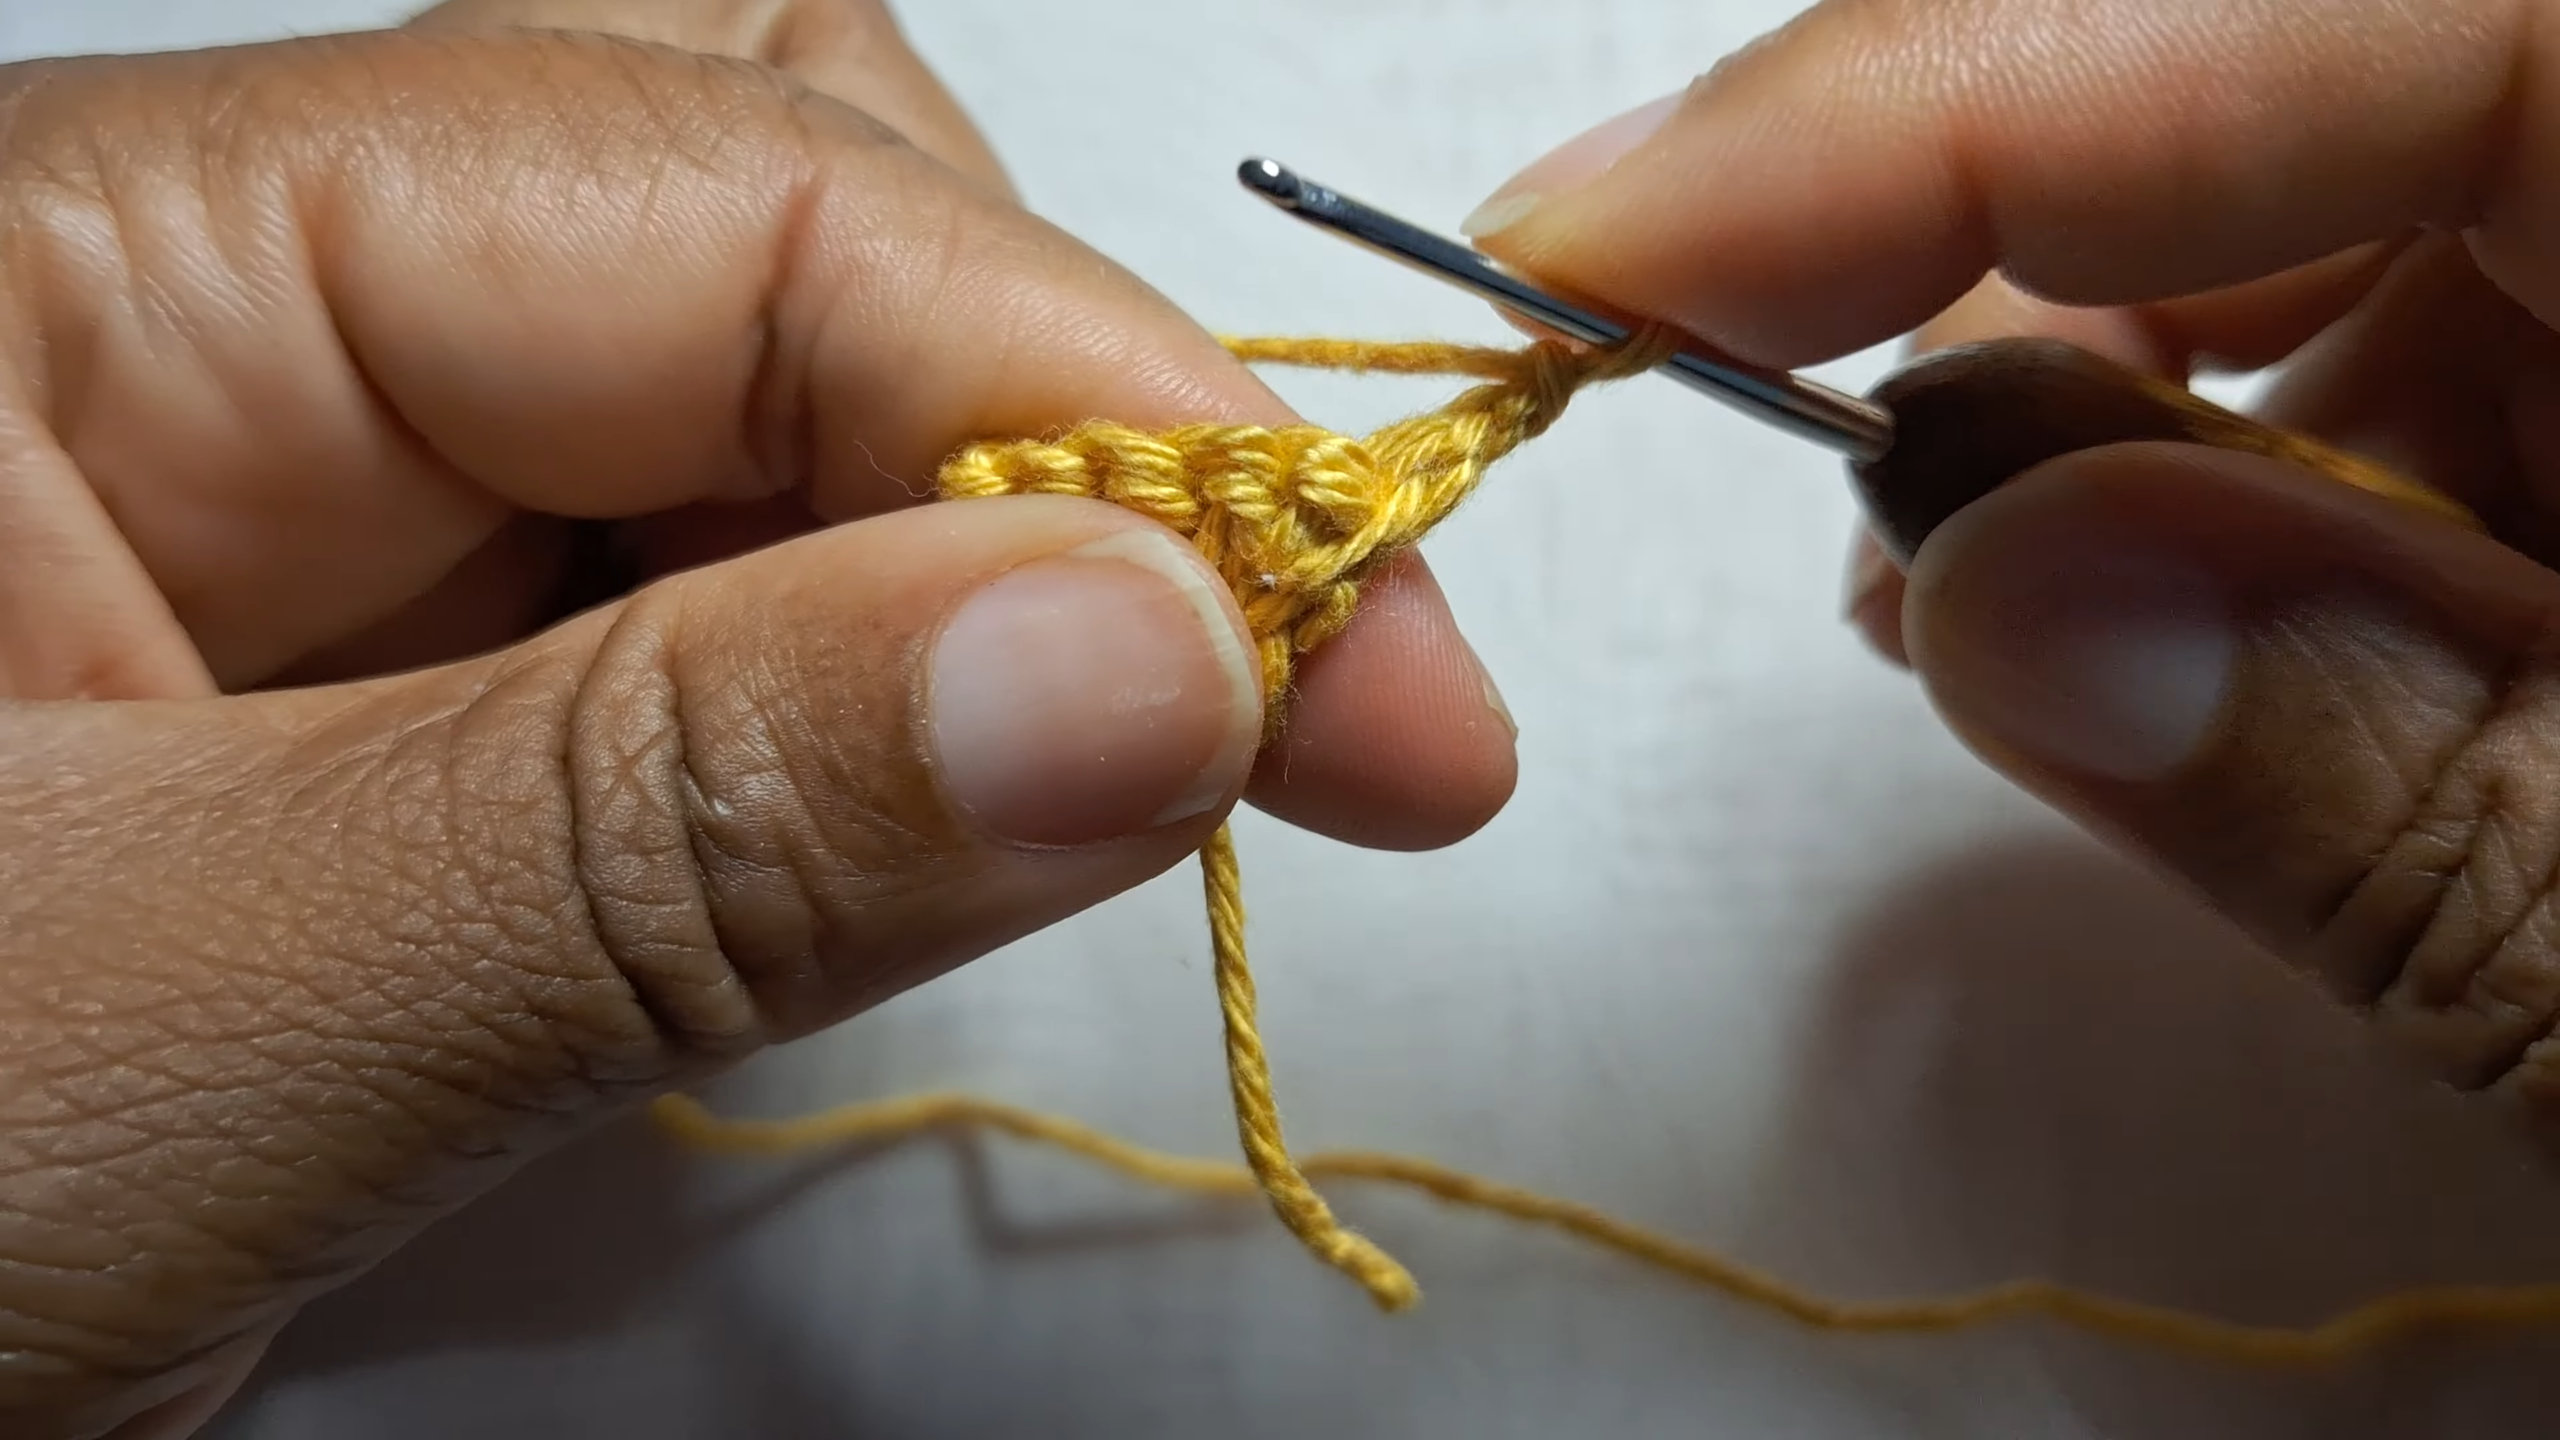
Each earring is built in three parts: the cone (worked from the point upward, tapering wider), the scoop (worked as a rounded dome, increasing before decreasing back down), and the assembly, where the two pieces are joined and a jump ring plus earring hook are attached at the top of the scoop.
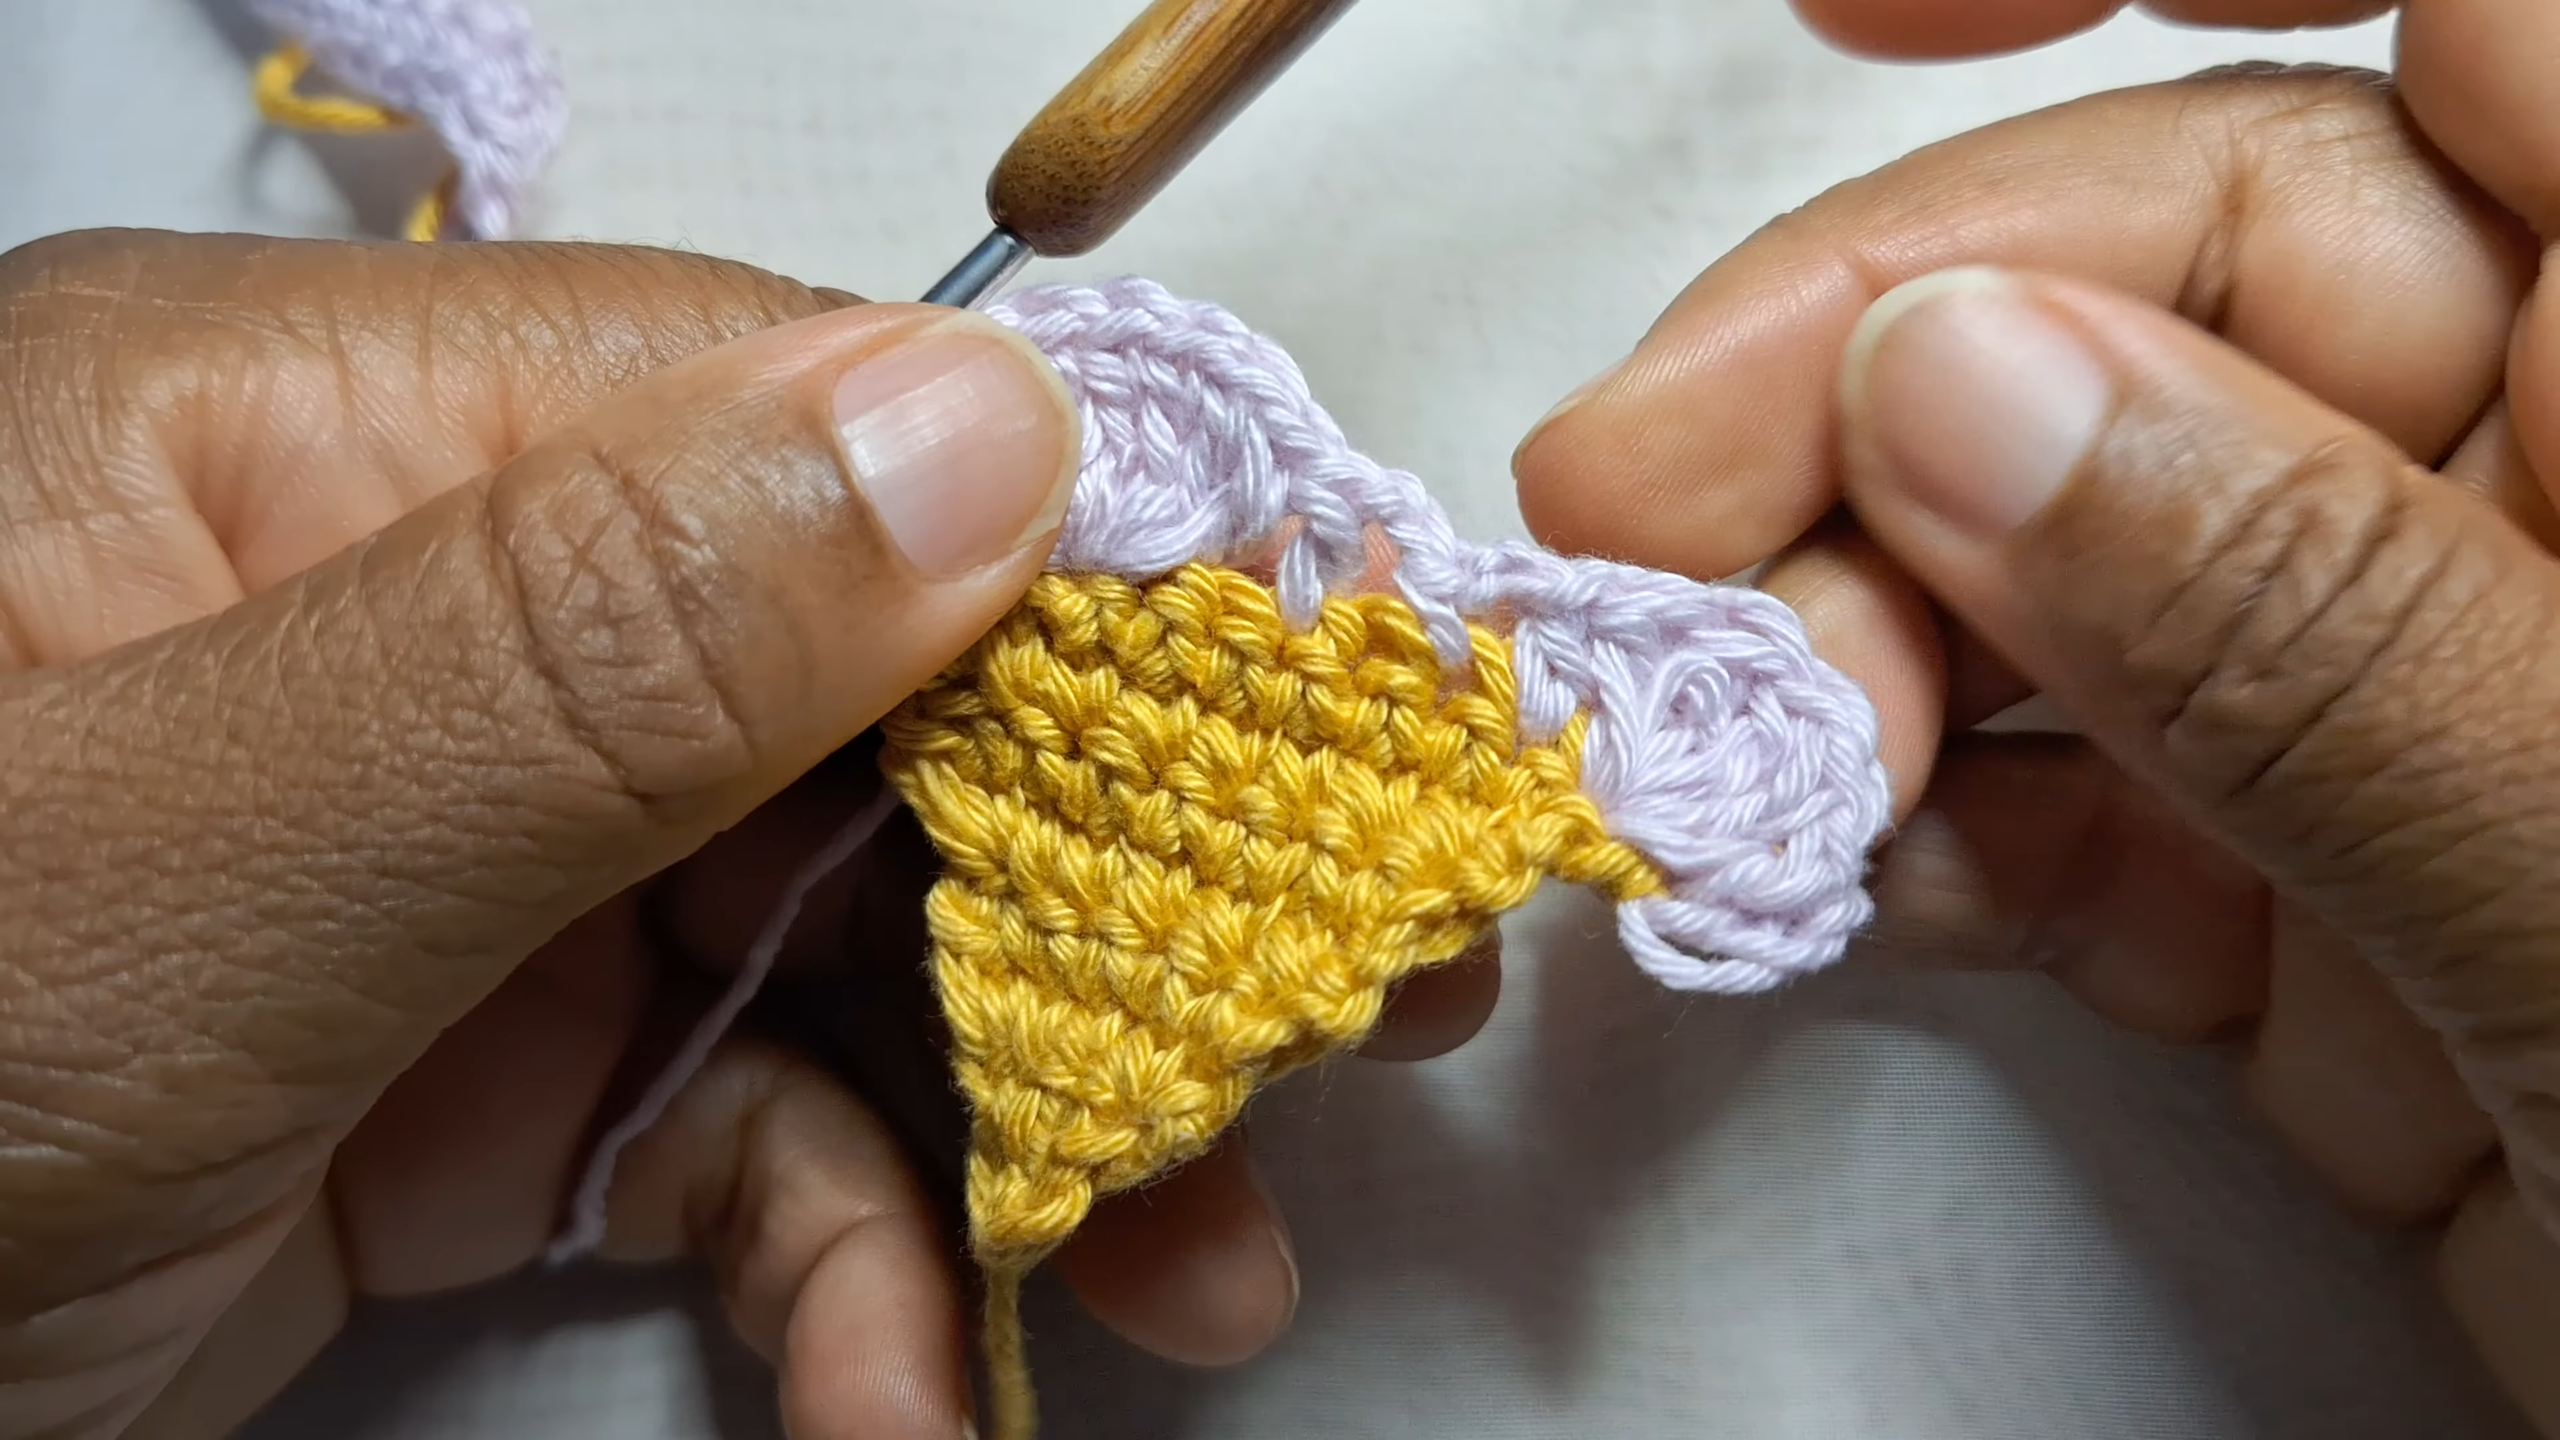
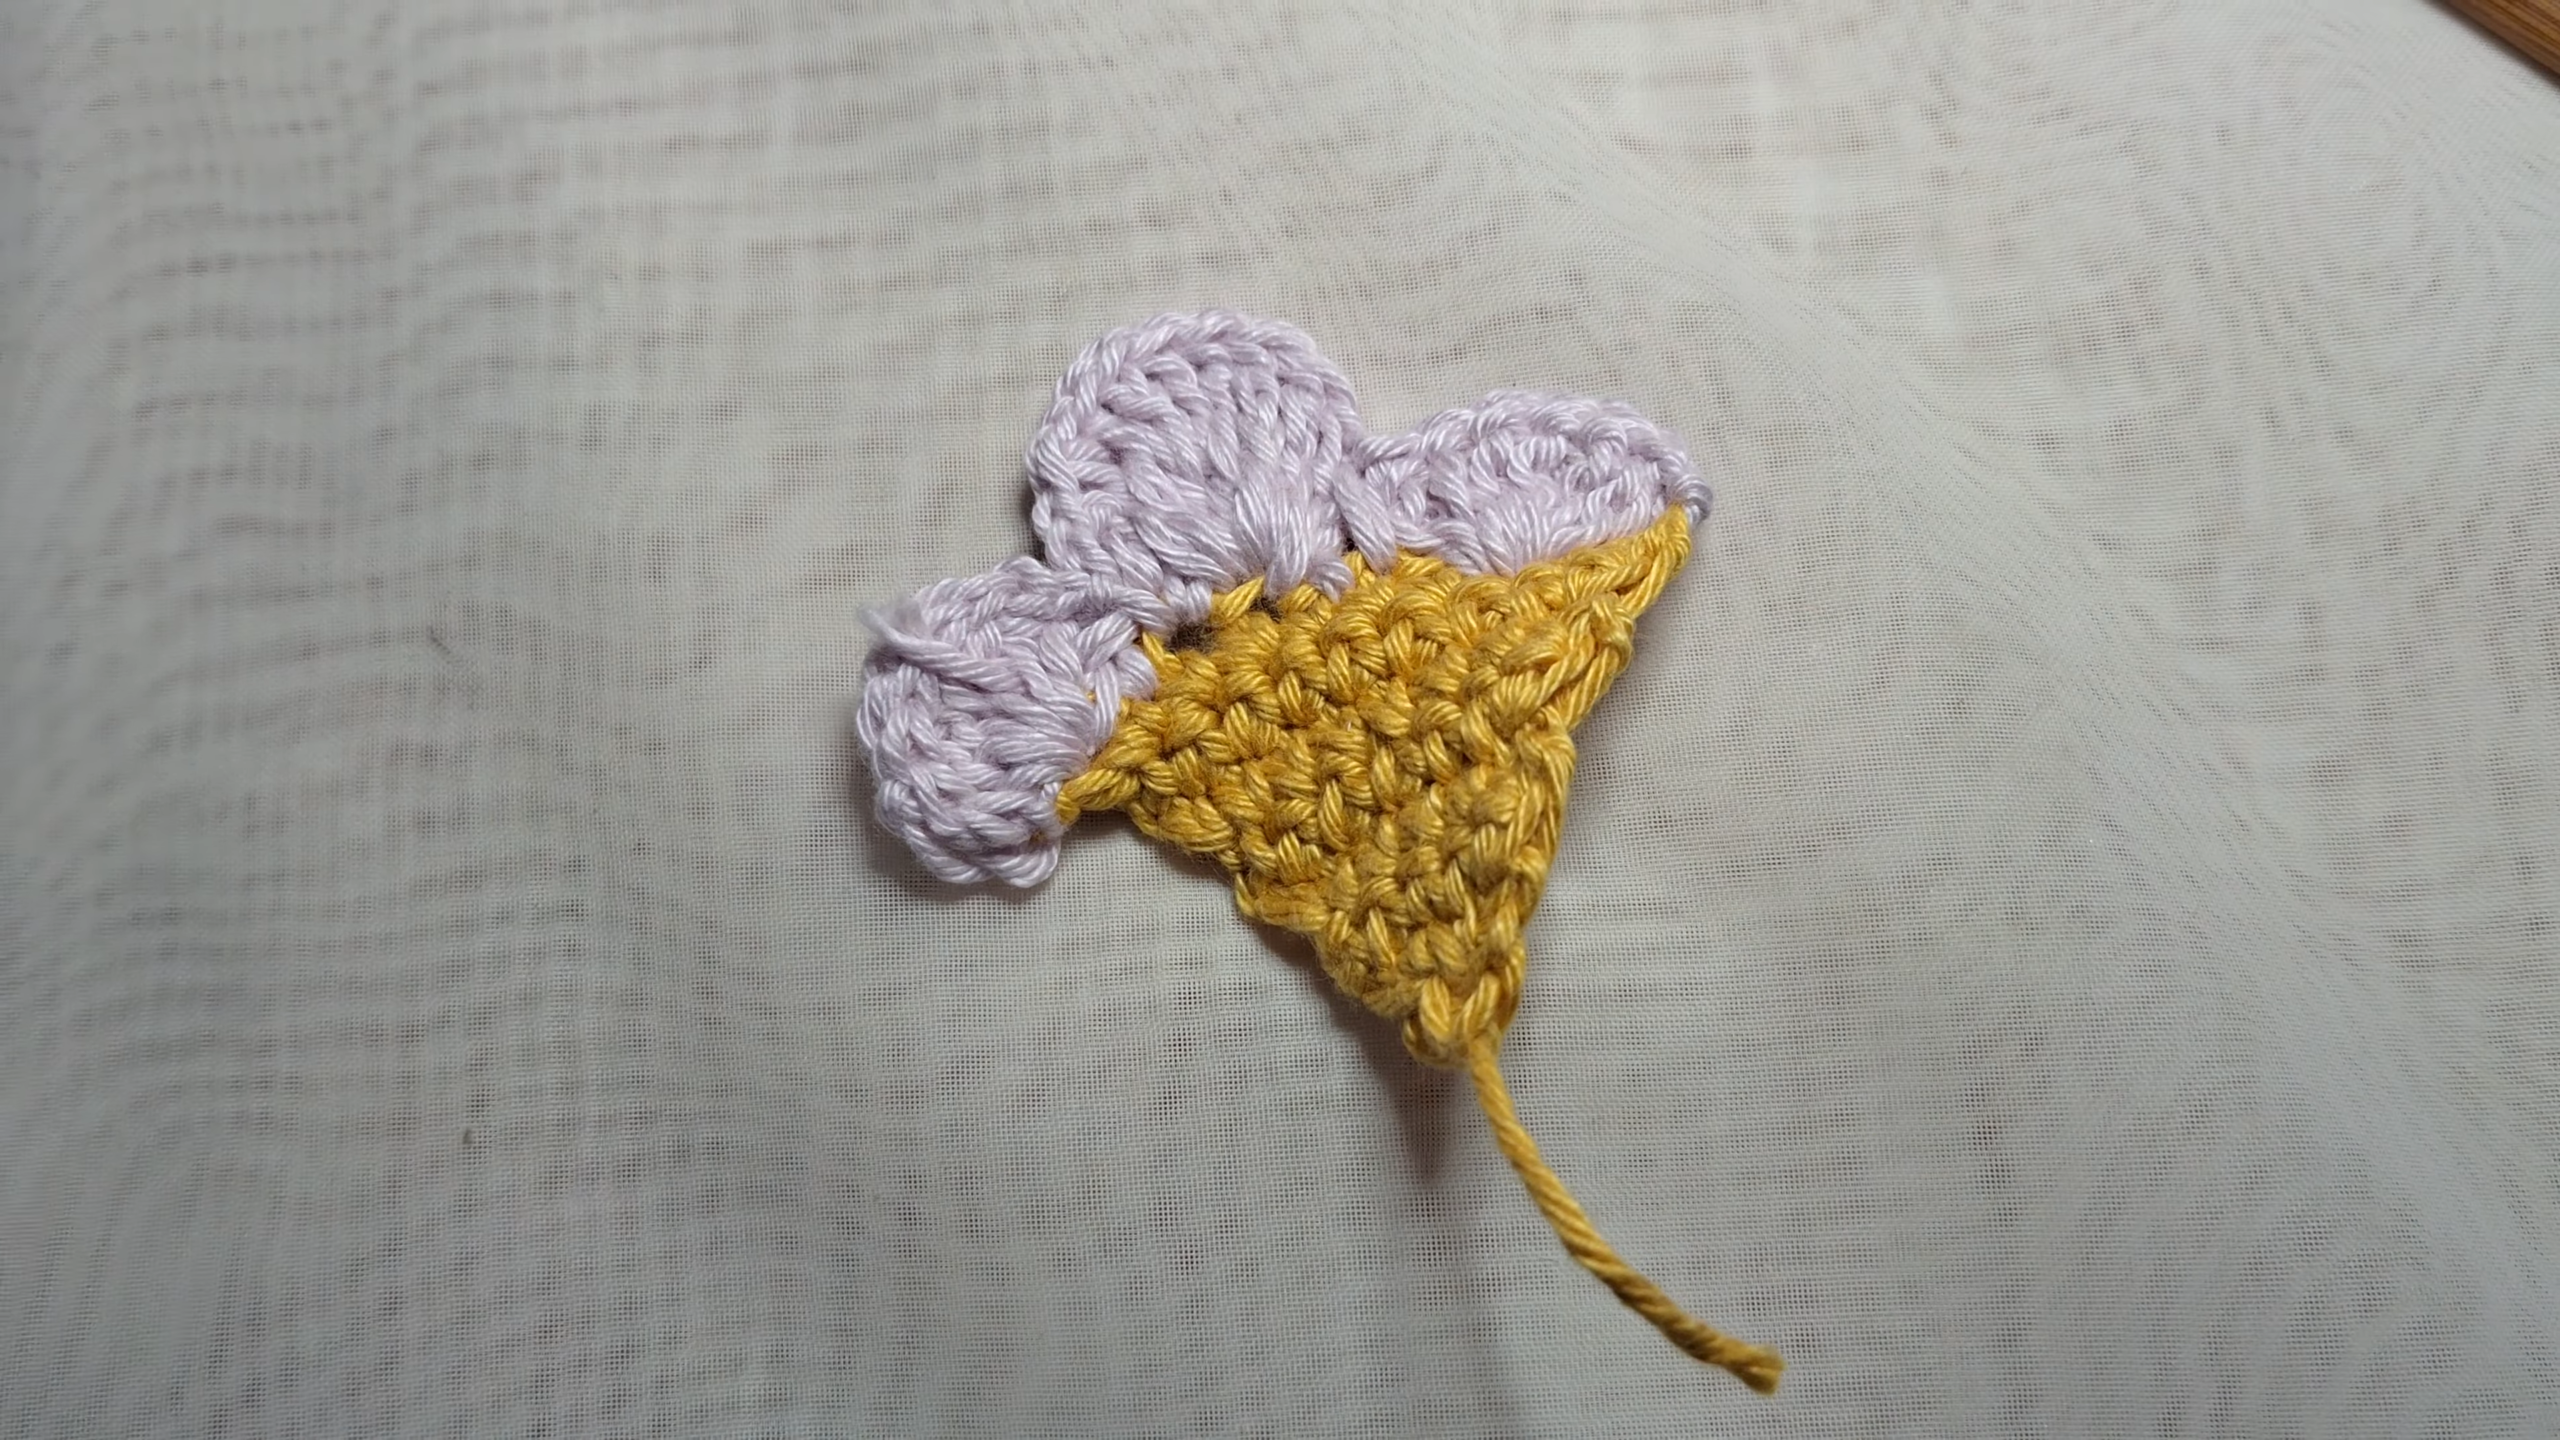
Step-by-Step Pattern
The Cone
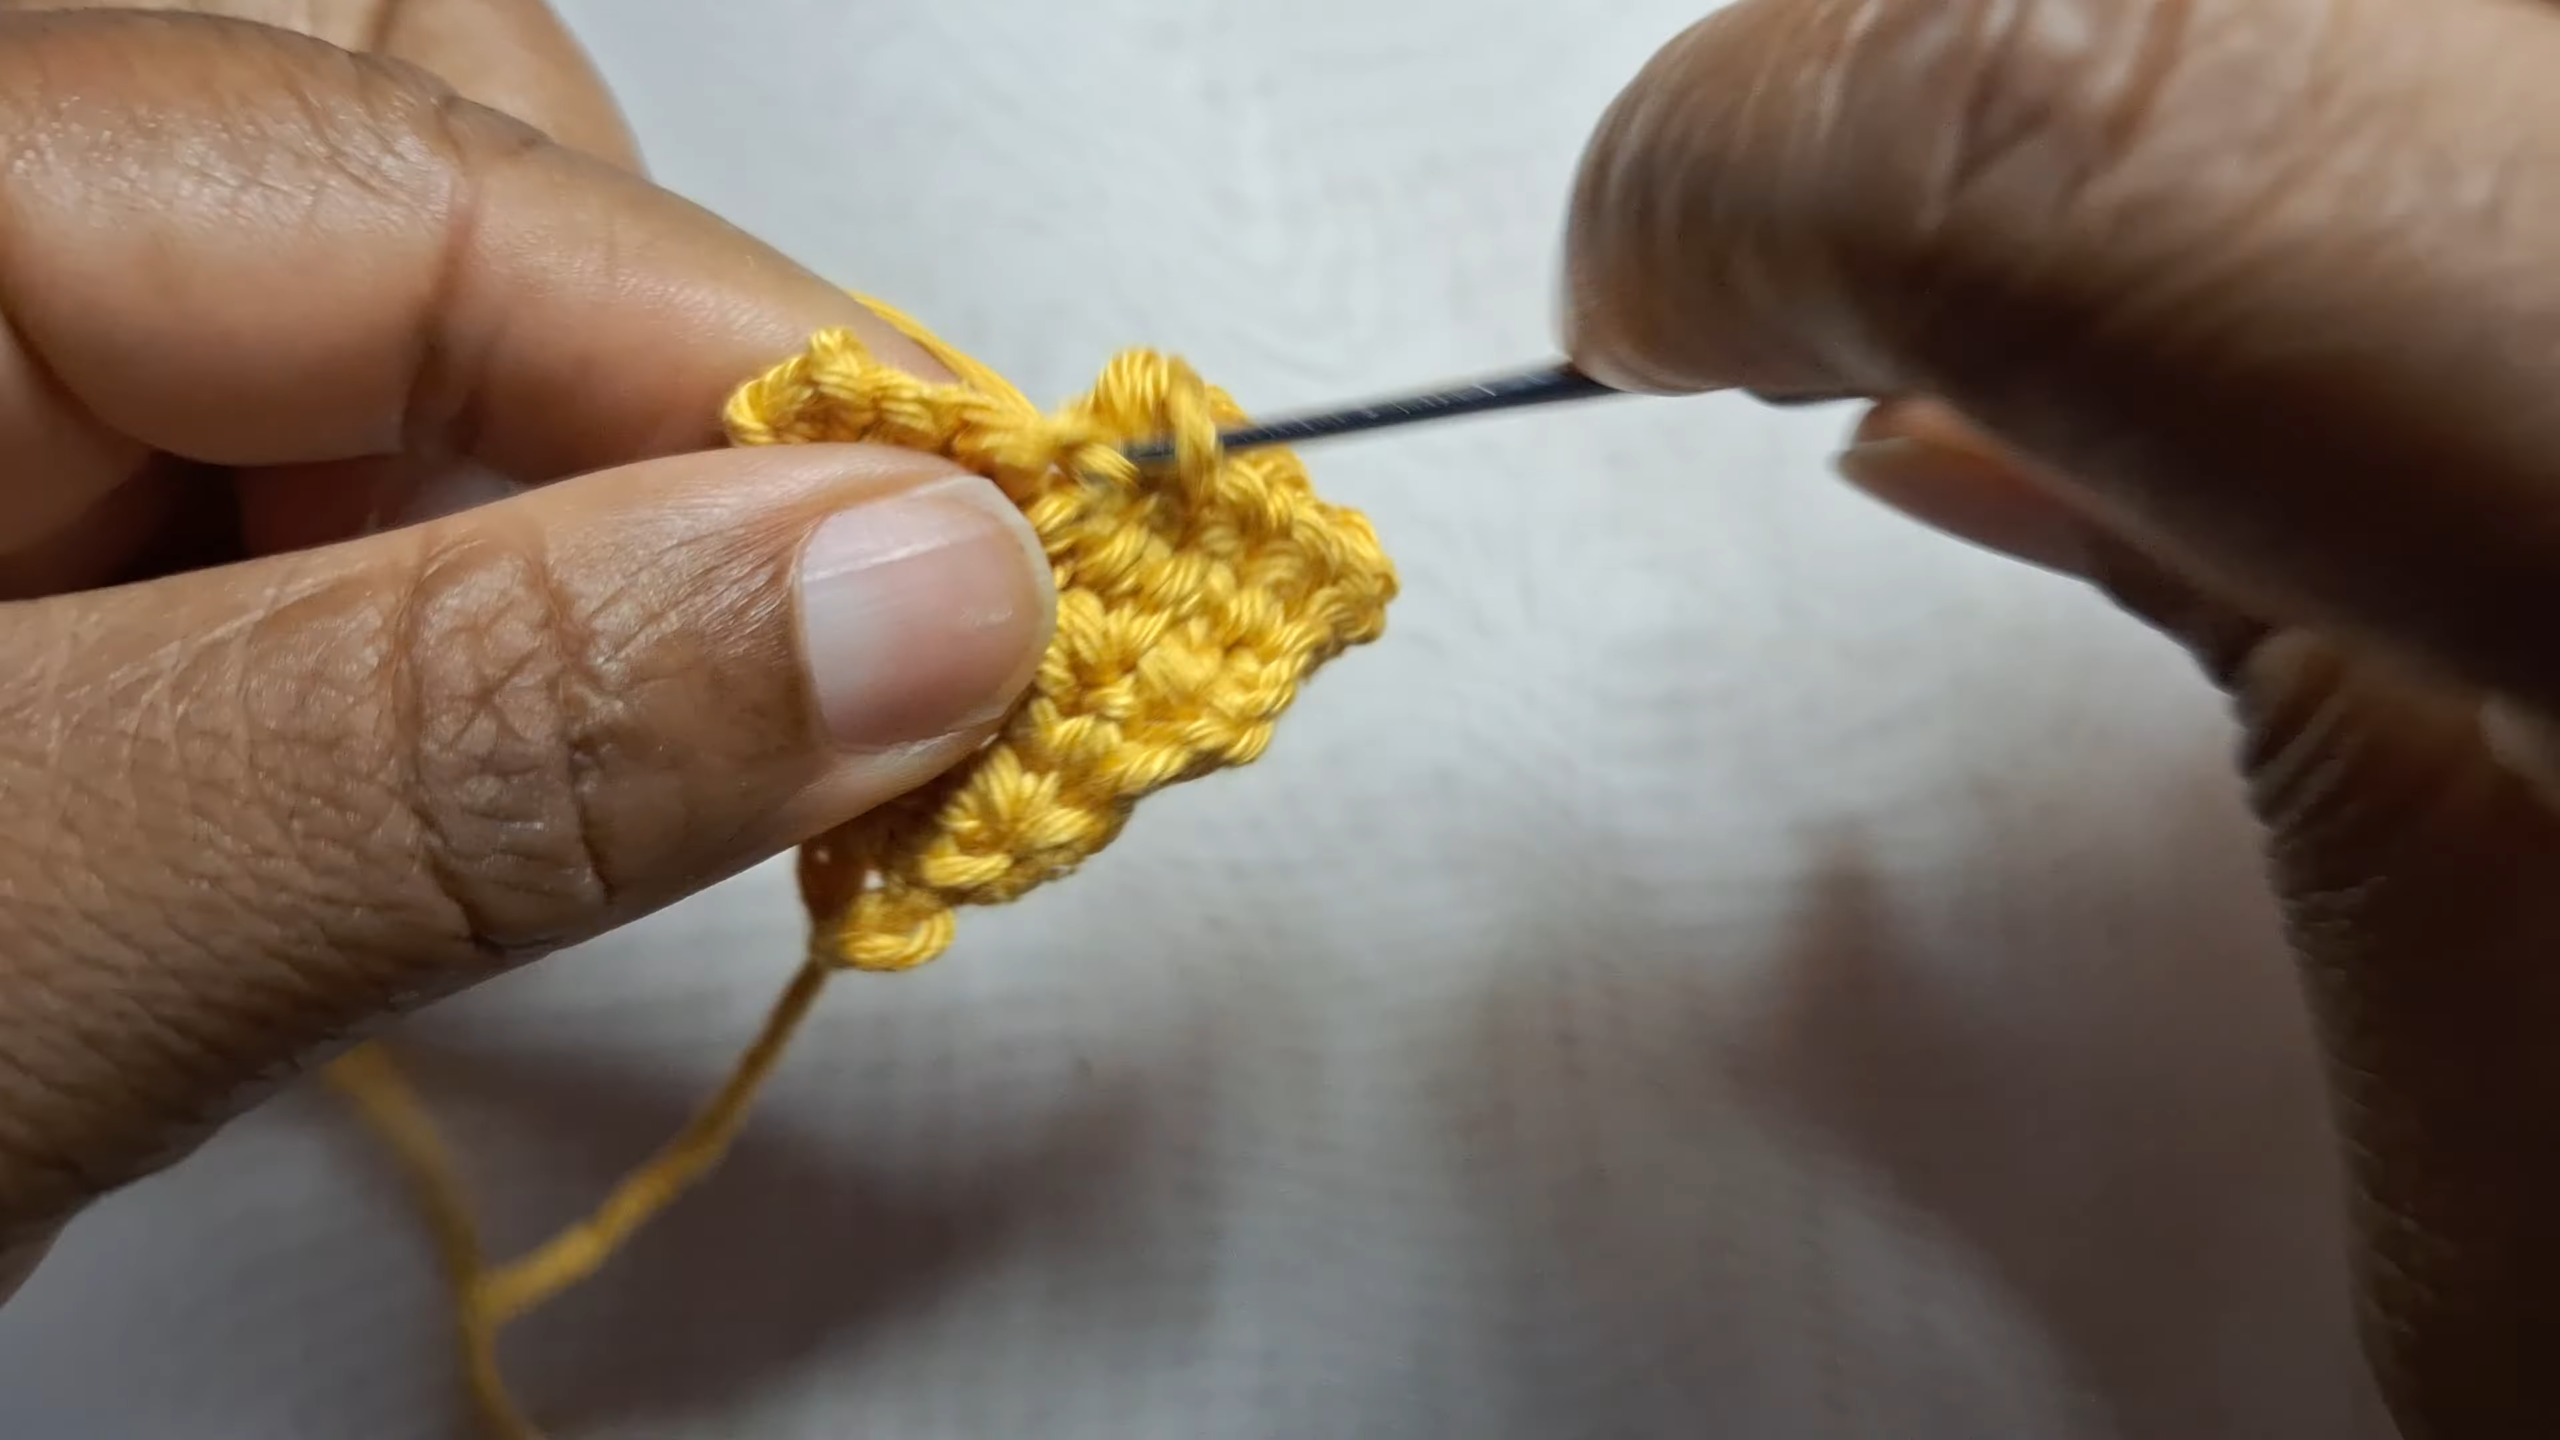
1. Start the point. MR, 6 sc in ring. Pull tail to close. (6 sts) 2. Round 2. Inc in each st around. (12 sts) 3. Round 3. (sc, inc) around. (18 sts) 4. Rounds 4–6. Sc around, no increases, for 3 rounds. (18 sts each round) 5. Round 7 (rim). Sc around, working slightly firmer than the previous rounds so the top edge sits flat. (18 sts)
Pro Tip: Increase in the same relative spots each round (for example, every third stitch) rather than picking new spots freely. This is what keeps a cone symmetrical instead of spiraling or leaning to one side.
Checkpoint: Count your stitches here before closing the cone — you should have 18 stitches on the final round. Then compare both cones side-by-side before assembling — check they match in height and stitch count.
The Ice Cream Scoop
1. Round 1. MR, 6 sc in ring. (6 sts) 2. Round 2. Inc in each st around. (12 sts) 3. Round 3. (sc, inc) around. (18 sts) 4. Round 4. (2 sc, inc) around. (24 sts) 5. Rounds 5–6. Sc around, no increases, for 2 rounds. (24 sts each round) 6. Round 7. (2 sc, dec) around. (18 sts) 7. Round 8. (sc, dec) around. (12 sts) 8. Stuff lightly at this point — just enough to round out the shape without stretching the stitches. 9. Round 9. Dec around. (6 sts) Fasten off, leaving a tail, and close the remaining hole.
Checkpoint: Check the scoop shape here before closing the last round — press gently to see if the curve looks even on all sides. Lopsided stuffing at this stage is much easier to fix than after the piece is sewn to the cone.
Assembly
1. Match the pieces. Hold the cone’s open rim (18 sts) against the scoop’s closed base and confirm the openings line up evenly before sewing. 2. Whip stitch together. Using a tapestry needle and a strand of matching thread, whip stitch around the join, working evenly to avoid puckering on one side. 3. Weave in ends. Secure and trim all tails inside the piece.
Attaching Hardware
1. Open a jump ring with pliers (twist sideways, don’t pull straight apart, to avoid distorting the ring). 2. Thread it through a stitch at the top of the scoop, catching two or three strands’ worth of thread to hold weight without tearing through the fabric. 3. Close the jump ring fully. 4. Test the hang of the piece before attaching the earring hook — let it dangle from the jump ring and check it settles straight rather than twisting to one side. 5. Attach the earring hook to the closed jump ring.
Checkpoint: Check symmetry of the finished pair before wearing — hold both earrings up together and compare height, angle, and hang.
Keeping Both Earrings Identical (Matching a Pair)
Work both cones back to back, round by round, rather than finishing one earring from memory before starting the second it’s much easier to catch a stitch-count mismatch mid-project than after both pieces are done. Compare both cones and both scoops side by side before assembling either one; at 18 stitches for the cone rim and 24 stitches at the scoop’s widest point, a mismatch of even one stitch is usually visible once the pair is placed together.
Shaping and Stuffing Tips
Stuff in small pinches rather than one large piece of fiberfill; it distributes more evenly in a small cavity and is less likely to show through the stitches as lumps. If a piece looks slightly uneven after stuffing, press gently from the outside with your fingers to redistribute before sewing it closed.
Stiffening the Cone
Because a soft crochet cone can flop rather than hold its point, some crocheters add a small stiffening layer — a circle of felt inside the point, or a light coat of fabric stiffener once the piece is finished and dry. In size 10 cotton thread, the cone typically holds its shape well on its own thanks to the tight stitch density at a 1.5mm hook; stiffening is a nice-to-have rather than a requirement at this gauge.
Troubleshooting
Problem: The cone comes out lopsided.
Why it happens: Increases were placed at inconsistent points around the round. How to recognize it: One side of the cone looks wider or the point leans instead of sitting straight. How to fix it: Frog back to the first uneven round and re-work increases at consistent intervals (same stitch position each round).
Problem: The scoop looks lumpy instead of round.
Why it happens: Uneven tension between stitches, or stuffing added unevenly. How to recognize it: Visible bumps or flat spots when the piece is turned in the light. How to fix it: Remove stuffing and redistribute in smaller amounts; if the lumps are in the stitches themselves rather than the stuffing, check tension consistency across the round.
Problem: Stitch counts drift in tiny rounds.
Why it happens: It’s easy to miscount stitches this small, especially without a stitch marker. How to recognize it: The round doesn’t lie flat, or the stitch count doesn’t match the number given for that round (for example, 17 or 19 instead of 18). How to fix it: Always mark the first stitch of the round and count aloud or use a row counter; recount before closing any round.
Problem: The two earrings don’t match.
Why it happens: Tension shifted slightly between the two pieces, or a different number of increase rounds was worked. How to recognize it: Laid side by side, one earring is visibly larger, taller, or a different shape. How to fix it: Compare stitch counts round by round against the pattern; if they match but the shape still differs, tension (not stitch count) is likely the cause — try to crochet both pieces in one sitting to keep hand tension consistent.
Problem: The join between cone and scoop looks uneven or gapped.
Why it happens: Whip stitching too loosely, or matching two openings of different sizes. How to recognize it: Visible gaps or a pucker at the seam. How to fix it: Confirm both openings are a similar circumference before sewing; use a smaller, tighter whip stitch and check tension every few stitches rather than only at the end.
Problem: Edges curl on the cone or scoop.
Why it happens: Common in small single crochet pieces worked at looser tension, or when thread stiffness works against the shape. How to recognize it: The rim doesn’t sit flat when set down. How to fix it: Work the final round slightly tighter than the rest, or add a stiffening layer (see Stiffening the Cone) to help the edge hold its shape.
Problem: The earring hook or jump ring pulls loose.
Why it happens: The ring was attached through only one strand or too little thread to hold weight, or opened/closed incorrectly (pulled apart rather than twisted). How to recognize it: The hardware wiggles or has already come loose after light wear. How to fix it: Reattach through a sturdier point in the stitches, and always twist jump rings open/closed rather than pulling them straight apart.
Problem: Substituted yarn loses the ice cream cone’s detail.
Why it happens: A bulkier yarn than size 10 thread reduces stitch definition and increases overall size disproportionately. How to recognize it: The finished earring looks chunky, or noticeably bigger than the 1.25-inch reference size. How to fix it: Size down the hook to compensate for bulkier yarn, or substitute a thread/yarn closer to the original weight for accurate proportions.
Finishing
Weave in every tail securely at this scale a loose end can work its way loose from wear and movement much faster than on a larger project. Trim close but not flush against the stitches. Because this piece is stuffed and finished with metal hardware, standard steam or damp-blocking isn’t appropriate here if the cone’s rim needs help sitting flat, that’s a stiffening job (see above), not a blocking one.
Attaching Earring Findings Safely
Double-check that the jump ring sits through a structurally sound stitch (not a loose loop or a spot near the seam) so the finished earring doesn’t sag or twist to one side over time. Give both closed jump rings and hooks a gentle tug before wearing to confirm nothing shifts.
Washing and Care
Crochet earrings this small are best spot-cleaned with a barely damp cloth rather than washed or soaked, since stuffing and jump ring hardware don’t hold up well to submersion. Store them flat or hanging rather than balled up with other jewelry to keep the cone shape from getting crushed.
Styling Ideas
Lean into actual flavor color combinations rather than random pairings: cream cone with pink scoop reads as strawberry, brown-flecked white as mint chocolate chip, and tan-on-tan as classic vanilla. A two-tone scoop (worked in one color, then switched partway through) can suggest a “double flavor” swirl without any extra construction steps. For a small shop, these also pair well bundled with a matching brooch, hair clip, or keychain made from the same cone-and-scoop base.