Free Crochet Zombie Amigurumi Pattern for a Spooky
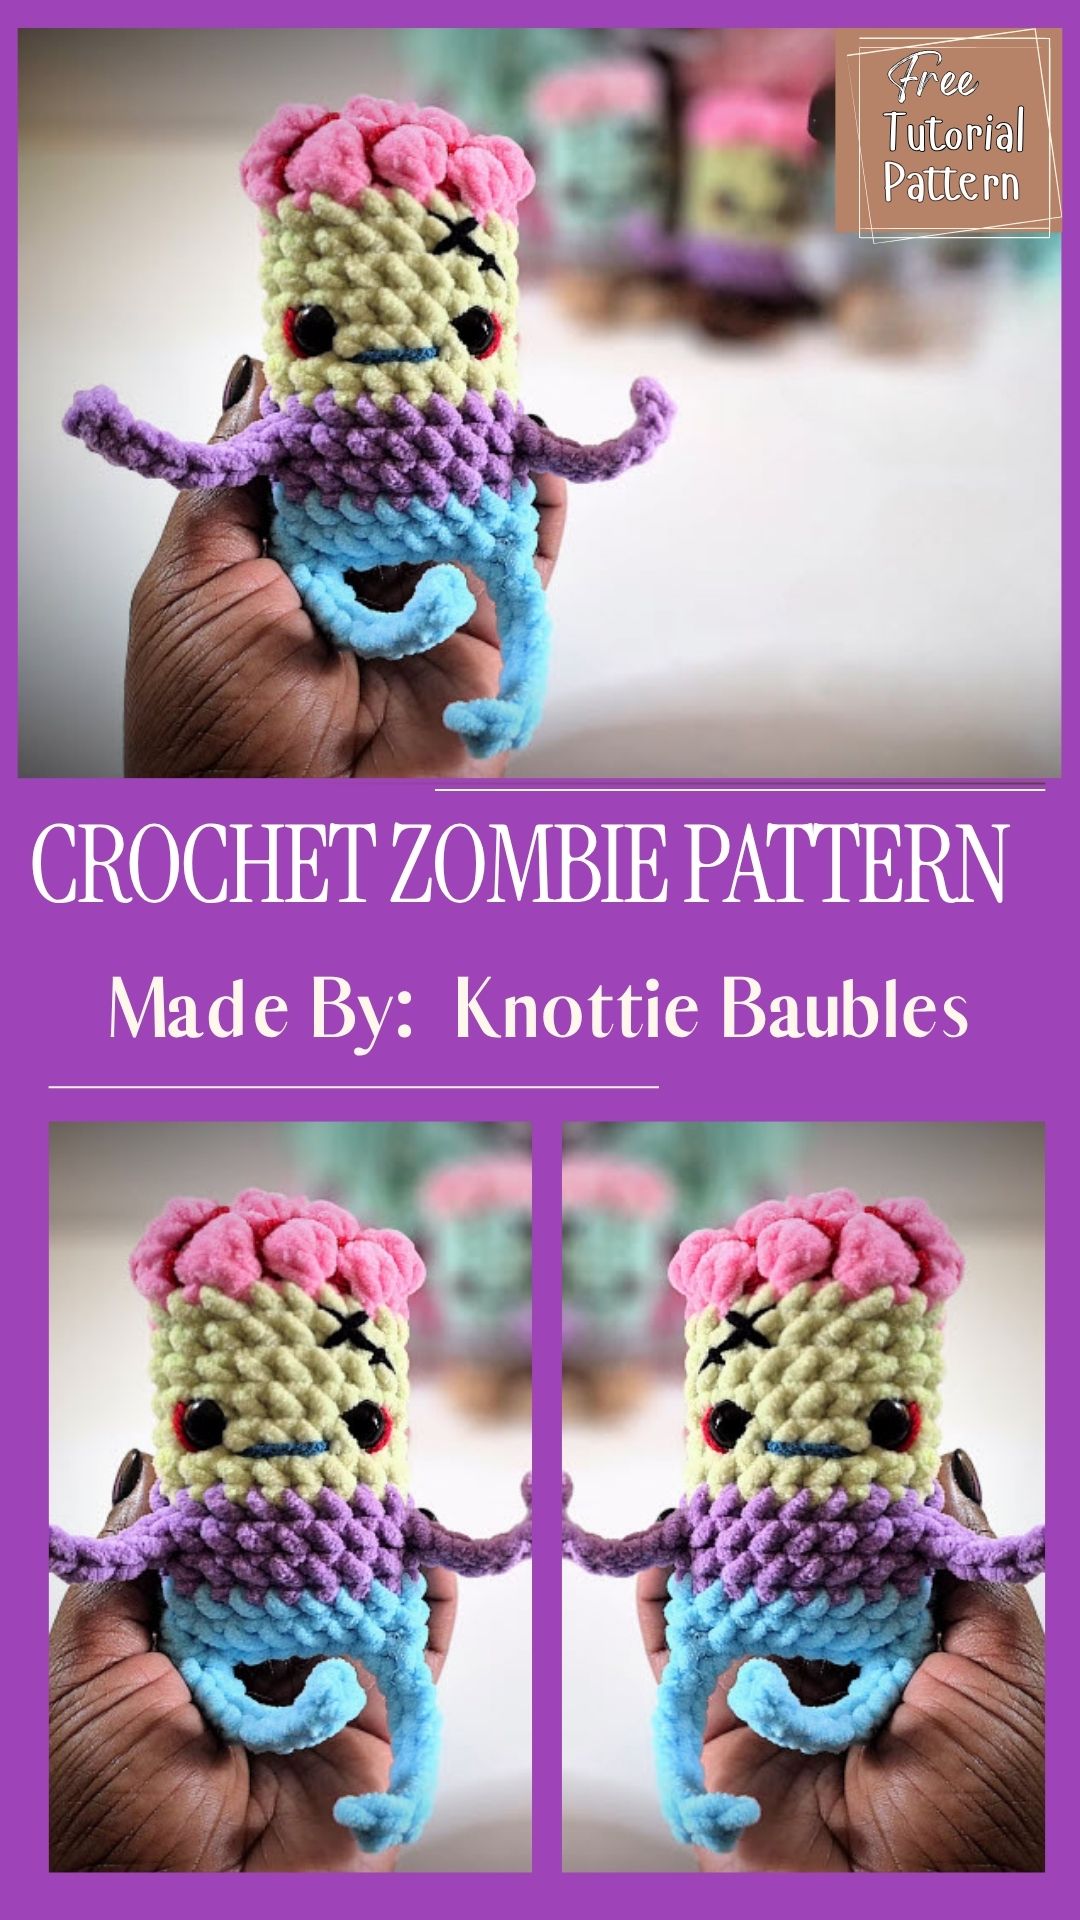
The Free Crochet Zombie Amigurumi answers a common autumn craving: a zombie design that feels playful, not gruesome. Beginners often wonder if spooky crochet has to look grim, and this pattern proves otherwise. With a squishy brain-textured crown, stitched button eyes, and dangling limbs, it brings just enough eeriness for the season without losing its charm.
Few seasonal makes balance cute and creepy as well as this one does. The pattern blends bobble-stitch texture with soft color blocking, giving crafters a project that reads as both a Halloween crochet toy and a shelf-ready collectible. It also works as a flexible amigurumi zombie pattern, since the limb count and color palette can shift with whatever yarn scraps are on hand. This piece exists to give crocheters a low-stress, high-payoff Halloween project.
What Is This Pattern?
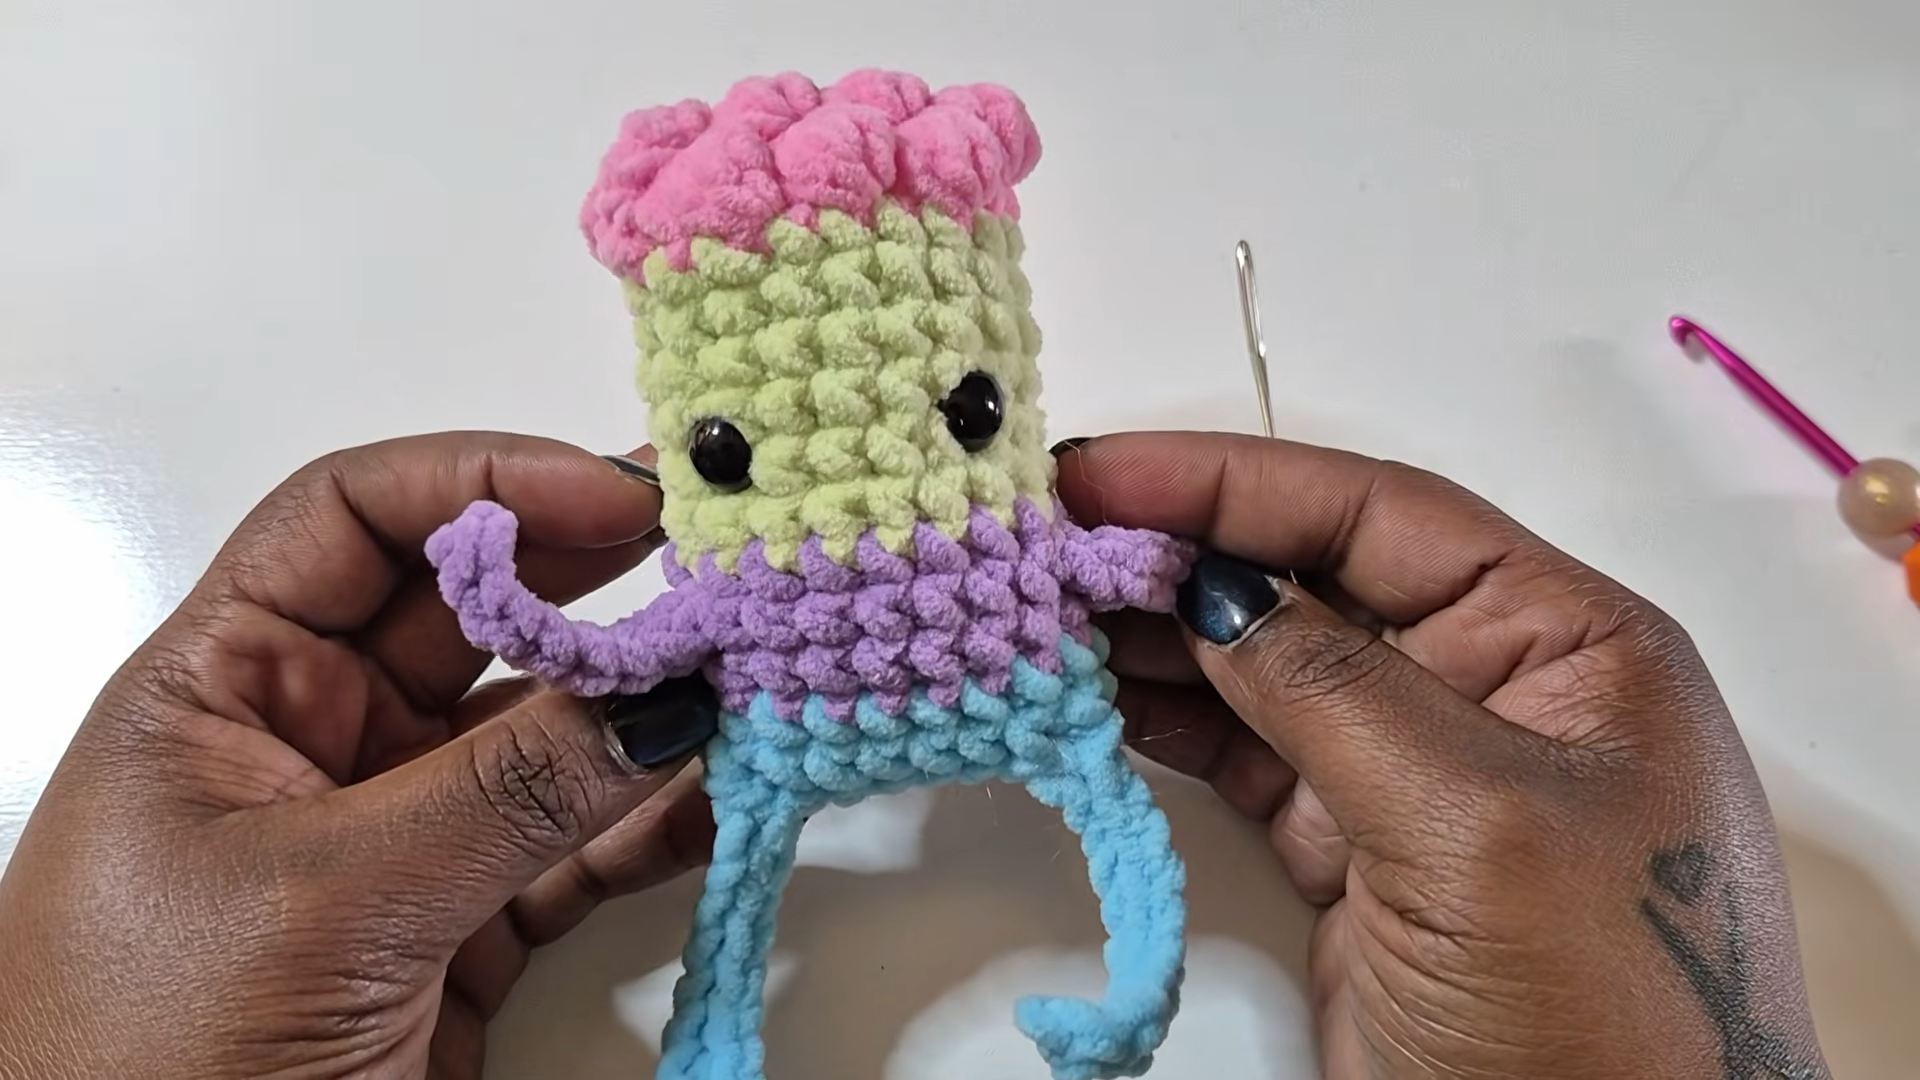
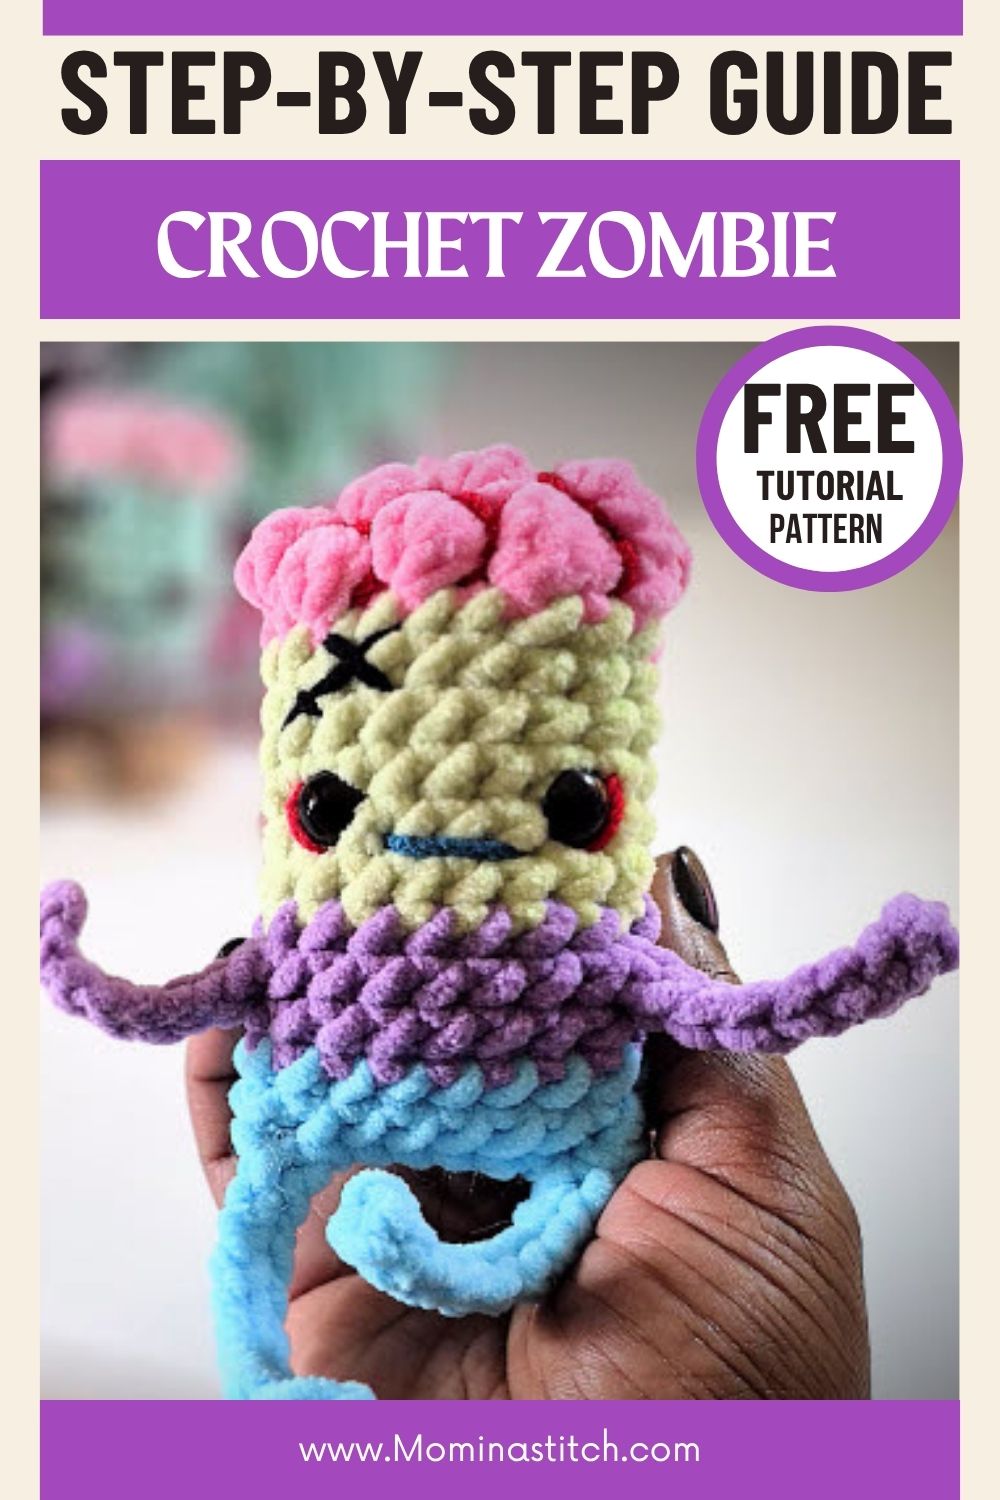
The zombie amigurumi design centers on a rounded head topped with a puffed, bobble-stitch section meant to resemble an exposed brain. Below the head sits a body worked in a contrasting shade, with several dangling limbs attached around the base. Consequently, the finished figure looks part monster, part plush toy, which is exactly the appeal. Unlike traditional dolls, this pattern skips complicated shaping in favor of texture play.
What Do You Need to Make It?
A short supply list keeps this project approachable. Gatherers will need:
- Worsted or chenille-style yarn in at least four colors (pink for the brain section, plus body and limb shades)
- A crochet hook sized to match the yarn weight, typically 4.5–5.5mm
- Safety eyes or beads
- Polyester stuffing
- A yarn needle for closing seams and weaving ends
- Stitch markers to track rounds
Because chenille yarn adds natural texture, it pairs especially well with the bobble sections.
What Skills Does It Require?
This isn’t a pattern for absolute first-timers, though it stays accessible. Crocheters should already be comfortable with magic rings, single crochet, and basic increases or decreases. The bobble stitch used for the brain section takes a little practice, but it repeats often enough to master quickly. Attaching multiple limbs afterward also calls for a steady hand with a yarn needle.
How Long Does It Take?
Most makers finish this zombie amigurumi in two to four hours, spread across one or two sittings. The bobble-stitch crown takes the longest, since each puff stitch involves several yarn pulls before closing. Limb assembly, meanwhile, moves quickly once the pieces are pre-made. Overall, it typically takes less time than a full-bodied doll pattern.
What’s the Process Like?
The build breaks down into five clear stages, matching the actual construction sequence.
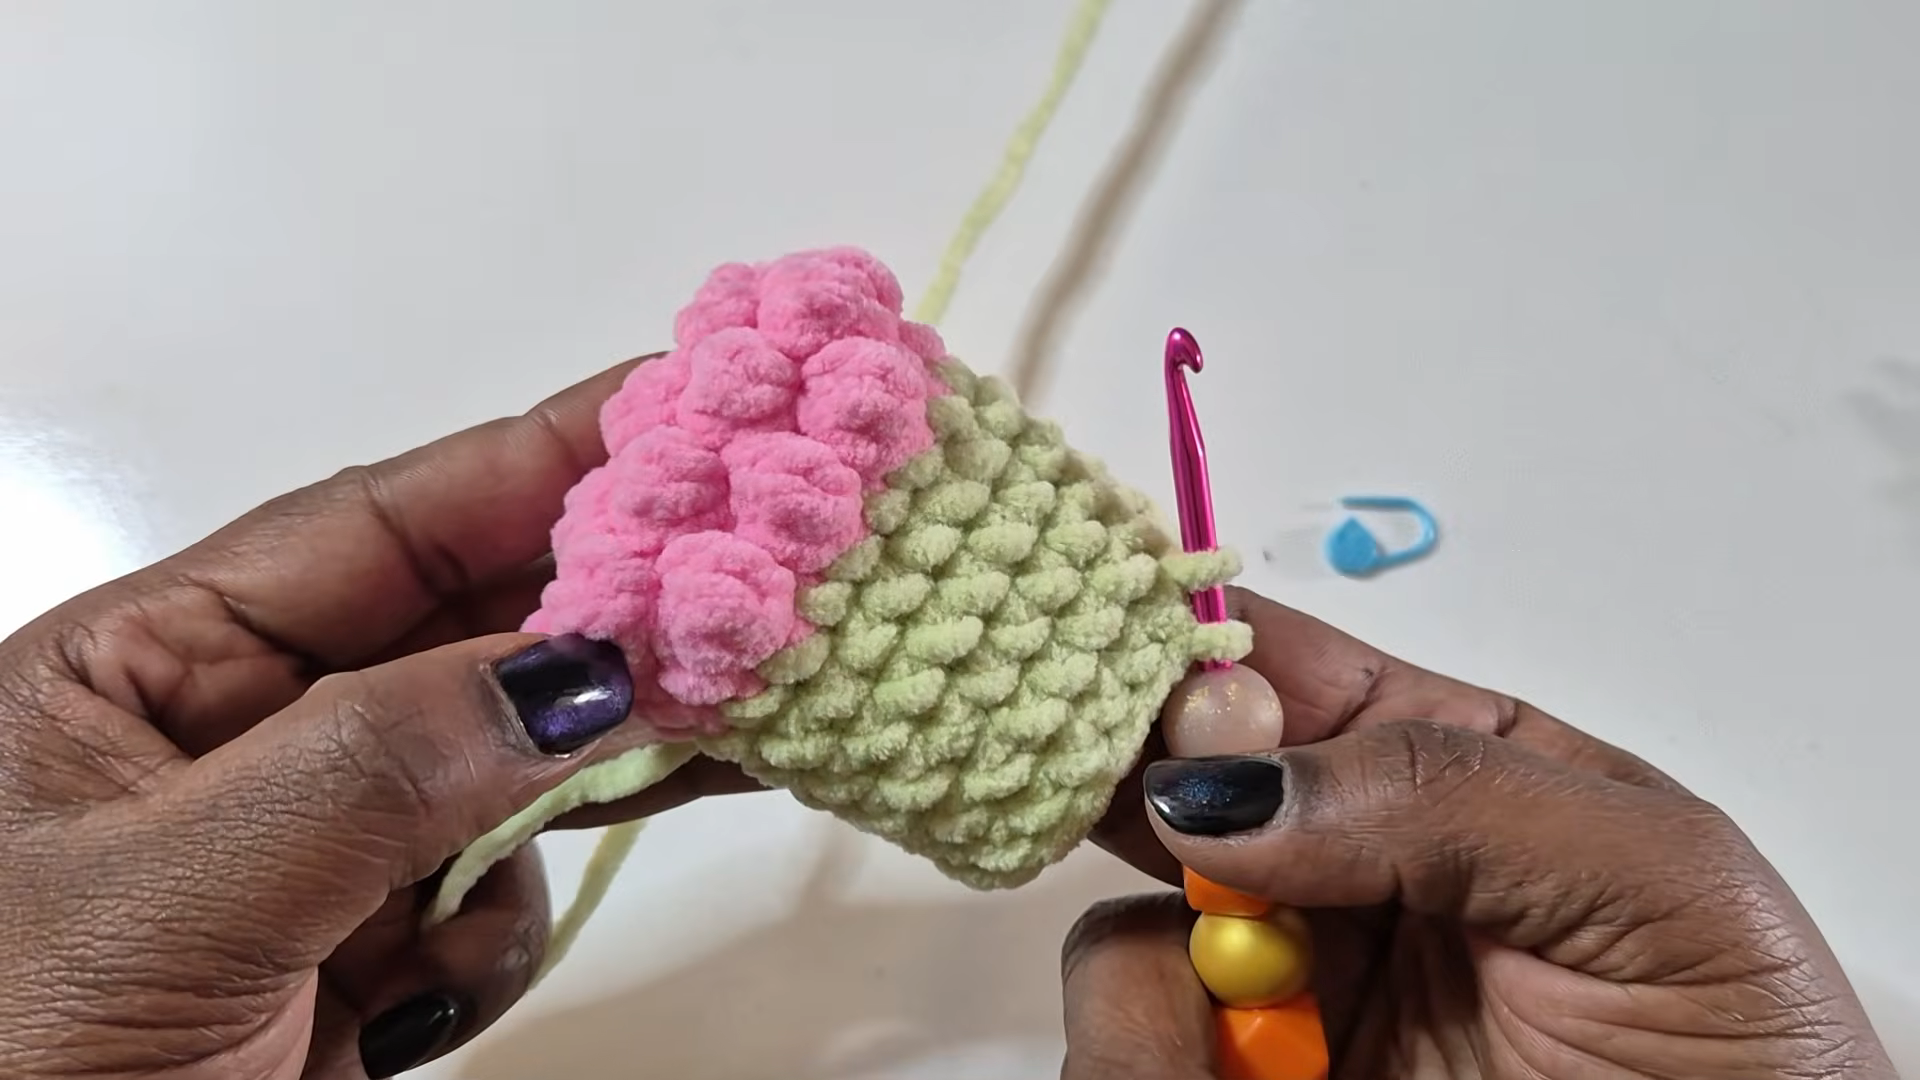
Step 1: Shape the first bobble stitch. Wrap the pink yarn around the hook and begin forming the puffed loops that will build the brain-like texture. Hold the base foundation steady with the opposite hand while pulling each loop through evenly.
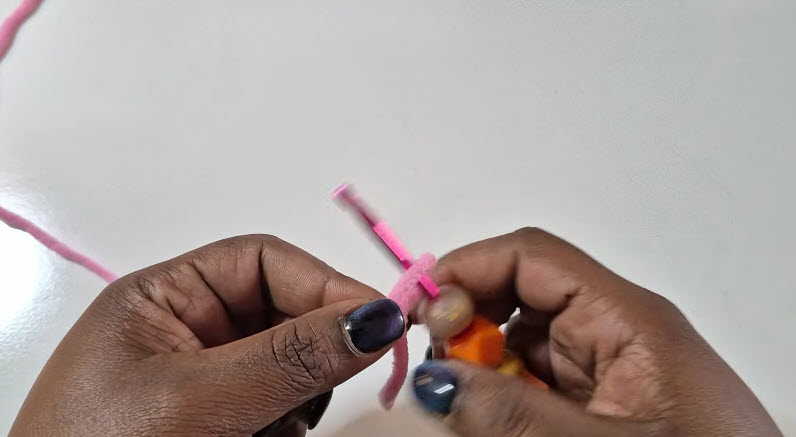
Step 2: Pull the working yarn through. Once several loops sit on the hook, draw the yarn through all of them together to close the bobble. Position the hook carefully so the stitch stays uniform in size, since even tension keeps the texture looking consistent.
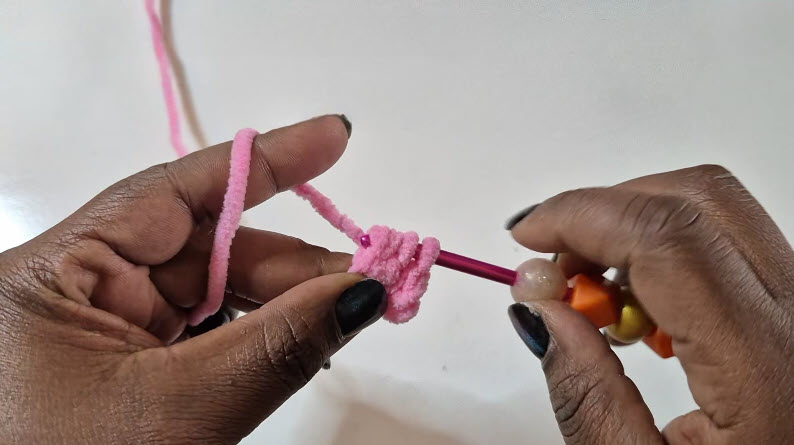
Step 3: Continue building the bobble row. Repeat the same motion across the row, working each puff stitch snugly against the last one. As the row grows, the rounded, cauliflower-like shape starts forming, which becomes the signature brain detail.
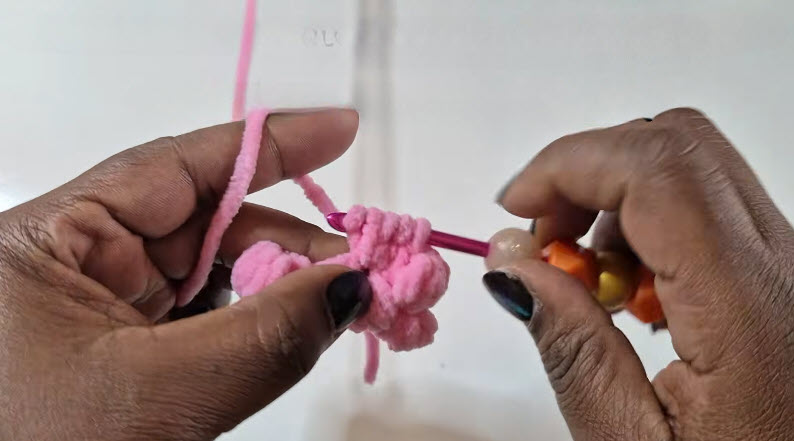
Step 4: Join the bobble section to the body. With the pink texture complete, switch to the green working yarn and continue crocheting around the piece, blending the puffed crown into the smoother body stitches beneath it. This transition point defines where the “brain” meets the “skull.”
Step 5: Attach the limbs and finish the face. Once the head and body are complete, sew on safety eyes, then attach the colored limbs around the lower body so they dangle freely. A final weave-in of loose ends completes the zombie amigurumi figure.
What Usually Goes Wrong?
A few recurring hiccups show up during this build. Loose bobble stitches often lead to a flat, uneven crown instead of a puffy one. Meanwhile, limbs attached too close together can make the figure look cluttered rather than balanced. Stuffing unevenly is another frequent issue, since lumps become obvious once the body is squeezed into shape.
How Can Mistakes Be Avoided?
Fixing these issues mostly comes down to pacing and tension control. Working the bobble stitch slowly, pulling each loop to matching height, keeps the texture even throughout. Spacing limbs with a stitch marker before sewing also prevents overcrowding. Additionally, stuffing in small pinches rather than large clumps distributes filling more evenly across rounds.
What Can This Piece Be Used For?
Beyond simple display, this Free Crochet Zombie Amigurumi serves several practical roles. It works well as:
- A Halloween shelf or mantel decoration
- A quirky keychain or bag charm when made in mini scale
- A handmade gift for horror or Halloween enthusiasts
- A craft-fair or Etsy seasonal item
Its compact size makes it easy to photograph for product listings, too.
Is It a Good Project for Beginners?
Newer crocheters can absolutely attempt this pattern, though patience helps. The bobble stitch section presents the steepest learning curve, so practicing a small swatch first is worthwhile. Once that texture clicks, the rest of the build moves at a beginner-friendly pace. Therefore, this pattern suits confident beginners more than total newcomers.
What Makes It Worth Trying?
Several factors set this design apart from typical seasonal amigurumi. The brain-textured crown offers a stitch technique many crocheters haven’t tried before, adding fresh skill-building value. Similarly, the mismatched limb styling gives each finished piece a slightly different personality, so no two zombies look identical. Finally, the quick turnaround makes it easy to batch several for gifting or selling.
Why Are People Making This Right Now?
Halloween crochet content sees a sharp spike every autumn, and character-driven amigurumi consistently outperforms generic decor pieces. Crafters searching for something spooky but not grotesque are drawn to this particular zombie amigurumi because of its plush, toy-like finish.
- Halloween-themed handmade items sell steadily on craft marketplaces each September and October.
- Bobble-stitch textures are trending across amigurumi tutorials for their tactile, eye-catching look.
- Short-limb figures like this one photograph well for social content, which boosts pattern visibility.
FAQ
Can this Free Crochet Zombie Amigurumi pattern be made in a smaller size?
Yes, switching to a lighter yarn weight and smaller hook shrinks the finished figure into a keychain-sized version.
Does the brain texture require a special stitch?
It relies on a standard bobble or puff stitch, just repeated closely together for density.
What yarn works best for the puffed section?
Chenille or velvet-style yarn gives the brain detail extra dimension, though standard worsted yarn also works.
Can the limb count be changed?
Absolutely, fewer or additional limbs can be added depending on how full or minimal the final look should be.
Is safety eye placement flexible?
Yes, though placing them slightly asymmetrically often enhances the quirky, undead expression.
Conclusion
Altogether, this Free Crochet Zombie Amigurumi pattern delivers a satisfying blend of texture, color, and seasonal charm. It rewards crocheters willing to slow down for the bobble-stitch section while staying forgiving everywhere else. Whether the goal is a gift, a decoration, or a small-batch shop item, this zombie amigurumi earns its spot in any Halloween crochet lineup.