Free Crochet Star Flower Keychain Pattern Bini Inspired
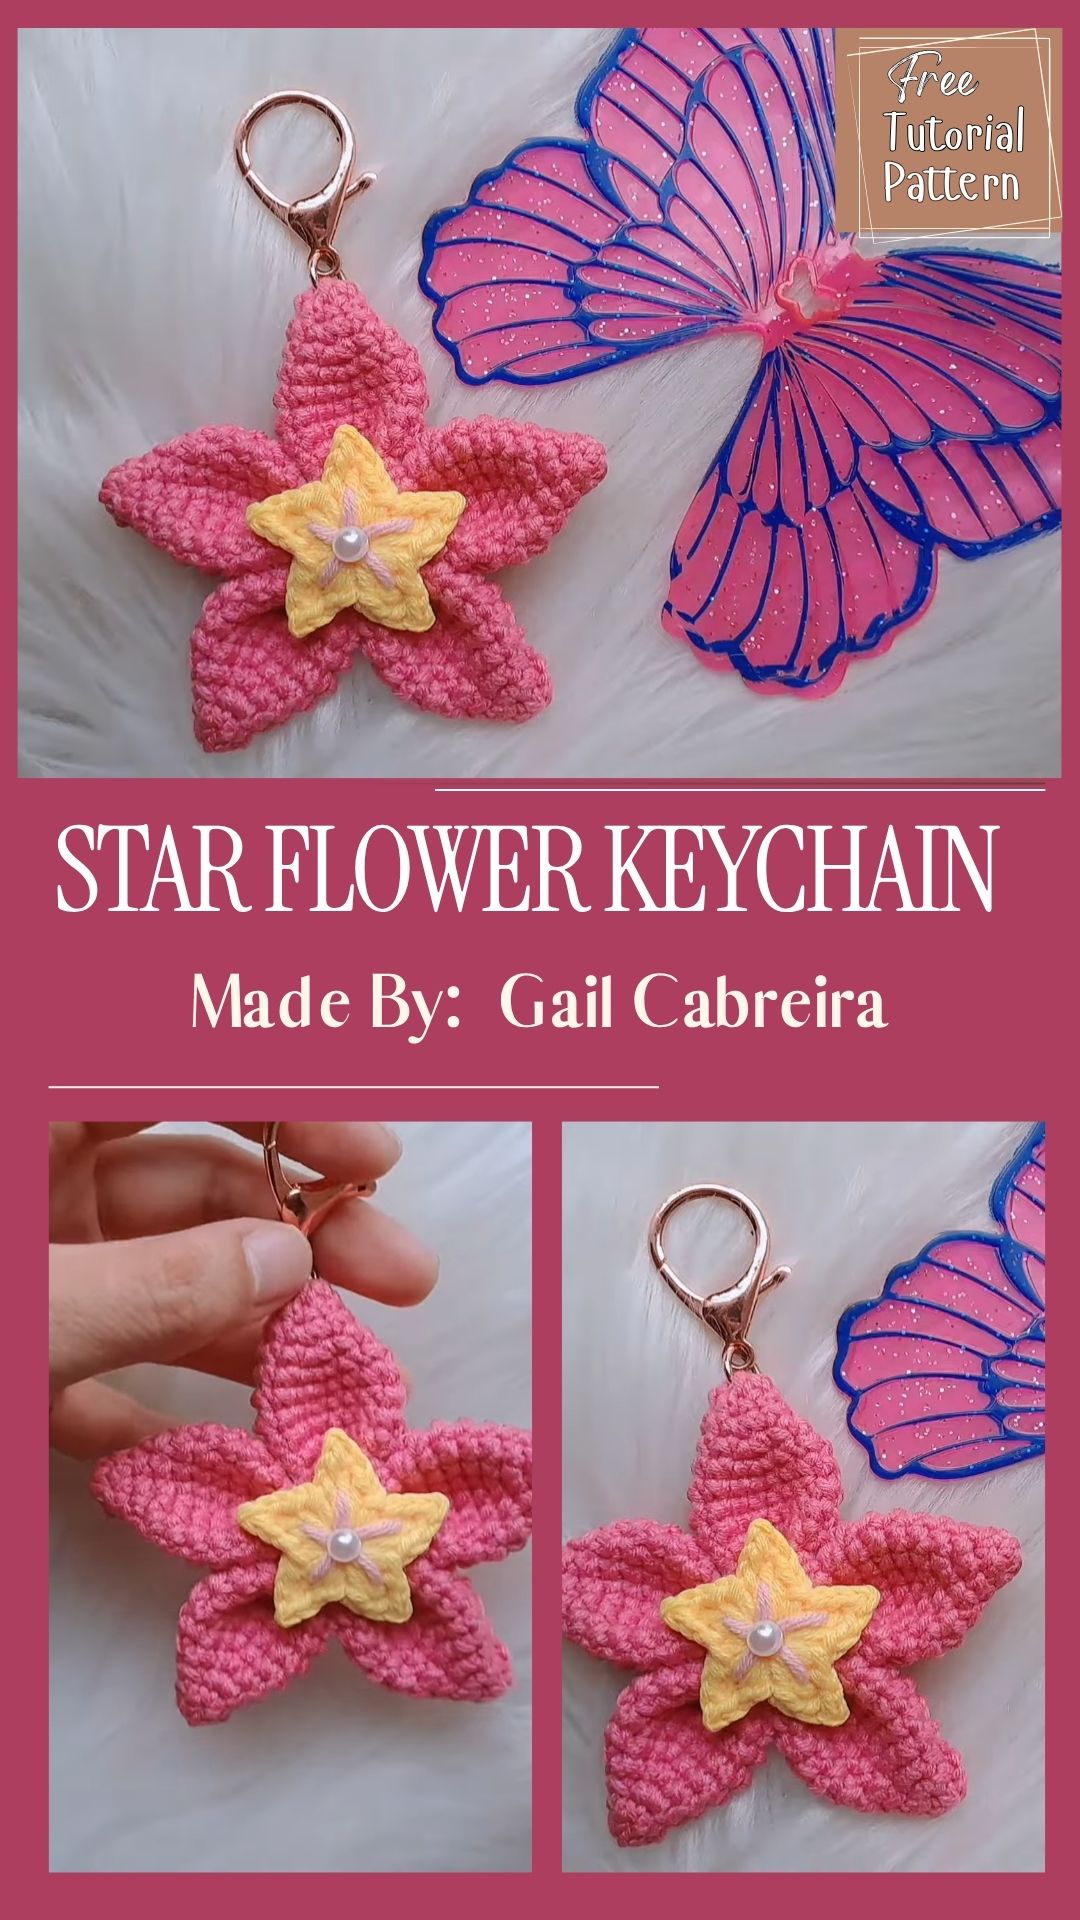
Free Crochet Star Flower Keychain Pattern for Bini-inspired works up quickly and adds a playful pop of color to any bag or keyring. This design pairs a five-point star base with a layered flower center, giving beginners a fun way to practice petal shaping. It also makes a sweet handmade gift.
Small accessory patterns like this one give crafters a chance to experiment with texture without committing to a large project. The Star Flower Keychain blends simple single crochet stitches with a joined petal technique, so it reads as detailed while staying approachable. Similar to a crochet flower keyring or a mini amigurumi charm, this piece works up in one sitting. Its purpose is straightforward: a portable, decorative accessory that clips onto keys, bags, or backpacks.
What You’ll Need
Gathering supplies ahead of time keeps the process smooth from start to finish.
- Worsted weight cotton yarn in pink and yellow (or any two contrasting colors)
- A 3.5mm crochet hook, matched to yarn weight
- Yarn needle for weaving in ends
- Small scissors
- A pearl bead or button for the center accent
- Keyring clasp and jump ring
- Stitch marker (optional, but helpful for tracking rounds)
Skills You’ll Use
This pattern leans on a handful of core techniques, each explained briefly below.
- Magic ring – forms a tight, adjustable starting loop for each petal
- Single crochet – builds the dense petal body and gives the star its texture
- Increasing – widens each petal at its center point
- Joining petals – links five separate pieces into one star shape
- Layering – stacks a smaller flower on top of the star for dimension
- Sewing/attaching – secures the bead center and the keyring hardware
Time Needed
Most crafters finish this project across two short sessions.
- Prep and gathering supplies: 5–10 minutes
- Stitching the five petals: 25–30 minutes
- Assembling and finishing: 15–20 minutes
Total time typically lands between 45 minutes and an hour, depending on stitching speed.
Step-by-Step Overview
Phase One: Starting the First Petal
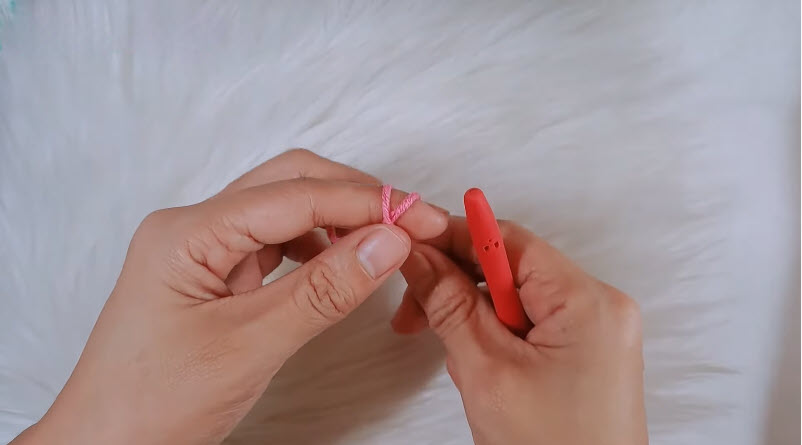
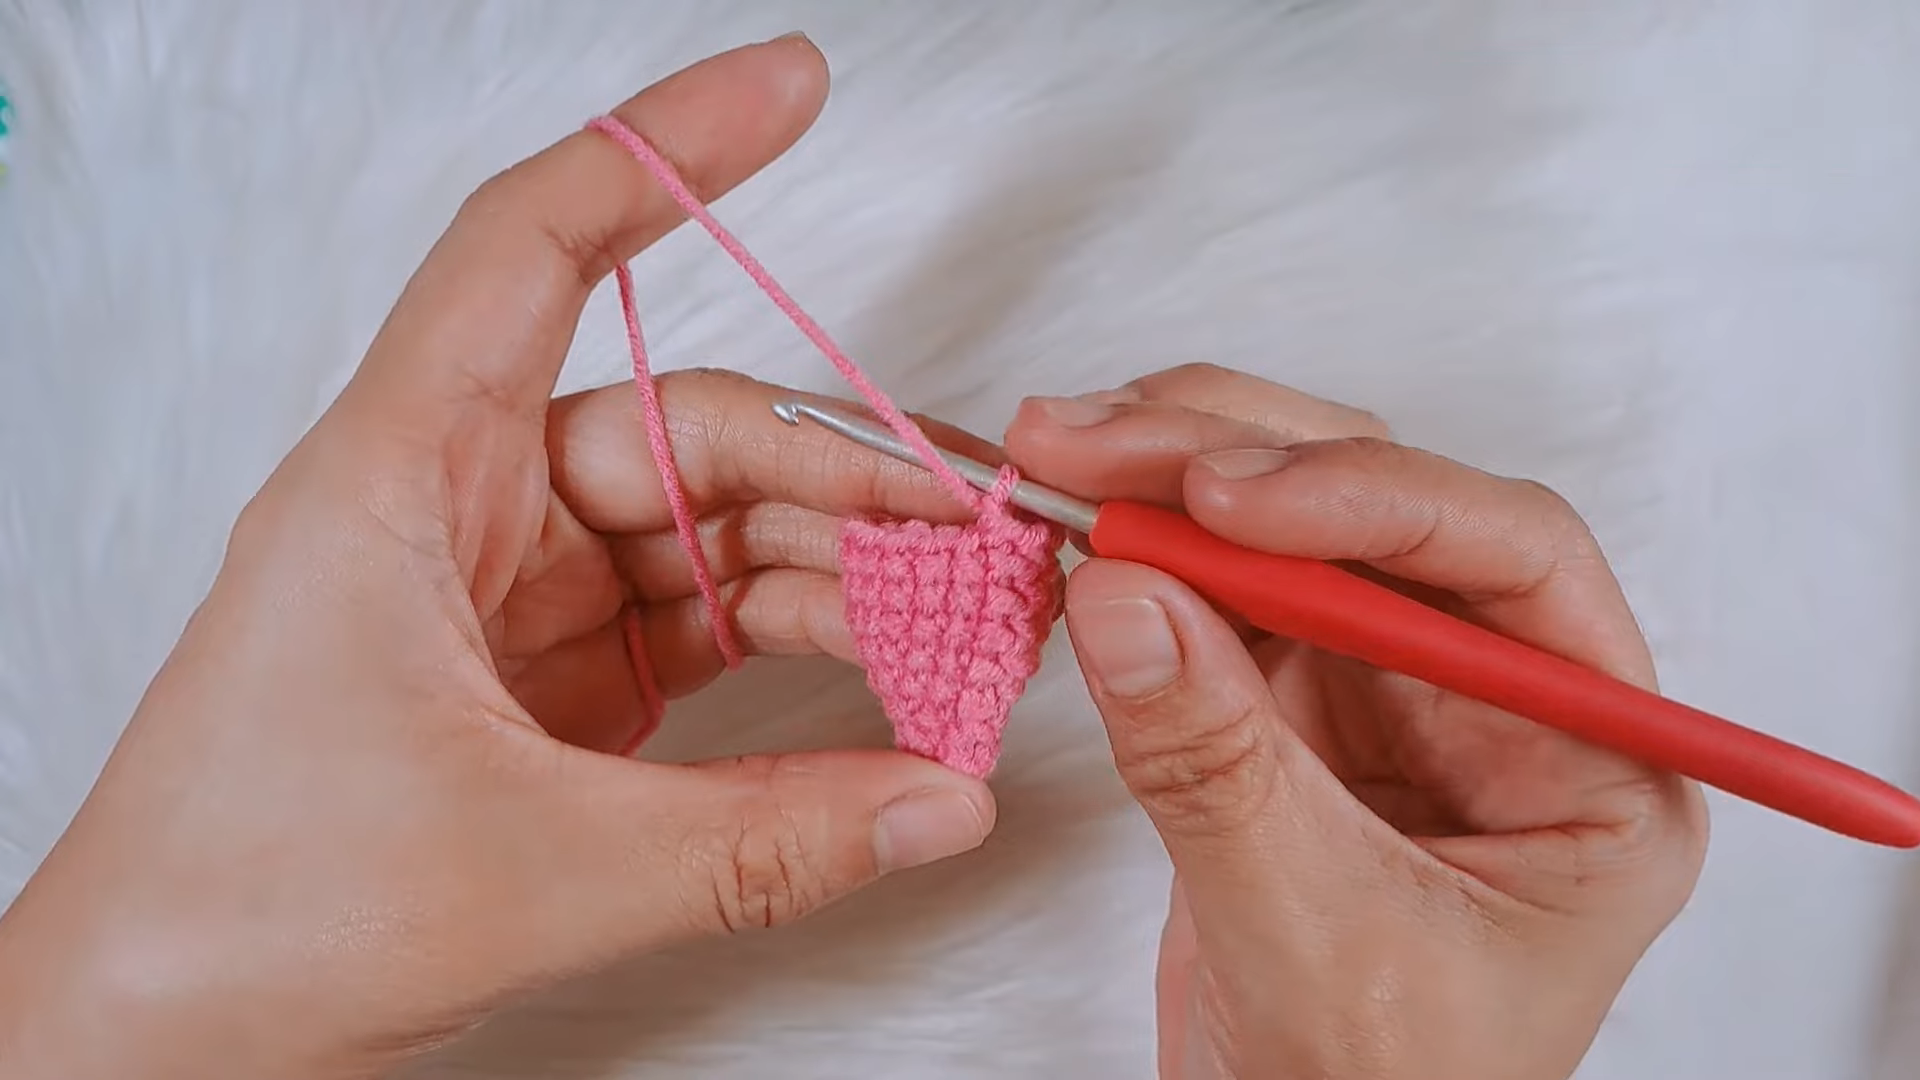
Every petal begins the same way, so getting this foundation right matters. The maker wraps the yarn around two fingers to form a loose loop, then holds the hook steady against it. From there, the hook catches the working yarn and pulls it through the loop, setting up the very first stitch of the petal. Because this starting loop stays adjustable, it can be tightened later to close the tiny gap at the tip. Crafters who take an extra moment here often find their petals sit flatter and more uniform once the whole star comes together, since a loose or uneven start tends to show up as a wobbly tip further down the line.
Phase Two: Building and Shaping Each Petal
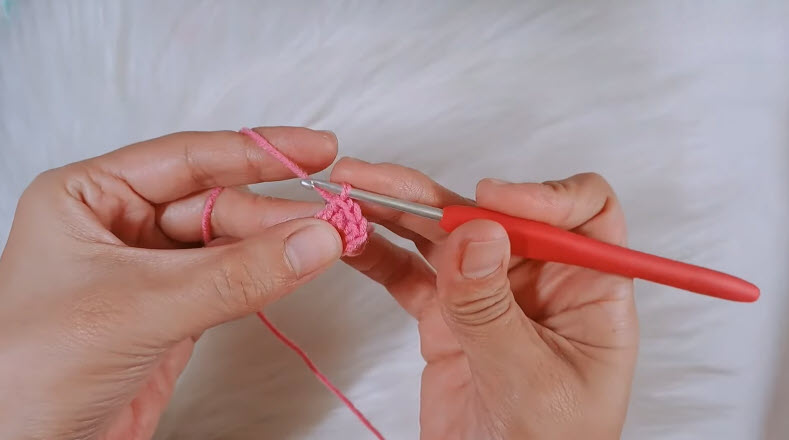
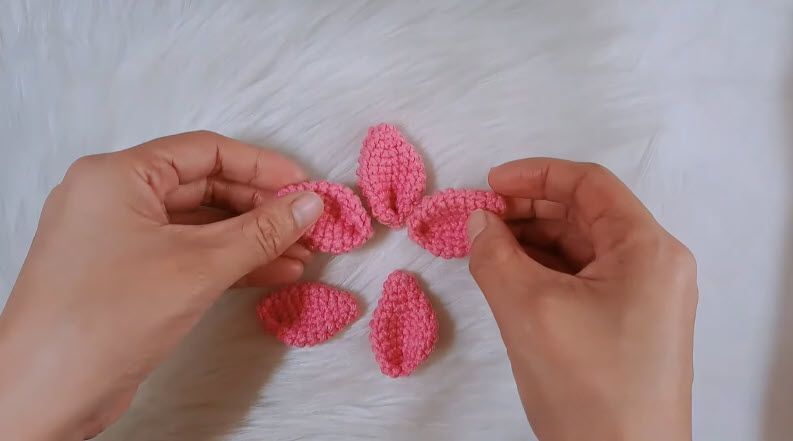
Once the loop is secure, single crochet stitches build up around it, gradually forming the narrow, pointed shape of a petal. The hook works into each stitch in turn, and the yarn wraps and pulls through smoothly to keep tension even. As the rows stack, the petal widens slightly before narrowing again toward the tip, which gives it that classic almond-like silhouette. This same sequence repeats five separate times, since a star needs five matching petals to look balanced. Crafters typically lay each finished petal side by side before joining them, checking that stitch counts and lengths line up closely, because even small size differences become noticeable once the star is fully assembled and displayed flat.
Phase Three: Joining, Layering, and Adding the Center
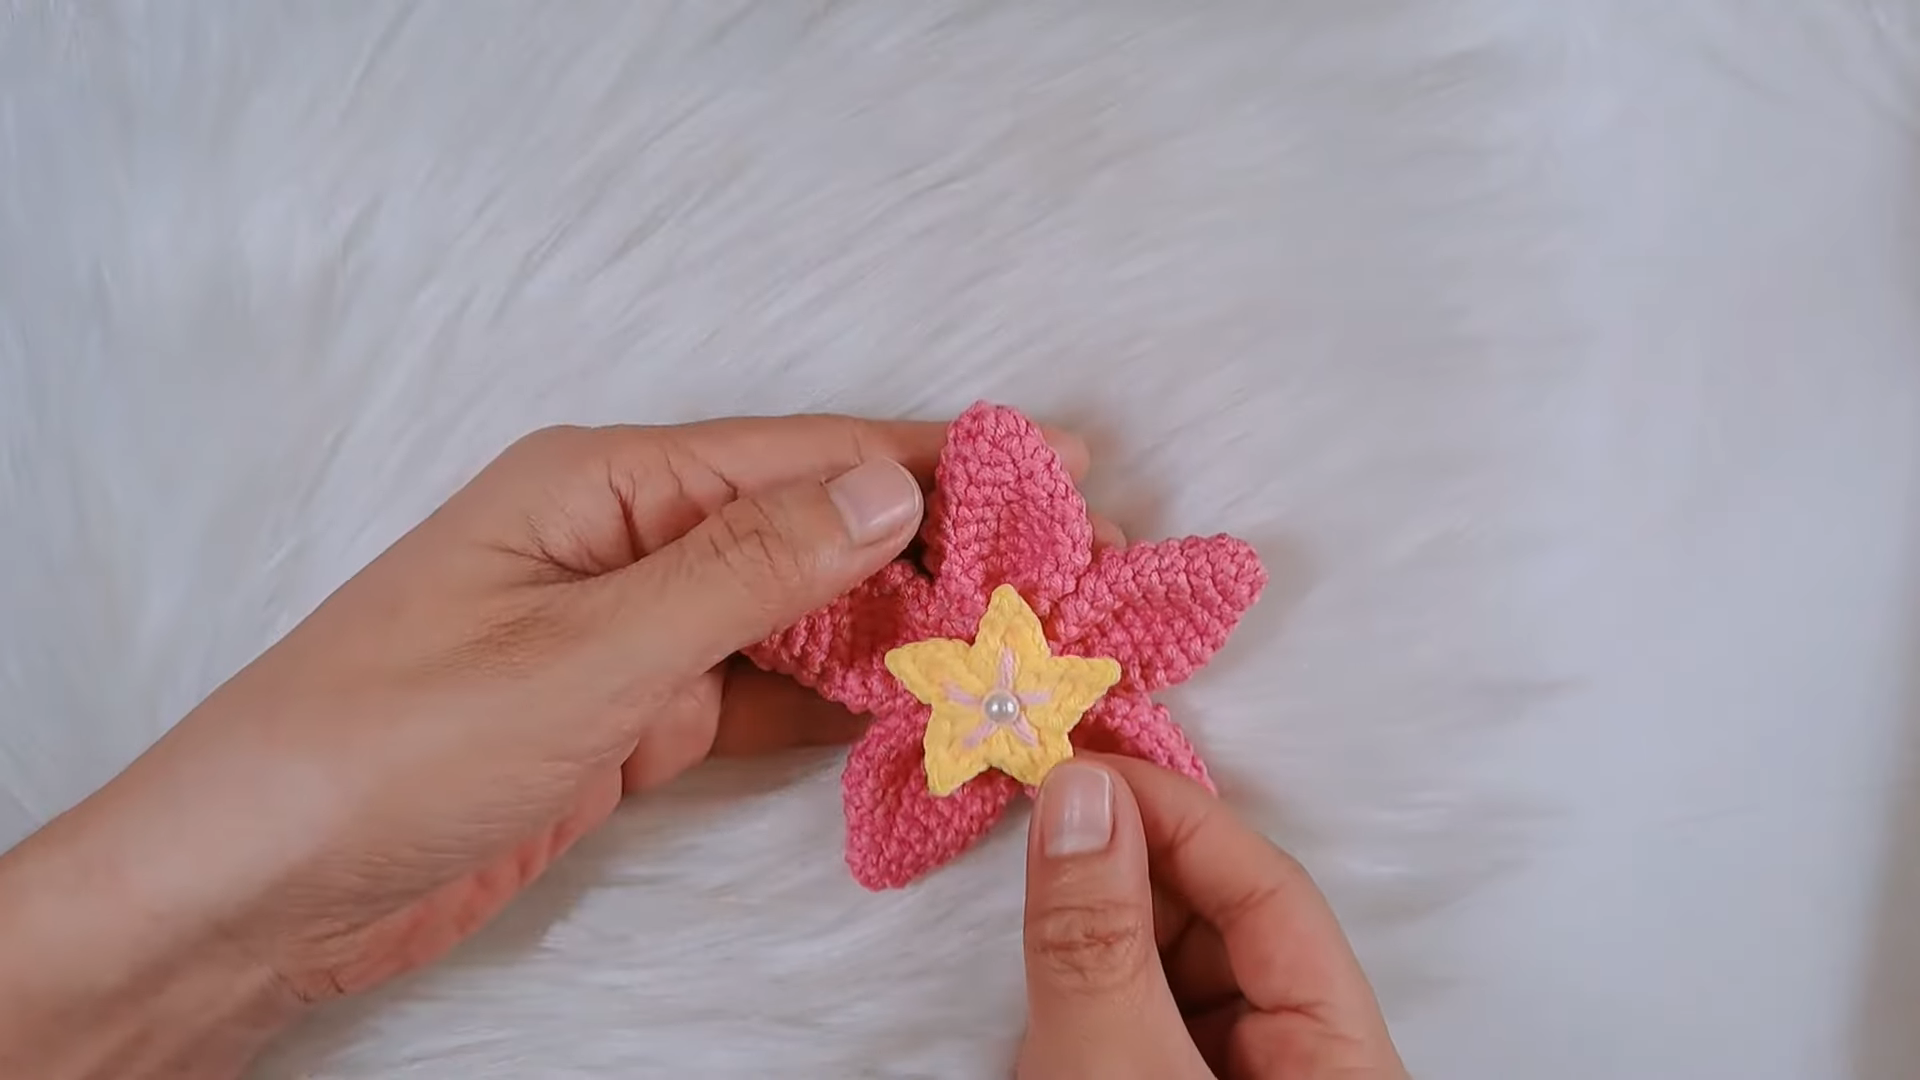
With five petals ready, the next task is arranging them into a star formation and stitching the base points together so the shape holds firmly. A second, smaller flower is then crocheted using the same petal method, only shorter and in a contrasting color, before it gets layered directly on top of the star. Finally, a pearl bead is stitched into the very center, anchoring both layers together and adding a subtle finishing sparkle. Threading in the keyring hardware at this stage completes the piece and turns it into a wearable, clippable accessory rather than just a flat decorative shape.
Phase Four: Layering the Center and Attaching the Keyring
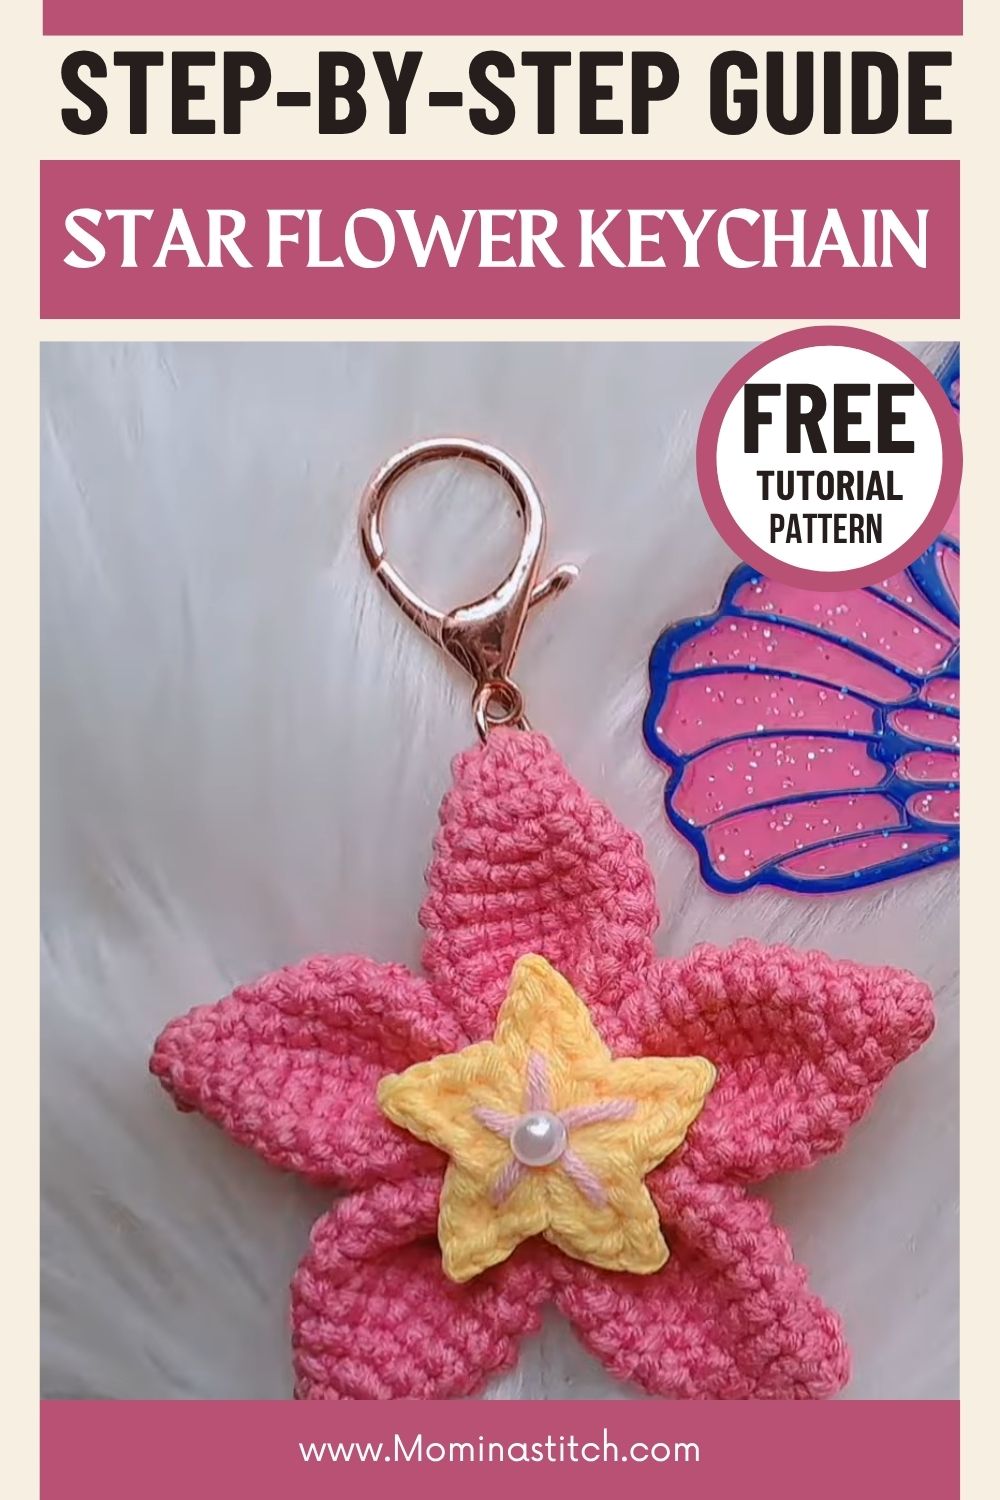
With the star base secured, attention turns to the smaller flower that sits on top. This second piece follows the same petal-building method as the star, only worked shorter and in a contrasting yarn color, which makes it pop visually against the larger background shape. Centering it carefully over the star before stitching keeps the layers symmetrical rather than skewed to one side. A pearl bead then gets sewn straight through the middle of both layers, anchoring the flower to the star while doubling as a decorative finishing touch. Finally, a jump ring and keyring clasp are threaded through one sturdy petal point, transforming the finished piece from a flat decorative shape into a functional, clippable accessory.
Where People Go Wrong
A handful of small missteps tend to show up again and again with this pattern.
- Leaving the magic ring too loose, which creates a visible hole at each petal tip
- Losing track of stitch count while shaping the petal’s point
- Rushing the joining step, resulting in petals that sit unevenly around the center
- Skipping a gauge check, which throws off the overall star size
- Forgetting to weave in tails before layering the second flower on top
How to Fix Common Issues
Most of these problems have simple, quick fixes once identified.
Tightening the magic ring’s tail firmly before moving forward closes any gap at the petal tip. Using a stitch marker at the start of each round also helps track counts more accurately, especially during increase rows. If petals end up uneven, laying them flat side by side before joining makes size mismatches easy to spot and correct early. Additionally, weaving in ends as each petal finishes, rather than saving them all for later, keeps the back of the work tidy and prevents tangled yarn during assembly.
Finishing and Assembly Tips
Blocking the finished star lightly with a damp cloth helps petals lie flat and symmetrical. Once dry, the smaller flower layer can be centered and pinned before stitching, which keeps it from shifting off-axis. A pearl bead sewn through both layers at once locks everything in place while doubling as a decorative anchor point. Finally, threading the jump ring through one sturdy point of the star, rather than through loose yarn, keeps the keychain secure through daily use.
Ways to Style or Display It
This charm suits more than just keys. Crafters often attach it to backpack zippers, tote bag handles, or planner rings for a decorative touch. It also works nicely pinned to a cork board as a small standalone decoration, or bundled with two or three color variations and gifted together as a set.
Who This Pattern Is Great For
Beginners who already know basic single crochet will find this project approachable, since it reintroduces familiar stitches in a fresh shape. It also suits crafters looking for quick, giftable makes, and anyone building a stock of small items for craft fairs or online shops. Because each petal takes only a few minutes, it’s a satisfying pick for anyone wanting a finished object without a long-term commitment.
Smart Variations to Try
Small changes open up a wide range of looks for this same base pattern.
- Swapping worsted weight yarn for a lighter fingering weight creates a delicate, miniature version
- Using metallic or glittery yarn gives the star a festive, eye-catching finish
- Trying pastel color combinations shifts the whole look toward a softer, spring-themed accessory
- Sizing up the hook and yarn produces a bolder statement piece for bag charms
Why It’s Popular Right Now
Small, character-inspired crochet accessories have surged in popularity across social platforms, and this design fits right into that trend. Its compact size, quick turnaround, and customizable colors make it an easy favorite among both new and experienced makers.
- Fast to complete, often finished within an hour
- Highly customizable through color and yarn weight choices
- Fits current demand for cute, wearable handmade accessories
FAQ
What yarn works best for this Crochet Star Flower Keychain?
Cotton yarn in a worsted weight holds its shape well and gives the petals a firm, defined texture.
Can this pattern be made without a bead center?
Yes, a small button or embroidered French knot works just as well as a substitute center detail.
How long does one complete keychain take?
Most crafters finish a single piece in under an hour, including assembly and finishing touches.
Is this Crochet Star Flower Keychain pattern suitable for total beginners?
Anyone comfortable with basic single crochet and simple increases should be able to complete it without difficulty.
Can the size be adjusted easily?
Switching hook size and yarn weight up or down changes the finished size while keeping the same structure.
To Wrap Up
Compact, colorful, and quick to stitch, this project rewards makers with a finished piece that feels far more detailed than the time invested suggests. Whether it’s tucked onto a keyring or fastened to a bag strap, the Crochet Star Flower Keychain offers a satisfying blend of technique and charm. Trying a few color variations afterward is a great way to build a small matching collection.