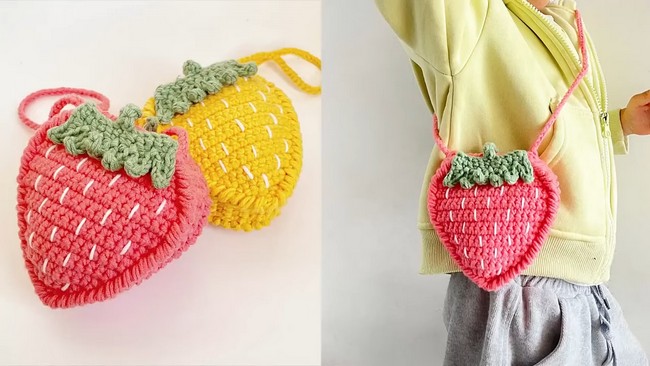
Charming Crochet Star Basket Pattern for Beginner Guide
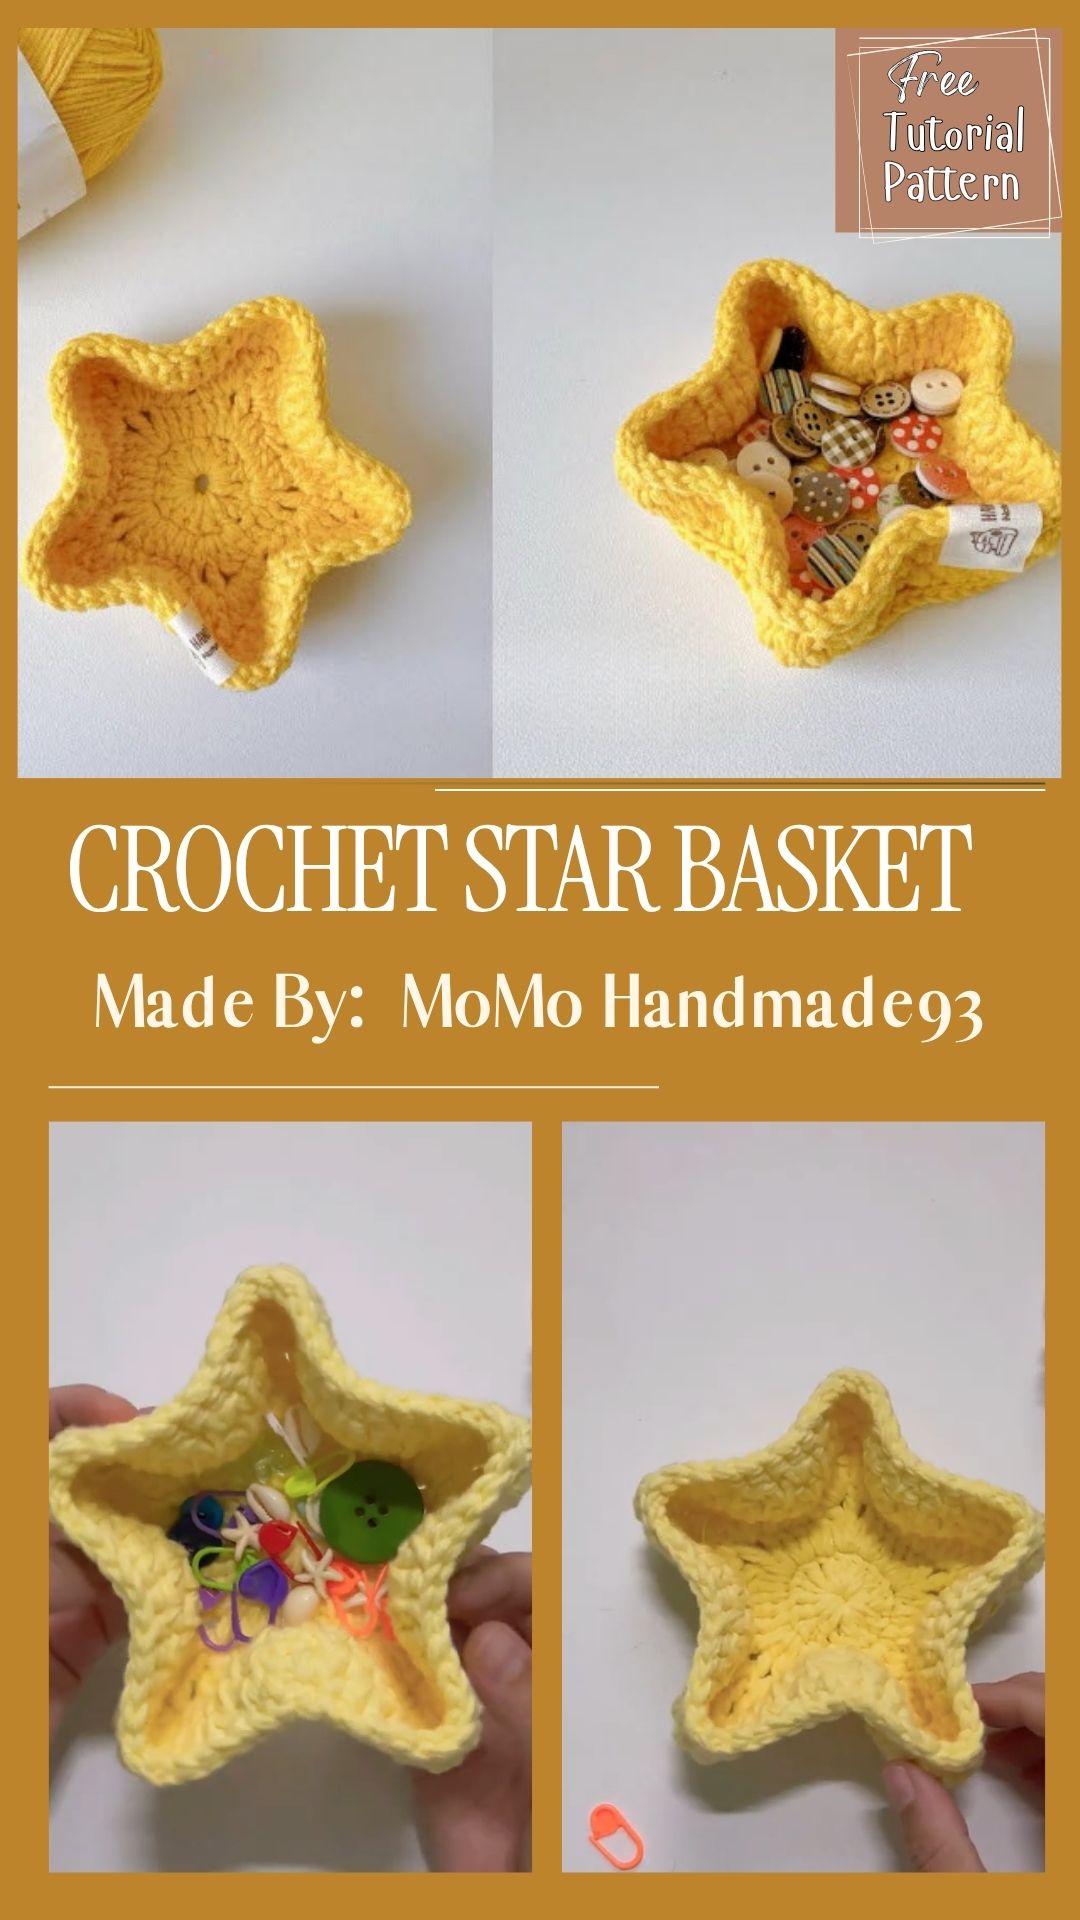
Soft yarn loops around your fingers, a hook clicks into place, and suddenly you’re ready to start the Charming Crochet Star Basket Pattern for Beginners. This friendly project turns a simple magic ring into a sturdy little basket in just a few relaxed sessions.
This crochet basket pattern is built for anyone who wants a quick, satisfying project without fussy techniques. Using a star stitch technique, a plain magic ring slowly grows into a textured base and rises into sturdy walls. It’s designed to hold small treasures like hooks, notions, or keys, and it teaches skills you’ll reuse in future projects too. Nothing rushed, nothing complicated, just steady rounds that come together beautifully.
Step-by-Step: How The Stitches Actually Come Together
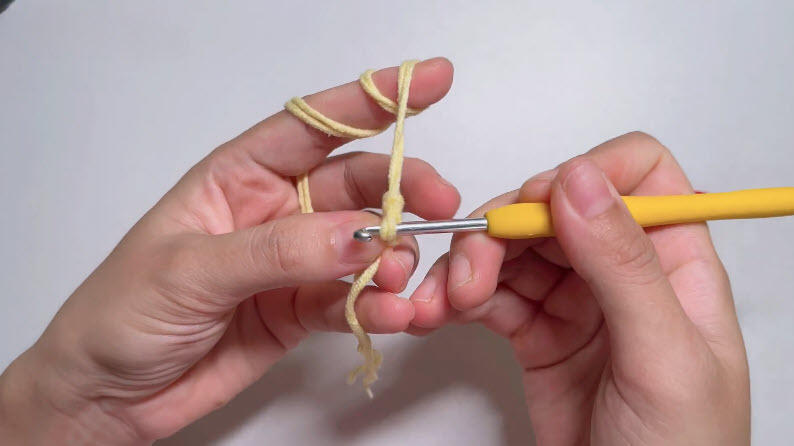
Step 1: Wrap the yarn around your fingers and insert the hook underneath, forming the starting loop for your magic ring. Keep the loop loose enough that the hook slides through easily, since a tight loop here makes the first stitches harder to work.
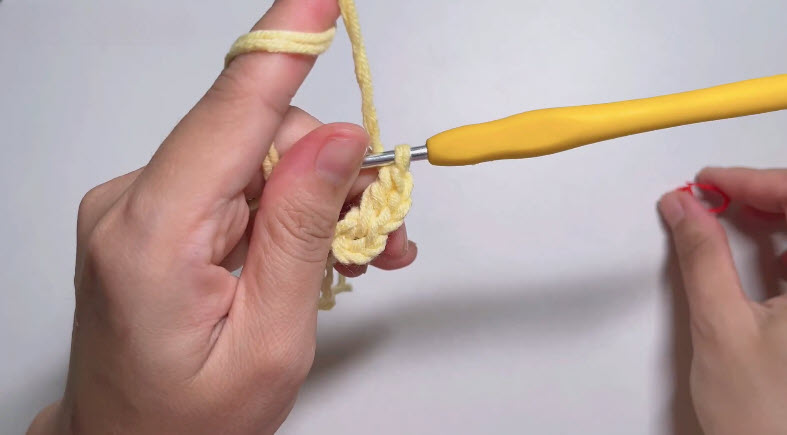
Step 2: Pull the working yarn through and begin working your first single crochet stitches directly into the ring. Notice the small stitch marker resting nearby this is the point where you’ll start tracking your rounds once the base grows past the first few stitches.
Step 3: The stitch marker is now placed in the first stitch of the round, and you can see the star-shaped clusters starting to form as the increases build outward. This is where the texture that gives the Star Basket its name really starts to show.
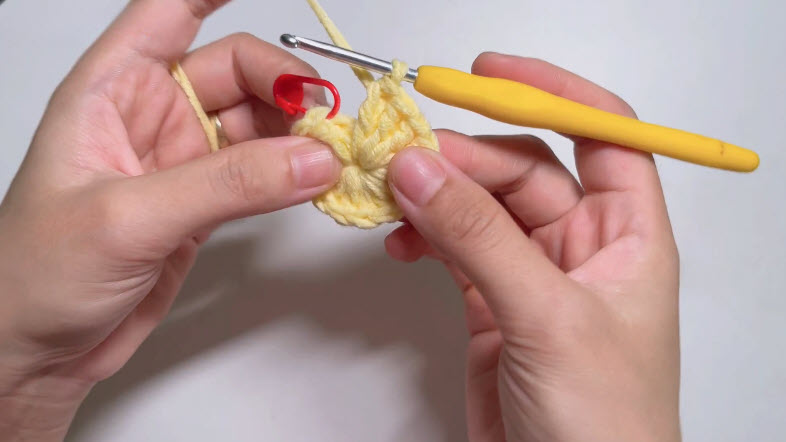
Step 4: The base has grown wider, and the star texture is clearly visible across the surface. At this stage, you’re still working increase rounds evenly, checking your stitch count at the end of each one before continuing to the next.
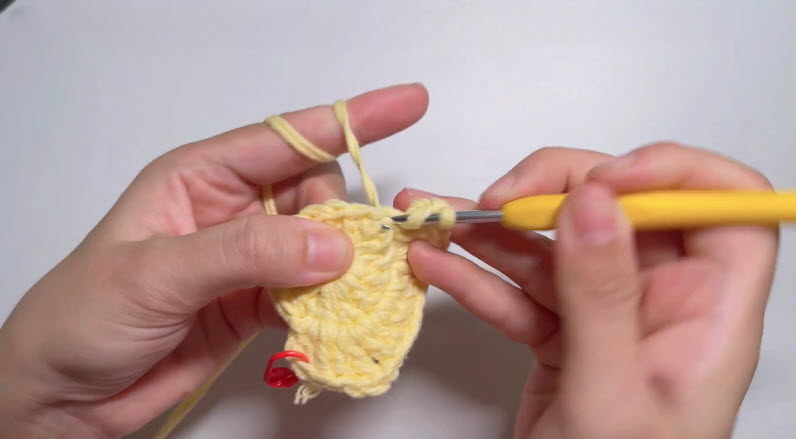
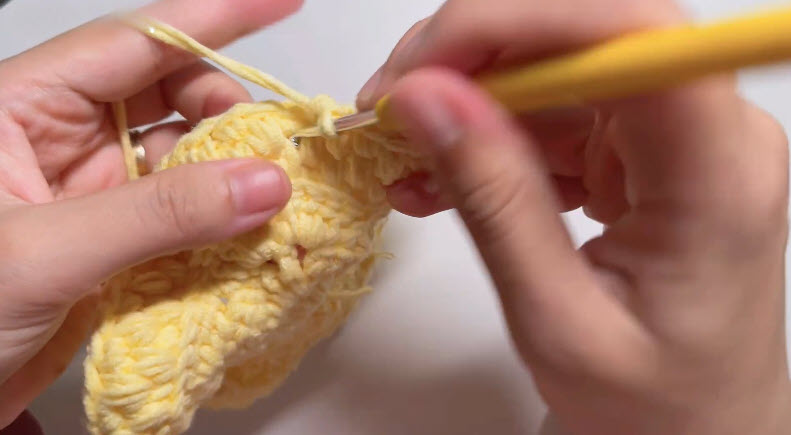
Step 5: The stitches are now dense and tightly packed, showing the finished star stitch technique up close. This close-up view is a good reference point for matching your own tension; the loops should look full and even, without gaps between clusters.
What’s It Good For / How Can I Use It?
Once finished, a Crochet Star Basket earns its keep quickly around the house. Use it to corral loose crochet hooks, stitch markers, or scissors on your crafting table. It also works beautifully as a small catch-all for jewelry, keys, or hair ties by the front door. Some crocheters gift them filled with candy or soap as a handmade present. Because the texture is so decorative, it also looks lovely simply sitting empty on a shelf as a standalone accent piece.
Any Tips Before I Start?
Before diving in, a few small tips make the process smoother. Choose a light or medium-colored yarn for your first attempt, since dark colors hide stitch definition and make counting harder. Practice the magic ring separately a couple of times if you’ve never used one before. Moreover, keep your rounds loose enough to insert the hook easily, especially in the first few rows. Finally, don’t rush the base — a flat, even base makes every later round noticeably easier to manage.
Why Are People Making This Right Now?
Textured home accents have surged in popularity lately, and the Star Basket fits right into that trend. Its handmade, slightly rustic look pairs naturally with the cottagecore and boho decor styles currently trending across social media. Meanwhile, small weekend projects have become popular again as crocheters look for quick wins between larger blanket or garment projects. Because this basket finishes fast yet still looks impressive, it photographs well for sharing online too, which keeps fueling its visibility.
Can Beginners Really Make This?
Absolutely, and that’s really the point of this guide. The stitches involved — magic ring, single crochet, and basic increases — are all foundational skills taught early in most crochet journeys. Nothing here requires advanced techniques like post stitches or complex color changes. That said, patience matters more than experience for this project. If you can count to your target stitch number and recognize when a round is complete, you already have what it takes to finish a tidy little Star Basket.
What Makes It Worth The Effort?
Beyond the finished object, this pattern teaches transferable skills. Working comfortably with a magic ring, tracking rounds accurately, and maintaining even tension are abilities you’ll reuse in nearly every future amigurumi or basket project. Therefore, the time spent here pays off well past this single basket. There’s also something genuinely satisfying about watching a flat circle of yarn transform into a three-dimensional container using nothing but your hands and a hook.
FAQ
Can I use a chain instead of a magic ring?
Yes, though a small starting chain tends to leave a tiny hole at the center. The magic ring closes completely, so most crocheters prefer it for baskets meant to hold small items.
What size hook should I start with?
A 5mm hook is generally more forgiving for beginners, since it produces slightly looser, easier-to-see stitches. You can size down to 4mm later once your tension feels consistent.
Why does my basket lean to one side?
This usually happens when stitch counts drift slightly between rounds. Counting carefully after each round, especially during the increase stage, keeps the shape symmetrical.
Can I make the Crochet Star Basket Pattern ?
Definitely. Once your base reaches the desired width, simply keep working even rounds without increasing until the walls reach your preferred height.
Closing
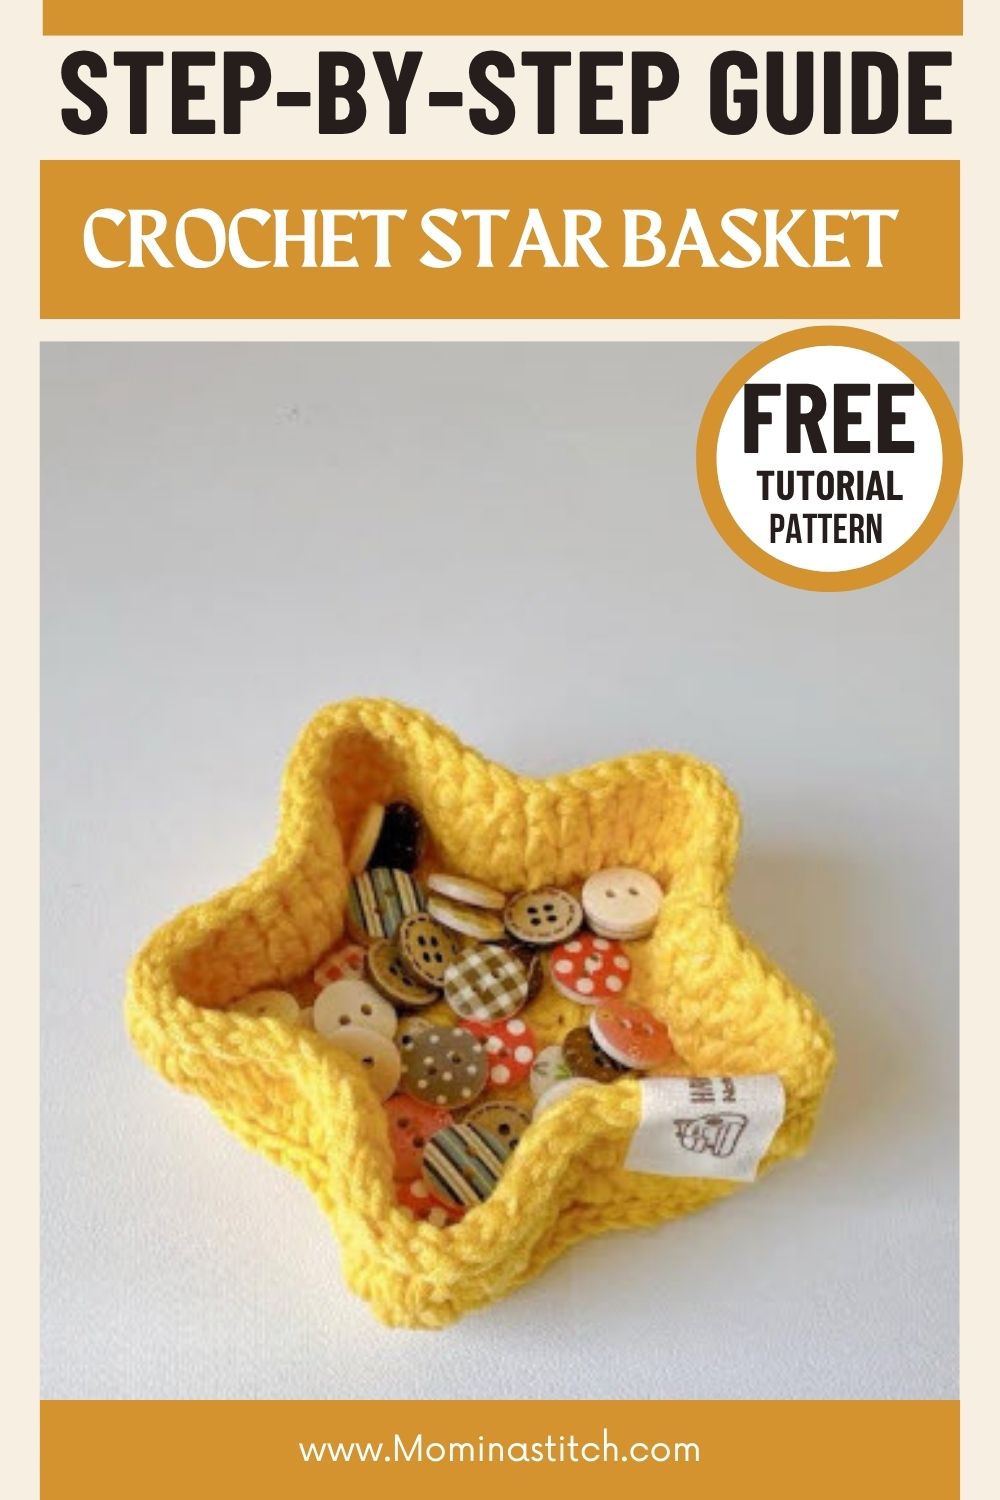
This Charming Crochet Star Basket Pattern proves that simple stitches can create something beautiful. Take your time with the base. Follow the increases carefully. Do not worry about small imperfections. They can add to the handmade charm. Finish the final round and fasten off. You will have a sturdy, textured basket. The finished piece is practical and unique. You may even want to make another one.