Crochet Strawberry Bunny Amigurumi Pattern for Animal Lovers
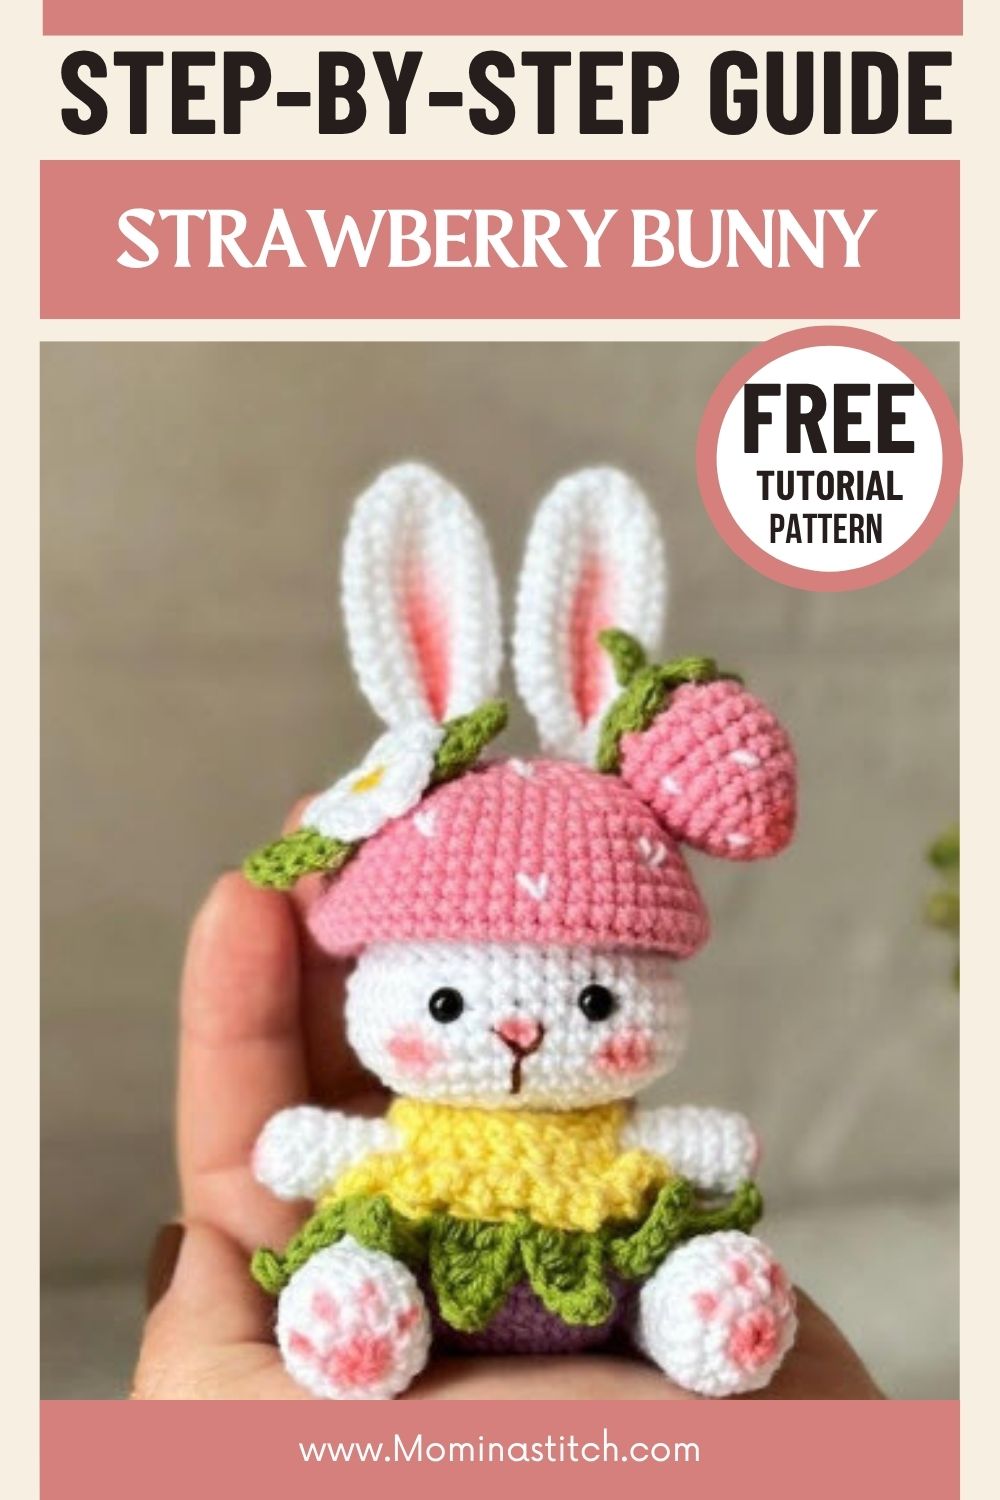
Soft white loops curl around a hook as a tiny sphere takes shape, and that first round is where the Crochet Strawberry Bunny Amigurumi Pattern for Animal Lovers truly begins. This design blends a classic bunny head with a playful strawberry-inspired topper. Crafters use it to build a plush little companion that suits shelves, bags, or gift boxes.
This particular pattern stands out because it fuses two beloved amigurumi styles into one small figure. Instead of a plain rabbit, the piece adds a fruity cap that gives it personality and charm. It works well as a strawberry bunny amigurumi project for anyone who enjoys mixing food-themed crochet with classic animal shapes. Beginners often choose this project because the stitch count stays low, so shaping and finishing feel manageable. As a result, it becomes a satisfying weekend make.
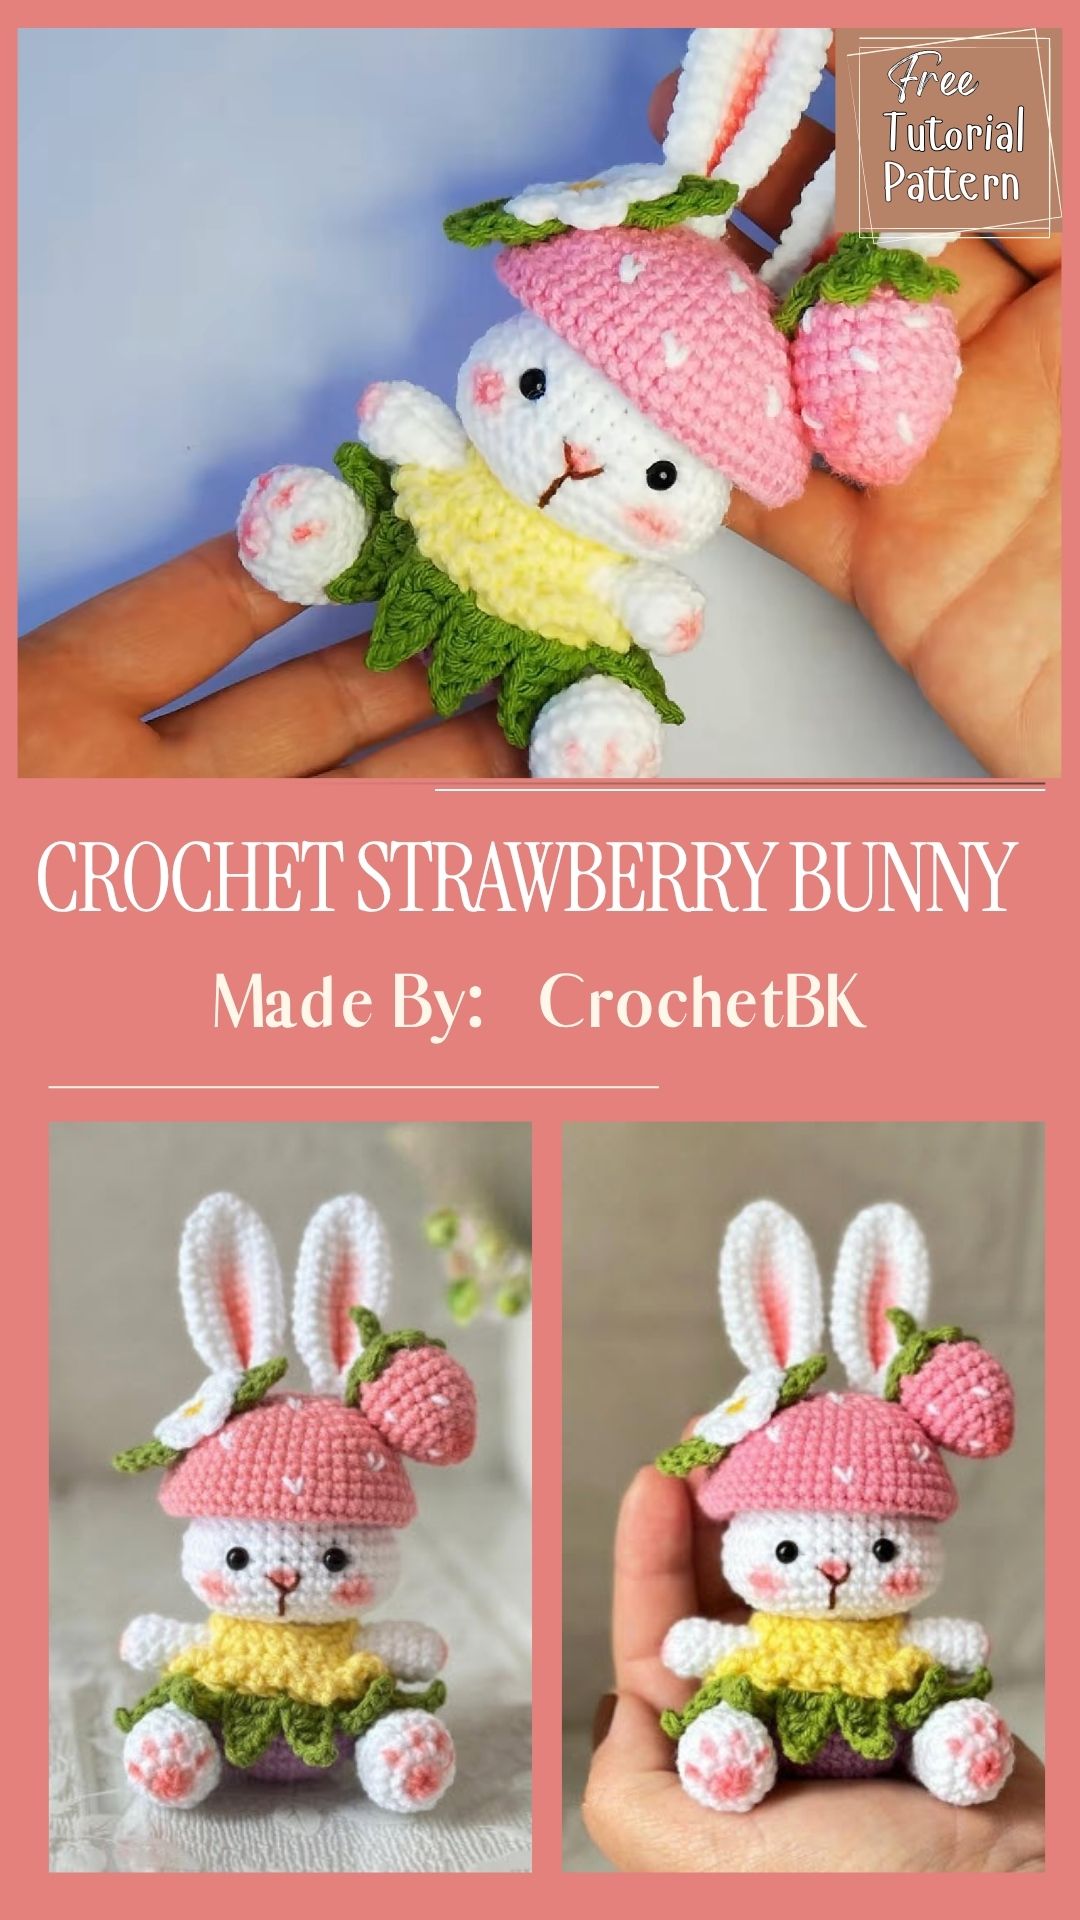
Pattern Overview
- Skill level: beginner to lower-intermediate
- Yarn: worsted weight cotton or acrylic in white and pink
- Hook size: 2.5mm–3mm steel or small ergonomic hook
- Stitches used: magic ring, single crochet, increase, decrease
- Finished size: roughly 2.5–3 inches tall
- Fill: polyester stuffing
- Extras: safety eyes or small black beads, embroidery thread for mouth, blush powder or pastel chalk
Special Techniques
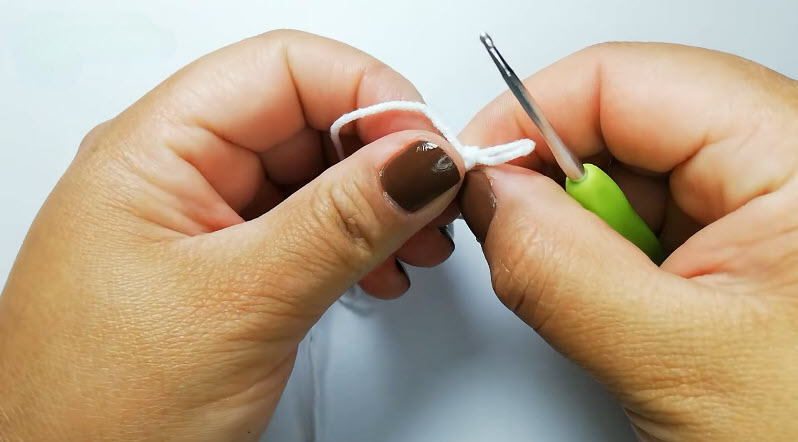
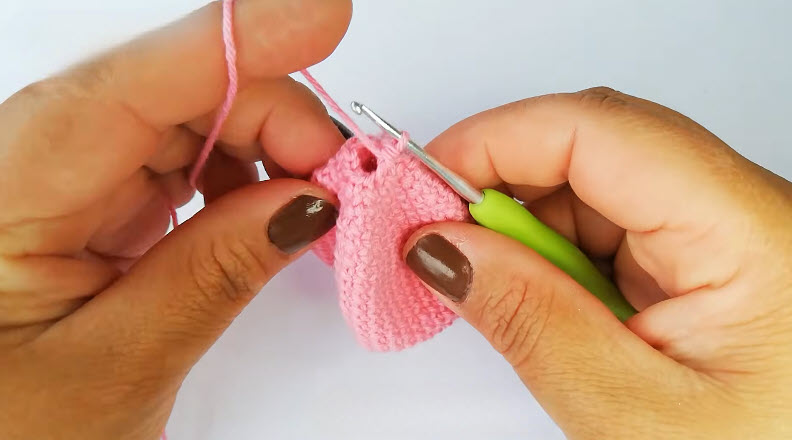
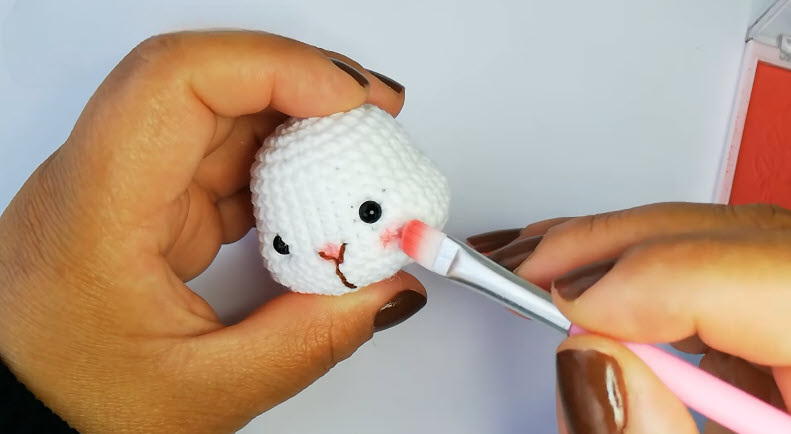
The strawberry bunny amigurumi relies on a few core amigurumi skills rather than anything overly advanced. The magic ring start, shown in the first photo, keeps the center tight and avoids a visible hole. Invisible decreases help the head taper smoothly toward the neck. Once the base shapes are complete, a light dusting of blush adds a soft, blended finish to the cheeks. This step is optional, but it gives the face a warmer, more lifelike glow.
Time Box
- Prep time: 10 minutes (gathering yarn, hook, stuffing, and eyes)
- Stitching time: 60–75 minutes (head, ears, and strawberry cap combined)
- Finishing time: 15–20 minutes (stuffing, assembly, face detailing)
- Total time: approximately 1.5–2 hours
Common Mistakes
- Pulling the magic ring too loose, leaving a gap at the center
- Skipping stitch markers, which makes round tracking difficult
- Overstuffing the head before the last round is closed
- Placing eyes too far apart, changing the bunny’s expression
- Rushing the blush step, which can leave harsh, uneven patches
Uses & Benefits
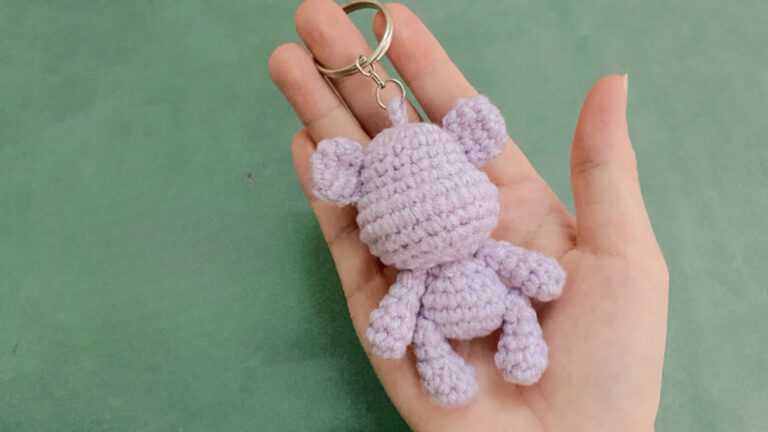
The strawberry bunny amigurumi works as more than a simple toy. Because of its compact size, it fits neatly into bags, on desks, or on nursery shelves. It also introduces new crocheters to shaping techniques without demanding advanced skills. Once finished, it can double as a keychain charm, a plant pot accent, or a small shelf decoration. Since the pattern uses minimal yarn, it also makes an affordable practice project before attempting larger amigurumi designs.
Helpful Beginner Tips
- Count stitches after every round to catch errors early
- Use a stitch marker in a contrasting color for visibility
- Stuff firmly but avoid stretching the stitches too thin
- Keep tension consistent so the fabric stays even
- Practice the magic ring separately before starting the full head
Assembly
Starting the Magic Ring
Work begins with a magic ring, pulled snug around the fingers as shown in the first photo. A hook draws the working yarn through the loop to anchor the first stitches. This tight center prevents any gap once the round is complete. From here, single crochet stitches build outward evenly.
Shaping the Head
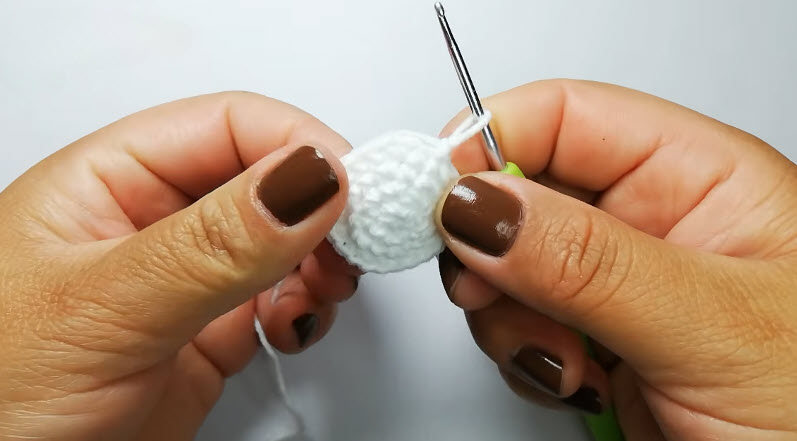
As rounds continue, the shape rounds into a small ball, visible in the second photo where the stitches curve smoothly under the hook. Increases in early rounds widen the shape, then decreases narrow it back down. This gradual shaping creates the classic amigurumi sphere used for the bunny’s head. Stuffing goes in before the final rounds close the opening.
Crocheting the Ears
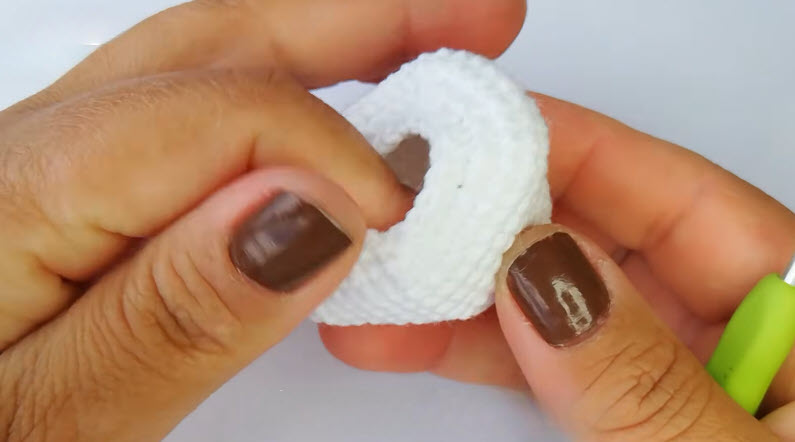
The third photo shows a folded white piece, formed by working flat rows then bending them into a loop shape. This method creates soft, rounded ears that hold their form without wire. Once folded, the edges are stitched or pinched together at the base. These ears then attach neatly to the top of the head.
Making the Strawberry Cap
A separate pink piece, seen in the fourth photo, builds the strawberry-inspired topper. Worked in rounds similar to the head, this small cap tapers slightly toward the top. Once complete, it slides over the crown of the head like a little hat. This detail is what gives the strawberry bunny amigurumi its signature fruity twist.
Adding the Face
The final photo shows the finished head with black eyes placed evenly, a short embroidered mouth, and blush applied with a small brush. Cheeks get a soft pink tint using pastel chalk or blush powder, blended gently for a natural look. This last step brings the character fully to life.
Where Can You Use This?
Because of its small scale, the strawberry bunny amigurumi suits many everyday spots. It can dangle from a backpack zipper or clip onto a keyring. It can also sit on a windowsill, tuck into a gift basket, or rest on a work desk. Some crafters attach it to a hair clip, while others secure it to a bag strap for a playful accessory.
Why Beginners Will Enjoy This Pattern
New crocheters often gravitate toward this design because it teaches core amigurumi skills in a short project. The stitch count stays manageable, so progress feels quick and rewarding. Since the shapes are small, mistakes are easy to spot and fix. Beginners also appreciate that the finished piece looks polished, even on a first attempt.
Tips and Tricks for Success
Work stitches snugly to avoid gaps where stuffing might show through. Then, before joining pieces, lay them out to check proportions. Adjusting eye placement slightly can change the bunny’s expression, so test positions before securing them. Once the parts are stitched together, a light steam or gentle reshaping can smooth uneven stitches.
Why This Pattern Is Trending
Amigurumi that blend two themes, like fruit and animals, have grown popular across craft communities. The strawberry bunny amigurumi captures this trend by combining cuteness with a fresh visual twist. It photographs well for social sharing, and its small size makes it quick to complete and gift.
- Combines two popular amigurumi themes in one design
- Fits current trends toward pastel, fruit-inspired crochet
- Small size makes it easy to share and gift quickly
FAQ
What yarn weight works best for this pattern?
Worsted weight cotton or acrylic yarn gives the cleanest stitch definition for this small-scale design.
Can safety eyes be used instead of embroidery?
Yes, safety eyes work well and add a slightly more finished, toy-like appearance.
How much yarn is needed for one piece?
A single skein of white and a small amount of pink yarn typically covers the entire project.
Is this Crochet Strawberry Bunny Amigurumi suitable for complete beginners?
Yes, the low stitch count and simple shaping make it approachable for first-time amigurumi crocheters.
Color & Yarn Variations
While white and pink form the classic combination, other palettes work just as well. Cream yarn paired with a deeper rose cap gives a softer, vintage feel. Alternatively, lavender or mint accents can create a spring-themed version. Variegated yarn also adds subtle texture without changing the pattern structure.
Conclusion
From the first magic ring to the final blush stroke, this project builds steadily into a charming keepsake. Each step, shown clearly across the photos, guides crafters through shaping, folding, and detailing. Once finished, the Crochet Strawberry Bunny Amigurumi becomes a sweet addition to any handmade collection, ready to gift or keep.