Kawaii Crochet Bucket Cat Hat Pattern You Can Make Today
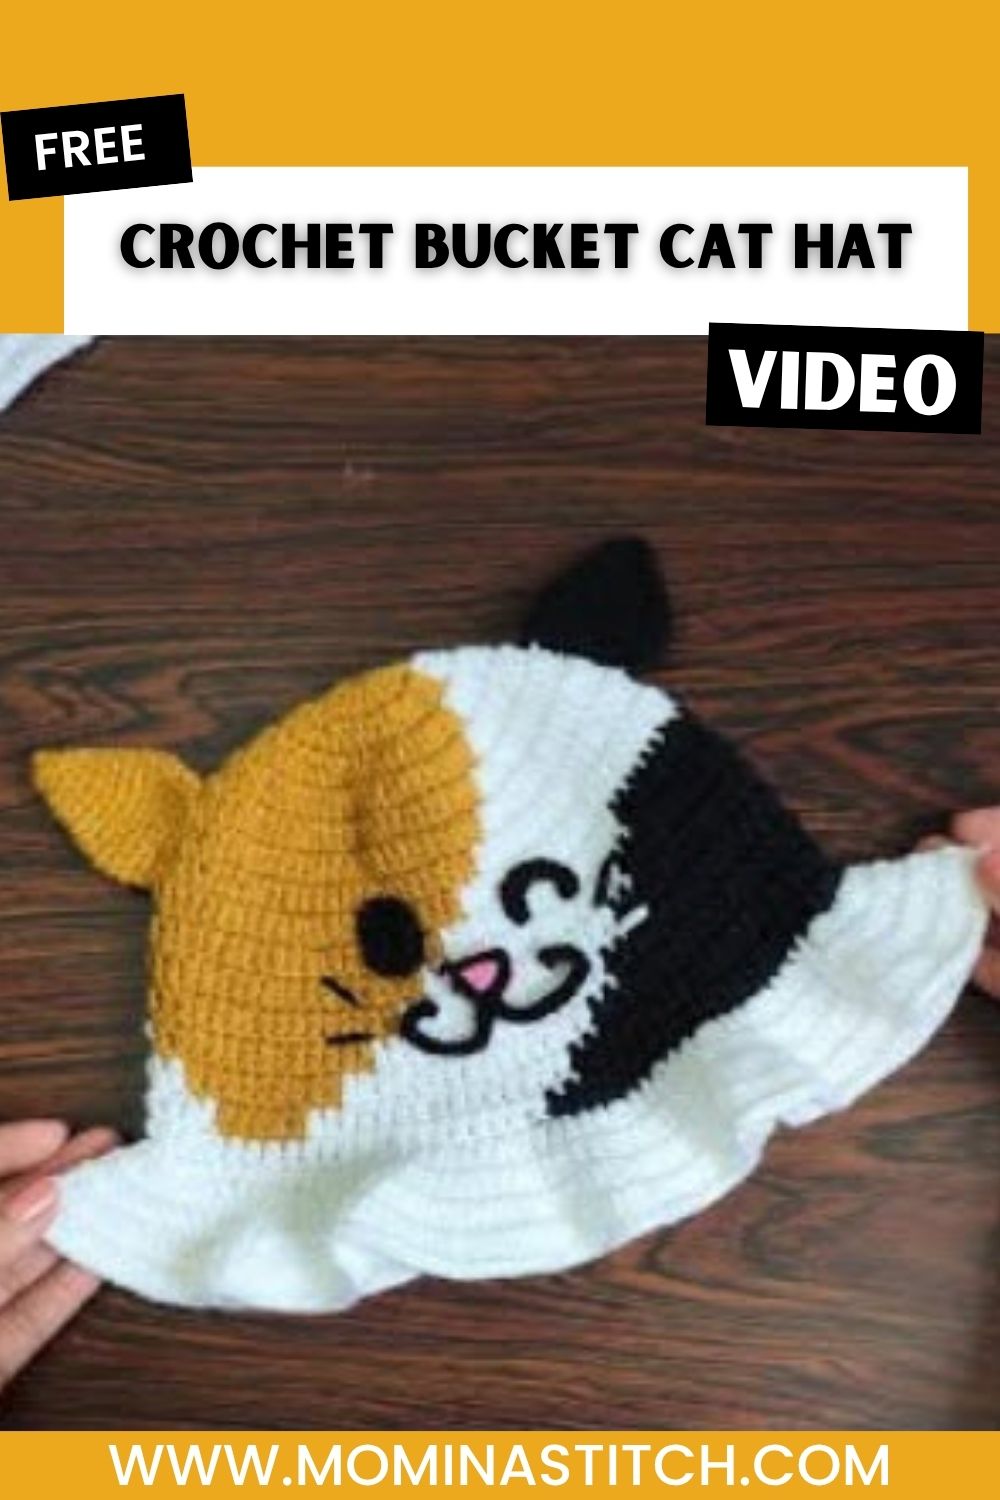
Kawaii Crochet Bucket Cat Hat Pattern You Can Make Today turns a simple bucket hat into an adorable cat-inspired piece, charming, cozy, and full of personality. Colorful ears, an embroidered cat face, and soft texture give it a distinctive character, while the simple shape and lovely details make it an enjoyable, satisfying crochet project.
Kawaii Crochet Bucket Cat Hat turns a simple bucket hat into an adorable, distinctive cat-inspired piece. Its base structure builds up in even stitches, while colorful ears and an embroidered cat face give it a standout personality. The Crochet Cat Hat’s soft texture and rounded silhouette keep it comfortable to wear, while the Crochet Bucket Hat Pattern’s simple construction keeps it both lovely and achievable.
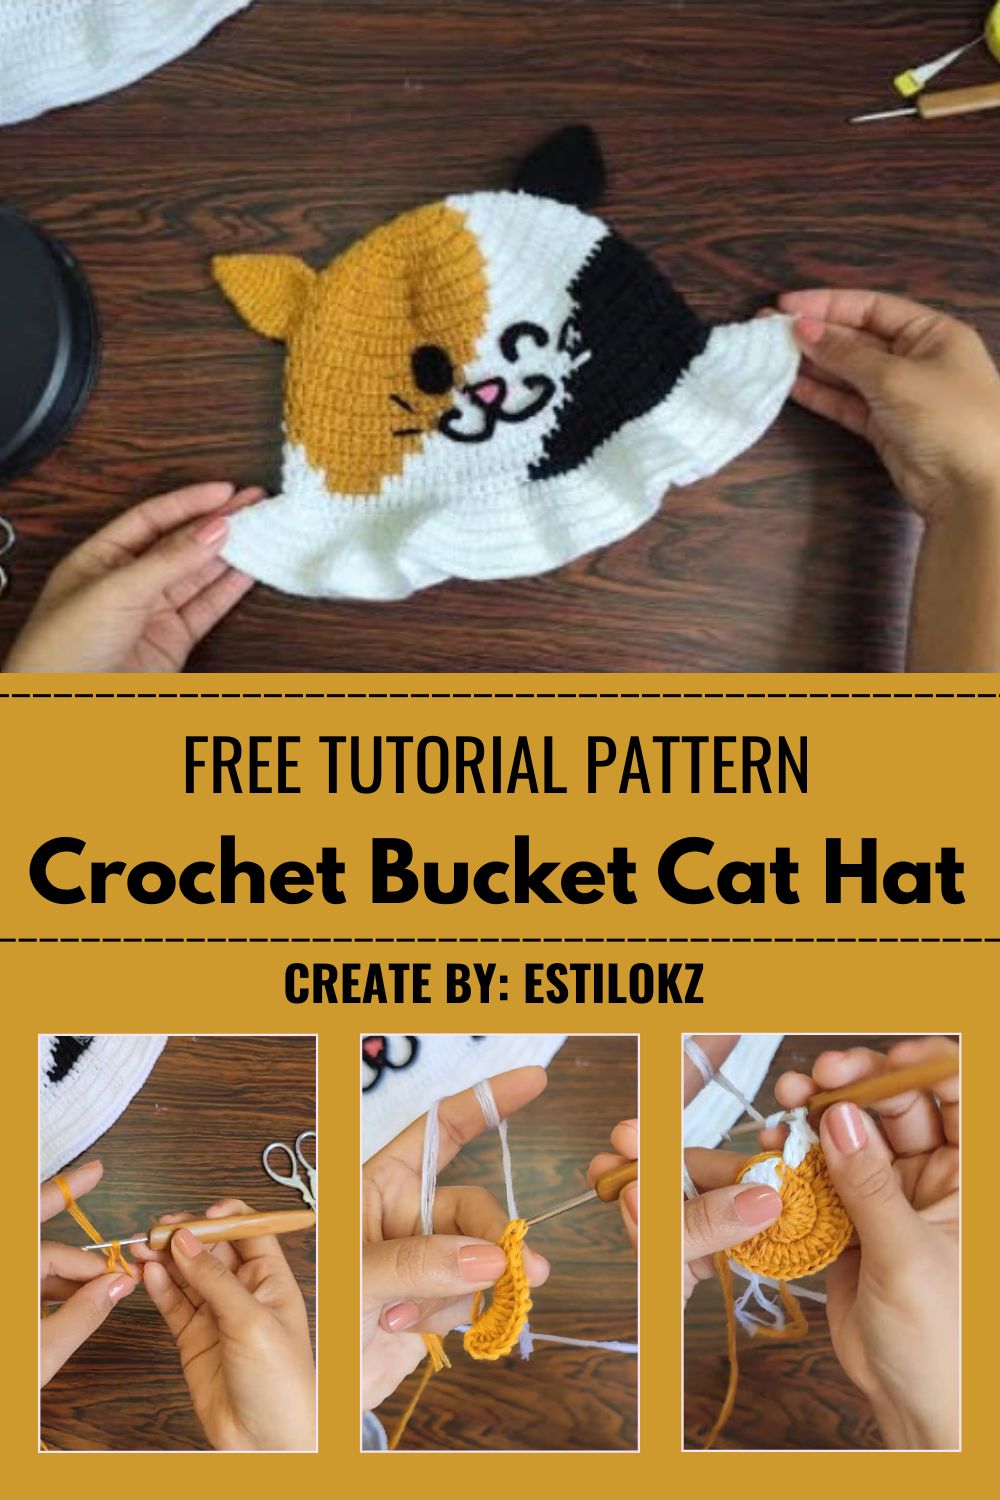
What gives this design its charm is the mix of texture and detail: solid stitches build the sturdy base, while contrasting yarn colors create the illusion of fur patches. Once the brim is folded up, the finished piece looks polished enough to wear anywhere, from weekend errands to casual photo days.
Project Details
- Skill Level: Intermediate (due to color changes and shaping)
- Finished Size: Fits an average adult head, roughly 21–22 inches in circumference
- Estimated Time Required: 5–7 hours total, depending on color-change complexity
- Recommended Yarn Weight: Worsted weight (Medium, 4)
- Crochet Hook Size: 4.5mm–5mm, adjusted to match your yarn’s gauge
Time Box
- Prep Time: 15 minutes for sorting yarn colors and prepping bobbins
- Stitching Time: 4–5 hours for the crown, color patches, and brim
- Finishing Time: 45–60 minutes for embroidery, ear shaping, and weaving ends
Materials Needed
- Worsted weight cotton or cotton-blend yarn in white, orange/yellow, and black
- Small amount of pink yarn or embroidery floss for the nose
- Black embroidery floss for whiskers and facial details
- A 4.5mm–5mm crochet hook
- Tapestry needle for embroidery and weaving in ends
- Stitch markers for tracking rounds
- Sharp scissors
- Measuring tape
Crochet Stitches and Techniques
This pattern relies on a manageable set of core stitches, so nothing here should feel out of reach even for newer crocheters.
- Magic Ring – forms the tight, gap-free starting point for the crown
- Chain Stitch – used at the start of rounds and for small foundation sections
- Single Crochet – the main stitch used throughout the crown and brim
- Increase – widens the crown gradually for a rounded shape
- Color Changes – swaps yarn colors cleanly to create the cat’s markings
- Slip Stitch – joins rounds and closes small sections neatly
- Fastening Off – secures the final stitch before weaving in ends
Pattern Instructions
Work through these steps in order, matching the photos as your visual guide for each stage.
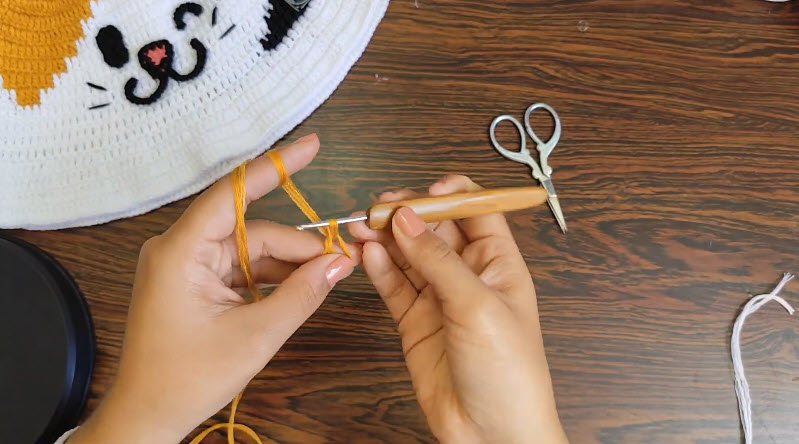
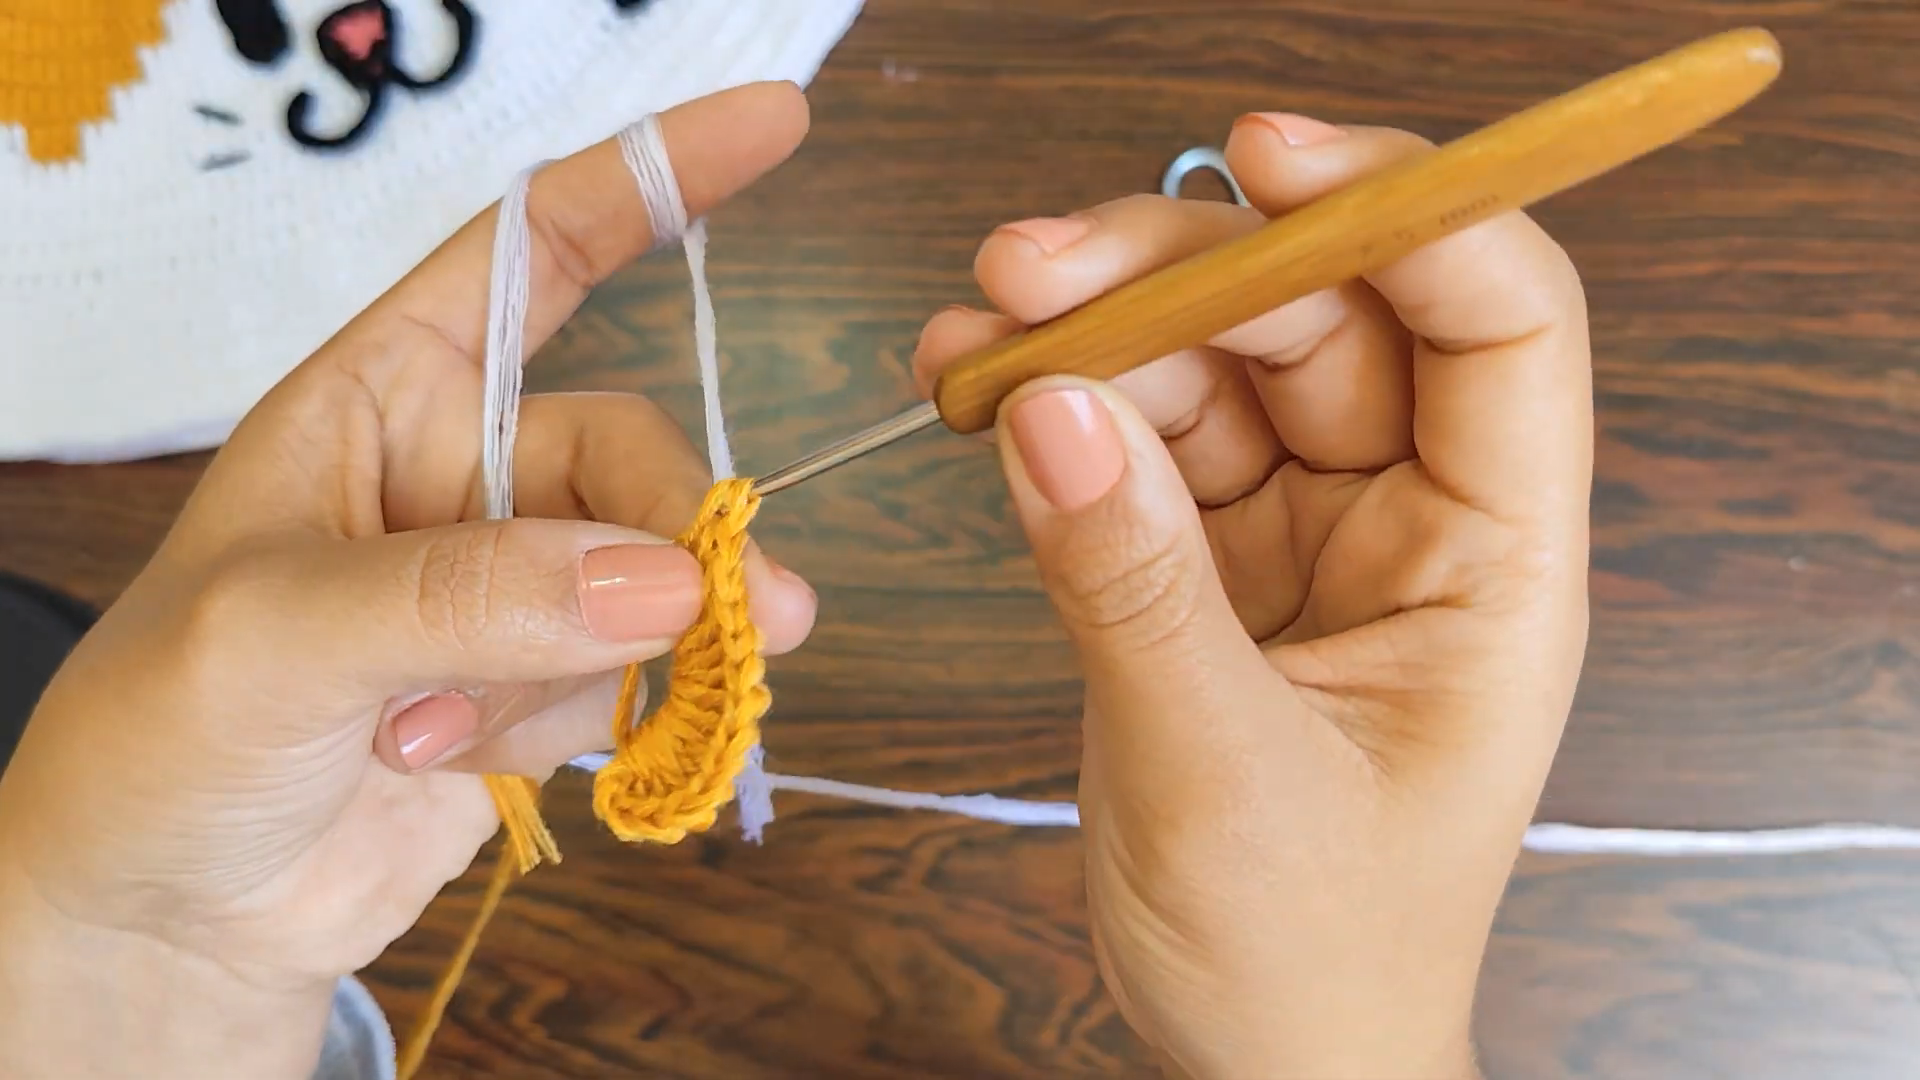
Step 1: Starting the Crown with a Slip Knot
Place a slip knot on your hook using your main crown color. Hold your hook comfortably and keep the loop snug against the shaft, since this small knot sets the tension for everything that follows.
Step 2: Building Your First Rows
Work your first rows in single crochet, keeping your stitches even and close together. At this stage, you are shaping a small color-block section, so count carefully and resist pulling your yarn too tight, which can pucker the fabric.
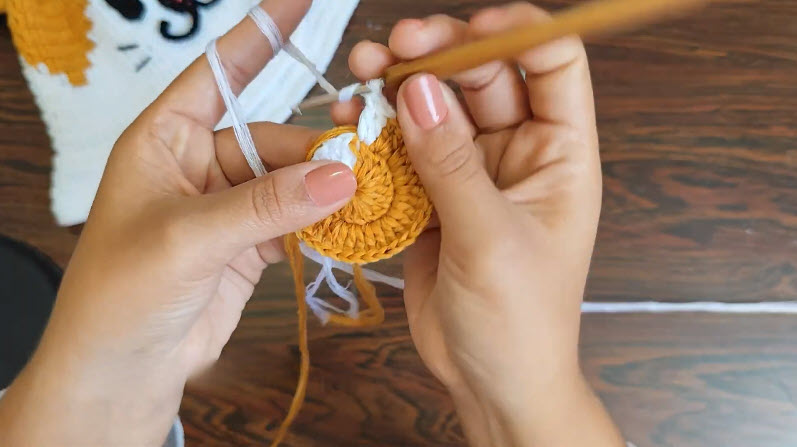
Step 3: Making the Color Change
When your pattern calls for a new shade, drop your working color and pull the new yarn through your last stitch to switch cleanly. Carry the unused color loosely along the back of your work so it stays hidden once the piece is complete.
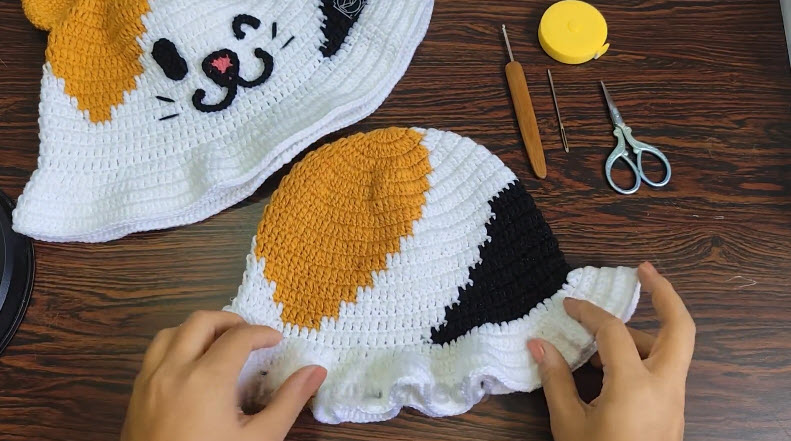
Step 4: Comparing and Completing the Shape
Lay your piece next to a finished reference hat if you have one, checking that your color placement and stitch count match up. This comparison step helps catch sizing issues early, before you move on to joining pieces or adding the brim.
Crocheting the Crown
Continue increasing evenly around your starting ring until the crown reaches roughly 7–8 inches across. Switch to your patch colors at the marked rounds to build the orange and black sections that mimic natural cat coloring.
Shaping the Brim
Once the crown reaches full width, switch to working even rounds without increases for a few rows to form the sides of the hat. Finish with two or three rounds worked into the back loops only, which creates the folded, structured brim.
Adding the Ears
Crochet two small triangular pieces in your patch color, working a few rows of single crochet with a decrease at the top point. Attach these along the crown seam, angled slightly forward, so they sit naturally like a cat’s ears.
Embroidering the Face
Using your tapestry needle and embroidery floss, stitch a small triangle nose in pink, add whisker dots on either side, and outline a simple mouth shape. Keep your stitches loose enough that the fabric underneath does not pucker.
Final Assembly
Weave in every loose end securely, especially where color changes happened, then steam or lightly block the hat to help the brim hold its shape. Try the hat on or check it against your measurements one last time before calling it finished.
Tips for Success
- Keep every stitch the same tension so your rounds stay flat instead of curling.
- Count stitches at the end of each round to catch mistakes early.
- Place a stitch marker at the start of every round so you never lose track.
- Carry unused yarn loosely across the back to avoid puckering the fabric.
- Weave in ends as you go rather than saving them all for the final step.
Personalization Ideas
Alternative Color Combinations
Swap the orange and black patches for grey and white to create a different cat breed, or try soft pastels for a more whimsical look.
Seasonal Versions
Add a pom-pom in a festive color for winter, or use a lighter cotton yarn for a breathable summer version.
Different Facial Expressions
Change the mouth shape or eye placement slightly to give your hat a sleepy, surprised, or cheerful expression.
Accessories
Attach a small bow or flower charm near one ear for extra personality.
Mini and Jumbo Versions
Scale the pattern down for a child’s size or up for an oversized, cozy fit.
Gift and Keepsake Options
Turn a smaller version into a hat for a stuffed animal, or make a matching set for siblings.
Common Mistakes to Avoid
- Skipping stitch counts, which leads to a lopsided or uneven crown
- Pulling color-change stitches too tight, creating small gaps in the pattern
- Forgetting to switch to back-loop-only stitches when shaping the brim
- Rushing the ear attachment, resulting in ears that sit crooked
- Using floss that is too thick for the facial embroidery, which can distort the stitches
Frequently Asked Questions
What yarn weight works best for this hat?
Worsted weight cotton or cotton-blend yarn gives the best stitch definition and holds its shape well for a structured brim.
Can beginners really make this pattern?
Yes, though the color changes require a bit more focus, the individual stitches used throughout are all beginner-level techniques.
How long does this Crochet Bucket Cat Hat project usually take?
Most makers finish in 5 to 7 hours, spread across a few relaxed sessions rather than one long sitting.
Do I need safety eyes or stuffing for this hat?
No, since this is a wearable hat rather than a stuffed toy, no safety eyes or fiberfill are needed.
How do I keep my color changes neat?
Carry your unused yarn loosely along the wrong side of the work and avoid pulling new stitches too tight when switching colors.
Can I adjust the size for a child?
Yes, simply reduce your starting round count and work fewer increase rounds to reach a smaller circumference.
What is the best way to store this hat?
Keep it flat or lightly stuffed with tissue paper to help the brim hold its shape between wears.
Best Ways to Wear and Style Your Kawaii Crochet Bucket Cat Hat
This hat pairs naturally with casual outfits, layering easily over both short and long hairstyles without losing its shape. Try it with a simple tee and jeans for an everyday look, or pair it with pastel outfits to lean fully into the kawaii aesthetic. It also photographs beautifully outdoors, making it a fun piece for seasonal photo shoots or handmade market displays.
Conclusion
The Kawaii Crochet Bucket Cat Hat Pattern brings together color work, simple shaping, and a touch of embroidery to create something genuinely fun to wear. Every stage, from the first slip knot to the final woven-in end, builds skills you can carry into future colour-block projects. Permit yourself to go slow through the color changes, since that patience is exactly what makes the finished hat look so clean. Once you finish your own version, share it with fellow crocheters and enjoy wearing an entirely handmade piece.