Crochet Dyson Airwrap Storage Bag Pattern with Hand Sewing
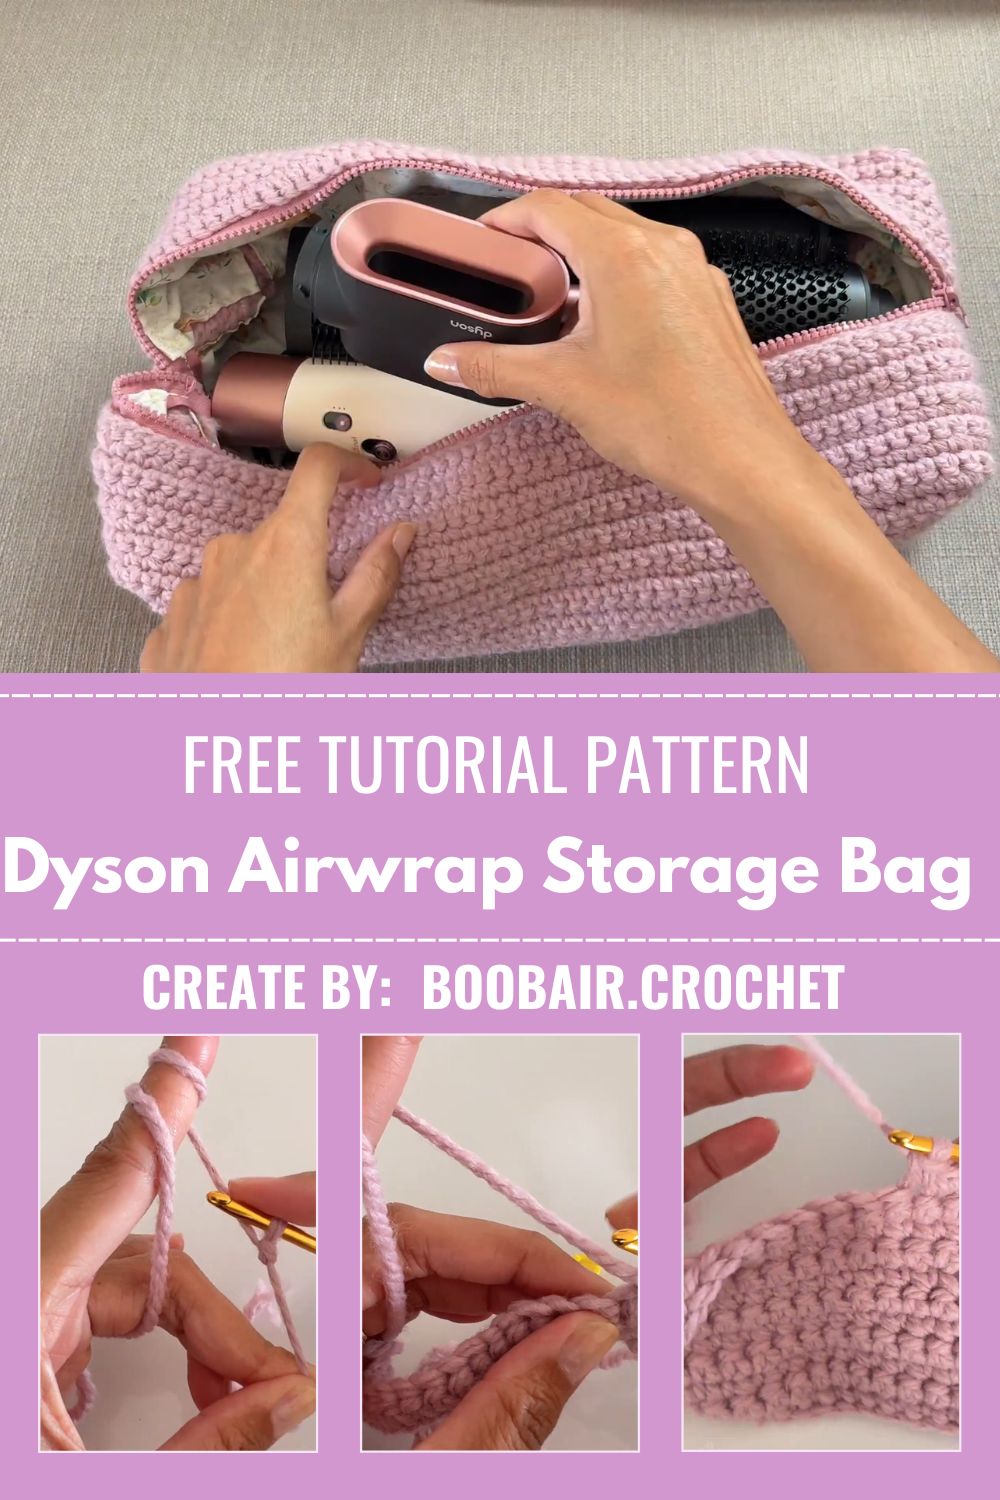
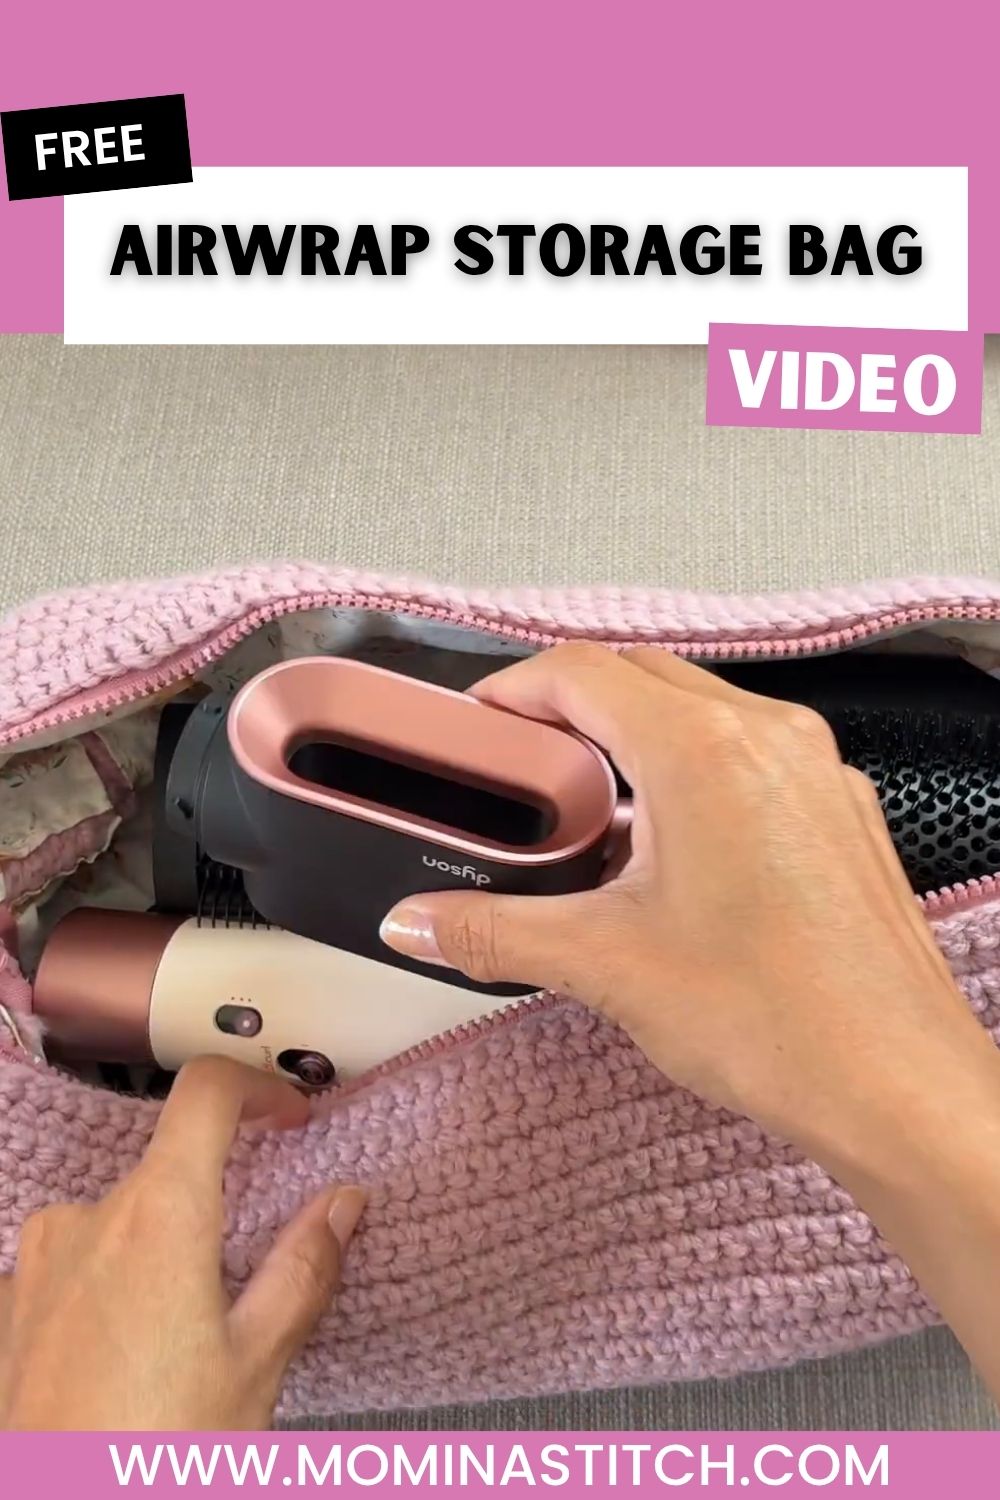
Every gadget lover needs a safe spot for their styling tools, and that’s exactly what this project delivers. Crochet Dyson Airwrap Storage Bag This soft, handmade pouch keeps your Airwrap attachments protected, tangle-free, and easy to find, making it a practical crochet project you will actually use every single day.
This Crochet Dyson Airwrap Storage Bag pattern uses simple single crochet stitches to build a sturdy rectangular panel, then relies on hand sewing to shape it into a padded pouch. It is a beginner-friendly project that turns basic stitches into a functional, good-looking accessory for your vanity or travel bag using an easy hand sewing finish.
What makes this pattern special is its dense, tight fabric that holds its shape without stiffener spray, plus a simple assembly method anyone can hand sew in a single evening.
Skill Level & Time Box
This pattern is rated Beginner-Friendly. If you know how to chain and single crochet, you can complete this bag without any trouble.
Time Box:
- Prep time (gathering supplies, measuring): 10 minutes
- Stitching time (crocheting the panel): 2 to 3 hours
- Finishing time (folding, hand sewing, weaving ends): 25 to 35 minutes
Materials and Tools You’ll Need
- Worsted or aran weight yarn (choose a soft, sturdy cotton-acrylic blend for best hold)
- 5.5mm or 6mm crochet hook
- Yarn needle for weaving in ends
- Sewing needle and matching thread for hand sewing the seams
- Sharp scissors
- Measuring tape
- Stitch markers (optional, but helpful for tracking rows)
Key Techniques Used in This Pattern
- Foundation chain to start the base of the panel
- Single crochet stitch worked in tight, even rows for a dense fabric
- Row counting and turning to keep edges straight
- Hand sewing seam (a simple whip stitch works well) to close the sides of the bag
- Folding technique to transform a flat panel into a three-dimensional pouch
Step-by-Step Crochet Dyson Airwrap Storage Bag Guide
Step 1: Start Your Foundation Chain
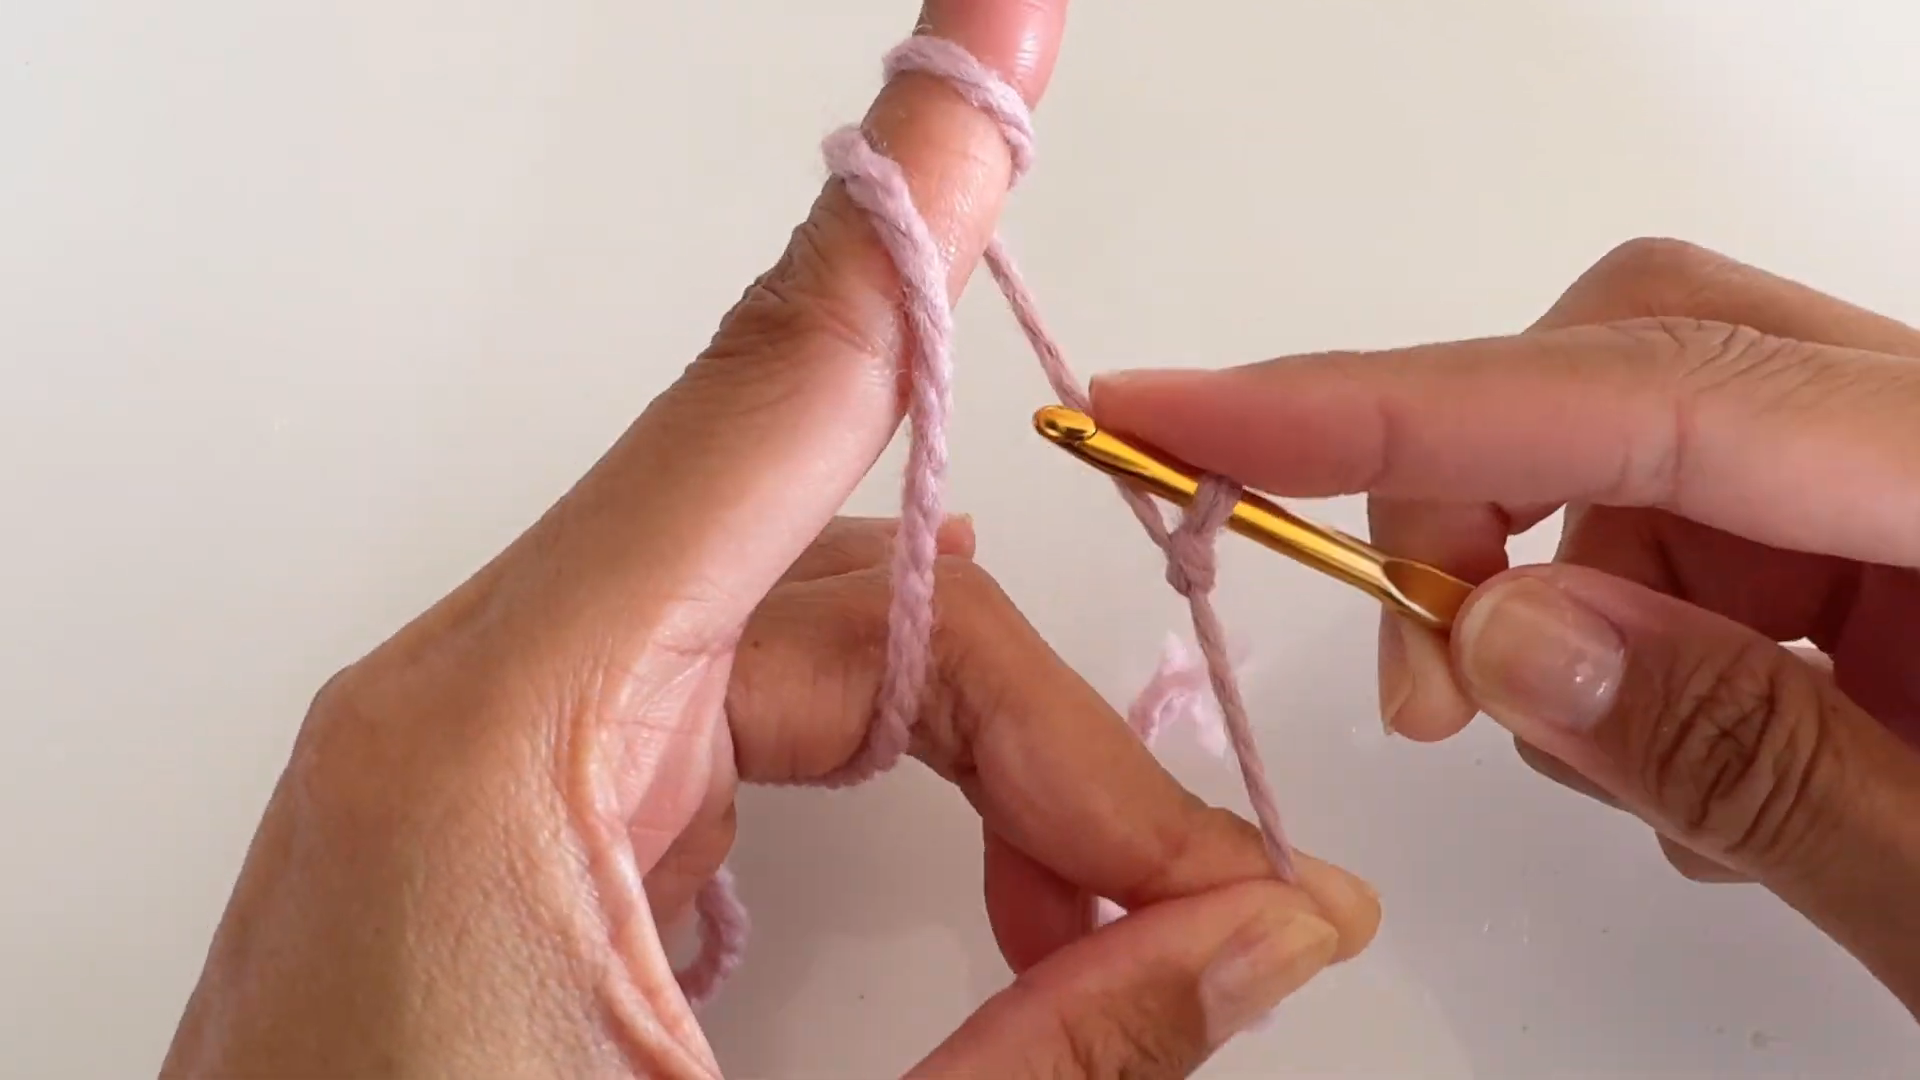
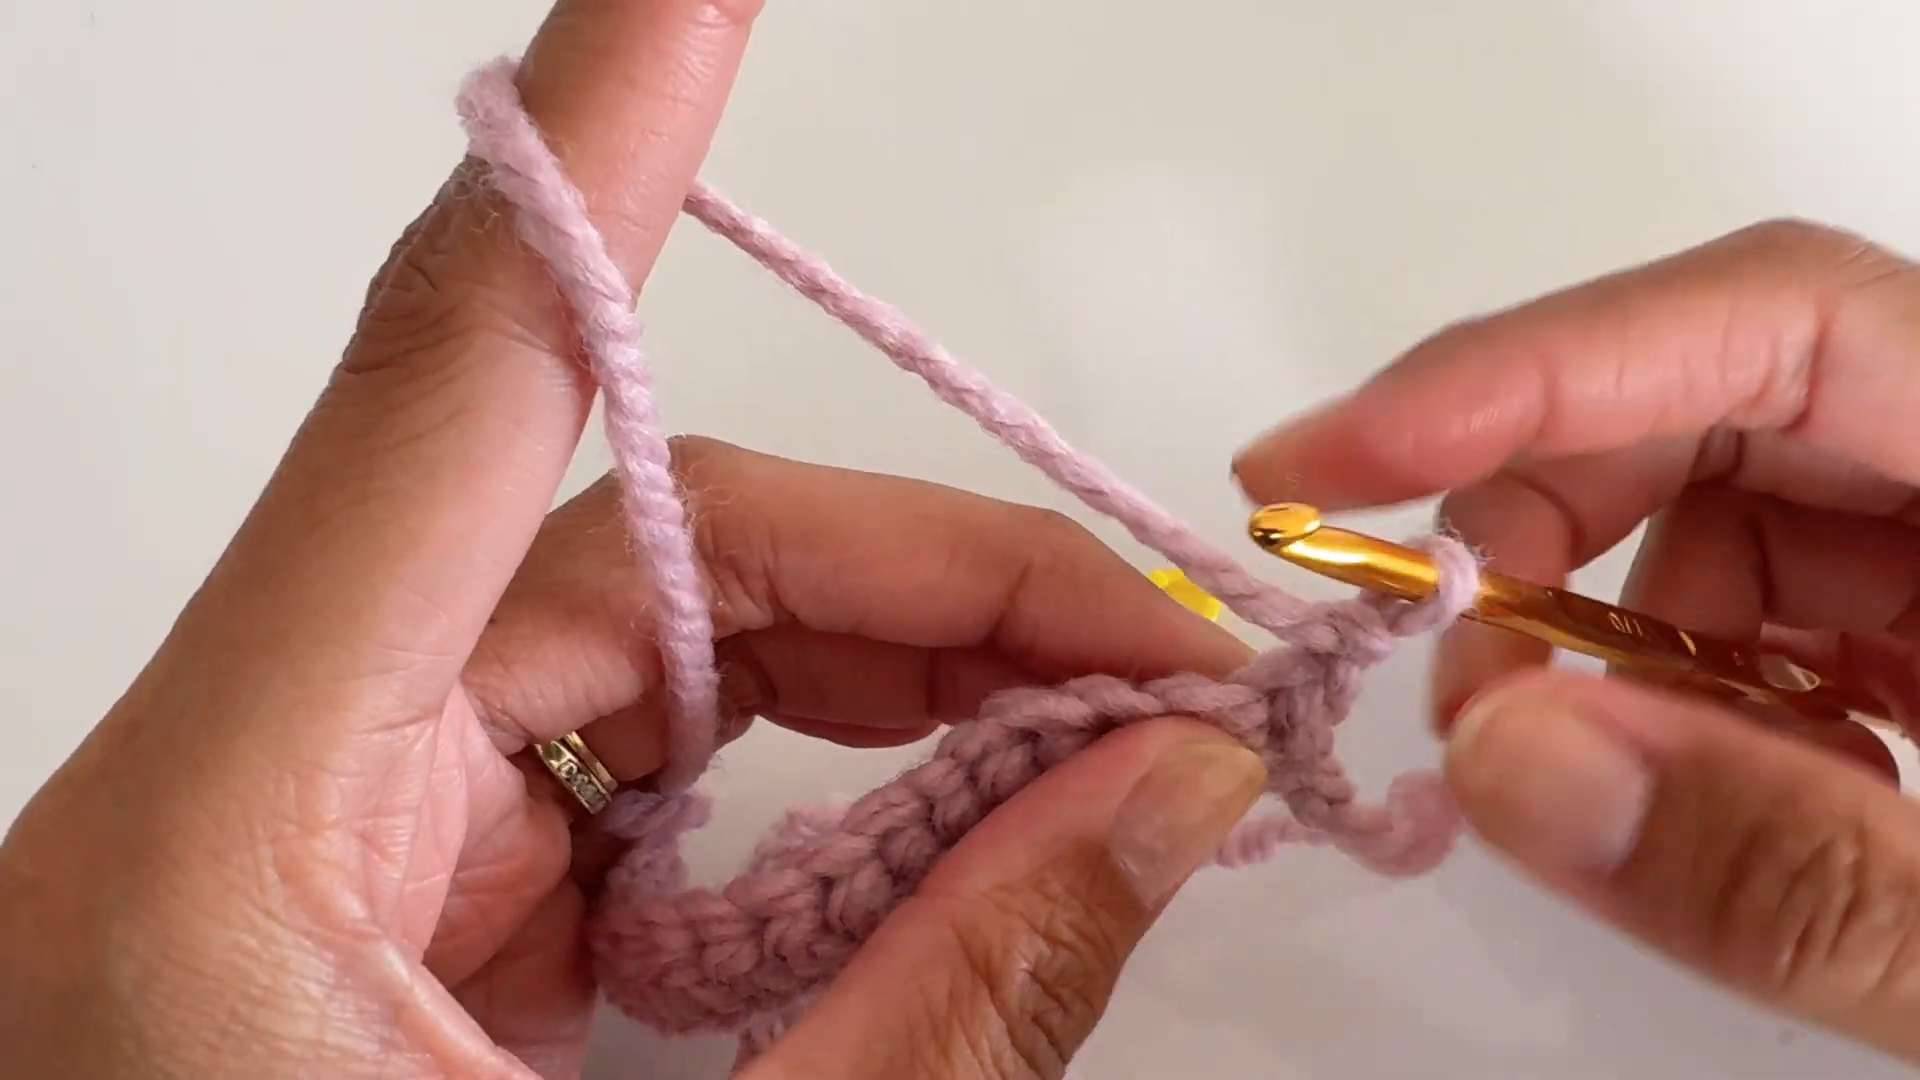
Begin with a slip knot on your hook, then chain the number of stitches needed to match your desired bag width. Hold the yarn tension around your finger as shown, keeping your chain loose enough that your hook slides through easily but tight enough to stay even. This foundation row sets the width for your entire storage bag panel.
Step 2: Work Your First Row of Single Crochet
Insert your hook into the second chain from the hook and work a single crochet stitch across the row. Keep your tension steady and your stitches uniform in height. This first row can feel a little wobbly, but it firms up quickly once you add a few more rows on top.
Step 3: Continue Building the Panel in Single Crochet
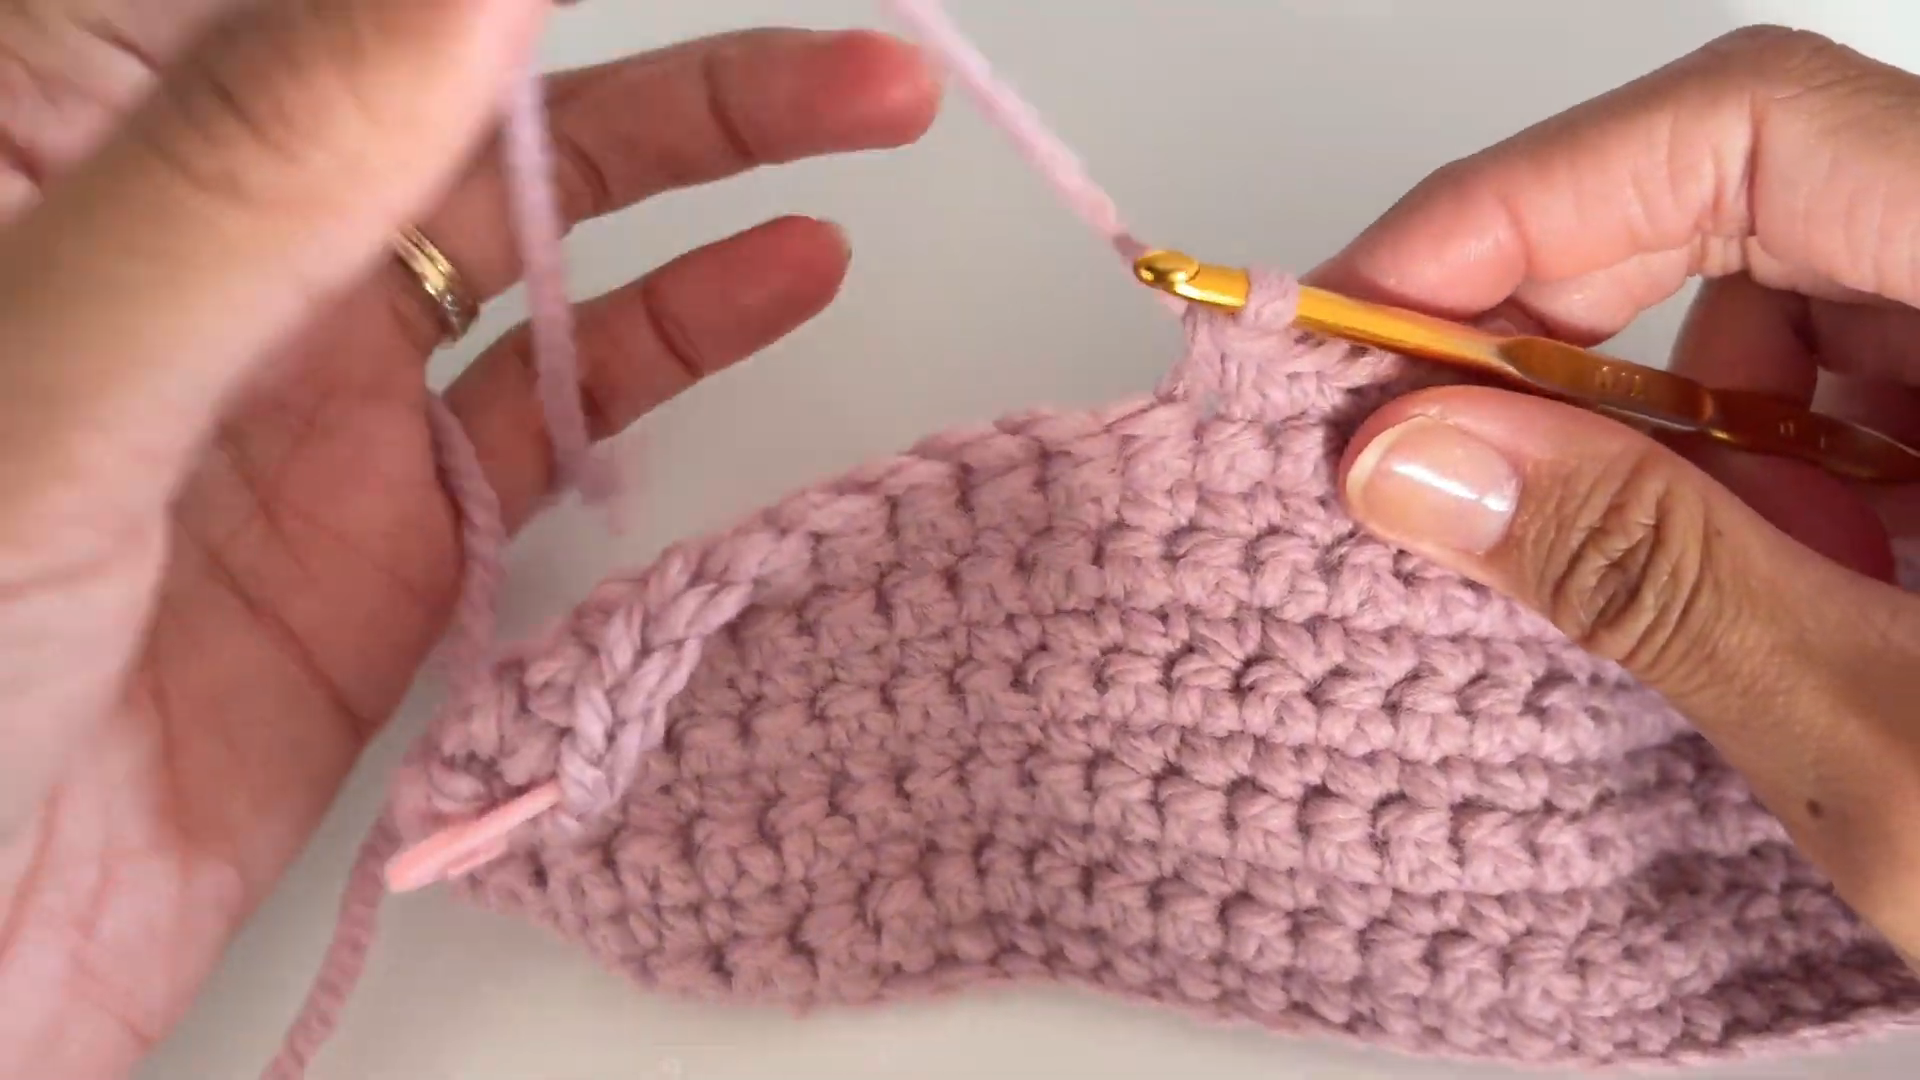
Turn your work at the end of each row and continue in single crochet, row after row. You will start to see a dense, textured fabric forming, which is exactly the sturdy structure you want for a storage bag that needs to hold its shape and protect your styling tools.
Step 4: Check Your Panel Size
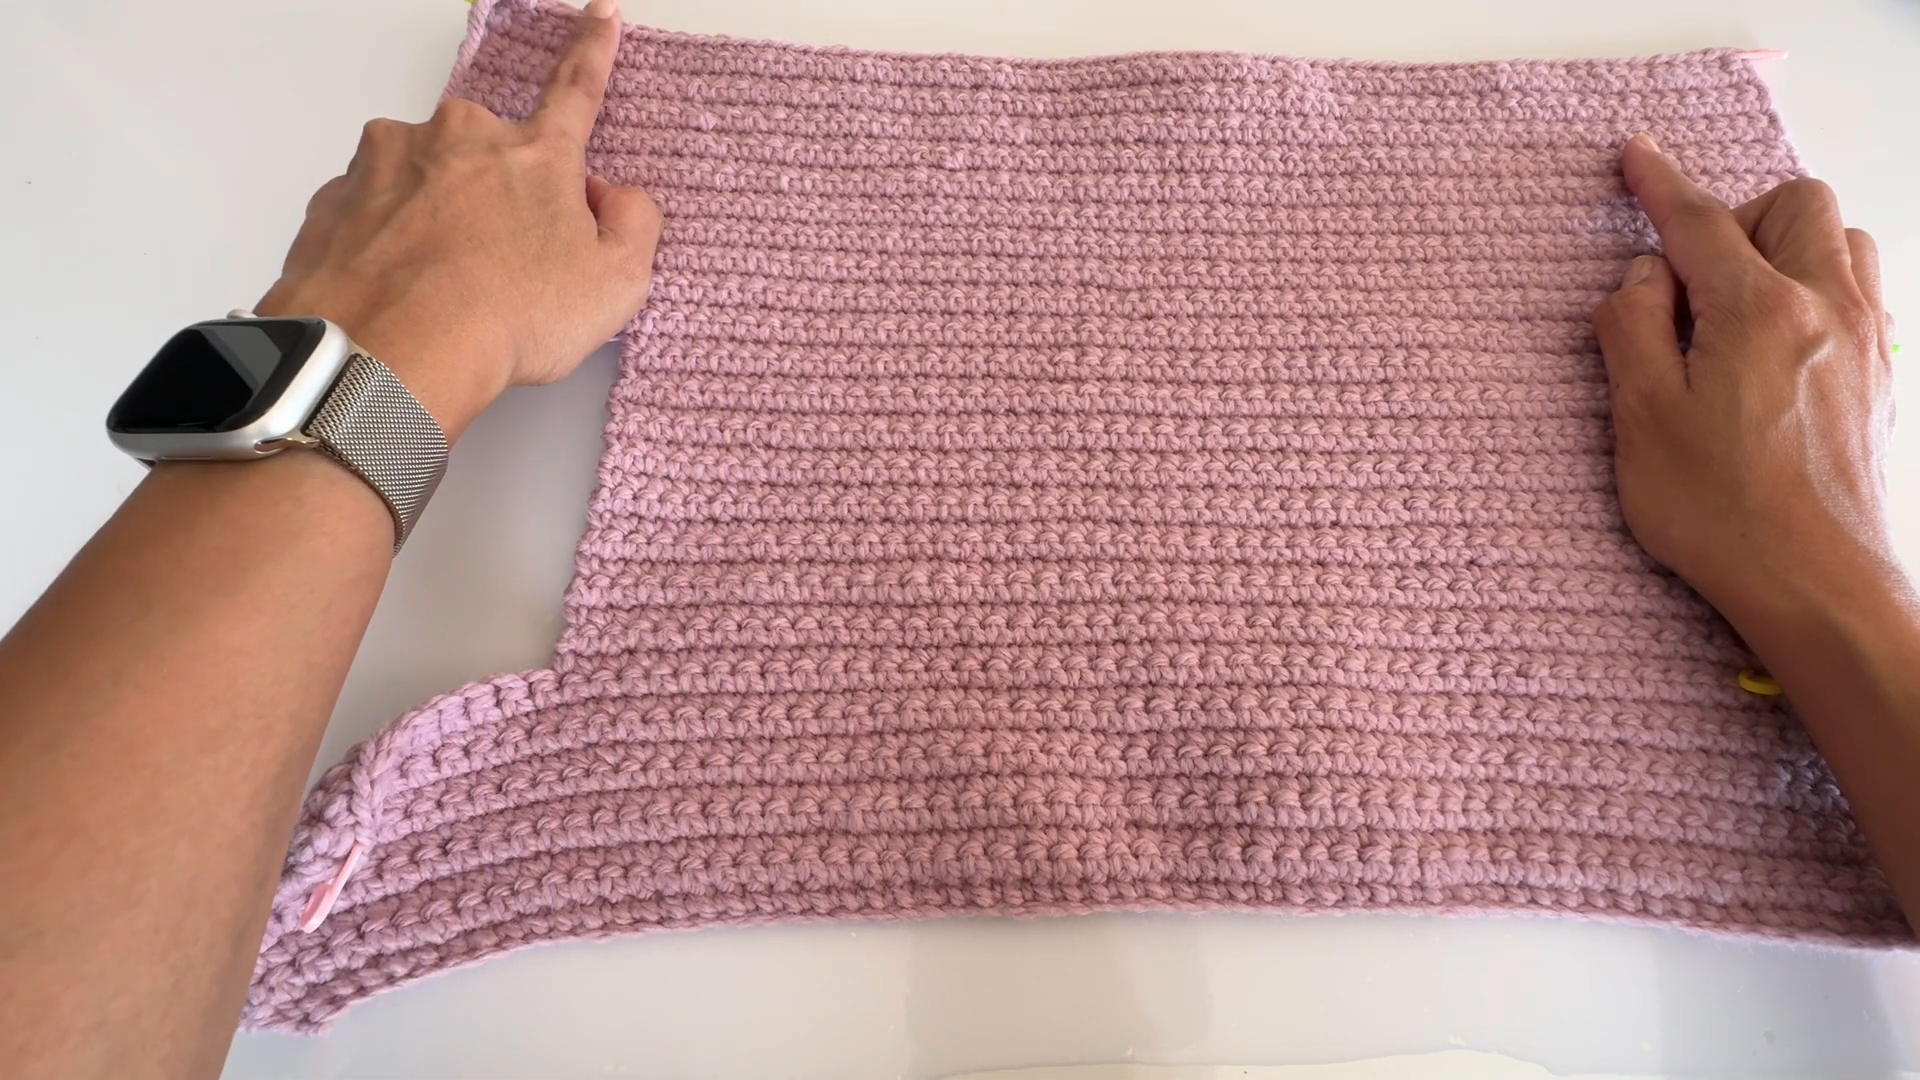
Once your rectangle reaches your target length, lay it flat and check both the width and length against your measurements. The panel should be large enough to comfortably wrap around your Airwrap attachments with a little extra room for the folded seams. Adjust with a few more rows if needed before fastening off.
Step 5: Fold the Panel Into a Pouch Shape
Fold your finished rectangle in half, right sides together, matching up the bottom and side edges. This fold determines the final shape of your bag, so take a moment to line up the stitches evenly along the sides before moving to the sewing step.
Step 6: Hand Sew the Side Seams
Thread your sewing needle and hand sew along the open side edges using a simple whip stitch. Keep your stitches close together for a secure seam that won’t gap open under the weight of your styling tools. This is the step that turns your flat crochet panel into a real, usable bag.
Step 7: Weave in Ends and Add Finishing Touches
Turn your bag right side out, then weave in any loose yarn tails with your yarn needle. Give the seams a gentle press with your hands to help the bag hold its shape. At this point, you can add a drawstring, button closure, or simple flap if you want extra security for your tools.
Helpful Tips for Beginners
- Use a slightly smaller hook than recommended on your yarn label for a tighter, sturdier fabric
- Count your stitches at the end of every row to avoid accidental increases or decreases
- Practice your whip stitch on a scrap piece before sewing the real seams
- Choose a yarn with some structure rather than a very soft, drapey yarn for better shape retention
Common Mistakes to Avoid
- Skipping gauge checks, which can leave your bag too small or too large for your Airwrap set
- Sewing seams too loosely, causing the bag to gap open under weight
- Forgetting to count turning chains, which throws off your stitch count
- Using yarn that is too thin, resulting in a floppy bag that won’t protect your tools
Customization Ideas
- Add a contrasting color stripe or color-blocked panel for a bolder look
- Sew on a button, snap, or ribbon tie for a secure closure
- Add a lining fabric inside for extra padding and a polished finish
- Personalize with a small crochet tag or initial patch on the front
Gift and Pairing Ideas
This little pouch makes a thoughtful handmade gift on its own, or you can pair it with a matching crochet cosmetic bag or hair accessory pouch for a coordinated set. It also works well tucked into a gift basket alongside other self-care items for birthdays or holidays.
Frequently Asked Questions
What size should my storage bag panel be?
Measure your Airwrap attachments and add a couple of extra inches on each side. Most panels work well between 10 and 14 inches wide and 8 to 10 inches tall before folding.
Can I machine wash this crochet storage bag?
Hand washing is recommended to protect both the stitches and the hand-sewn seams. Lay the bag flat to dry to help it keep its shape.
Do I need to line the bag with fabric?
Lining is optional. A tightly worked single crochet fabric already offers decent protection, but a fabric lining adds extra cushioning if you want more padding.
What yarn weight works best for this pattern?
Worsted or aran weight yarn gives the best balance of sturdiness and softness. Bulkier yarn can also work if you prefer a thicker, more padded bag.
Can beginners really finish this project in one sitting?
Yes, this pattern is designed with beginners in mind. Most crocheters can complete the panel and hand sewing steps within a single afternoon or evening.
How do I keep my seams from stretching out over time?
Use a sturdy whip stitch with doubled thread for extra strength, and avoid overstuffing the bag beyond what the seams can comfortably hold.
Conclusion
This crochet Dyson Airwrap storage bag pattern proves that a few simple stitches and a little hand sewing can create something genuinely useful. From the first foundation chain to the final seam, every step builds toward a sturdy, good-looking pouch that keeps your styling tools organized and protected. Whether you are crocheting one for yourself or making it as a gift, this beginner-friendly project is a satisfying way to combine practical function with handmade charm. Grab your hook and yarn, and give this pattern a try today.