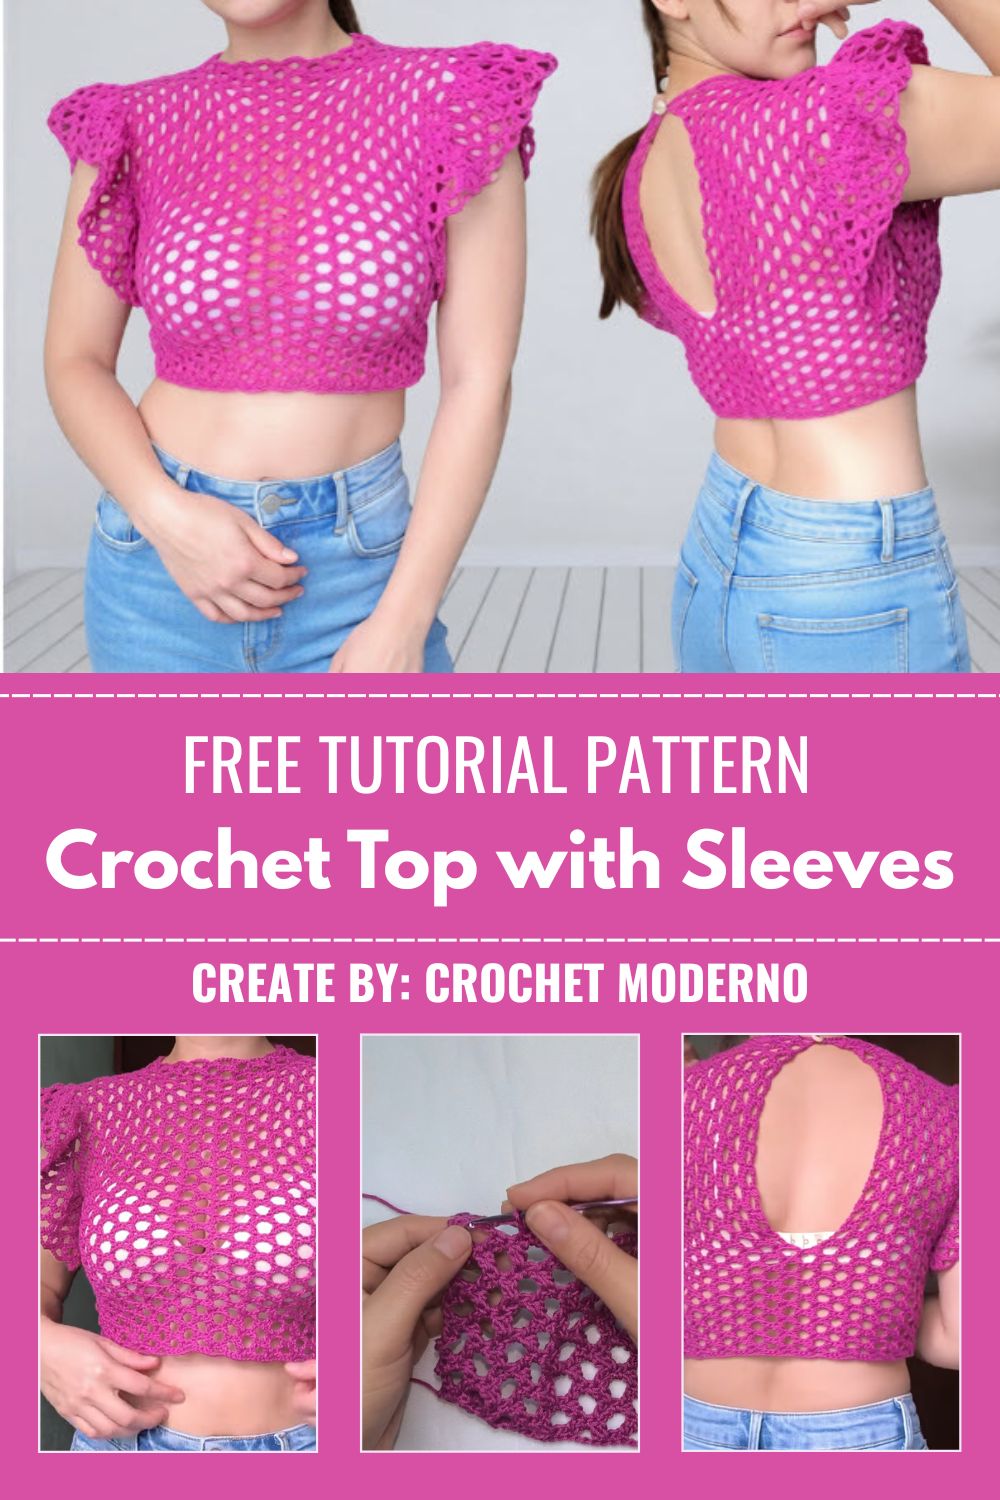
Crochet Top with Sleeves Pattern with Textured Stitchwork
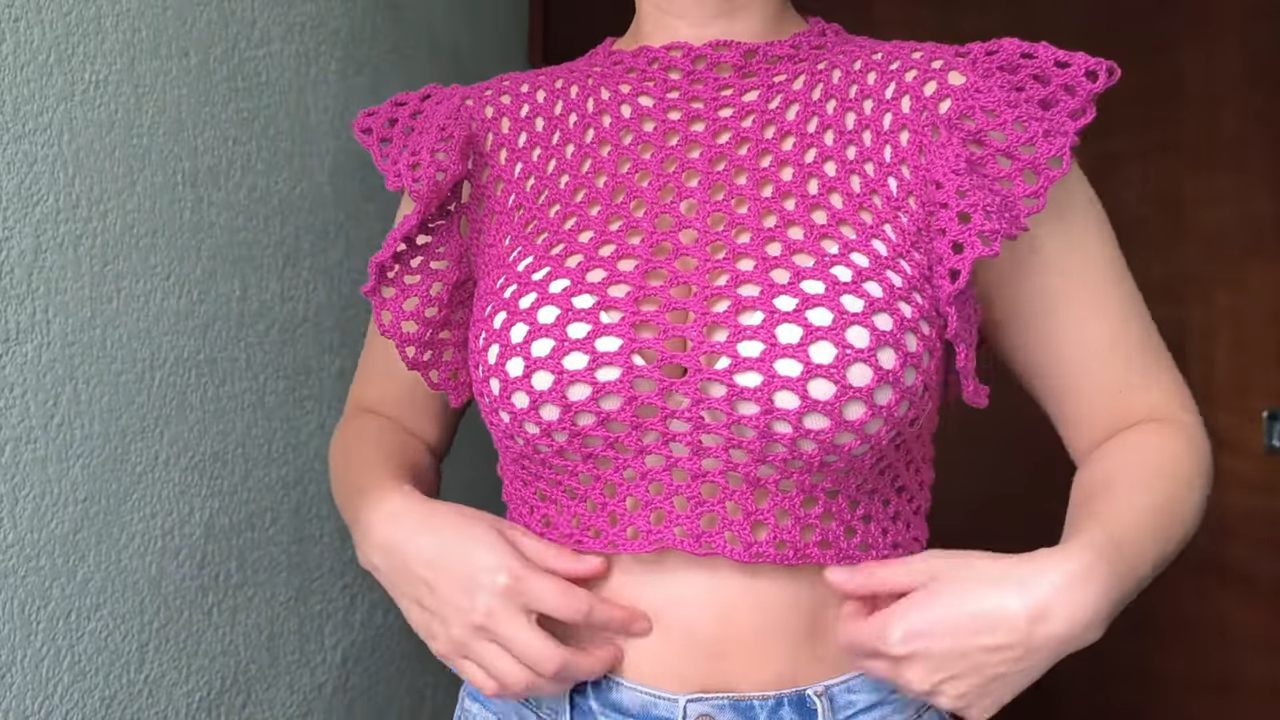
A top that lets a little sunlight peek through its own fabric has a different kind of appeal, and that’s exactly what this design delivers. Crochet Top with Sleeves Pattern with Textured Stitchwork brings that idea to life through a honeycomb-style mesh stitch, pairing an open, breathable body with soft ruffled sleeve caps for a look that feels equally at home at a summer gathering or a casual day out.
This crochet top pattern is built from a single repeating mesh stitch worked consistently across every row, which is what creates its signature honeycomb texture. Rather than switching between multiple stitch types, the entire body relies on this one repeat, making it easier to stay in rhythm once you’ve learned the pattern.
The ruffled sleeve caps are added separately at the shoulder line, giving the top a soft, feminine finish without adding bulk or extra layers.
Skill Level
Intermediate. The mesh stitch repeat is manageable once learned, but keeping consistent spacing across dozens of rows takes more focus than a basic beginner project.
Materials You’ll Need
- Medium weight yarn in your chosen top color (cotton or a cotton-blend works best for structure and breathability)
- A crochet hook sized to match your yarn weight
- A yarn needle for weaving in ends
- Scissors
- Measuring tape for checking width and length as you go
- Stitch markers for tracking your mesh repeats
Techniques Used Throughout This Pattern
- Starting loop and foundation chain: Sets the base width for the entire top.
- Honeycomb mesh stitch repeat: Builds the open, textured body row by row.
- Row tracking: Keeps the mesh pattern aligned as the fabric grows taller.
- Ruffled edge shaping: Forms the soft sleeve caps at the shoulder line.
- Panel shaping: Adjusts width gradually to create a fitted, wearable silhouette.
Step-by-Step Instructions
Step 1: Start With Your First Loop
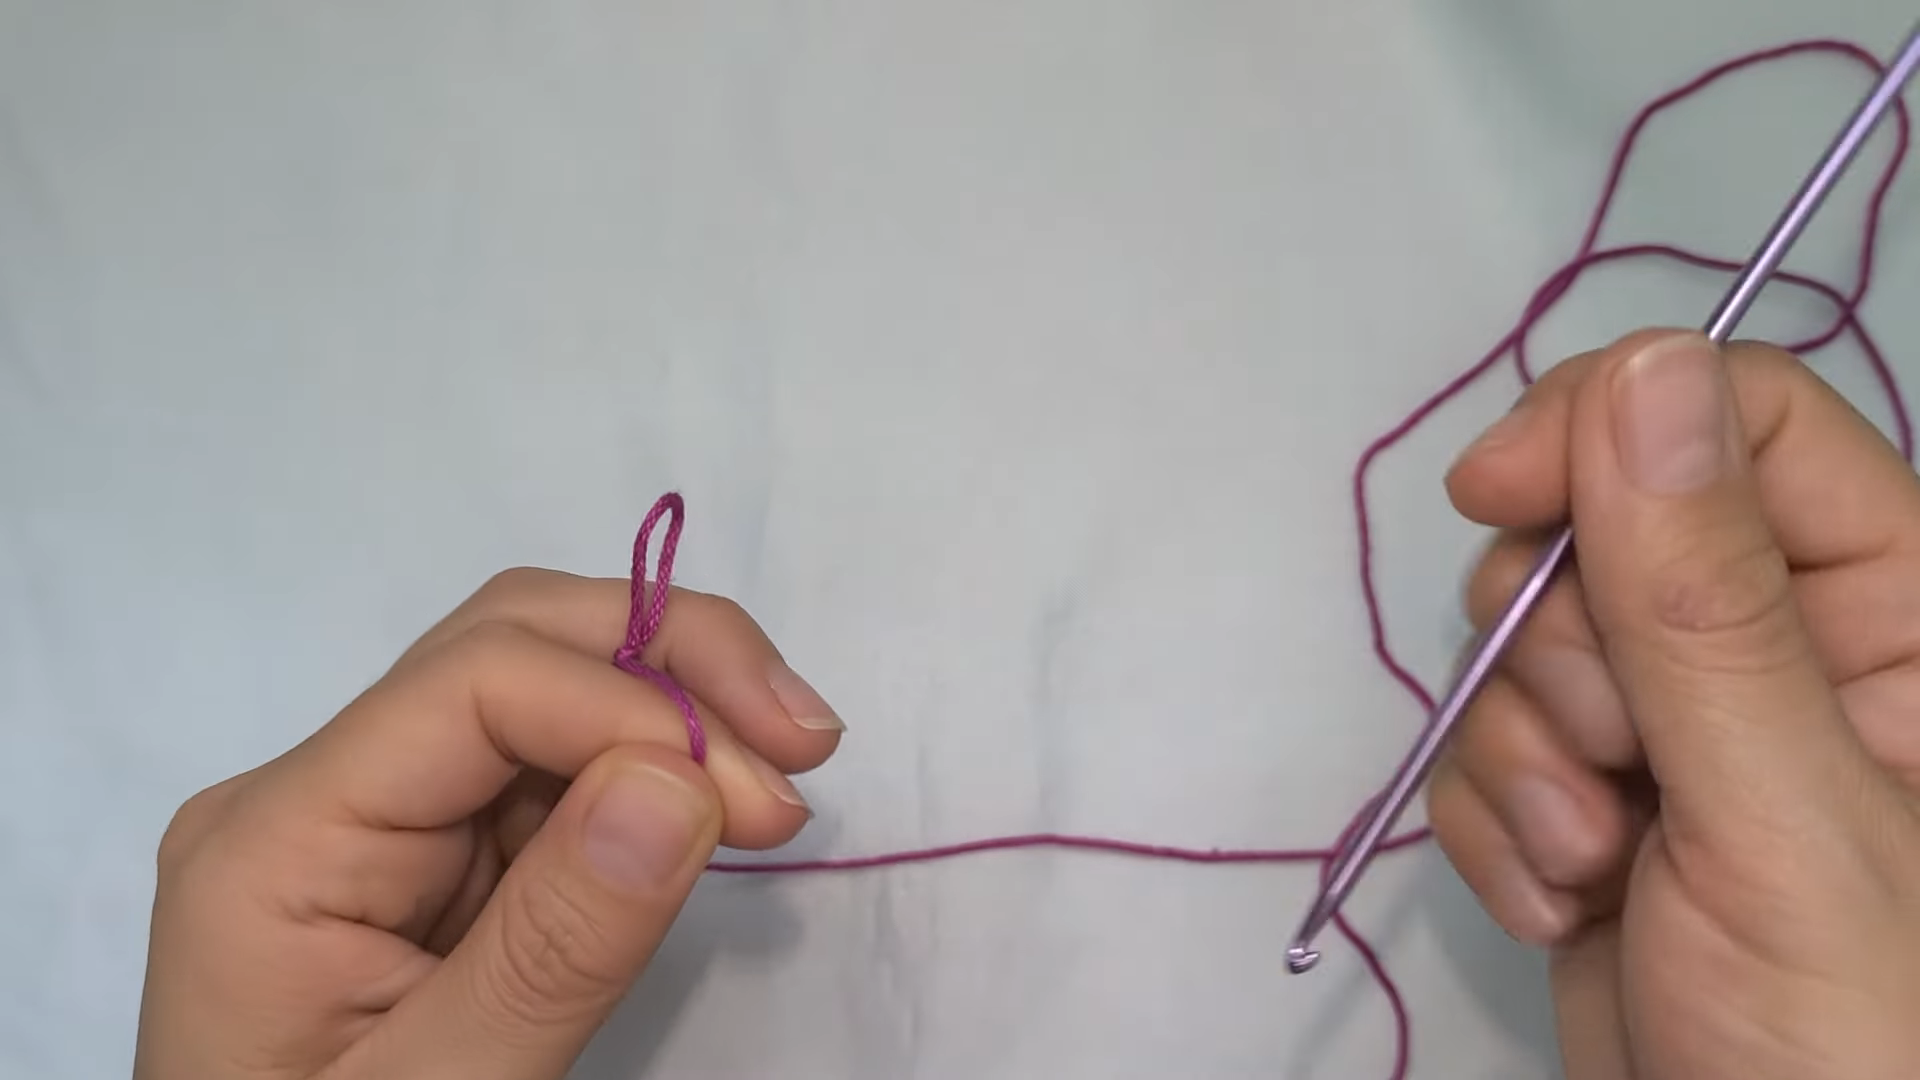
Pull your first loop through with the hook, holding the yarn steady between your fingers so it feeds evenly as you begin. This loop anchors your foundation chain, so keep it snug enough to hold its shape through the first several stitches.
Step 2: Build the Foundation Row
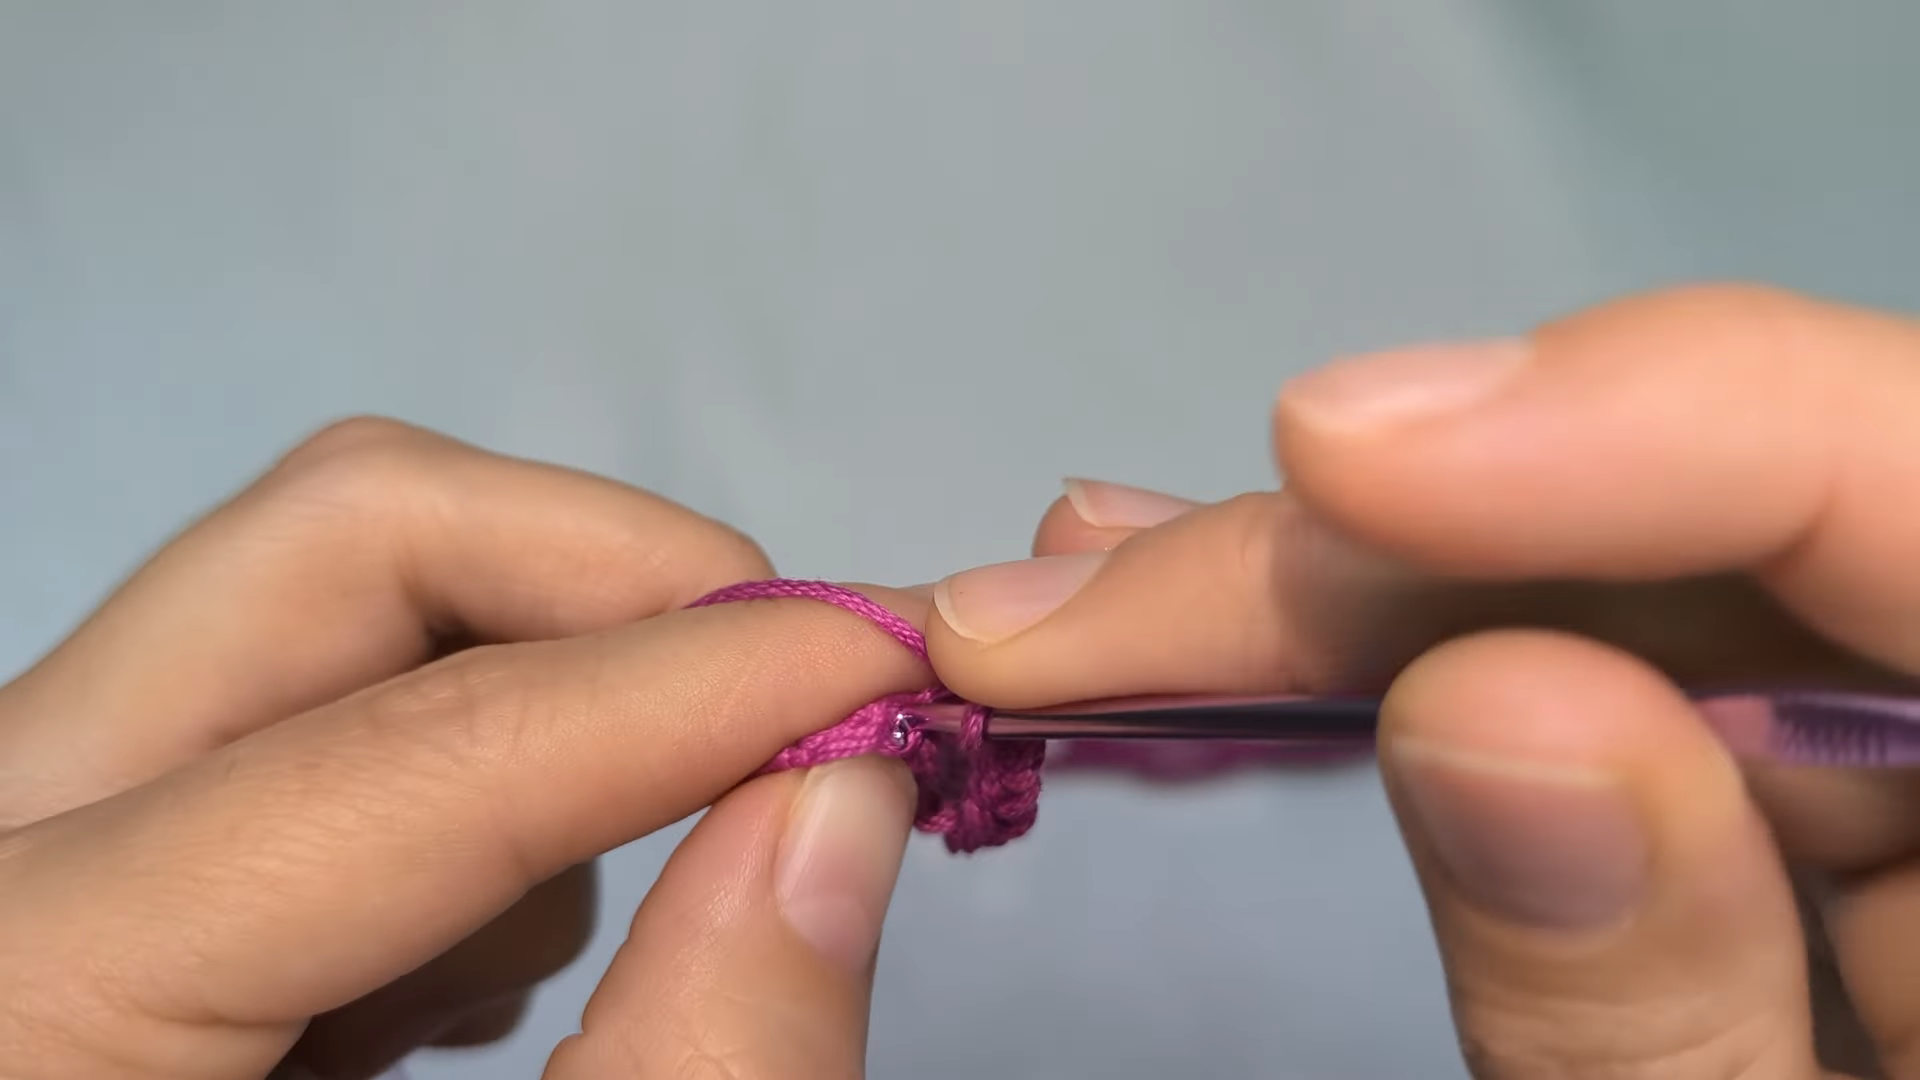
Work your first row of stitches into the chain, establishing the width your top will need across the chest and body. Keep your tension even here, since a foundation row that’s too tight will pull the entire piece narrower than planned.
Step 3: Begin the Honeycomb Mesh Pattern
Start repeating the mesh stitch group across your row, working each repeat consistently to form the open, honeycomb-style texture. Count your repeats at the end of every row so the pattern stays aligned as the fabric continues to grow.
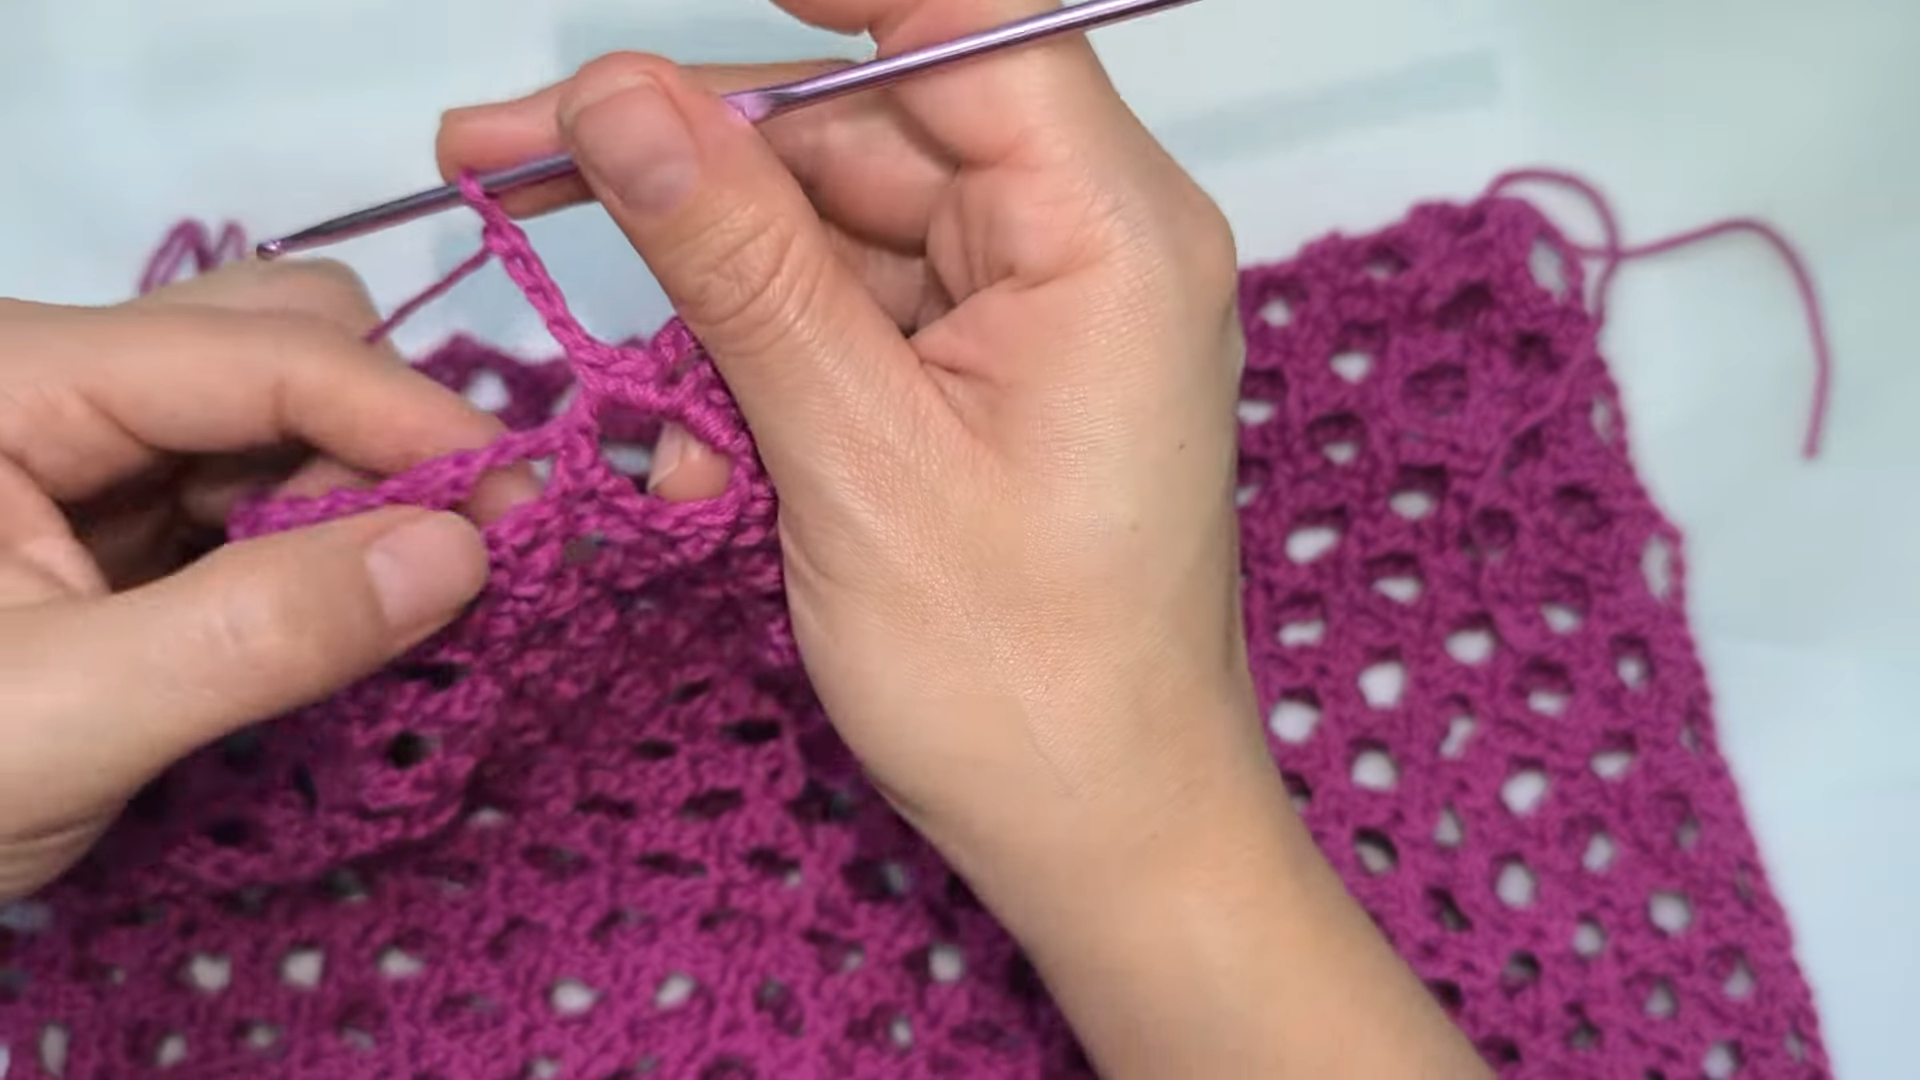
Step 4: Continue Building the Body
Keep working the mesh repeat row after row until your panel reaches the length you need, checking your width periodically against your body or a size reference. Consistency here matters more than speed, since any dropped repeats will show clearly in the finished texture.
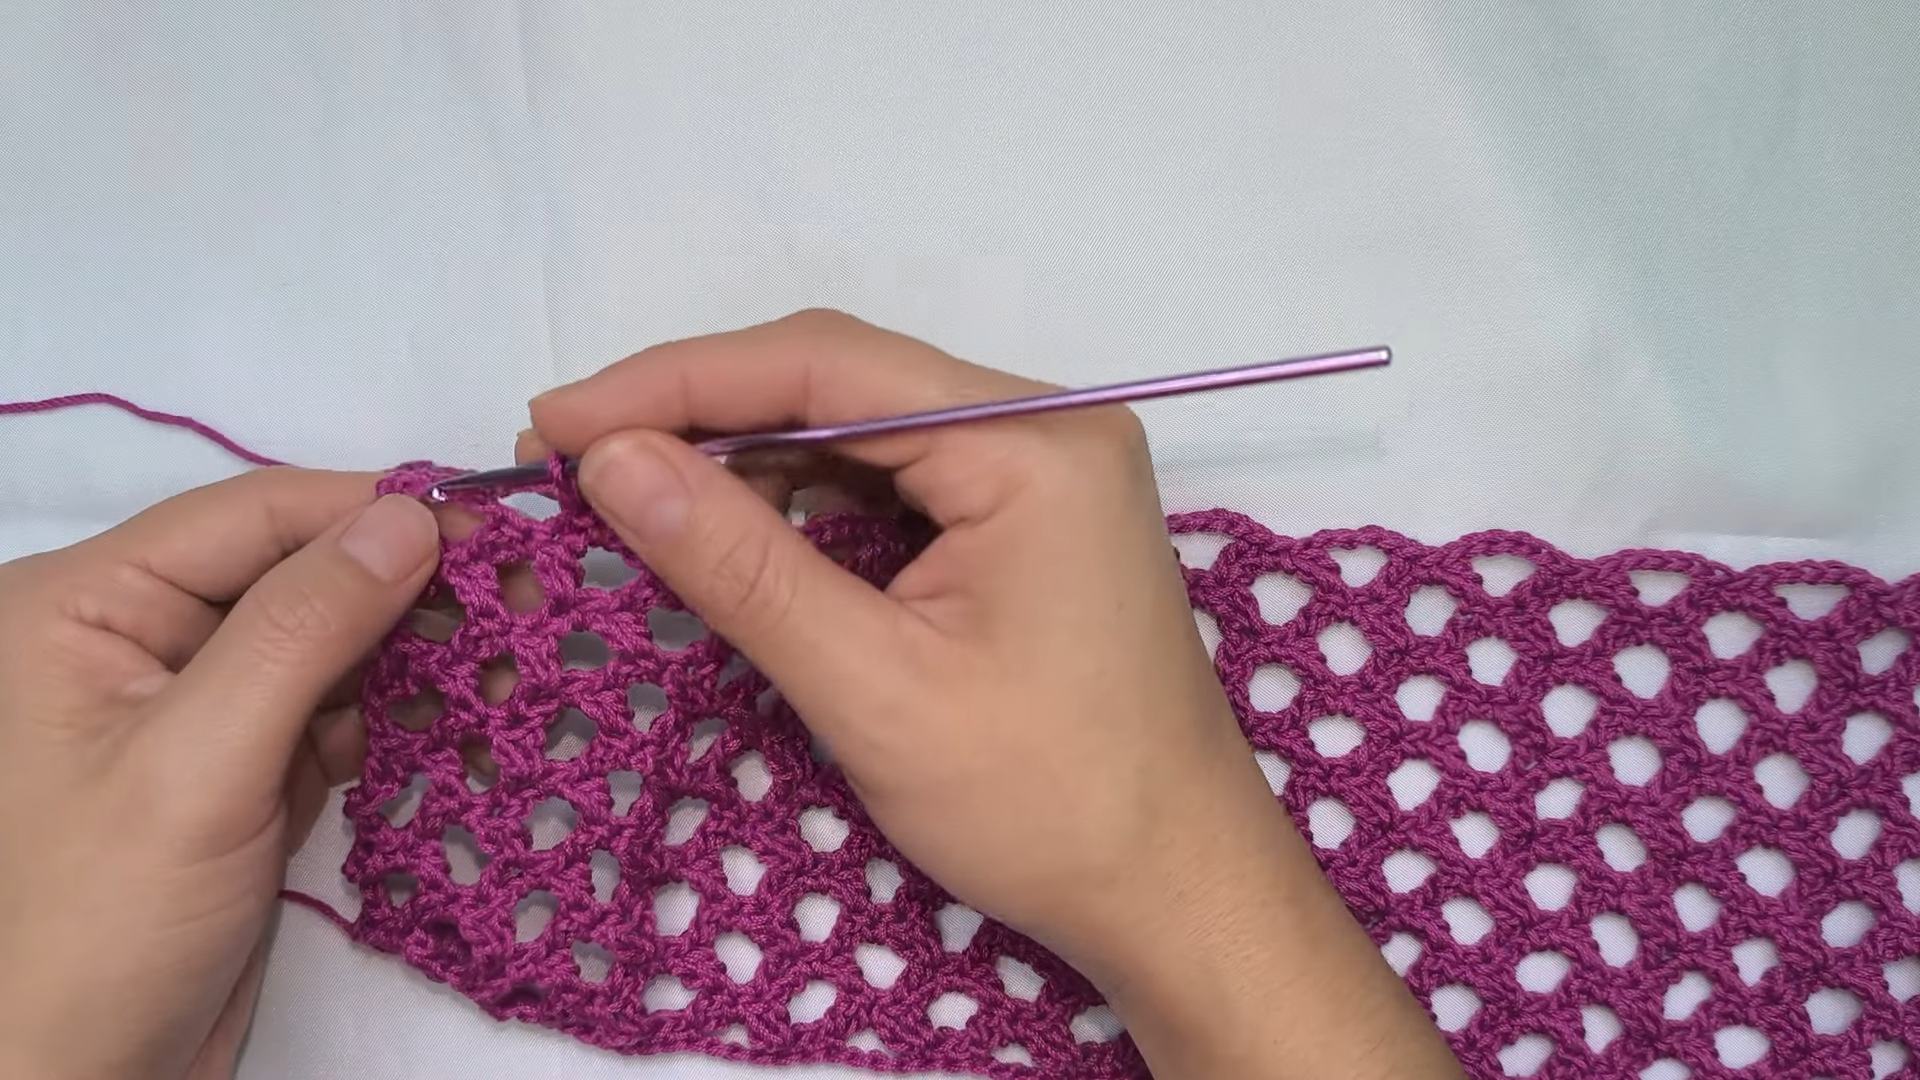
Step 5: Shape the Ruffled Sleeves and Finish
At the shoulder line, begin working the ruffled sleeve caps by increasing your stitch count steadily, letting the extra stitches curl naturally into a soft ruffle. Complete both sleeve caps to match, then weave in all loose ends to finish your top.
Tips for a Cleaner Result
- Practice the mesh repeat on a small swatch before starting the full top.
- Use a stitch marker at the start of each row so you never lose your place in the repeat.
- Check your top’s width against your body every few rows rather than waiting until the end.
- Keep even tension throughout, since the open mesh pattern makes tension inconsistencies easy to spot.
- Block your finished panel lightly to help the honeycomb texture lay open and even.
Common Mistakes to Avoid
- Losing track of mesh repeats, which throws off the pattern’s symmetry across rows.
- Making the foundation chain too tight, causing the top edge to pucker.
- Rushing the ruffled sleeve caps, which can leave them uneven or too tight around the shoulder.
- Using yarn that’s too thick, making the mesh pattern look bulky instead of airy.
- Skipping width checks, resulting in a top that fits tighter or looser than expected.
Ways to Customize This Top
- Try a contrasting yarn color for the sleeve caps instead of matching the main body.
- Adjust the mesh stitch size for a tighter or looser honeycomb texture.
- Shorten the body length for a cropped silhouette or lengthen it for more coverage.
- Add a thin trim along the hemline for extra definition.
- Line the top with fabric underneath for a more opaque, everyday-wear version.
Frequently Asked Questions
Q: How much yarn does this top typically require?
A: This depends on size, but most versions use around 2–3 skeins of medium weight yarn for the full body and sleeves.
Q: Is the mesh stitch difficult for someone newer to crochet?
A: It takes a bit of practice to keep the repeats consistent, but it’s a manageable stitch once you get into the rhythm.
Q: Can this top be resized for different body types?
A: Yes, adjusting your foundation chain length and number of mesh repeats allows the pattern to scale up or down easily.
Q: What yarn weight gives the best texture for this Crochet Top with Sleeves design?
A: Medium weight cotton or a cotton blend tends to hold the honeycomb shape best while keeping the fabric breathable.
Q: Do the Crochet Top with Sleeves caps need to be crocheted separately from the body?
A: No, they’re worked directly from the shoulder edge of the main panel, keeping the construction seamless.

Final Thoughts
This honeycomb mesh top with ruffled sleeves shows how a single repeating stitch can carry an entire design when it’s worked with care and consistency. From the very first foundation row to the finished ruffled sleeve caps, every stage builds toward a piece that’s light, breathable, and full of texture. Whether you stick to a bold solid color or experiment with something more playful, this Crochet Top with Sleeves is a rewarding project for anyone who wants their handmade wardrobe to feel a little more elevated.