Crochet Kitten Keychain Amigurumi Pattern for Travel Bag
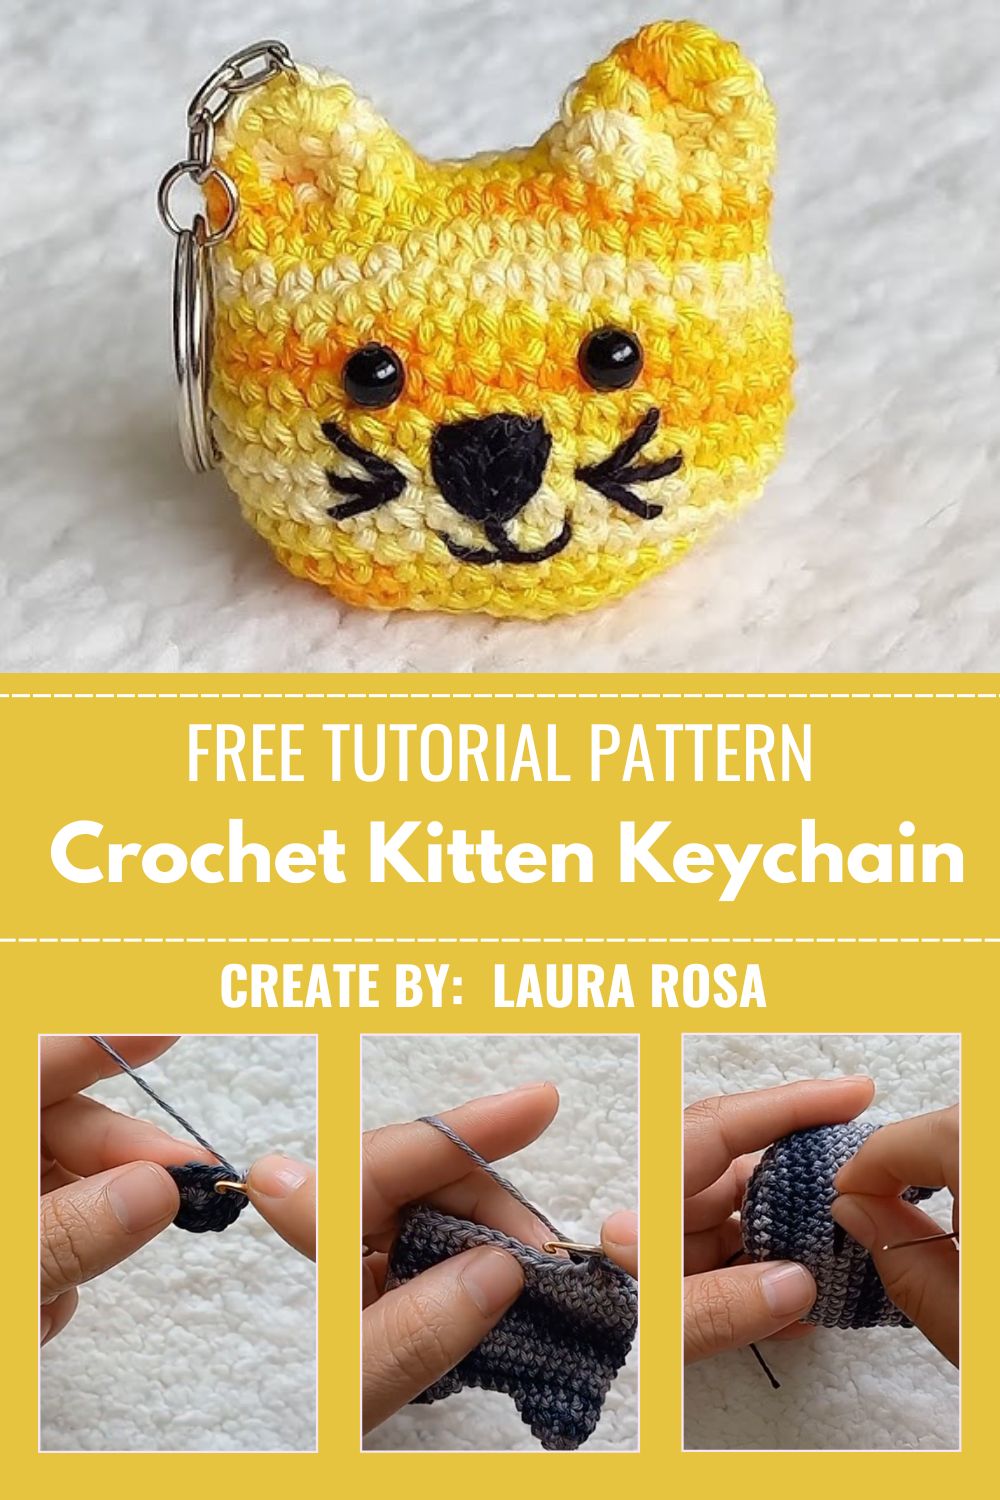
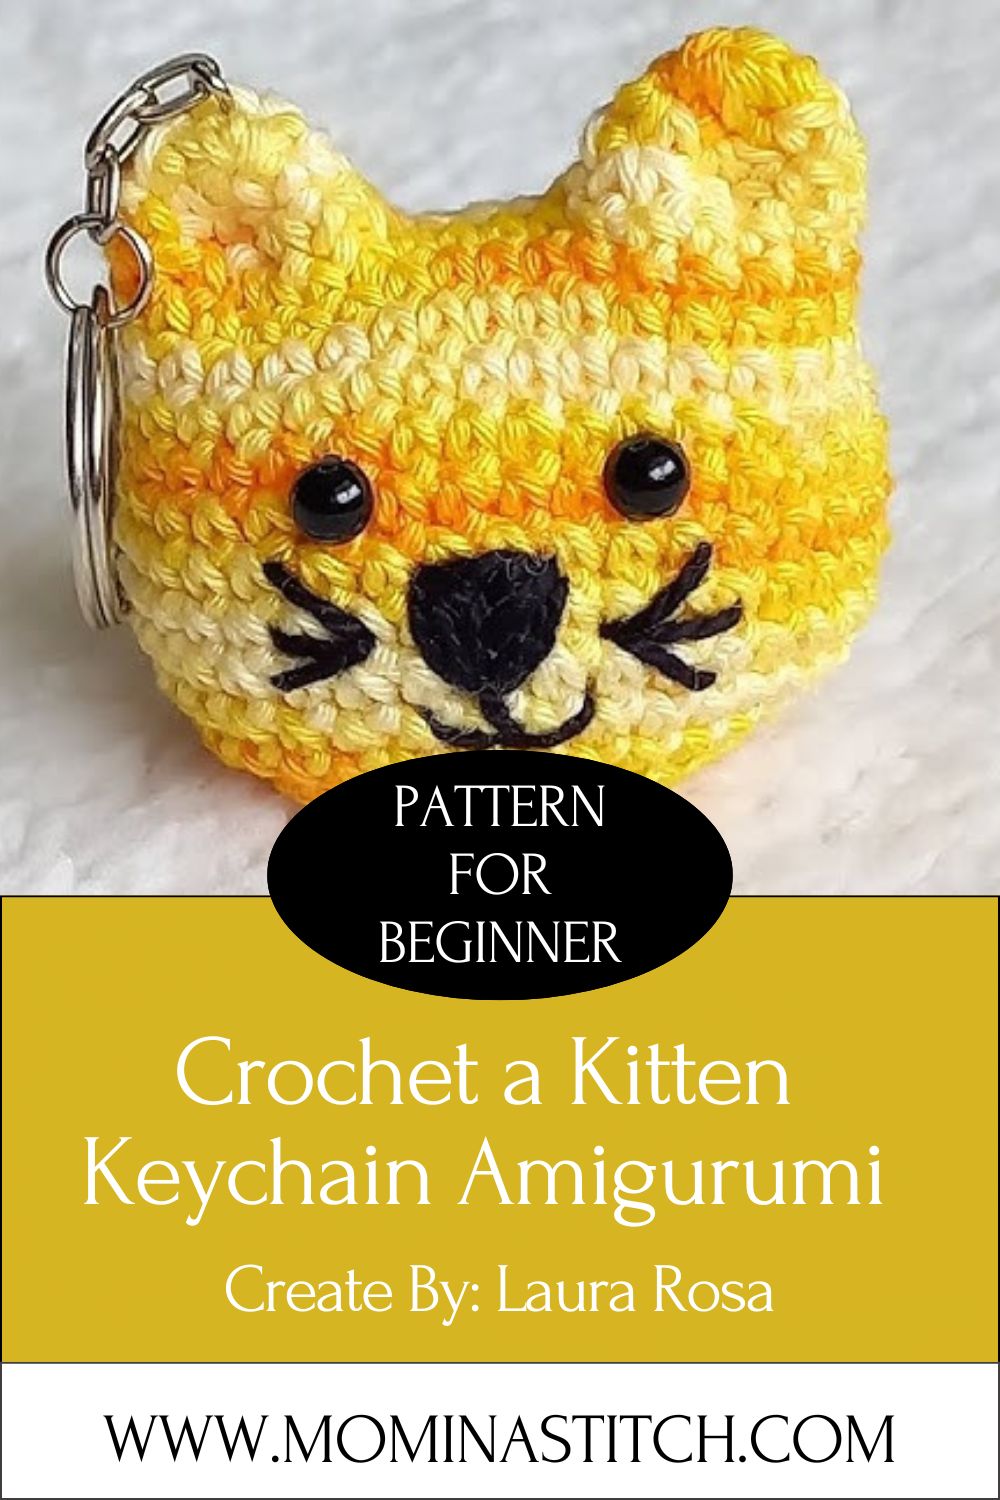
Cats have a way of turning up in the sweetest handmade gifts, and this little Crochet Kitten Keychain Amigurumi is no different. It was made for cat lovers who want a soft, huggable travel buddy hanging from their bag every single day.
This crochet kitten keychain amigurumi pattern is a small, quick project that works up in just a couple of hours. It uses simple stitches worked in the round, so even first-time amigurumi makers can finish a cute, plush kitten without any stress at all. The finished kitten clips right onto a bag, backpack, or keyring with ease.
You only need small amounts of yarn for this one, making it the perfect scrap-buster project for your stash. It’s a lovely handmade gift too, and it costs almost nothing to make from start to finish.
Skill Level
This pattern is rated beginner-friendly. If you know how to single crochet, increase, decrease, and work a magic ring, you already have every skill needed here. There’s no color changing mid-round and no tricky shaping, just simple rounds worked one after another until your kitten takes shape.
Materials and Supplies
Here’s everything you’ll want to gather before you start:
Yarn
- Main color (light gray or cream) – worsted weight (Category 4), about 20 yards, for the head and body
- Contrast color (white) – small amount, for the muzzle and paws
- Pink – tiny scrap, for the inner ears and nose
- Black – tiny scrap, for embroidering the mouth (optional if using safety eyes for the face)
Tools and Notions
- 3.0mm or 3.5mm crochet hook (match to your yarn weight)
- 6mm safety eyes (2 pieces)
- Polyester fiberfill stuffing
- Yarn needle for sewing and weaving in ends
- Sharp scissors
- Stitch markers (a paperclip or scrap of yarn works fine)
- Keychain ring with a jump ring or lobster clasp attachment
Crochet Techniques Used in This Pattern
Before jumping into the rounds, here’s a quick rundown of what you’ll be doing throughout this project:
- Magic ring (MR) – to start each piece with a tight, gap-free center
- Single crochet (SC) – the main stitch used for almost the whole kitten
- Increase (inc) – two single crochets in one stitch, to widen the round
- Decrease (dec) – invisible decrease, to narrow the round smoothly
- Sewing pieces together – joining the ears, tail, and limbs to the body neatly
Abbreviations
MR – Magic Ring | SC – Single Crochet | Inc – Increase | Dec – Invisible Decrease | St(s) – Stitch(es) | Rnd – Round
Step-by-Step Kitten Keychain Pattern
Grab your hook, and let’s build this little cat piece by piece.
Head
- With the main color, MR, 6 SC into ring (6 sts)
- Inc in every st around (12 sts)
- [Inc, SC in next st] repeat around (18 sts)
- [Inc, SC in next 2 sts] repeat around (24 sts)
- [Inc, SC in next 3 sts] repeat around (30 sts)
- SC in every st around (30 sts)
- SC in every st around (30 sts) – insert safety eyes between rounds 5 and 6, spaced about 8 stitches apart
- [Dec, SC in next 3 sts] repeat around (24 sts)
- [Dec, SC in next 2 sts] repeat around (18 sts) – begin stuffing firmly now
- [Dec, SC in next st] repeat around (12 sts)
- Dec around (6 sts), finish stuffing, fasten off and close the gap
Body
- With main color, MR, 6 SC into ring (6 sts)
- Inc in every st around (12 sts)
- [Inc, SC in next st] repeat around (18 sts)
- SC in every st around for 3 rounds (18 sts)
- [Dec, SC in next st] repeat around (12 sts) – stuff the body as you go
- Dec around (6 sts), fasten off, leaving a long tail for sewing to the head
Ears
Make 2, using main color with a small pink patch worked into the last round if you want two-tone ears.
- MR, 6 SC into ring (6 sts)
- Inc in every st around (12 sts)
- SC in every st around (12 sts), fasten off leaving a long tail
Fold each ear slightly in half before sewing to keep a natural curved shape.
Tail
- With main color, MR, 5 SC into ring (5 sts)
- SC in every st around for 8-10 rounds, until the tail reaches your desired length
- Fasten off, leaving a tail for sewing, and stuff lightly (a pipe cleaner inside gives a nice bendy tail if you want it poseable)
Facial Details
Once the safety eyes are locked in place, use black yarn or embroidery floss to stitch a small “T” shape below the eyes for the nose and mouth. Keep your stitches small and even for a clean, cute expression. A few short straight stitches on each cheek make lovely whiskers if you’d like to add them.
Assembly Process
- Sew the head onto the top of the body, keeping the face centered and facing forward
- Attach the ears just above the eye line, angled slightly outward
- Sew the tail to the lower back of the body
- Weave in all loose ends securely
- Thread your keychain ring through a sturdy stitch at the top of the head, or sew it on with a small loop of yarn so it doesn’t pull loose
Finishing Touches
Give your kitten a gentle fluff and shape check once assembled. Press lightly on the head and body to redistribute stuffing evenly, and make sure the eyes sit level with each other. This is also a great time to trim any stray fuzzy yarn ends for a neater, more polished look.
Helpful Tips for Beginners
- Keep your stitches tight. Amigurumi needs firm, close stitches so stuffing doesn’t peek through gaps. If your stitches feel loose, try going down half a hook size.
- Use stitch markers. Since amigurumi is worked in a continuous spiral with no joining, a stitch marker on the first stitch of each round keeps you from losing your place.
- Stuff a little at a time. Add small amounts of stuffing as you go rather than stuffing everything at the end. This helps you get a smooth, even shape without lumps or weak spots.
- Count your stitches often. A quick stitch count after each round catches mistakes early, before they carry through the whole piece.
Design Customization Ideas
- Try different colors – orange and white for a tabby look, or solid black for a sleek black cat charm
- Add cute accessories – a tiny crochet bow, bandana, or bell collar adds personality
- Make a mini version – use a smaller hook and thread-weight yarn for a tinier charm that fits on a zipper pull
- Match your bag – pick yarn colors that coordinate with your travel bag or backpack for a fun matching set
FAQ
What is the best yarn for amigurumi?
Cotton or cotton-blend worsted weight yarn works best for amigurumi. It holds its shape well, gives clean stitch definition, and doesn’t split easily while you’re working tight rounds.
How do I make my crochet plush firm?
Use a hook one size smaller than the yarn label suggests, keep your tension tight, and stuff generously with small amounts of fiberfill added gradually as you go, rather than stuffing all at once at the end.
How long does this Crochet Kitten Keychain Amigurumi project take?
Most crocheters finish this kitten keychain in around 1 to 2 hours, making it a great project for a single sitting or a relaxing evening on the couch.
Wrap Up and Try It Yourself
This Crochet Kitten Keychain Amigurumi is proof that a small crochet project can still be full of charm. Whether you’re making one for your own bag or gifting it to a fellow cat lover, this pattern is quick, beginner-friendly, and endlessly customizable. Grab your hook and give this easy crochet project a try, and don’t forget to share your finished kitten with your favorite crochet community.