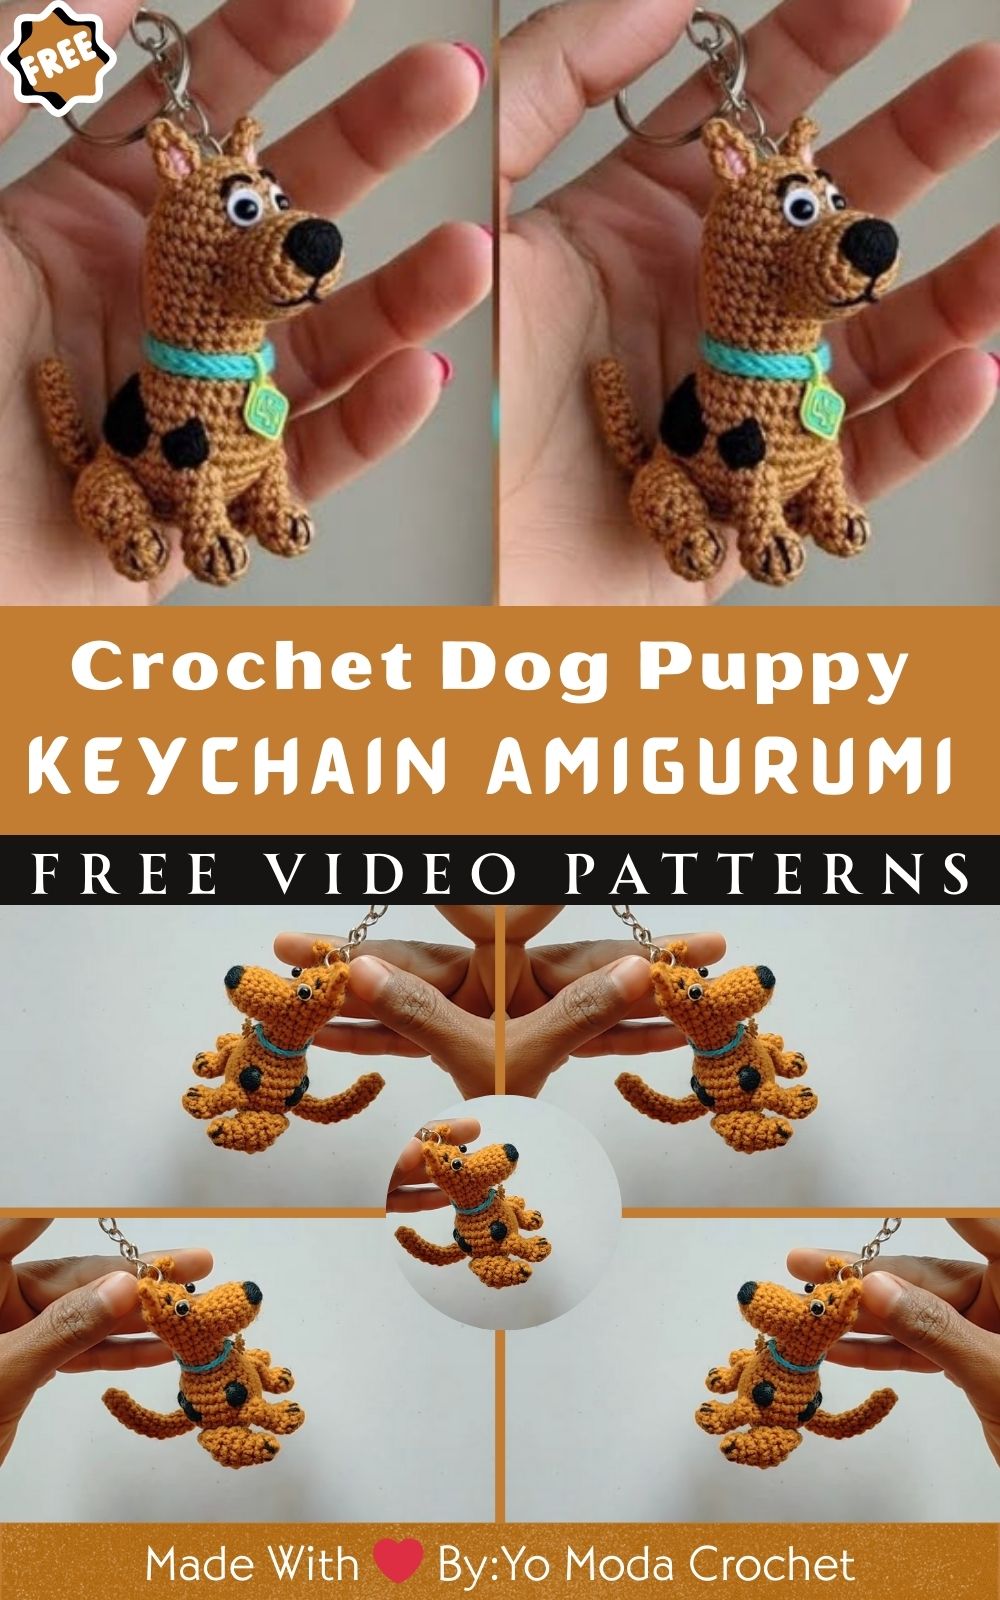
Perfect Crochet Puppy Dog Keychain Amigurumi Pattern
Cuteness with the Perfect Crochet Dog Puppy Keychain Amigurumi Pattern is quick, beginner-friendly, and irresistibly adorable. Stash-busting make, customizable colors, gift-ready charm for bags, backpacks, and keyrings.
Tiny paws, big charm. The Perfect Crochet Dog Puppy Keychain Amigurumi Pattern packs adorable personality into a speedy, beginner-friendly make. Designed to use small yarn scraps, this mini pup features soft shaping, perky ears, and customizable details think spots, collars, and color combos.
Lightweight and durable, it clips easily to keys, backpacks, and zipper pulls, making it a playful everyday companion or a crowd-pleasing market item. Stitch one as a quick gift or create a whole litter to swap and sell portable, cute, and endlessly collectible.
Uses:
- Keyrings, bag charms, and zipper pulls
- Quick gifts: birthdays, party favors, teacher tokens
- Craft fairs and market sets
Perfect Crochet Dog Puppy Keychain Amigurumi Pattern
Ready to stitch a pocket-size pup that’s irresistibly cute and easy to make? With this beginner-friendly Perfect Crochet Dog Puppy Keychain Amigurumi Pattern, you’ll whip up an adorable puppy charm that clips to keys, backpacks, and zipper pulls. Moreover, the simple stitches, tiny yardage, and quick steps make it ideal for scrap-busting and first-time amigurumi makers. Finally, let’s dive in and crochet a little dog with a big personality.
Skill level
- Beginner
Finished size
- Approximately 6.5–8 cm (2.5–3.25 in) tall, depending on yarn, tension, and stuffing.
Estimated total time
- About 90–110 minutes for most beginners. Furthermore, confident crocheters may finish in under 80 minutes.
Materials
- Yarn: 3-ply wool or acrylic (lightweight DK/8-ply also works)
- Main color (MC): 15–20 g (about 45–60 m / 50–65 yd)
- Contrast color (CC) for ears/collar/spots: 2–5 g (about 6–15 m / 7–16 yd)
- Crochet hook: 2.5 mm
- Safety eyes: 6 mm (pair), or embroider eyes with black thread
- Embroidery thread: Black (for nose and mouth); Pink (optional blush)
- Fiberfill stuffing: A handful (about 6–10 g)
- Tapestry needle: Size suitable for yarn
- Stitch marker: 1 (to mark round starts)
- Scissors: 1 pair
- Keychain hardware: 25–30 mm split ring with short chain or a lobster clasp
- Optional: A small drop of fabric glue or a dab of hot glue to secure the keychain ring after sewing
Gauge
- Not critical for amigurumi. Nevertheless, keep stitches tight so stuffing does not show through.
Abbreviations and notes
- MR: Magic ring
- ch: chain
- sc: single crochet
- inc: increase (2 sc in the same stitch)
- dec: invisible decrease (sc two stitches together; use front loop only for a neater look)
- sl st: slip stitch
- FLO: front loop only
- sts: stitches
- R#: round number
Additionally:
- Work in continuous rounds unless otherwise indicated. Therefore, place a stitch marker at the first stitch of each round and move it up as you go. Also, lightly stuff as you crochet so the shape stays even. Finally, use invisible decreases for smooth shaping.
Before you start (quick overview of parts and order)
- You will crochet: 2 back legs, 2 front legs, 1 tail, 1 body, 1 head, and 2 ears. Moreover, you will embroider a tiny nose and mouth and then attach keychain hardware. Finally, you will sew all parts together and secure the ends neatly.
Step-by-step pattern
- Back Legs (make 2)
- Time: about 8–10 minutes each
Pattern:
- R1: MR, ch 1, 5 sc into MR (5). Tighten the ring.
- R2: 1 sc in each st around (5).
- R3: 1 sc in each st around (5).
- R4: inc in every st (10).
- R5–R7: 1 sc in each st around (10).
- R8: dec around (5). Fasten off, leaving a 12–15 cm tail for sewing. Lightly stuff before closing.
Tips:
- Since these are tiny rounds, maintain even tension and use a stitch marker. Additionally, pinch the piece gently as you decrease to avoid gaps.
- Front Legs (make 2)
- Time: about 7–9 minutes each
Pattern:
- R1: MR, ch 1, 7 sc into MR (7). Tighten the ring.
- R2–R3: 1 sc in each st around (7).
- R4: dec twice, then 3 sc (5 total for the round).
- R5–R7: 1 sc in each st around (5). Fasten off, leaving a tail for sewing. Lightly stuff if desired (a tiny pinch of filling looks cute), or leave unstuffed for floppier paws.
Notes:
- This shaping creates a slightly tapered paw. Moreover, if you want chunkier paws, add one extra round of 7 sc before R4.
- Tail (make 1)
- Time: about 8–10 minutes
Pattern:
- R1: MR, ch 1, 6 sc into MR (6). Tighten the ring.
- R2: 1 sc in each st around (6).
- R3–R11: 1 sc in each st around (6). Fasten off, leaving a long tail for sewing. Do not stuff (or add the tiniest wisp only).
Tip:
- For a curlier tail, slightly bend it while steaming lightly (if your yarn is heat-safe) or shape it as you sew.
- Body
- Time: about 25–30 minutes (including stuffing)
Pattern:
- R1: MR, ch 1, 6 sc into MR (6). Tighten.
- R2: inc around (12).
- R3: (1 sc, inc) x 6 (18).
- R4: (2 sc, inc) x 6 (24).
- R5–R9: 1 sc in each st around (24).
- R10: (2 sc, dec) x 6 (18).
- R11: (1 sc, dec) x 6 (12). Begin stuffing firmly yet evenly.
- R12–R18: 1 sc in each st around (12).
- R19: dec x 6 (6). Fasten off and close the opening by weaving the tail through the front loops of the remaining 6 sts; pull snug to close.
Shaping note:
- This sequence mirrors the shaping seen in the companion video. Consequently, you get a rounded belly with a tapered top that reads clearly as a compact puppy body.
- Head
- Time: about 18–22 minutes (plus face details)
Pattern:
- R1: MR, ch 1, 6 sc into MR (6).
- R2: inc around (12).
- R3–R6: 1 sc in each st around (12). Insert safety eyes between R3 and R4, about 3–4 sts apart, or embroider eyes after closing if you prefer.
- R7: dec x 6 (6). Stuff the head firmly before closing. Fasten off and close as for the body.
Face details:
- Using black embroidery thread, stitch a tiny triangle nose centered between the eyes, slightly lower than midline. Then add a short vertical stitch down from the nose and a tiny curved “smile” on each side. Additionally, add a soft dab of pink thread or powder blush to the cheeks for extra charm.
Tip:
- If you prefer an open neck for a seamless join, you can stop at 12 sts and leave the head’s last round unclosed, then whipstitch directly to the body’s top. However, closing the head fully first makes placement easier for beginners.
- Ears (make 2; worked directly onto the head)
- Time: about 3–4 minutes each
Simple on-head ear petals:
- Join the MC or CC to the top of the head where you want the first ear.
- ch 3, 2 dc in the same stitch, ch 1, sl st into the next stitch to anchor the ear. Fasten off and weave the tail.
- For the second ear, count 3–4 sts across the top and repeat so the ears sit symmetrically.
Alternative sewn ears (if you prefer separate pieces):
- MR, ch 1, 5 sc into MR, pull tight, sl st to join, fasten off. Then flatten into a teardrop and sew each ear onto the head. Additionally, angle the ears slightly forward for a playful look.
- Assembly
- Time: about 10–15 minutes
Order:
- First, pin the head to the body and check alignment from all angles. Then whipstitch around the neck using the head tail or a matching length of yarn. Moreover, keep stitches small and even.
- Next, position the front legs slightly forward on the body’s lower half so the puppy looks like it’s sitting. Additionally, sew them on with several passes for durability.
- Then attach the two back legs slightly toward the back and a bit lower than the front legs. Furthermore, tilt them outward just a touch to suggest a seated pose.
- Afterwards, sew the tail at the back centerline. Finally, weave in all ends securely.
Pro tip:
- Because this is a keychain, secure attachments are crucial. Therefore, double-sew each part and test by gently tugging before attaching hardware.
- Attach the keychain hardware.
- Time: about 3–4 minutes
Method:
- Thread a strong length of yarn through the top of the head, slightly behindthe center (between the ears). Then pass it through the hardware’s jump ring or chain. Next, tie a firm square knot and hide the ends by weaving back into the head. Optionally, add a tiny dab of fabric glue at the knot for extra security. Finally, clip the keyring to your keys or bag and enjoy!
Making time by component (quick recap)
- Back legs: 8–10 minutes each (16–20 minutes total)
- Front legs: 7–9 minutes each (14–18 minutes total)
- Tail: 8–10 minutes
- Body: 25–30 minutes
- Head: 18–22 minutes (plus 3–5 minutes for embroidery)
- Ears: 3–4 minutes each (6–8 minutes total)
- Assembly and hardware: 10–15 minutes
Therefore, the total time typically ranges from 90 to 110 minutes.
Basic tips for success
- Keep tension tight: Amigurumi looks best with compact stitches. Consequently, stuffing stays inside and shapes stay crisp.
- Use a stitch marker: Because rounds are continuous, a marker prevents miscounts and uneven joins.
- Stuff gradually: Add small tufts as you go, especially before final decreases. Additionally, distribute fiber evenly with the blunt end of your hook.
- Try invisible decreases: Work decreases through the front loops only (FLO) for neater shaping. Moreover, this reduces visible bumps.
- Pin before sewing: Dry-fit all parts, check proportions, and only then commit to sewing. Therefore, you avoid ripping seams and fraying yarn.
- Match colors: Use the same yarn color for sewing as the piece you’re attaching. Consequently, seams will disappear.
- Add charm: Attach a tiny collar, crochet a small bow, or embroider spots to make your puppy unique. Furthermore, contrasting ears or a heart-shaped nose add instant appeal.
Common mistakes (and how to fix them)
- Loose magic ring: If the center hole won’t close, wrap the starting tail around a couple of times and redo the knot. Additionally, practice a second magic ring technique if needed.
- Gaps at decreases: Switch to invisible decreases (FLO) and keep consistent tension. Furthermore, avoid overstuffing right at the decrease round.
- Crooked rounds: Always mark the first stitch of the round. Then count after each round to confirm the stitch total.
- Overstuffing limbs: Small parts can look lumpy if overfilled. Therefore, add just enough fiber to hold the shape.
- Misplaced eyes: Eyes too close or too far apart change the expression. Consequently, test positions with pins first, then commit once you like the look.
- Weak hardware attachment: One pass of the thread is not enough for keychains. Therefore, secure with multiple passes and consider a tiny dab of glue at the knot.
Variations and customizations for ( Crochet Puppy Keychain Amigurumi)
- Colors and spots: Work the head in MC and add embroidered or felt spots in CC. Alternatively, crochet a muzzle in a lighter shade by switching color for R3–R4 of the head.
- Floppy vs. pointy ears: Increase the ear petal to ch 4, 3 dc, ch 1 for longer ears. Conversely, keep ch 2, hdc, ch 1 for shorter, pointy ears.
- Collar and tag: ch 20–24 and sl st to form a ring, then slip it over the neck. Additionally, add a tiny jump ring as a “tag.”
- Sitting vs. standing pose: Attach front and back legs lower and centered for sitting. Alternatively, place them more to the sides and slightly forward for a “standing” look.
- Tiny accessories: Crochet a mini bone (MR, ch 3, 3 dc, ch 3, sl st; repeat on the other side) and stitch it to a paw or hang it from the keychain.
- Different yarns: Use cotton for a crisp stitch definition or velvet/chenille for a plush look. However, adjust the hook size so stitches stay tight.
Troubleshooting fit and shape
- If the head seems too small, Aaddone more round of 12 sc (R7) before decreasing. Additionally, stuff a bit more firmly.
- If the body looks tall: Reduce R12–R18 to R12–R16. Conversely, if you want a taller pup, add two more rounds at 12 sc before final decreases.
- If legs don’t sit right: Steam lightly and reshape, or reseat the stitches by removing and re-sewing with a slight angle.
Care instructions for ( Crochet Puppy Keychain Amigurumi)
- Spot clean with a damp cloth. Additionally, avoid submerging safety eyes in hot water.
- Air dry only. Furthermore, reshape while damp to maintain the puppy’s proportions.
- Keep away from pets or children under 3 if using safety eyes. Alternatively, embroider eyes for a baby-safe option.
Why this pattern works for beginners
- Because you repeat simple, familiar rounds—magic ring, single crochet, increase, decrease, you build confidence fast. Moreover, the tiny size means quick wins and minimal yarn. Additionally, the clear round counts and straightforward shaping mirror the pacing in the companion video tutorial. Finally, the small, modular parts let you pause and resume anytime without losing your place.
Quick checklist before gifting or selling
- Are all parts firmly sewn?
- Are ends woven in and hidden?
- Is the keyring attachment secure?
- Are the eyes, nose, and mouth aligned and symmetrical?
- Is the puppy evenly stuffed and well-shaped?
If yes, then you’re ready to gift, list, or keep for yourself!
Closing encouragement for ( Crochet Puppy Keychain Amigurumi)
You did it! Your Perfect Crochet Dog Puppy Keychain is complete! Moreover, with each tiny pup you make, you will get faster and more creative. Additionally, try different colorways, playful ear shapes, and sweet collars to build a whole litter. Finally, don’t forget to share your finish and tag your inspiration; happy hooking and enjoy your adorable new companion.