
DIY Sophisticated Crochet Lucky Gold Ingot Keychain Amigurumi Pattern
Stitch a shimmering DIY Crochet Lucky Gold Ingot Keychain, adorable amigurumi bringing prosperity vibes. Beginner-friendly, quick to make, perfect for gifting or accessorizing bags and keys.
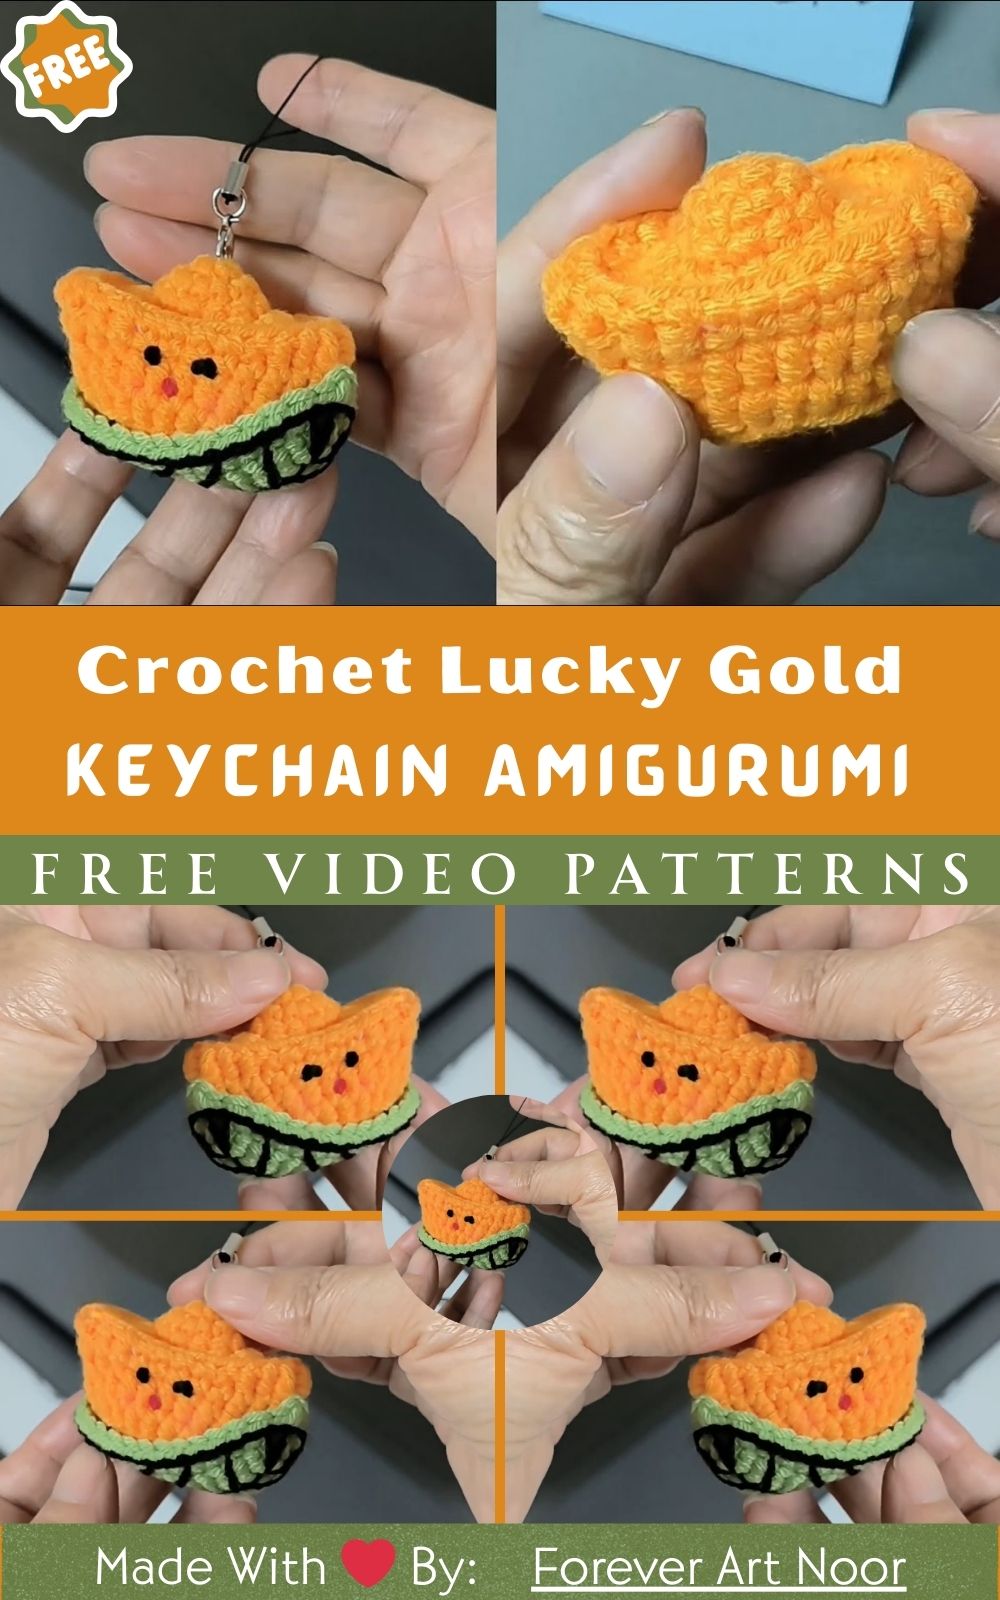
Bring a touch of prosperity to everyday carry with this DIY Crochet Lucky Gold Ingot Keychain Amigurumi Pattern. Shaped like a gleaming yuanbao, this small, squishy charm works up quickly with simple stitches and minimal yarn, making it friendly for beginners yet satisfying for seasoned makers. The sturdy, stuffed design holds its shape, attaches easily to key rings or lobster clasps, and looks adorable in metallic or pastel shades. Uses: brighten a key set, accent a purse or backpack, and share as a good-luck gift for the Lunar New Year.
Materials Needed
You only need a handful of basics to make this cheerful mini ingot.
- Yarn: Worsted weight (CYC 4) cotton or acrylic, about 20–30 yards in a gold or yellow shade
Crochet hook: 3.25 mm (D-3) or 3.5 mm (E-4) for tight amigurumi stitches
Stuffing: Polyester fiberfill - Safety eyes (6–8 mm) or black embroidery thread for an optional face
Tapestry/yarn needle for sewing and weaving in ends
Scissors - Stitch markers (locking style recommended)
- Optional: Keyring or lobster clasp with small jump ring, short chain or cord, small bell or tassel, a touch of blush or fabric paint for cheeks.
For this project, cotton holds shape beautifully and shows clean stitch definition, which makes the ingot’s curves nice and crisp. Acrylic works well too and is a bit squishier. If you prefer a plush look, a soft acrylic or even a light velvet will give you a chubby, adorable finish just go down a hook size to keep the fabric firm.
Color-wise, golden yellow is the classic choice, but you can have fun here. Try mustard, honey, or pastel lemon for sweet vibes; rich amber for a deeper “metal” look; or hold a strand of metallic thread alongside your yarn for a subtle sparkle. Red accents (like a tassel or a tiny bow) look especially festive.
Level of Difficulty
This pattern is very beginner-friendly. If you can work in the round with single crochet stitches, make simple increases and decreases, and sew pieces together with a whipstitch, you can finish this project. It’s a great introduction to shaping a small 3D form and attaching keychain hardware.
You’ll use single crochet (sc), increasing (two sc in one stitch), decreasing (invisible decrease recommended), working in continuous rounds, and optionally working in the back loop only (BLO) for a neat ridge. Even if you’re newer to amigurumi, the piece is small and forgiving your hands will quickly learn the rhythm, and small adjustments with stuffing and shaping can refine the final look.
Step-by-Step Overview
1. Starting the Base or Body
Begin with a small oval worked in the round. The easiest way is to chain a short length (for example, 7–9 chains) and then single crochet down one side of the chain, place increases at the tip, and continue up the other side, increasing at the second tip. This creates a tidy oval without corners. Repeat a couple of rounds, increasing at the ends to grow the oval to the width you want for your ingot.
- Keep a stitch marker in your first stitch so you don’t lose track.
- Count your stitches at the end of each round; an oval can wander if increases aren’t mirrored at both ends.
- Aim for a firm, even fabric—if you see gaps, go down a hook size.
2. Building the Bowl Shape - Once your oval is wide enough, work a round in the back loop only (optional but recommended).
- This BLO round creates a subtle ridge that helps the sides turn upward and gives the ingot a clean “rim.” After that, crochet several rounds without increasing to build height; you’ll see a shallow bowl forming.
As you go, check that both sides are rising evenly. At this stage, it helps to pause and check that both sides look even. If the piece curves slightly, that is normal; you can adjust the shaping with gentle stretching and stuffing.
3. Making the Second Half
To complete the classic ingot silhouette, you’ll make a second identical bowl. Repeat Steps 1 and 2 so you have two matching pieces. These will become the top and bottom halves of the ingot. Keeping your tension consistent between both halves will make assembly easier and the final shape more symmetrical.
- Tip: If one half turns out a stitch or two off from the other, you can lightly block or stretch it with your fingers to match before sewing.
4. Assembling and Joining
Place the two bowls with wrong sides together so the open edges align. Using your yarn needle and a long tail, whipstitch around the perimeter. Leave a small opening, then add stuffing. Start lightly and build up the center so there’s a gentle dome on both sides. The goal is a rounded middle with slightly lifted sides—think of a soft, boat-like profile.
- Stuff gradually in small tufts to avoid lumps.
- Roll the piece gently between your palms to smooth the filling.
- Once you’re happy with the fullness, close the opening with small, neat stitches.
- If your ingot looks a bit too flat, add a touch more stuffing right in the center. If it looks too round,
- redistribute the fill by pressing toward the sides so the edges lift and the middle stands out.
5. Adding Details and Finishing Touches
This little ingot looks charming and plain, but details add personality.
Optional face: Add safety eyes across the center line, spaced evenly. If you forgot to insert them earlier, embroider eyes and a smile after assembly. A tiny blush dot or two with fabric paint or a dab of chalk adds cuteness.
Accent lines: With a strand of matching or metallic thread, stitch tiny “sparkle” dashes at the corners or a small “V” at the top center to suggest a shine.
Decorative knot or tassel: A small red tassel or knot hung from the keyring instantly makes it festive and gift-ready.
At this stage, it helps to pause and check that both sides look even. Adjust stuffing and gently pinch both ends to emphasize that classic ingot “lift.”
- 6. Attaching the Keychain Hardware
Decide where you want the hanging point—center top is the simplest. You can crochet a short chain loop (for example, chain 6–10, slip stitch to form a small ring), or simply attach a jump ring directly through a stitch near the top. Add a lobster clasp or keyring to finish.
If you plan to hang it on a backpack or purse, use a longer strap or a small length of metal chain for flexibility.
For extra security, anchor your loop through several stitches and weave the tail back and forth a few times before trimming.
Special Features of This Pattern
This miniature project shines because it’s approachable and polished, even for newer crocheters.
- Clear shaping: Two matching bowl halves create a sturdy ingot silhouette with minimal guesswork.
- Minimal sewing: Just one seam around the edge, plus a loop for the keyring.
- Quick make: Uses a small amount of yarn and works up in about an hour or two.
- Neat rim: An optional BLO round adds a clean edge that helps the sides lift.
- Flexible size: Change yarn weight and hook size for tiny charms or chubby bag dangles without rewriting the pattern.
- Personalizable: Add a face, tassel, or metallic thread for a completely different mood or occasion.
Tips for Best Results
Small amigurumi projects reward careful, simple habits. A few mindful steps will make your ingot look crisp and tidy.
- Keep tension even and on the tighter side so stuffing doesn’t peek through.
- Use a stitch marker to mark the first stitch of each round; move it up as you go.
- Count stitches at the end of increase rounds so your oval stays symmetrical.
- Work a back loop only round to create a defined rim and encourage the sides to stand up.
- Stuff gradually in small pieces and shape as you go; don’t wait until the last moment.
- If your decreases look bumpy, try the invisible decrease for a smoother finish.
- Switch to a smaller hook if you see gaps; go up a size if your hands feel strained.
- Weave in ends in multiple directions to lock them, especially near the hanging loop.
- Take short breaks if your hands tire tight amigurumi stitches can be demanding.
- Before tightening your final seam, check alignment from multiple angles to keep the ingot balanced.
How to Use or Gift Your Crochet Lucky Gold Ingot Keychain
This little charm is ready to brighten everyday carry. Clip it to a keyring, backpack, tote, or zipper pull and let it bring a cheerful hint of prosperity wherever it goes. It also makes a cute desk companion—set it by your monitor for a tiny reminder of good fortune during the workday.
It’s a thoughtful, year-round gift. Try pairing it with a handwritten note or a small treat for a sweet gesture. For special occasions, think:
- Lunar New Year favors tucked into red envelopes
- Good-luck tokens for new drivers or first apartments
- Party favors for birthdays or graduation celebrations
- Teacher appreciation gifts, especially in a class or school color
- Stocking stuffers and office Secret Santa swaps
A small kraft box or organza bag showcases the charm nicely. Add a simple tag with “Made with love and good luck” to make it feel extra personal.
Customization Ideas
Color changes alone can shift the mood dramatically. Classic gold or mustard reads traditional and festive; pastel lemon or butter yellow feels playful and kawaii; amber or ochre feels richer and more “metallic.” You can add a strand of metallic thread or embroidery floss to your yarn for subtle sparkle, or embroider a tiny character or symbol if you like meaningful details.
Yarn choice also changes the vibe. Cotton gives a crisp, structured look. Acrylic is soft with a gentle sheen. Velvet or chenille turns the ingot into a plush, huggable charm—great for bag dangles and gifts for kids. If you switch to a fuzzy yarn, consider using safety eyes with wider backs or embroider facial features so they don’t disappear into the pile.
Sizing is simple: go thinner for miniature charms, thicker for statement keychains. For a tiny version, try sport or DK yarn with a 2.5–3 mm hook. For a bigger, squishier piece, use bulky weight with a 4.5–5 mm hook and adjust stuffing accordingly so the edges still lift.
Small add-ons make the project uniquely yours:
- A red tassel or knot for a festive touch
- Tiny embroidered eyes and a smile, or sleepy eyes for extra cuteness
- A felt applique with a small lucky symbol
Seed beads or sequins stitched sparingly for a hint of shine - A braided loop or chained strap instead of a metal ring, if you prefer a softer attachment
- Don’t be afraid to experiment. The simple silhouette is a great canvas for playful accents and personal touches.
Conclusion
Small, meaningful makes like this bring so much joy. The stitches are simple, the materials are easy to find, and the result is a cheerful charm that feels both cute and thoughtful. Whether you’re making one for your keys or a handful for friends and family, the process is relaxing and the finish is so satisfying.
Give the Crochet Lucky Gold Ingot Keychain Amigurumi a try the next time you have a spare hour and a bit of yarn. Once you finish your own Crochet Lucky Gold Ingot Keychain, you will see how much personality a few stitches and some yarn can create.


