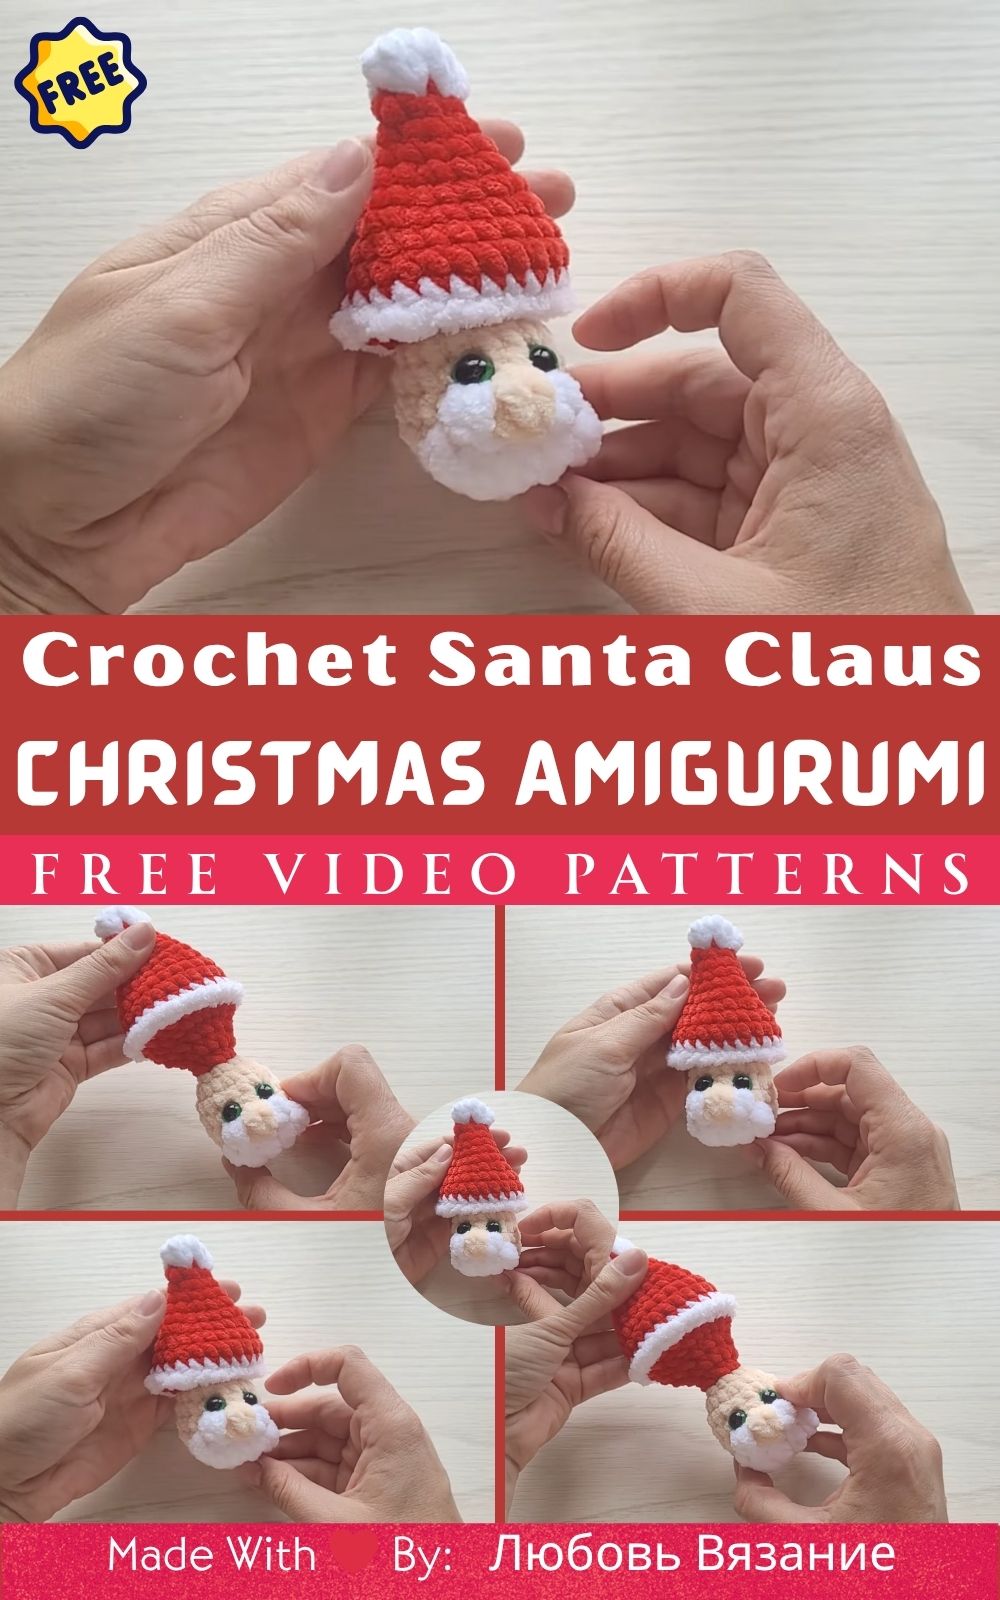
Crochet Santa Claus Christmas Amigurumi Pattern for Beginners
Crafting with yarn offers a unique blend of satisfaction and magic, transforming strands of yarn into tangible, heartwarming creations. The rhythmic dance of the crochet hook, weaving through loops of yarn, creates a piece of art that’s both beautiful and gratifying. It’s in these simple, repetitive motions that creativity blossoms, giving life to something uniquely yours.
Among the myriad of crochet projects, the Crochet Santa Claus Christmas Amigurumi stands out as an enchanting endeavor. This adorable and eye-catching project captures the essence of Christmas spirit, making it a delightful addition to your holiday décor. With its whimsical charm, the crocheted Santa Claus is sure to bring joy and smiles to everyone who sees it.
This project is designed to be accessible for both beginners and advanced crocheters. It offers a range of fun techniques and creative freedoms that make it a delightful and engaging crafting experience. Beginners can enjoy learning new skills, while advanced crocheters can explore creative customizations to make their Santa Claus truly unique.
The calming rhythm of crocheting provides a sense of peace and mindfulness, transforming crafting into a therapeutic activity. The sense of accomplishment derived from creating a handmade piece of art is unparalleled. This Crochet Santa Claus project is perfect for slow crafting, allowing you to savor each moment of creation. Whether you’re making it for yourself or as a gift, this project embodies the spirit of handmade craftsmanship and the joy of giving.
Materials & Tools
To get started on your Crochet Santa Claus Christmas Amigurumi, gather the following materials and tools:
Yarn Type and Weight: Use worsted weight yarn in red, white, black, and flesh tones for Santa’s outfit, beard, boots, and face.
Hook Size: A 3.5 mm crochet hook is ideal for creating the detailed stitches required.
Stuffing: Polyester fiberfill is perfect for giving your amigurumi a soft, plush feel.
Safety Eyes: Choose 9 mm black safety eyes for a friendly, expressive look.
Scissors: Sharp scissors will help you cut yarn cleanly and accurately.
Tapestry Needle: This is essential for sewing pieces together and weaving in ends.
Stitch Markers: Use these to keep track of your rounds and ensure even stitching.
Advice for Choosing Yarn: Opt for a soft, smooth yarn with a consistent texture to ensure neat stitches and a polished finish. Consider using traditional colors for a classic look or experiment with alternative color combinations for a unique twist.
Step-by-Step Crochet Instructions
Making the Head
Magic Ring: Begin with a magic ring and work in single crochet stitches to form the base of the head.
Increase Rounds: Gradually increase your stitches in each round to shape the head.
Even Rounds: Work several rounds evenly to build the head’s height.
Forming the Neck and Upper Body
Decrease for Neck: Use invisible decreases to taper the head into the neck.
Upper Body Expansion: Increase your stitches to form the shoulders and upper body.
Building the Main Body
Body Rounds: Continue working in rounds, maintaining a consistent stitch count for the body.
Color Change for Suit: Switch to red yarn to create Santa’s iconic suit.
Shaping or Attaching the Base
Base Formation: Work in rounds to form the base, ensuring stability.
Secure Attachment: Use a tapestry needle to securely attach the base to the body.
Creating the Limbs
Crochet Arms and Legs: Work in rounds, creating tubular shapes for limbs.
Stuff and Shape: Lightly stuff each limb and shape it to your desired look.
Assembly and Positioning
Position Limbs: Pin limbs to the body for positioning before sewing them in place.
Secure Sewing: Use a tapestry needle to securely sew limbs onto the body.
Adding Final Touches and Accessories
Facial Features: Attach safety eyes and embroider a nose and mouth.
Santa’s Hat: Crochet and attach a small red hat with a white trim.
Embellishments: Add details like a belt or buttons for extra charm.
Expert Tips:
Ensure even stuffing to maintain shape.
Use stitch markers to track rounds and avoid twisting.
Balance the stuffing to prevent a top-heavy toy.
Customization Ideas
Unleash your creativity by personalizing your Crochet Santa Claus:
Alternative Color Schemes: Try pastel shades or a vibrant rainbow palette for a modern twist.
Different Yarn Types: Experiment with variegated or textured yarn for unique effects.
Themed Versions: Create versions themed around different holidays or fantasy elements.
Add-Ons: Enhance your Santa with bows, scarves, or tiny props like a gift sack.
Advanced Tips & Troubleshooting
Invisible Decreases: Master invisible decreases to create smooth, seamless shapes.
Even Stitch Tension: Maintain consistent tension to ensure uniform stitches.
Prevent Twists in Rounds: Use stitch markers to avoid twisting and maintain alignment.
Fixing Uneven Shapes: Adjust stitch counts or tension to correct shapes.
Proper Stuffing Balance: Distribute stuffing evenly to avoid lumpy areas.
Joining Parts Seamlessly: Use the whip stitch method for a neat, hidden join.
Reading Pattern Abbreviations: Familiarize yourself with common abbreviations for ease of understanding.
Care Instructions
To keep your finished Crochet Santa Claus in pristine condition, follow these care tips:
Gentle Hand Wash: Use lukewarm water and a mild detergent to clean.
Air Dry Flat: Spread your amigurumi on a towel to dry naturally.
Avoid Direct Sunlight: Keep away from direct sunlight to prevent colors from fading.
Safe Storage Tips: Store in a cool, dry place, especially if giving as a gift.
Display & Gift Ideas
Your Crochet Santa Claus makes a versatile and delightful addition to any setting:
Home Décor: Place it on a mantel or shelf as a festive holiday decoration.
Kid’s Room Accessory: Add a touch of whimsy to a child’s bedroom.
Desk Companion: Keep it on your desk for a cheerful workday companion.
Holiday Ornament: Hang it on your Christmas tree for a unique ornament.
Personalized Handmade Gift: Give it as a heartfelt handmade gift to friends or family.
Benefits of Creating a Crochet Santa Claus
Engaging in this crochet project offers numerous benefits:
Relaxation and Mindfulness: The repetitive motions of crochet promote relaxation and mindfulness.
Stress Relief through Crafting: Channel your creativity and relieve stress through crafting.
Sense of Accomplishment and Joy: Feel proud of creating a beautiful piece of art.
Eco-Friendly, Sustainable Gifting: Handmade gifts are eco-friendly and sustainable.
Emotional Connection through Handmade Art: Create a piece that conveys love and care through handmade craftsmanship.
Photography & Social Media Tips
Capture the beauty of your finished amigurumi with these photography tips:
Use Natural Daylight: Take photos in natural light for vibrant, true-to-life colors.
Add Props: Enhance your photos with yarn, baskets, or flowers for an artistic touch.
Soft Backgrounds: Choose soft, neutral backgrounds to highlight your amigurumi.
Close-Ups: Capture close-ups to showcase intricate textures and stitches.
Conclusion
Embarking on the Crochet Santa Claus Christmas Amigurumi project is a heartwarming journey into the world of handmade art. The joy of transforming yarn into a charming figure that embodies the spirit of Christmas is both fulfilling and uplifting. This delightful creation is more than just a decoration—it’s a piece of your creative expression, imbued with love and personality. Whether you’re gifting it to someone special or adorning your home, this handmade piece is sure to bring smiles and warmth to everyone who encounters it. Embrace the magic of crochet and let your creativity shine!