
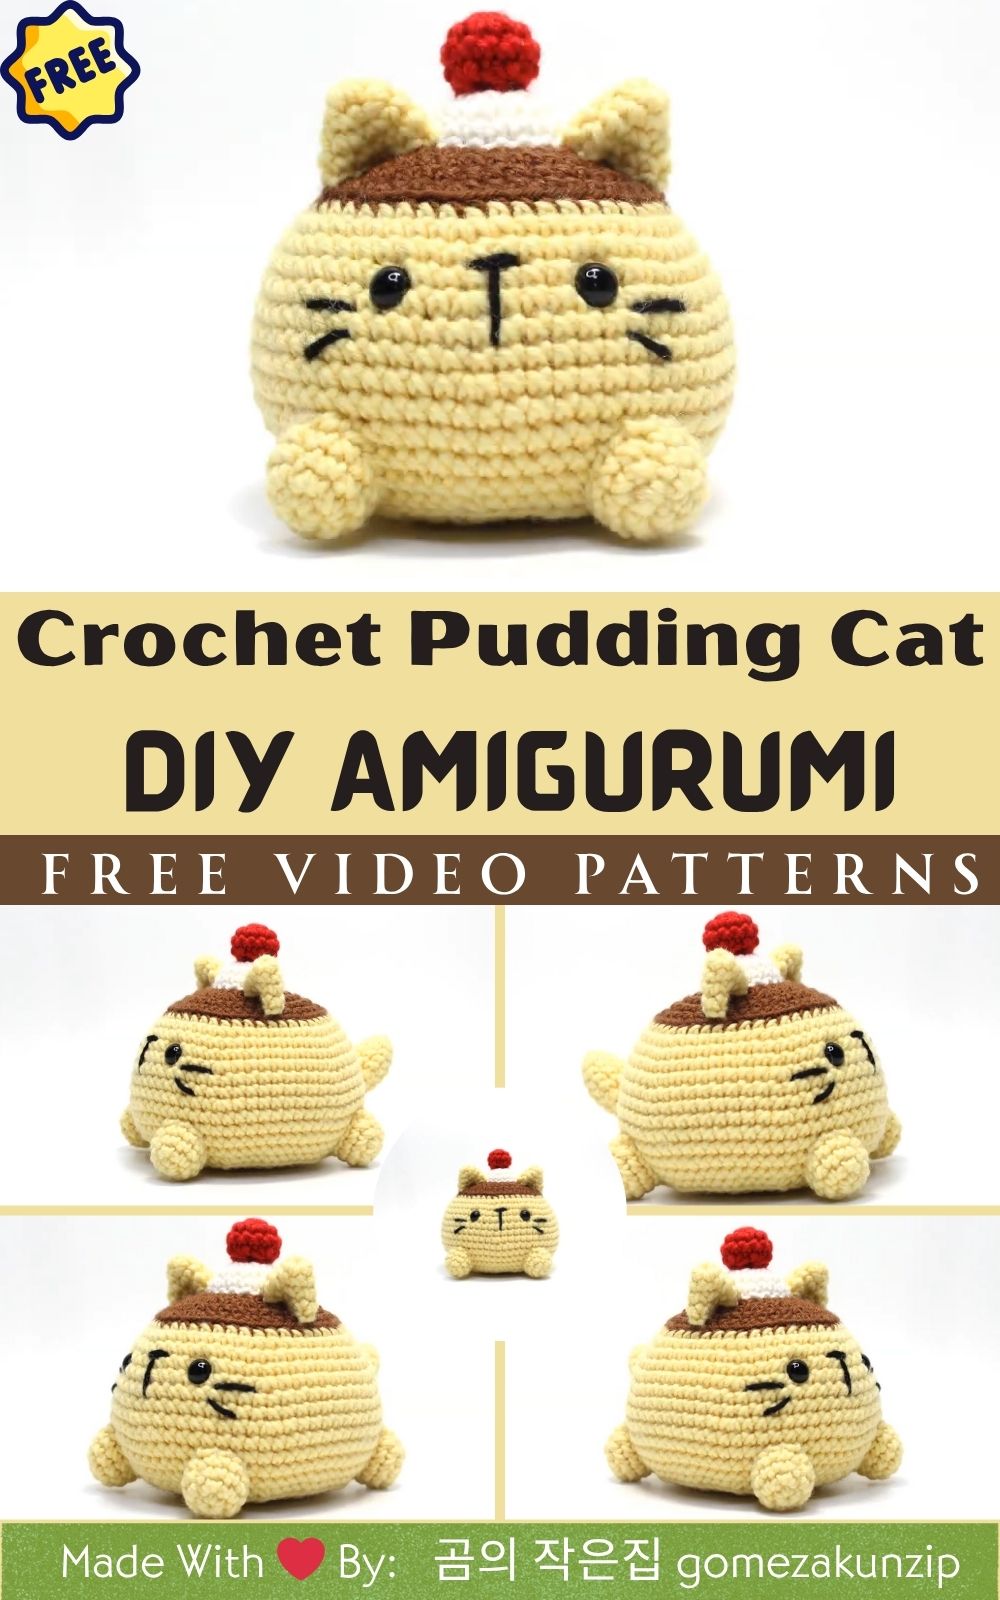
Cute Crochet Pudding Cat Amigurumi Pattern – Easy & Adorable DIY Toy
I’m so glad you’ve hopped in! Today we’re diving into a project that simply melts my heart: the Cute Crochet Pudding Cat Amigurumi. I mean, just picture a sweet little pudding-shaped body with kitty ears and the most charming expression you can imagine. It’s part dessert, part feline, and all adorable.
When I first saw this pattern (thanks to a lovely video tutorial on YouTube), I instantly remembered my childhood love for squishy plush cats and the way I used to line them up like they were hosting their own tea party. There’s something comforting about combining dessert shapes with animal motifs it’s cozy, it’s whimsical, and it’s pure joy.
As you stitch this piece yourself, you’ll feel the moment it begins to take shape in your hands: the tummy rounds forming, the little cat ears perking up, and the finished piece winking at you. Whether you’re making it for a child, a friend, or simply to decorate your own space, this little pudding cat is sure to bring smiles.
So grab your hook, pick your favorite flavor of “pudding” yarn, and let’s dive into this fun, cheerful craft. You’ll love the journey and the adorable result. Ready? Let’s get crocheting!
Why You’ll Love This Pattern
Here are a bunch of reasons why this little project is such a treat:
-
Beginner-friendly and fun to make
-
A quick weekend project (or even a cozy evening project)
-
Uses very little yarn — perfect for leftovers or smaller skeins
-
Doubles as a cute home décor piece or plushie for play
-
Great for handmade gifts or toy collections
-
Customizable with color changes, accessories or embellishments
-
Safe for kids (especially if you use embroidery rather than plastic eyes)
-
Perfect stress-relief crochet — every round is relaxing
-
Adorable pudding-shaped body gives it an extra dose of cuteness
-
Loved by both cat lovers and dessert-lovers
You’ll find yourself smiling as you stitch the rounded body and imagine your little dessert-cat sitting on a shelf or your desk. It’s crafty happiness.
Materials & Tools
Here’s what you’ll need to bring your Pudding Cat to life with a few helpful notes too:
-
Yarn: Soft cotton or acrylic in DK (double-knit) weight. Cotton gives a very clean look (great for dessert-flavors), while acrylic gives a plushier finish.
Tip: Match your yarn color to your pudding flavor vanilla (cream-white), caramel (light tan), strawberry (soft pink), matcha (pale green). -
Hook: 2.5 mm to 3 mm. A smaller hook helps make firm stitches so your amigurumi holds its shape nicely.
-
Stuffing: Fiberfill or an eco-friendly stuffing option (such as recycled fiber-fill). Good stuffing means the body stays round and “puddingly”.
-
Safety eyes (or you can embroider the face if you prefer a toy that’s safe for very young children).
-
Embroidery thread or yarn: for face features like the sweet kitty smile and whiskers.
-
Yarn needle: for sewing on parts and weaving in ends.
-
Scissors: always handy!
-
Stitch markers: to mark your rounds, especially helpful if you’re new to amigurumi.
With this little kit ready, you’re all set for a joyful stitch-session.
Crochet Pattern Details
Let’s get into the fun part step-by-step instructions to bring your Cute Crochet Pudding Cat to life. Don’t worry if you’re new I’ll sprinkle in pro-tips as we go.
Base / Pudding Body
-
Start with a magic ring (or adjustable ring), and crochet a small number of single crochets (sc) into the ring (e.g., 6 sc).
-
Round 2: Increase (2 sc in each stitch) around you now have 12 stitches (if starting with 6).
-
Continue increasing in successive rounds until you reach the diameter you’d like (for example: increase to 18, then 24, then 30, etc.).
Pro tip: Count your rounds carefully — use a marker. -
Once you stop increasing, work even (one sc in each stitch) for several rounds to build the “height” of the pudding body.
Pro tip: Keep your tension firm so the stuffing doesn’t show through. -
Then begin decreasing rounds so the base starts to curve inward, forming the dome-shape of a pudding.
-
Before closing completely, stuff your pudding cat nicely — aim for a firm but soft shape. Then finish off and close the base.
Encouragement: If your pudding body leans a little to one side — don’t worry! Every cat (dessert or not) has its own personality. It just adds charm.
Cat Ears
-
Make two small triangles: e.g., ch 2 or 3, then sc into each chain back and forth for one or two rounds.
-
Decrease as needed to shape the triangle.
-
Fasten off, leaving a long tail for sewing.
-
Sew the ears securely onto the top of the pudding body (left and right side), making sure they’re symmetrical.
Face Embroidery
-
Using black yarn or embroidery thread, stitch two small eyes. You can use simple straight stitches or tiny satin-stitched ovals for cuteness.
-
Add a small “V” or curved stitch beneath for the nose and mouth.
-
Embroider little whiskers if you like.
Pro tip: Position the face slightly lower than you’d think — this gives the pudding-shape room for the “top” decorations.
Decorations
Now for the fun part: making your Pudding Cat extra adorable!
-
Whipped cream swirl: Use white yarn to embroider or crochet a small 3-dimensional swirl on top of the pudding.
-
Cherry or strawberry topping: In red or pink yarn, make a little round or heart shape and sew it on top of the swirl.
-
Drizzle effect: With a contrasting yarn color (caramel or chocolate brown), stitch a few wiggly lines down the sides of the pudding body to mimic syrup.
Assembly
-
Ensure the body is fully stuffed and closed.
-
Sew the ears onto the body, making sure they stand upright.
-
Attach or embroider the face features.
-
Add your toppings: swirl, cherry, drizzle.
Pro tip: Use small, invisible stitches to secure toppings so the look stays clean. -
Weave in all yarn ends securely you want this toy to last!
And voilà your Cute Crochet Pudding Cat Amigurumi is complete!
Uses of This Crochet Pudding Cat
Let’s talk about all the ways you can enjoy (and show off) your little crochet creation.
First, imagine your pudding cat perched on your desk beside your coffee mug or plant pot. Its cheerful shape and soft textures make it an ideal desk companion or home décor accent adding a touch of handmade charm to everyday spaces.
Second, it’s a wonderful handmade plush toy: safe, soft, and adorable. Whether for a child’s playroom or to join a toy collection, this Pudding Cat will hold its own. It’s especially sweet if you’ve used embroidery eyes making it safe for younger children.
Third, consider it as a stress-relief squishy. That round pudding body, that soft yarn it’s the kind of thing you might quietly hold in your hand while watching TV or winding down. There’s something comforting about it.
Fourth, it makes a beautiful handmade gift. Birthdays, holidays, Valentine’s Day, or just because you’ll find people smile when presented with something this lovingly handmade. Wrap it nicely, tag it, and know you’ve given more than just a toy; you’ve given your time and creativity.
Fifth, if you’re into craft fairs or selling on platforms like Etsy, this little pattern could become a popular item. It’s cute, compact, customizable, and appeals to both dessert and cat lovers — that’s a winning combo.
And finally, it’s an excellent photo prop: for flat-lays, social media posts, or just to brighten up a cozy corner of your home. The pudding cat shape and the “topping” are instantly photogenic.
Customization Ideas
Now let’s get creative! Here are some fun variations to make your pattern uniquely yours:
-
Use pastel yarns for a soft dessert look: pale mint matcha, lavender blueberry, soft peach.
-
Add a bow, bell collar, or embroidered name on the pudding cat’s forehead.
-
Play with pudding “flavors”: chocolate brown body + white whipped cream; matcha green body + strawberry red puddle; or classic vanilla cream body + caramel drizzle.
-
Create mini pudding cats: scale down the pattern for keychains or bag charms.
-
Seasonal ideas:
-
For Christmas: tiny Santa hat or holly on top.
-
For Valentine’s: heart topping instead of a cherry, body in soft pink.
-
For Halloween: pumpkin-colored body with kitty ears (heh, doppelt-cat!).
-
-
Mix textures: use fuzzy yarn for the “toppings”, or sparkly yarn for the drizzle to add extra glam.
-
Experiment with facial expressions: sleepy eyes, big round eyes, winking cat all fun!
This pattern is your playground have fun and let your imagination roam. The result will be even more special because it has you in it.
Finishing & Assembly Tips
Let’s refine those final touches, because the details really shine in handmade work.
-
When sewing the ears, ensure they’re symmetrically placed and firmly anchored. If they flop, use a bit more stuffing near the base of each ear.
-
For a smooth pudding body shape, stuff gradually and evenly — add small amounts, press gently, then add more. Avoid one big stuffing push which can distort shape.
-
Secure yarn ends by weaving back and forth inside the body for a few centimetres before trimming. This prevents unraveling over time.
-
If you’re making this for a toddler or very young child, skip safety eyes and embroider all facial features to keep it super safe.
-
Want to turn it into a keychain? Attach a small charm ring or lobster clasp through a yarn loop at the top of the pudding (near the topping), then hide the loop under your whipped-cream swirl.
-
For gifting: place your pudding cat in a small box or clear cellophane bag, tie with a ribbon, and include a handmade tag (“Handmade with love”). It elevates the value and delight of your gift.
-
A final check: gently hold up the finished piece and rotate it if you see any lumps or uneven spots, you can adjust by redistributing stuffing before finalizing.
A little time on these finishing touches makes your handmade piece look polished and professional — while still being full of your personal warmth.
Crochet Care & Maintenance
Here are some practical tips to keep your Cute Crochet Pudding Cat looking fresh and happy for years to come.
-
Hand wash gently: Use mild soap and room-temperature water. Gently squeeze (don’t wring) and then press out excess water in a towel.
-
Air dry only: Lay flat on a towel in a cool, well-ventilated area. Avoid direct sunlight it can fade colors.
-
After drying, you can lightly reshape the body with your hands to restore that lovely round pudding shape.
-
Store in a dust-free, cool place. If the piece stays on a shelf, consider placing it in a display box or under a clear cover to protect from dust.
-
Optionally, you can spray lightly with fabric-safe room freshener (test on a small part first) to give it a fresh smell if needed.
-
If a topping or small accessory becomes loose, re-secure it with a needle and matching yarn quickly catching small repairs early helps the toy last longer.
With a little care, your handmade amigurumi will stay vibrant and loved.
Final Thoughts
Every tiny stitch you make in this Cute Crochet Pudding Cat Amigurumi carries a bit of your heart and creativity. Whether you’re crafting for joy, for a gift, or simply as a cozy project, you’re doing something meaningful handmade is always special.
Thank you for spending this time with me and your yarn. Grab your hook, channel your creativity, and let’s make something adorable and full of charm. Happy crocheting, dear friend and may your pudding cat bring you smiles, comfort, and heaps of cuteness!
FAQ
What yarn is best for pudding cat amigurumi?
Soft cotton or a quality acrylic in DK weight works beautifully. Cotton gives a clean, crisp dessert look; acrylic gives extra plush feel. Choose a hook size of 2.5–3 mm for good shape.
How long does it take to finish this project?
For a dedicated evening or weekend, yes beginner to intermediate crocheters can finish it in 4–6 hours, possibly less if you’re familiar with amigurumi techniques.
Can beginners follow this easily?
Absolutely! While the pattern includes shaping and assembly, it uses basic techniques (single crochet, increases, decreases, sewing parts. The step-by-step and pro-tips are designed to help you every stitch of the way.
How can I turn it into a keychain or ornament?
Simply attach a small loop of yarn or a metal jump ring at the top (under your whipped-cream swirl or topping), then attach a lobster clasp or keychain ring. Scale down the size if you want a smaller charm version.


