
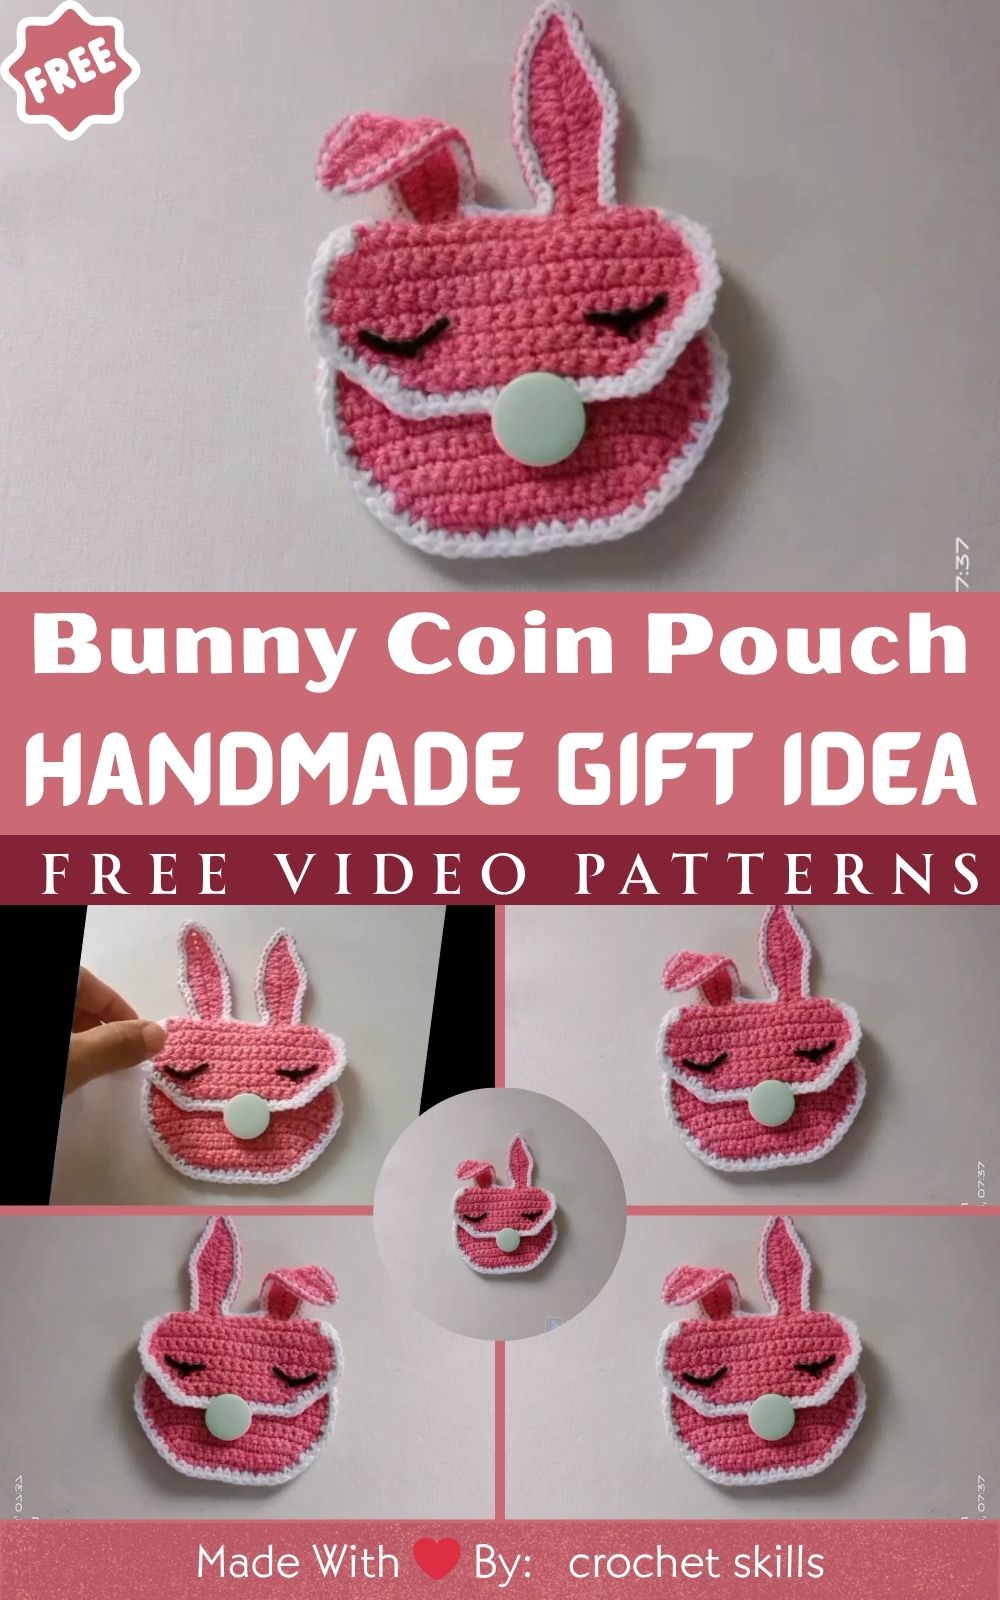
Free Crochet Bunny Coin Pouch – Adorable Handmade Gift Idea
There’s something irresistibly heart-warming about creating your own crochet treasures especially when they’re as cute and practical as this Free Crochet Bunny Coin Pouch. Picture it: a soft little bunny with floppy ears and a tiny pouch belly, ready to hold your coins, jewelry, or trinkets. It’s a small project packed with joy, charm, and a splash of creativity.
Crochet bunny pouches are loved by both crochet enthusiasts and handmade gift lovers because they blend artistry with usefulness. Unlike store-bought purses, each one you make carries a personal touch your choice of yarn color, stitch tightness, and that special handmade warmth that makes it truly yours.
These cute crochet bunny pouches aren’t just fun to make they also bring smiles wherever they go. Whether gifted to a friend or tucked into your own bag, they serve as a constant reminder that creativity can live in the smallest details. Each loop and stitch becomes a soft whisper of joy, and before you know it, you’ve turned a simple skein of yarn into a charming keepsake.
So, if you’ve been searching for your next mini crochet project that’s both quick and satisfying, this free crochet bunny coin pouch is your perfect match. Get your hook ready we’re about to hop into one of the cutest handmade projects you’ll ever make!
Materials & Tools
Before we start, gather your supplies. This project is beginner-friendly and requires only basic tools you probably already have in your crochet kit:
Yarn: Use medium (worsted weight) or cotton yarn for structure. Pastel colors like white, baby pink, or lavender make your bunny look extra adorable.
Crochet Hook: A 3.0mm–3.5mm hook works best for small pouches it keeps stitches tight and gives your bunny a neat finish.
Fiberfill Stuffing: Optional, but great for giving your bunny ears or head a 3D plush look.
Stitch Markers: Useful to keep track of rounds, especially when working in spirals.
Yarn Needle & Scissors: For sewing pieces together and weaving in ends neatly.
Optional Accessories:
Safety Eyes or Beads for a polished face look.
Keychain Rings to turn your pouch into a portable accessory.
Small Zipper or Button for a secure coin compartment.
Tip: Always check your gauge you want your stitches snug enough to hold coins but soft enough for flexibility.
Step-by-Step Instructions
Creating your crochet bunny coin pouch is as fun as it sounds! Follow these easy steps, and you’ll have a fluffy little friend in no time.
1. Start with the Base
Begin with a magic ring. Crochet 6 single crochets (sc) into the ring and pull tight. This forms the bottom of your pouch.
2. Increase the Circle
Work in continuous rounds:
Round 2: 2 sc in each stitch (12)
Round 3: 1 sc, 2 sc in next repeat (18)
Round 4: 2 sc, 2 sc in next repeat (24)
Keep increasing until you get your desired pouch diameter (about 3-4 inches wide).
3. Form the Sides
Continue working single crochets around without increasing. This builds the pouch height about 10-12 rounds will do.
4. Shape the Bunny Ears
Create two ears separately:
Chain 8, then single crochet down the chain and back up to form an oval shape.
Repeat for the second ear.
Attach both ears to the back top edge of the pouch.
5. Add the Face
Sew on safety eyes or embroider sleepy eyes with black yarn. Add a pink embroidered nose for that sweet bunny charm.
6. Stuff (Optional)
If you want a puffier pouch, lightly fill the top part with fiberfill before finishing.
7. Finish the Closure
Sew in a zipper, button loop, or drawstring cord at the top opening. This makes it functional and stylish.
8. Add Final Touches
Sew on a keychain ring, or decorate with a small bow or bell for personality.
Voilà! Your cute little bunny pouch is ready to use or gift!
Special Features & Pro Tips
What makes this free crochet bunny coin pouch pattern truly special is its simplicity and versatility. Here are a few things to love:
Beginner-Friendly Design: Only basic stitches single crochet, increase, and slip stitch are used.
No-Sew Option: You can crochet the ears directly onto the body for a seamless look.
Customizable Colors: Try pastel shades for springtime or bright tones for a playful twist.
Unique Details: Add a pom-pom tail or tiny flower applique for extra cuteness.
Pro Tip: Keep a stitch marker handy when working in continuous rounds to avoid losing count — a lifesaver for neat results.
And don’t forget tighter stitches make the pouch sturdier for coins, while looser ones are better for soft trinkets.
Uses & Creative Ideas
Once your bunny coin pouch is ready, the fun doesn’t stop there! Here are a few creative ways to enjoy your handmade creation:
Adorable Gift Idea: Perfect for birthdays, Easter baskets, or as a “just because” handmade surprise.
Keychain or Bag Charm: Add a keyring so your bunny travels with you everywhere.
Mini Jewelry Pouch: Store rings, earrings, or other tiny keepsakes.
Cute Home Décor: Display it on your craft shelf or dresser — it adds instant charm!
Custom Variations: Try seasonal versions — red for Christmas, yellow for spring, or gray for a minimalist look.
Your crochet bunny pouch isn’t just a pattern it’s a creative canvas. Every color, stitch, and accessory you add makes it uniquely yours.
Conclusion
Crocheting your own bunny coin pouch is more than a craft it’s a joyful experience of turning yarn into something magical. Even if you’re a beginner, this project will guide you through each step with ease and confidence.
So grab your hook, choose your favorite yarn, and start creating! Whether you keep it, gift it, or hang it as décor, your handmade bunny will always carry a little piece of your heart soft, sweet, and full of love.


