
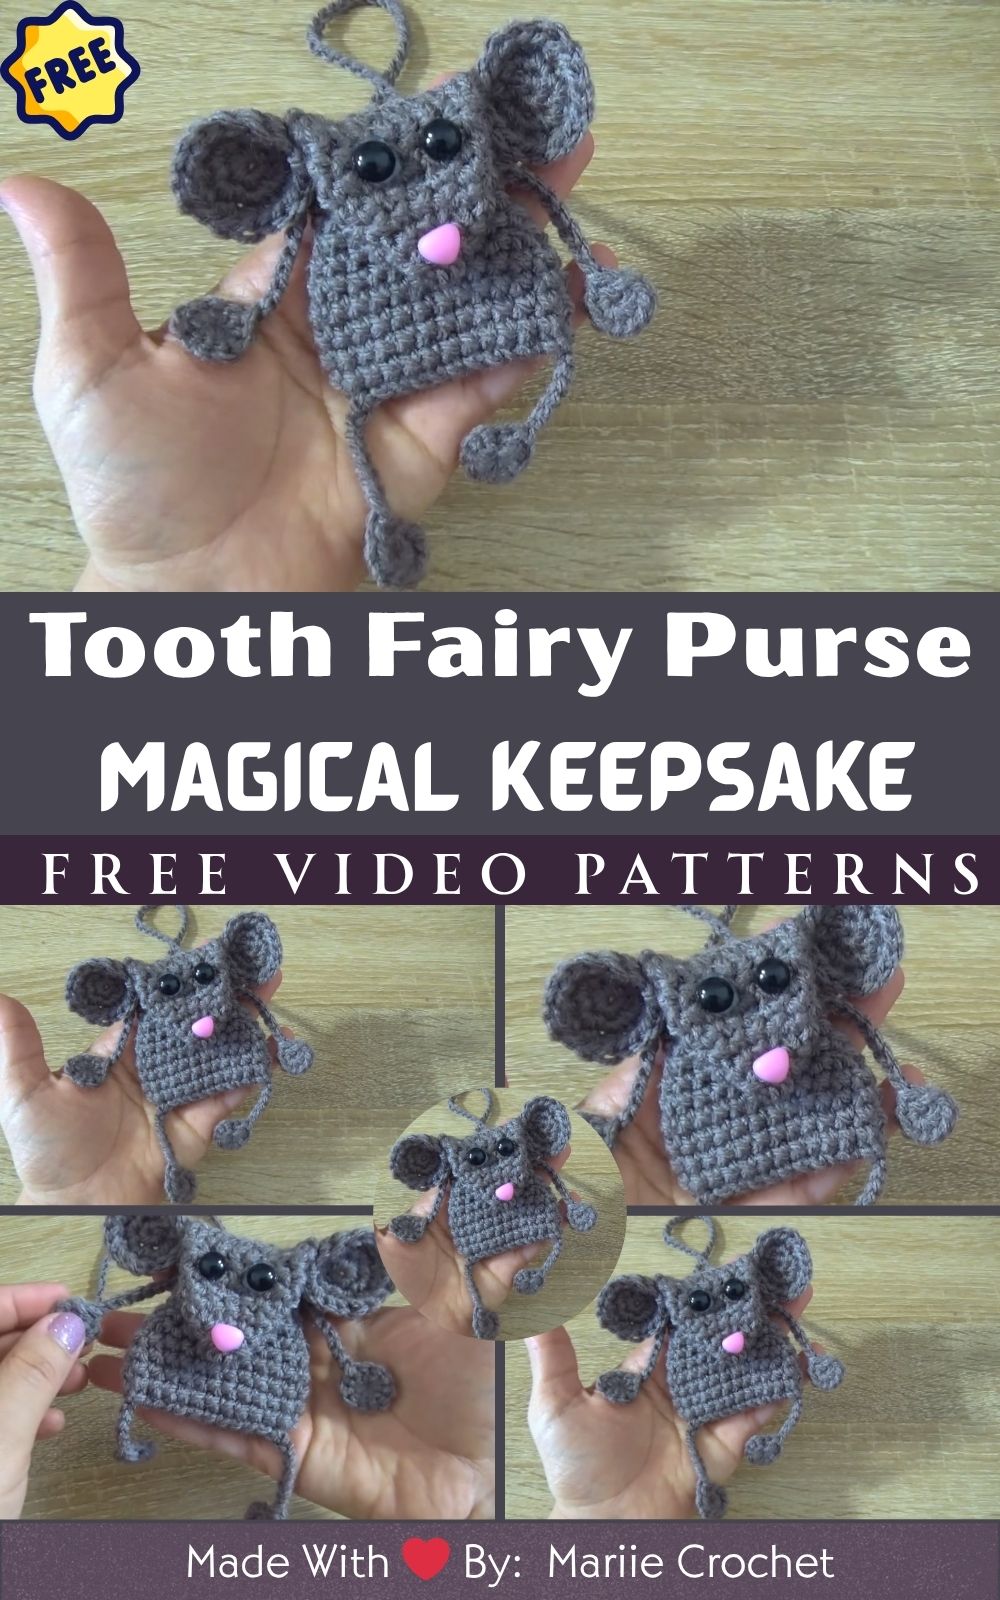
DIY Crochet Tooth Fairy Purse – Magical Keepsake Pattern for Children
There’s something truly enchanting about turning yarn into magic and that’s exactly what happens with this DIY Crochet Tooth Fairy Purse. Imagine your little one placing a precious lost tooth inside a tiny handmade pouch, waiting excitedly for the Tooth Fairy’s visit. This crochet project combines whimsy, creativity, and love, making it more than just a craft it’s a keepsake that holds childhood memories.
Crochet keepsake patterns like this one are adored by crafters and handmade gift enthusiasts because they’re meaningful, fun, and functional. Instead of buying a store-bought tooth box, you can create something special with your own hands a soft, cozy purse that feels like a hug from mom or grandma.
These crochet tooth fairy purses bring together creativity and storytelling. They make bedtime magical and crafting joyful all while giving children a keepsake they’ll treasure for years. Each stitch becomes part of a fairy tale, with you as the artist behind the magic.
Whether you’re a beginner looking for a quick win or a seasoned crocheter seeking a heartwarming project, this DIY Crochet Tooth Fairy Purse will make your hooks dance with joy. Let’s get started on this sweet, magical journey!
Materials & Tools
Before you begin, gather a few simple crochet essentials. This project is small, quick, and beginner-friendly perfect for using up leftover yarn!
-
Yarn: Use soft cotton or acrylic yarn, light or medium (worsted) weight. Choose pastel colors like pink, mint, or white for that fairy-like charm.
-
Crochet Hook: A 3.0mm–3.5mm hook works great for tight, neat stitches that hold the purse’s shape.
-
Fiberfill Stuffing: Optional only if you want to give the purse a plush, 3D finish (for example, if shaping it like a tooth).
-
Stitch Markers: Keep track of your rounds easily, especially if working in continuous spirals.
-
Yarn Needle & Scissors: For sewing edges, attaching pieces, and weaving in ends neatly.
-
Optional Accessories:
-
Small Button or Snap: To create a secure closure for your little fairy purse.
-
Embroidery Thread: For stitching a cute smile or initials on the tooth.
-
Ribbon or Keychain Ring: Add a handle or make it attachable to a child’s bag.
-
Pro Tip: Always match your hook size to your yarn’s thickness — this keeps your stitches even and your purse sturdy.
Step-by-Step Instructions
Ready to make your Crochet Tooth Fairy Purse? Follow these beginner-friendly steps and watch your magical creation come to life!
1. Start the Base (Tooth Shape)
Begin with a magic ring and crochet 6 single crochets (sc) into the ring. Pull tight.
-
Round 2: 2 sc in each stitch (12)
-
Round 3: 1 sc, 2 sc in next repeat (18)
-
Round 4: 2 sc, 2 sc in next repeat (24)
Continue increasing until your base circle is about 3 inches wide — this will be the front of your tooth purse.
2. Build the Body
Work single crochets evenly around without increasing for 6–8 rounds. This forms the pouch section. Make sure your stitches are tight enough to hold coins or tiny treasures.
3. Shape the Tooth Roots
To create the tooth’s signature “roots” or bottom points, divide your stitches into two equal halves. Work in rows instead of rounds on each half, gradually decreasing by one stitch per row to form a soft point.
4. Add the Back Piece
Repeat the same shape for the back panel, then crochet or sew the two halves together — leaving the top open for your mini pocket.
5. Finishing Touches
-
Add a button or snap to close the top flap.
-
Embroider a small smiley face, heart, or initial with contrasting thread.
-
Optional: attach a ribbon or chain handle for extra charm.
And just like that you’ve created an adorable crochet tooth fairy pouch that’s both magical and practical!
Special Features & Pro Tips
What makes this DIY Crochet Tooth Fairy Purse pattern so special? Let’s sprinkle in some fairy dust and find out:
Quick & Easy: It takes less than an hour ideal for beginners or last-minute Tooth Fairy emergencies!
Customizable: Add names, beads, or embroidery for a personal touch.
No-Sew Option: You can crochet both panels continuously for a seamless design.
Perfect Size: Just right for a tooth, a coin, and a little bit of fairy sparkle.
Pro Tip: Use a small strand of metallic thread alongside your yarn for a magical shimmer effect kids love the sparkle!
Uses & Creative Ideas
Your new Crochet Tooth Fairy Purse isn’t just for teeth! Here are some creative ideas for how to make the most of your cute little pouch:
-
Tooth Fairy Tradition: Slip it under your child’s pillow for the Tooth Fairy’s visit — no lost teeth under the bed anymore!
-
Gift for Kids: Handmade gifts always carry love — this is perfect for birthdays or baby milestones.
-
Mini Keepsake Holder: Store small jewelry, hair clips, or trinkets.
-
Keychain or Backpack Charm: Attach a ring to make it a daily accessory.
-
Seasonal Variation: Try sparkly white for winter, pink for spring, or blue for boys’ versions.
Each purse becomes a little story a mix of yarn, creativity, and love that will stay cherished for years.
Conclusion
Making your own DIY Crochet Tooth Fairy Purse is more than just a craft it’s a heartwarming experience filled with creativity and magic. You’ll love how easy and fun it is to crochet something so tiny yet meaningful.
Even if you’re new to crochet, this pattern is simple, quick, and delightfully rewarding. Plus, nothing compares to the sparkle in a child’s eyes when they wake up to find a handmade fairy purse waiting under their pillow!


