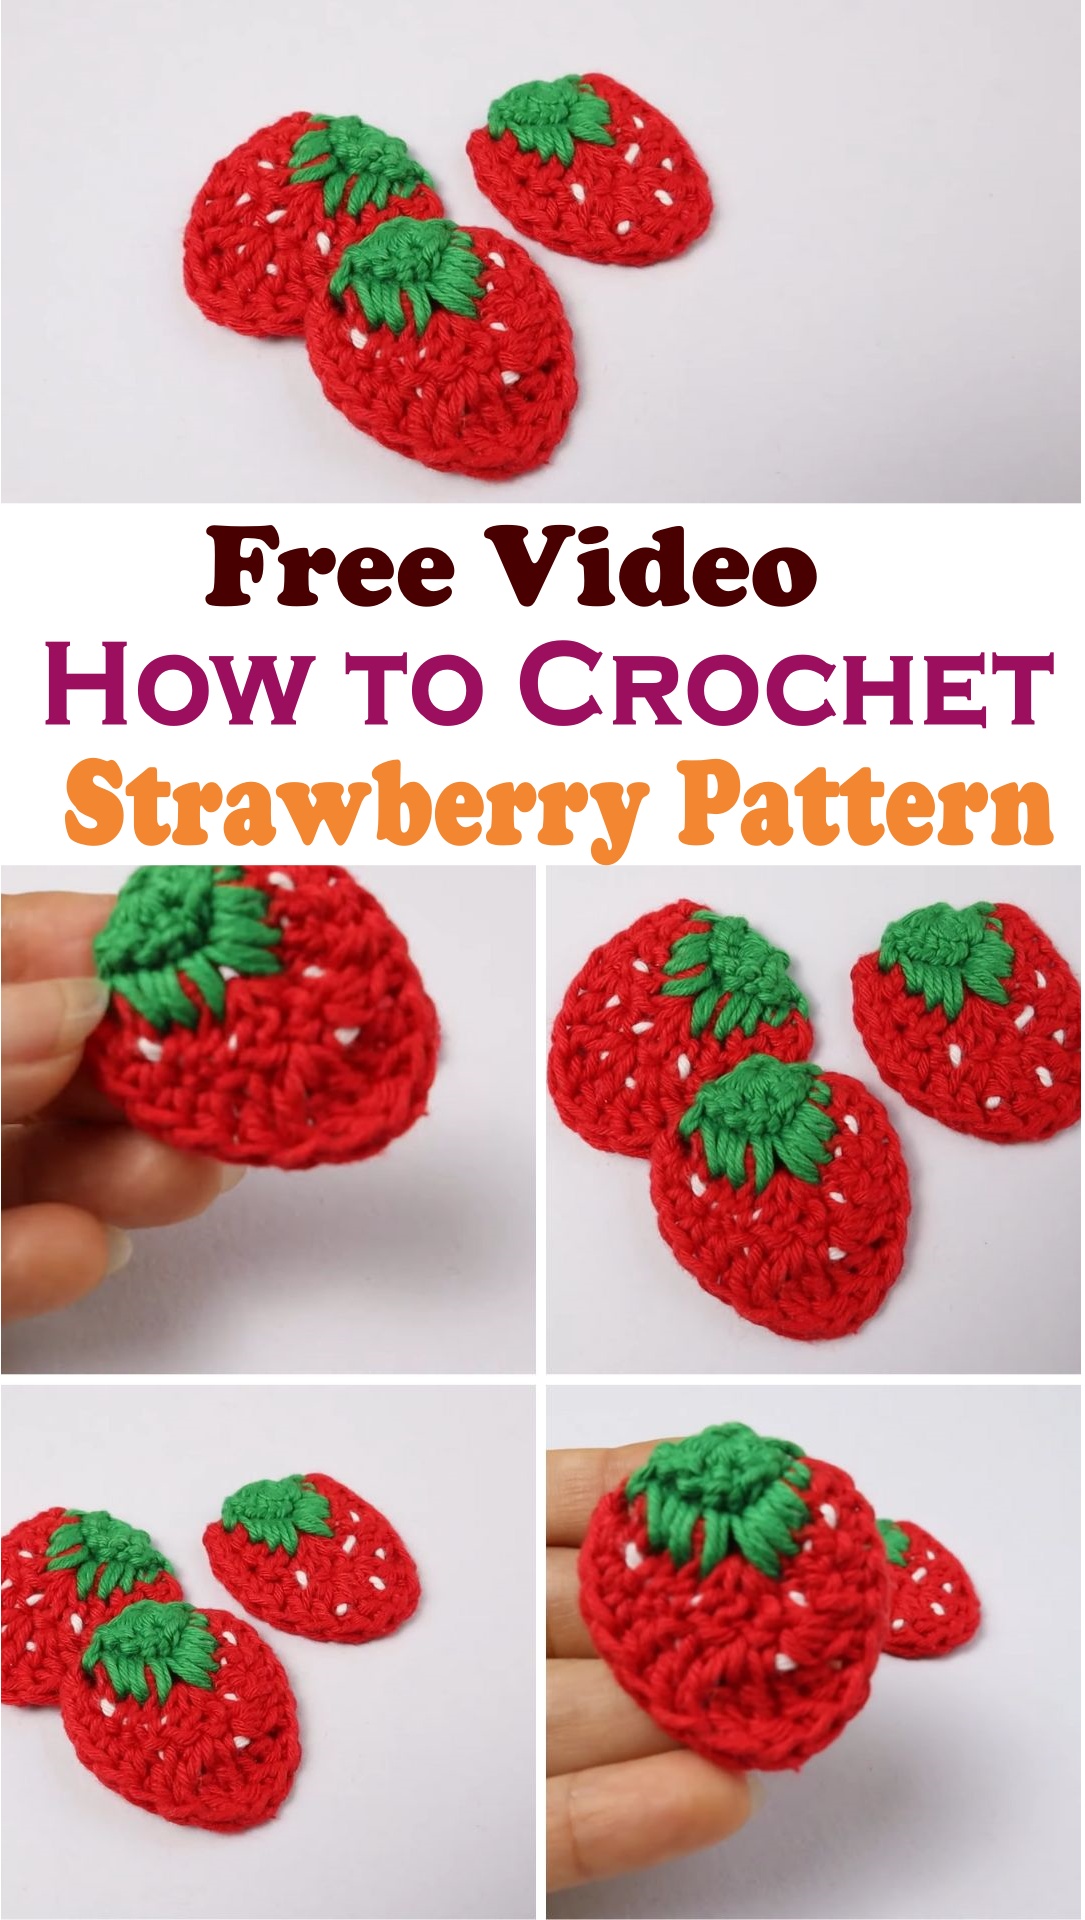
How to Crochet Strawberry Pattern Tutorial For Beginners
Crocheting is a timeless and rewarding hobby that brings joy and creativity to countless individuals around the world. Among the myriad of patterns available, the Crochet Strawberry pattern stands out as a delightful project, perfect for beginners looking to hone their skills and create something truly charming. With its vibrant colors and simple design, crocheting strawberries can be both an enjoyable and satisfying experience. This tutorial aims to guide newcomers through the process, ensuring that each step is clear and accessible. By the end of this guide, crocheters will have the skills to create their own adorable strawberries, perfect for decorations, gifts, or even as an introduction to more complex projects.
Materials Needed
-
Red Yarn: For the body of the strawberry.
-
Green Yarn: For the leaves and stem.
-
White Yarn or Embroidery Thread: For adding seeds or detailing.
-
Crochet Hook: Size G/4.0 mm is recommended for this project.
-
Scissors: For cutting yarn.
-
Tapestry Needle: For weaving in ends and sewing pieces together.
-
Polyester Fiberfill: For stuffing the strawberry, giving it a plump shape.
-
Stitch Marker: Helpful for keeping track of rounds.
Steps to Crochet a Strawberry
1. Creating the Body
Begin by crocheting the body of the strawberry using red yarn. This involves forming a magic circle, which is a foundational technique in crocheting. Inside this circle, crochet stitches are made in continuous rounds to build the body. As you work, gradually increase the number of stitches in each round to create a rounded shape.
2. Shaping the Strawberry
Once the desired width is achieved, start decreasing the number of stitches in each round to shape the strawberry into a pointed bottom. This step is crucial for achieving the characteristic strawberry silhouette. Ensure the decreases are evenly spaced to maintain symmetry.
3. Adding Seeds
Using white yarn or embroidery thread, create small stitches across the body of the strawberry to simulate seeds. This detailing is subtle but adds significant charm to the finished piece. Space the seeds evenly for a more realistic appearance.
4. Crafting the Leaves and Stem
Switch to green yarn to crochet the leaves and stem. Begin by creating a small circle, then form individual leaves that will fan out from the top of the strawberry.
5. Final Assembly
After all the components are crocheted, it’s time to assemble the strawberry. Use a tapestry needle to sew the leaves securely onto the top of the body. Stuff the strawberry with polyester fiberfill to give it a full, plump look. Finally, weave in any loose ends to ensure a neat finish.
Tips for Beginners
-
Take Your Time: Crocheting is a skill that improves with practice.
-
Use a Stitch Marker: This tool can be incredibly helpful in keeping track of rounds and ensuring even stitches.
-
Practice the Magic Circle Technique: Mastering this technique will open doors to numerous other crochet projects.
-
Experiment with Colors: While red and green are traditional, feel free to explore other color combinations to personalize your strawberries.
Conclusion
Crocheting strawberries is an excellent project for beginners, offering a perfect blend of creativity and technique. With the right materials and a little patience, anyone can create these charming pieces.